m (→Last clue: link) |
|||
| Line 166: | Line 166: | ||
==Final battle== |
==Final battle== |
||
| − | :'''Warning:''' If the player has any [[prayer points]] while fighting the Knight, he will shout "En garde!" or "In [[Zamorak]]'s name!" and '''<u>drain your prayer points and heal himself</u>''', so be sure to drain your prayer points '''before''' entering the final room, or be prepared for a long fight. Do not underestimate the Guardian; he can hit hard and has high [[defence]], so bring [[food]] and an [[attack potion]] or two. |
+ | :'''Warning:''' If the player has any [[prayer points]] while fighting the Knight, he will shout "En garde!", "Your energy will fuel my life!" or "In [[Zamorak]]'s name!" and '''<u>drain your prayer points and heal himself</u>''', so be sure to drain your prayer points '''before''' entering the final room, or be prepared for a long fight. Do not underestimate the Guardian; he can hit hard and has high [[defence]], so bring [[food]] and an [[attack potion]] or two. |
You will appear in a room with two [[Black Knight Guardian]]s (level 110).<br>Korasi attacks the one on the right and the left Knight is all yours. |
You will appear in a room with two [[Black Knight Guardian]]s (level 110).<br>Korasi attacks the one on the right and the left Knight is all yours. |
||
Revision as of 13:56, 11 August 2010
A Void Dance is a quest that was released on 10 August 2010. It is the sequel to Quiet Before the Swarm.
Details
| Start point | |
|---|---|
| Member requirement | |
| Official difficulty | Unknown edit |
| Official length | Long |
| Requirements | Skill requirements are not boostable unless marked with a [B] for boostable.
|
| Items required | Items from the tool belt are not listed unless they do not work or are not automatically added.
Recommended:
Tips:
|
| Enemies to defeat |
|
Walkthrough
Starting
Quest start location
- Take the boat to Pest Control and talk to Commodore Tyr.
Commodore Tyr will want you to go search for the missing creature on the mainland with Captain Korasi and Jessika, the one who freed the pest in the first place. - After starting the quest, travel to Port Sarim and talk with Korasi on the dock there.
She will tell you to investigate and see if anyone in the town has seen the pest.
Investigation
The new trail of purple goo, located outside the fishing shop.
Purple goo leaking from a hole in the cellar wall.
- Talk with Captain Tobias, also located on the deck, who is ill. He will tell you to talk with the fishmonger.
- Talk with Gerrant (fishing shopkeeper) and a track will appear outside his shop.
- Follow the track using the Hunter skill, searching bushes, plants and stones until you find a burrow just north of The Rusty Anchor.
- Check the burrow, and then go an inform Korasi of your findings.
She will tell you to talk with the owner of Rusty Anchor pub, to gain access to his cellar. - He too is sick, and has no energy to give you the key, telling you it is in one of the piles of junk on the floor.
- Search them until you find the key and proceed to the cellar, by entering the trapdoor on the north-west side of the pub.
There, Jessika will find something odd about the wall. - Mine the Suspicious Looking Wall with a pickaxe, and a strange purple goo will begin to pour out.
Barrel puzzle
In order to obtain a container for the goo, you must find an empty barrel in the storeroom.
- Kick all the other (full) barrels into the correct positions, giving a clear path for the empty barrel, and then kick that along the path directed in the picture below.
Click here for a video guide.
Tips
- It is possible that in solving this puzzle you will block your exit. If this happens, reset the puzzle and then leave the room; if you already pushed the empty barrel out it will be there already.
- You can use your Void Knight whistle to undo or reset your puzzle.
The barrel puzzle solution
Confrontation
- Talk to the bartender after completing the puzzle and afterwards either telling to truth or lie, talk to Captain Korasi.
- Then, take the ship to Karamja, then talk to Zambo in the pub.
Ask him about anything odd. - Go to Shopkeeper Kofi, who is located in the general store. He is ill, but will help you if you repair his wall.
- In the corner of the room, "Take-from" the supply table and tool shelf twice to get logs, a plank, a chisel and a hammer.
- Use the plank and logs on the chisel to get jointed plank and jointed log respectively.
- Use the jointed plank and jointed log together to get a joist. Use the joist on the wall to repair it.
Tracking
More purple goo tracks for you to follow.
- Talk to Shopkeeper Kofi and he will take you to a tracking point (similar to the one in Port Sarim).
Search the logs and the succulents to follow the trail.
At the end of the tracking, you will find another burrow in the banana plantation, where it appears there has been a struggle. - Search the hole to get wood shards. After this, you will be told to go to Rimmington.
- Before travelling to Rimmington, make sure you have at least 16 free empty inventory spaces.
- Talk to Rommik in the Rimmington Crafting shop, and he will tell you about a large order of waxwood boxes to someone in Falador.
- Talk to Captain Korasi in the Chemist's house, and then talk to the Chemist.
Analysing the sample
- After you speak to the chemist you start a puzzle similar to distilling coal.
- Adjust the heat and power according to the guide in the corner of your screen, and change the chemicals and compounds in the tank according to the substance guide and you will soon be at 100%.
| Increase | Decrease | |
| Heat | Increase power flywheel | Apply brake flywheel |
| Power | Stoke furnace | Open furnace vent |
- After completing the puzzle, speak to the Chemist.
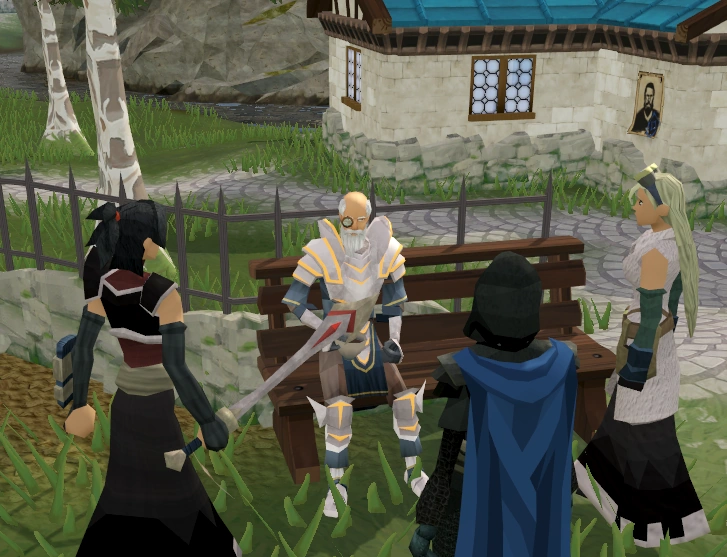
Jessika will then teleport you to Sir Tiffy Cashien in Falador Park. - Speak with Sir Tiffy and he will tell you there is a stall near the east bank whose owner, Ali Tist, is selling mysterious boxes.
- Buy one off him and return to Sir Tiffy. After you try to open the box, Sir Tiffy, Jessika, and Korasi have a go, but fail, though Korasi will then crack it open with her sword.
- Return to the seller in attempt to find out where he got the boxes, and when he refuses, return to Sir Tiffy and then go to Sir Amik Varze, leader of the White Knights (located in the second floor, west side of White Knights' Castle), and he will give you a warrant to search Tist's stall.
Clue scroll
- Question the stall owner and he will give you a mysterious clue scroll.
- Return to Sir Tiffy and you will begin the Treasure Trail, with Korasi and Jessika keeping contact via CommOrb.
Clue one
The location of the first clue
The first clue is a map, the location of which is the shores of Lake Crystalmere just west of the Falador mining site to the west of Falador. You will speak with Korasi via the CommOrb and you will listen to Jessika and Korasi put their differences aside.
Clue two
Approximate location of second clue
The clue you receive will read: "South of a city and east of a guild, there wanders a fellow whose path went astray. Hand him an onion and give him a wave, if on track for a treasure you're wishing to stay."
- Walk east of Melzar's Maze north of Rimmington and pick an onion, if you do not have one already.
- Go east of the Crafting Guild and find the Man with a pack and a staff wandering around.
- Give him the onion, and select the wave option.
You will receive another clue.
Clue three

The location of the third clue
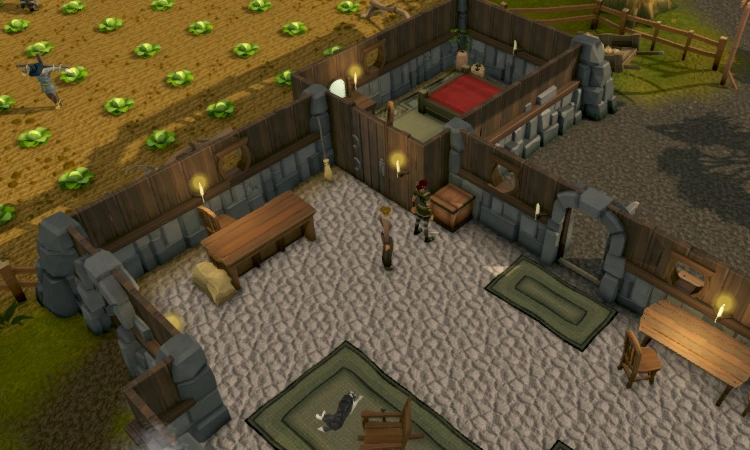
The third clue reads: "Check a crate in the farmhouse west of the Falador farming patch."
It is the patch that is north of Port Sarim.
- Go inside the farmhouse and search a light brown crate in the largest room of the house.
Clue four
The location of the fourth clue
- You will receive another clue and speak to Korasi via the CommOrb.
The new clue reads "Splash of red in a holy bed; lies north of its fountain, east of Ice Mountain. Its three closest neighbours have petals of blue; just dig where it's planted to find your next clue."
- The location of the clue is the Edgeville Monastery, so make your way there.
- After digging on the correct red flower, you will receive a coordinate clue.
Last clue
The location of the hatch
The coordinate clue reads: "11 degrees, 31 minutes north 17 degrees, 54 minutes east" which is a hatch entrance north of the Black Knights' Fortress."
Note: This is the time to prepare all your potions and food.
- Follow the clue and reach its location.
The player and Korasi opening the hatch
Korasi preparing to strike the black knight.
- Try to enter the hatchway and you will speak with Korasi and Jessika via the CommOrb. They will teleport to you.
Jessika speaks with Korasi about joining the Void Knights. - The three of you enter the hatchway and appear in a room full of boxes.
Korasi will knock out the black knight on guard and kill him.
Note: If you are caught in this room, you are thrown out, however you can just simply climb back down.
- Speak with Korasi and she will try to enter the next room.
She is not allowed in because she does not know the password. - Jessika will summon a Void drone which you have to plant on the low box near the door.
Hide while the bug listens to the password. - Pick it up and speak with Jessika, who tells you the password.
Jessika approaches the door and tells the guard the password, but without an identification insignia she is not allowed in. - Pick-pocket a worker as he is leaving and you will receive his insignia.
- Knock on the door and speak with the guard. You will say the password and he will ask for your insignia. After trying to trick you with a "secret handshake," you will enter with Korasi and Jessika.
- You can kill or bind and gag the guard, then speak with Korasi.
- Enter the next room and either right click "Murder" on an indentured servant, or, if you do not wish to murder one of the innocent slaves, search the north-west bench to receive a screwdriver of sorts. Use this with the north-east bench to receive a piece of metal. Get another screwdriver and do the same with the other two benches in the south-east and north-west. Combine the hook and both pieces of metal. To the north of the door you will find a key on a shelf. Use the hooked pole on this shelf. You will receive a key; use it on the next door.
Final battle
- Warning: If the player has any prayer points while fighting the Knight, he will shout "En garde!", "Your energy will fuel my life!" or "In Zamorak's name!" and drain your prayer points and heal himself, so be sure to drain your prayer points before entering the final room, or be prepared for a long fight. Do not underestimate the Guardian; he can hit hard and has high defence, so bring food and an attack potion or two.
You will appear in a room with two Black Knight Guardians (level 110).
Korasi attacks the one on the right and the left Knight is all yours.
An example of a safe spot
There is a 'safe spot' for this fight but it takes some skill. You must trap the Black Knight on another NPC, such as Korasi or the other Guardian. After this is done you can range, mage or halberd him safely.
The Void leech trapped.
- When you finish killing it, speak with the Void leech, which tells you a little about pest life.
You are then given the option to set it free or put it down. - Either way, Korasi will teleport you and Jessika back to the Void Knights' Outpost.
- Speak with Commodore Tyr, and after a cutscene the quest is complete!
Reward
- 1 Quest point
- 50 Void Knight commendation points
- 10,000 Hunter experience
- 10,000 Herblore experience
- 8,000 Summoning and Woodcutting experience
- 5,000 Thieving, Construction and Mining experience
Music unlocked
Trivia
A glitch where a track is not there


Ali Tist with new in-game facial features
- "A Void Dance" is a play on the word "avoidance".
- On the release picture, the Chemical machine is seen on the ground floor of the Chemist's house, instead of the basement.
- On the day of release, the spoilers on the website read: Was writing rewards. Had no energy. Will do later. Check back tomorrow. This is a reference to the illness that the Void leech causes.
- When the player tries to open the puzzle box given by Ali Tist, the player says "What is this? I don't even..." which is a popular Internet Meme.
- When telling the barman a comforting lie, the conversation about a gas leak caused by light from a distant planet reflecting through a weather balloon is a reference to Men in Black.
- Ali Tist is the first NPC to receive new facial features such as eyes, nose, and mouth.
- During the final cutscene Commodore Tyr is wrongly named Captain Tyr and when hovered over with the cursor still displays the quest symbol for Quiet Before the Swarm.
- The Adventurers' Log reads "I tracked the escaped void pest, and discovered its fate and a number of disturbing implications... " when this quest has been completed.
| Main series |
|
| Related |
|