Another reward is the [[Castlewars chinchompa]]. This can only be used within a castlewars game. It can be set on the floor or released on a timer, and will explode when players get near it or when the timer runs out.
Another reward is the [[Castlewars chinchompa]]. This can only be used within a castlewars game. It can be set on the floor or released on a timer, and will explode when players get near it or when the timer runs out.
−
To get one of every item, winning each game it would take you 1,726 hours, or 72 days of non-stop 24-hour game-play (4,118 winning games), not including loses or draws.
+
To get one of every item, winning each game it would take you 1,726 hours, or 72 days of non-stop 24-hour game-play (4,118 winning games), not including losses or draws.
====Armour====
====Armour====
Revision as of 22:10, 19 June 2014
Template:2007 page
Due to an update, this article may be out of date.
Reason: Castle Wars Reworked You can help improve this page by editing it.
This is a safe activity.
If you die, you will not lose any of your items.
"CW" redirects here. For the minigame in the Gamer's Grotto, see Clan Wars. For the Quest, see Cold War. For the item, see clockwork.
Castle Wars has no set skill requirement, however having strong combat skills is highly recommended as Castle Wars is a primarily combat minigame. All three sides of the combat triangle are commonly used, with rangers and magers tending to guard and defend the base while the meleers attack the enemy base. Additionally, players cannot wear capes into the arena, as the Zamorak/Saradomin cloak will be on you when you enter the waiting room and in the game. There is a bank chest on the south side of the entrance room of the building that can be used to deposit your cloak as well as any non-combat items, as they are also not allowed into the game.
If you intend to melee, strong attack, defence, strength, and constitution are a must. Level 60+ in all of these is strongly recommended, as well as good armour (dragon or better). Prayer is also extremely useful, as the protect from magic/range/melee prayers help massively to fill the gaps in your defence that your armour cannot cover - for most meleers, this will be magic as metal armour conducts magic very well.
For rangers and mages, a high range or magic skill level is recommended. This is not so much a requirement as high attack/defence/strength/constitution is for meleers, however it helps tremendously to have higher levels relative to your attack style for more powerful and accurate attacks. For rangers, magic, dark, or crystal bow is recommended, and all three are commonly seen in use. For mages, level 60+ magic is very useful, and Ancient Magicks is extremely effective in game as a way to freeze the enemy team's standard defenders while your teammates capture the standard, and to freeze enemies that have captured your standard or to stop enemies from rushing your base.
If you intend to capture the other team's standard, expect to be under massive attack from all three corners of the combat triangle so excellent armour and 90+ defence, constitution and magic (magic level affects your magic defence) is an unstated requirement. Many teams use ancient magicks to defend the flag, so a high magic defence bonus is essential. Armadyl, Pernix and Ganodermic are commonly used armours used to sponge the Ancient Magicks hits.
Game mechanics
The score interface seen at the top of the screen
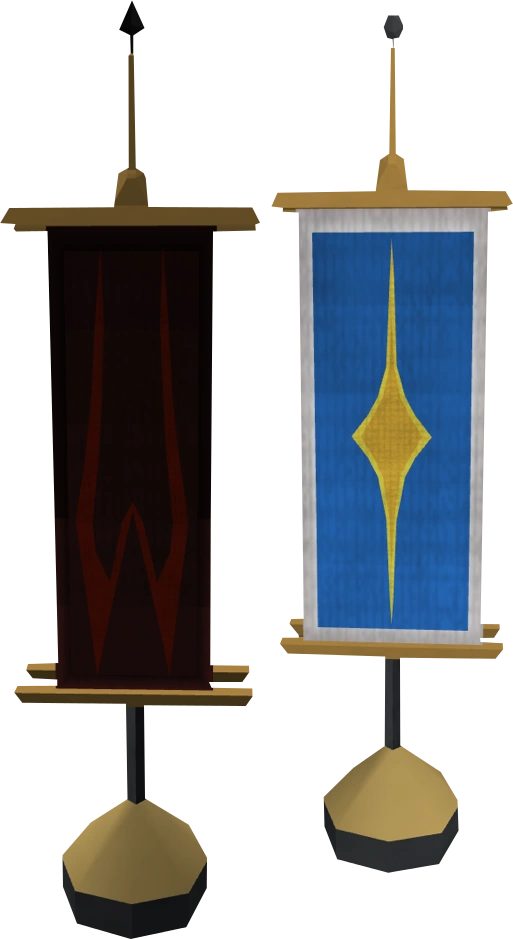
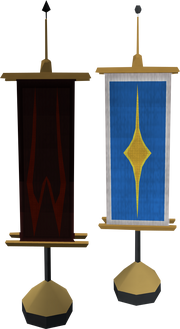
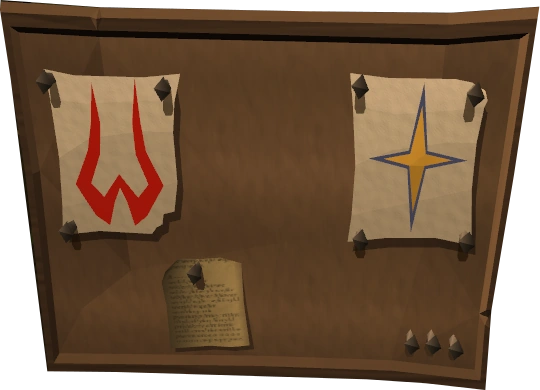
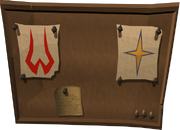
Team Zamorak and Saradomin Flags
Each game lasts for 20 minutes.
The team with the most points, captured flags, at the end of the game is the winner.
The aim of Castle Wars is to take the enemy's standard, or flag, from their castle and return it to the standard in your own castle's keep, gaining 1 point each time. Players must prevent the opposing team from taking your standard by defending your castle. This can be done by killing, or simply using barricades and other equipment. Slain players will respawn in the starting area within the game, so both sides are constantly fighting with a near (if not totally) equal numbered team.
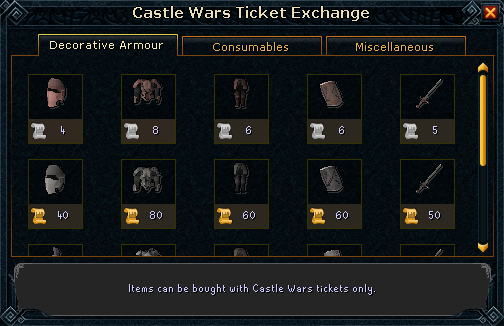
Tickets
Castle Wars tickets are redeemable for a number of decorative armours and other rewards only available through the game. Every player can enjoy Castle Wars, although there is a distinct advantage to being a higher level in combat. Gold tickets are used to purchase armour rewards. Silver tickets are used to purchase consumables; ballista parts/ammunition and potions.
Note: You will not gain extra or lose any tickets if you kill another player or score a point, but can get special capes if you have the most kills/captures in a game.
Restrictions
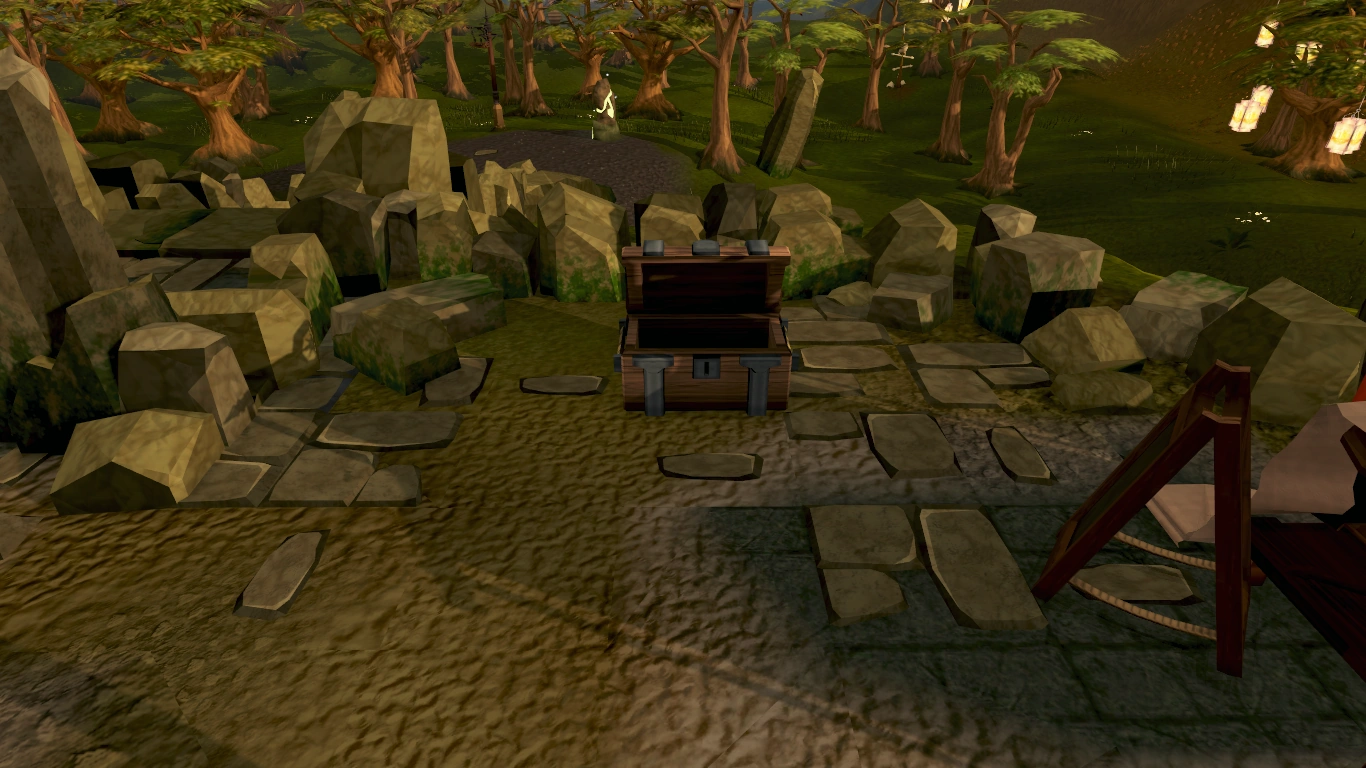
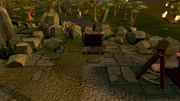
The Castle Wars bank chest.
Players are only allowed combat items into the waiting area, including potions, runes and armour (with the exception of capes). Jagex allows players to bring Castle wars tickets into the Castle Wars minigame, meaning that players no longer need to rush to the bank chest after a game ends to deposit their tickets, and can go straight back to the portal. They take up a valuable inventory space that could otherwise be empty, however. Food cannot be brought in, but bandages can be obtained within the arena - which are used to heal 10% of the player's max LP, cure poison and give approximately 30% energy. Non-combat spells also cannot be used within the game, such as Alchemy spells.
Unlike the Duel Arena, arrows will not be returned after each match. It is the player's responsibility to pick up any projectiles fired if they choose to do so. However, upon completion of Animal Magnetism players can speak to Lanthus in order to receive the effects of Ava's Device during play (this still means not all of the player's arrows will be retrieved). Also, unlike Fist of Guthix, runes are not supplied and so must be provided by the player.
The Castle Wars scoreboard.
In addition, if players are wearing armour or prayer symbols/books of the three gods (Saradomin, Guthix, Zamorak), they will transform the wearer into a creature if they enter the wrong portal. Saradomin will turn a player into a hare if they are wearing a Zamorak or Guthix symbol or armour when entering his portal; Guthix will turn them into a sheep if they are wearing a Saradomin or Zamorak symbol or armour upon entering its portal; and Zamorak will turn them into an imp if they are wearing a Saradomin or Guthix symbol or armour when entering his portal. Players transformed into a rabbit, sheep or imp cannot perform any tasks. They also cannot view menu screens other than private, public and Clan Chat, music and settings. However, when the waiting period elapses and the game starts the player will be turned back to normal. Void Knight Equipment counts as a Guthix Symbol, but if you go in and then equip an enemy god item you won't be transformed. There are no level requirements to play a game, unlike Pest Control.
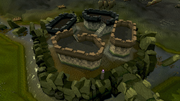
The castles
The Zamorakian castle.
The large square formation covering most of the map is the actual arena. Inside the arena there are 2 smaller
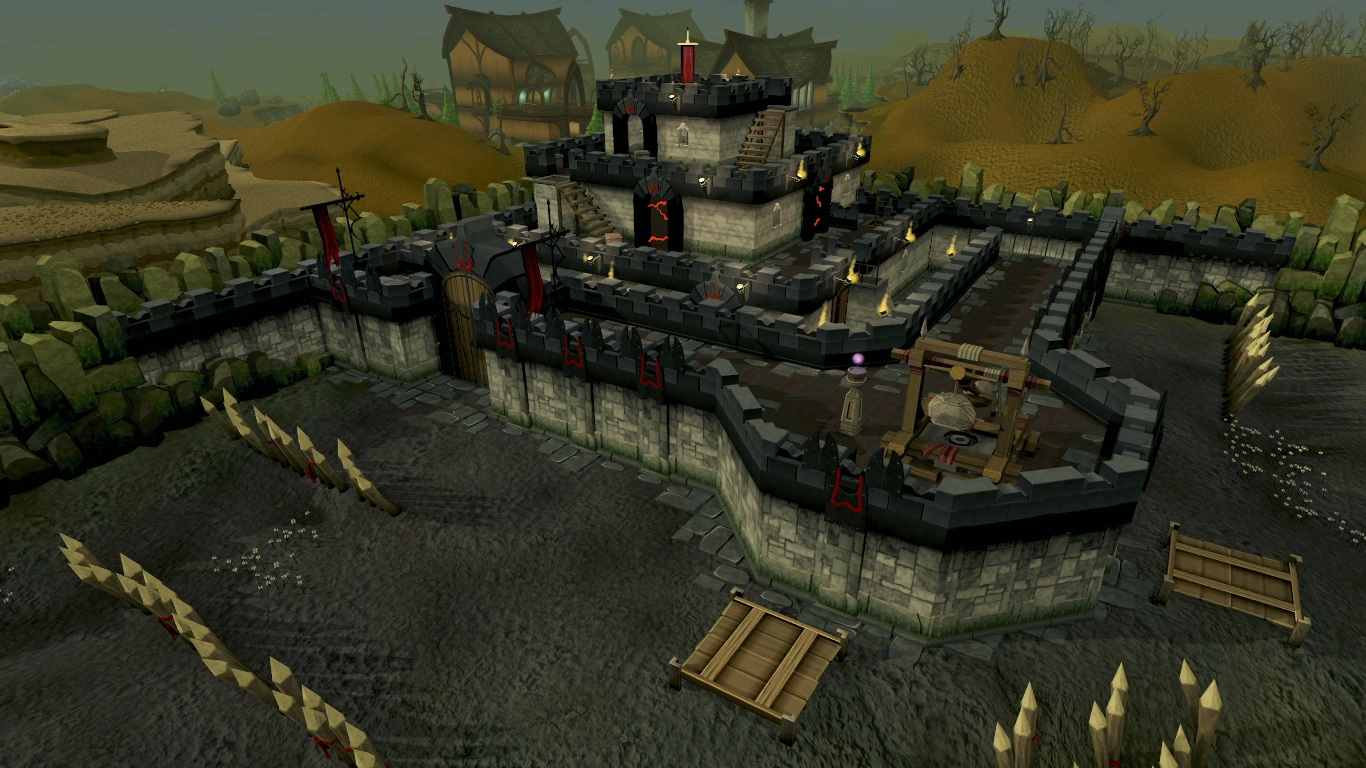
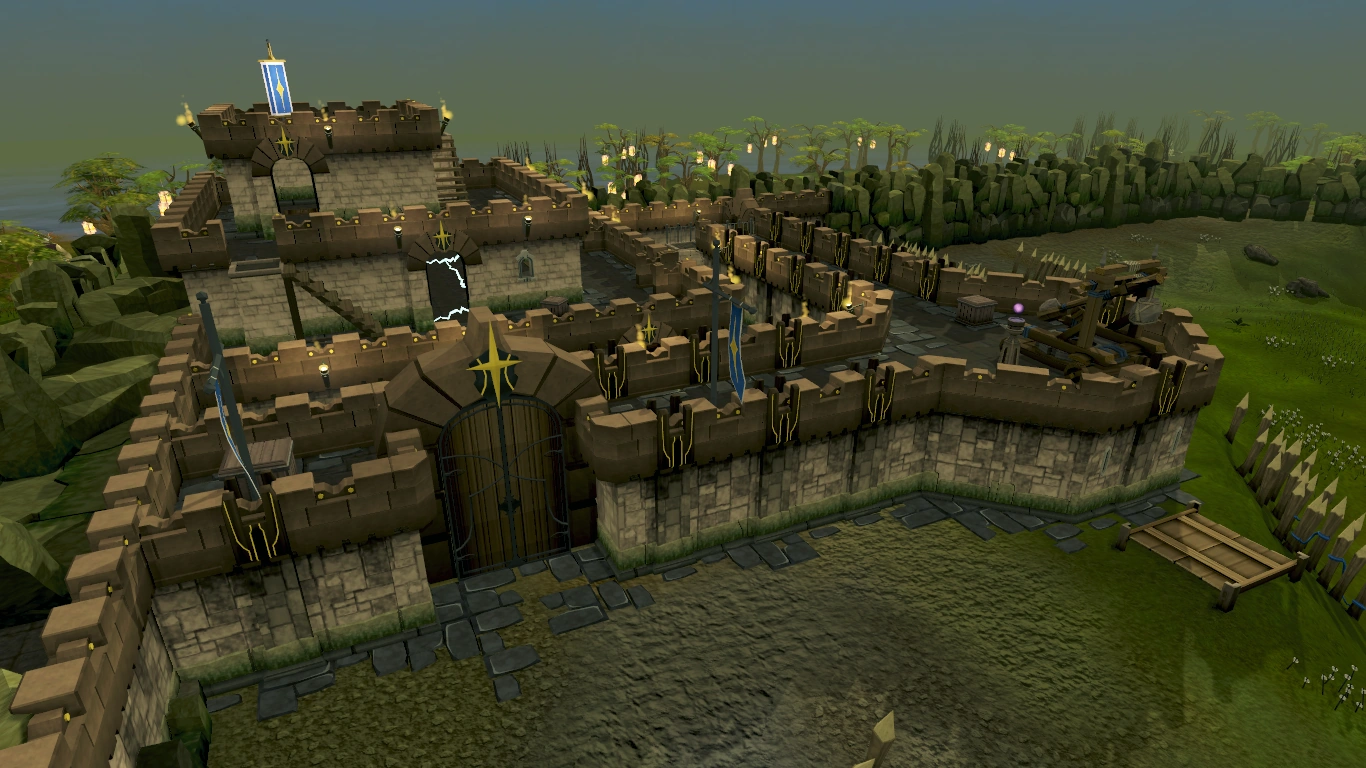
An aerial view of Saradomin's formidable fortress.
castles, one for each team. There are 5 levels to a castle.
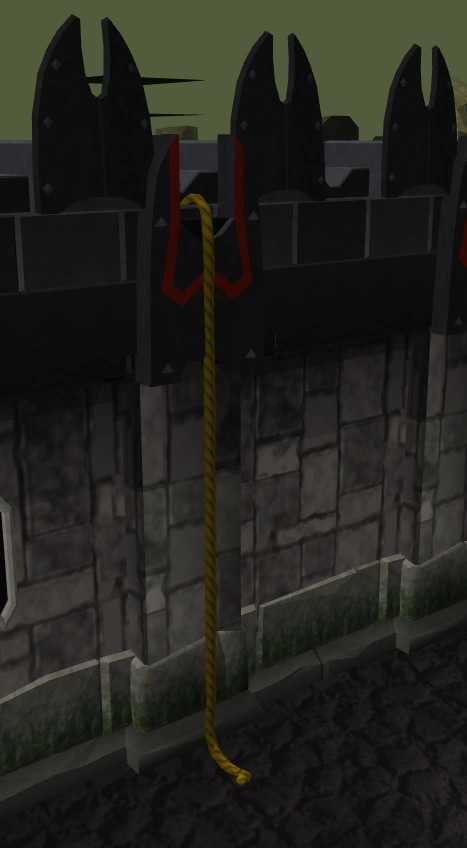
The ground floor has two outer battlements facing into the arena, one with a large door that can be attacked and broken down (or barricaded by the defending team) and another with a smaller door that can be pick-locked (or locked by the defending team). Enemies as well as your own team can use ropes on the battlements and climb onto the top of the wall, (note that the ropes do disappear eventually). The battlements on the ground floor are accessible via a staircase near the small door, and there is a catapult on top of the outer wall. Within the walls there is a staircase leading to the battlements, a staircase leading to the second level, a ladder leading to the second level, and a ladder leading to the underground passages. There are tables where climbing ropes, rocks, barricades, pickaxes, toolboxes, and explosive potions are attainable. There is a tap, two bucket respawns, and a tinderbox respawn. When players die, they are returned to a respawn room in the appropriate castle.
The second floor contains a passage bent at a right angle, enveloping that team's spawn room, which is
A rope attached to a battlement.
only accessible to the castle's team. There is a staircase leading to the next level. Inside the spawn room there is a bandage table, a tinderbox respawn, a ladder leading to the next level, and a portal to leave the current game. If any player does so, players on the same team in the waiting room will be asked if they wish to join the current game. The first to accept takes the previous player's space.
The third floor has a small inside wall enveloping a trapdoor that leads down to that castle's spawn room. The trapdoor is only usable by that castle's team due to the fact that it leads down to the teams respawn room. There is a one-square-wide passage around this wall. A staircase leading to the highest level is located against one of the walls.
The highest floor contains only a standard stand, which may or may not hold that castle's team's standard, depending on whether the enemy team has taken the standard or not.
The underground passage level can be accessed by two ladders in the middle of the arena or by a ladder from either team's castle. Either castle's ladder is located at opposite ends of the underground area, each with two passages towards the central cavern. At the mouth (facing the centre area) of each passage there is a deposit of rocks which may be removed or replaced with explosive potions or pickaxes. The central area is a small castle that has two ladders leading up to the centre of the arena's ground level. This area can be used for ranging and maging.
Players may also purchase (with tickets) Saradomin and Zamorak team capes and hoods. Anything bought by using Castle Wars tickets cannot be traded to another player, but can be sold back for the same number of tickets it can be bought for.
The four armour types give attack bonuses to enemies and their equipment.
Wearing the basic platebody, platelegs and shield during a Castle Wars match gives you +10% damage against the enemy team. (costs 20 silver tickets)
Wearing the detailed platebody, platelegs and shield during a Castle Wars match gives you +15% damage against the enemy team, and +10% damage against barricades/ballistae. (costs 200 gold tickets)
Wearing the intricate platebody, platelegs and shield during a Castle Wars match gives you +20% damage against the enemy team, +10% damage against barricades/ballistae, and immunity from catapult damage. (costs 2000 gold tickets)
Wearing the profound platebody, platelegs and shield during a Castle Wars match gives you +25% damage against the enemy team, +10% damage against barricades/ballistae, and immunity from catapult/ballista damage (costs 2700 gold tickets)
The full set is not required to receive the damage bonus. Three pieces out of the legs, body and shield give the full bonus, two pieces give 60% of the full bonus and one piece gives 40% of the full bonus e.g. two pieces of profound armour will give a 15% damage bonus.
There are items such as the Faithful shield which gives a prayer bonus, three Halos that decrease Prayer drain, and fancy capes to show off your skills at Castle Wars. The Faithful shield has the same stats as a Adamant kiteshield, but gives a +6 prayer bonus. The three Halos follow their respective gods, and each give the same stats, but cut down the prayer drain time on certain defensive prayers.
There are five Castle Wars reward capes to collect. Not only can you get the Saradomin or Zamorak hoods and capes, but you can get the Flag cape, Kills cape, Hobbyist cape, Enthusiast cape, and Professional capes. Each cape can only be purchased after completing the requirements: getting the most flag captures in a match (flag cape); getting the most kills in a match (kills cape); completing 500 matches (hobbyist cape); completing 1,000 matches (enthusiast cape); and completing 5,000 matches (professional cape).
A trimmed Completionist cape requires players to possess a full set of Profound Decorative Armor, which takes 4150 total tickets to purchase. Assuming 2 gold tickets per win this requires 2075 wins to achieve. If you win/lose at a 50/50 rate it would take 4150 total games to meet this requirement.
Ballistae can also be bought. You must purchase the four parts as well as the ballista ammo to use them. Any amount of ballista parts may be brought in to the arena, and you must have at least one of each to use it.
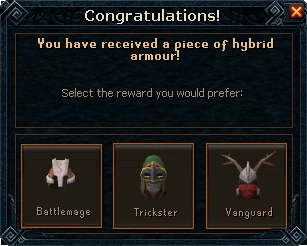
The hybrid helm selection interface
In the update to minigames, a few new rewards were added for castle wars. This includes helms for the Hybrid armour set, which receive a damage boost when used in playing Castle Wars. These are only received as a drop when winning a game castle wars. They require about 60-80 wins to obtain.
Another reward is the Castlewars chinchompa. This can only be used within a castlewars game. It can be set on the floor or released on a timer, and will explode when players get near it or when the timer runs out.
To get one of every item, winning each game it would take you 1,726 hours, or 72 days of non-stop 24-hour game-play (4,118 winning games), not including losses or draws.
Note that Castle Wars tickets, armour, and weapons are untradeable. Castle Wars prizes are often criticized for their immensely high costs in proportion to the time taken to get them - it can be very difficult to earn gold tickets as 1 win only gives 2 tickets. If you tie, you are awarded 1 ticket, and losing gives you nothing. Even if a player won every single game, it would take around 1,250 hours to get a full set of Intricate Decorative Armour.
Features of the arena
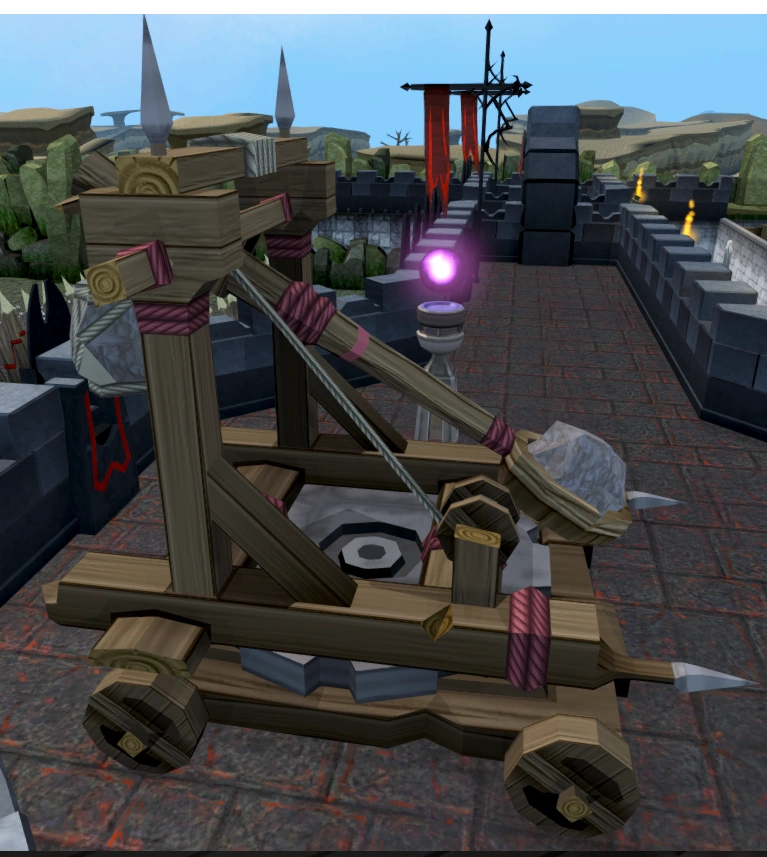
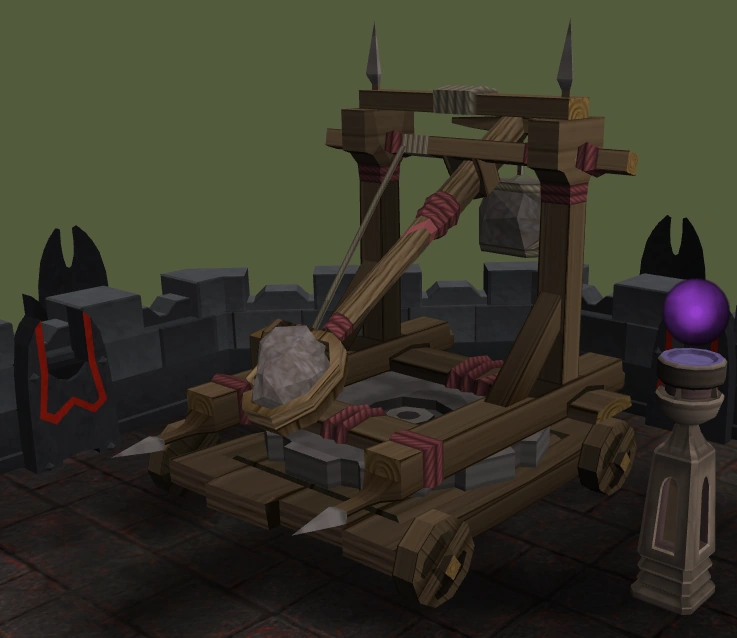
The catapult
A working (left) catapult and a broken (right) catapult
The Zamorak team's catapult
One catapult is located in each team's castle's wall. Players may use the catapult if they have ammunition (rocks), which they can obtain from tables on the first floor. After players have ammo, they can operate the catapult by clicking on it. A display will open up and players must then choose a square on their side of the river. Catapults can be destroyed by the enemy team using a tinderbox or an explosive potion. A toolkit can fix a broken catapult. The catapult may be difficult to use as players normally keep moving, though it can be a valuable assist in battles at the feet of the wall. It is also known that those who are weak sometimes below level 60 camp out around the catapult because with a catapult they can do anywhere from 1 to over 10000 damage (if striking a group of enemies) with no risk to themselves. Although strong players often go to the enemy catapult to slaughter the weak players, the weak players usually just return and try to continue using the catapult. A catapult that is on fire may be put out with a bucket of water. You can fire away when using the catapult, because it is no longer possible to harm team-mates with it, even if you haven't finished the Catapult Construction quest.
In a recent update, teammates can now deploy flares to mark where you want to fire a rock to. This will save time by not having to enter in the coordinates. Only use them if you really need help, though. Keep in mind that there will be a delay while they click on the coordinates and while the rock travels there. Therefore, the best time to utilise flares is when you are fighting stationary.
Contrary to belief, you can't hurt other players on the same team when firing the catapult.
Stepping stones
These are located in the North-east and South-west points of the river. Players can jump from stepping stone to stepping stone to cross the river in the middle of the arena. The stepping stones have many uses, one main use is to escape the enemy team while capturing the standard. It is faster to run through the middle island, but there are fewer enemies around the stepping stones compared to the middle. The stepping stones also take time to cross, putting a meleer or flag-holder at the mercy of rangers and mages. If the standard is dropped while standing on stepping stones it used to return to the base, but due to an update (29 May 2010) it is dropped on the closest shore. Players were once able to evade Ancient Magicks ice spells by crossing these stepping stones but this was recently changed so that bind spells now prevent you from crossing the stones.
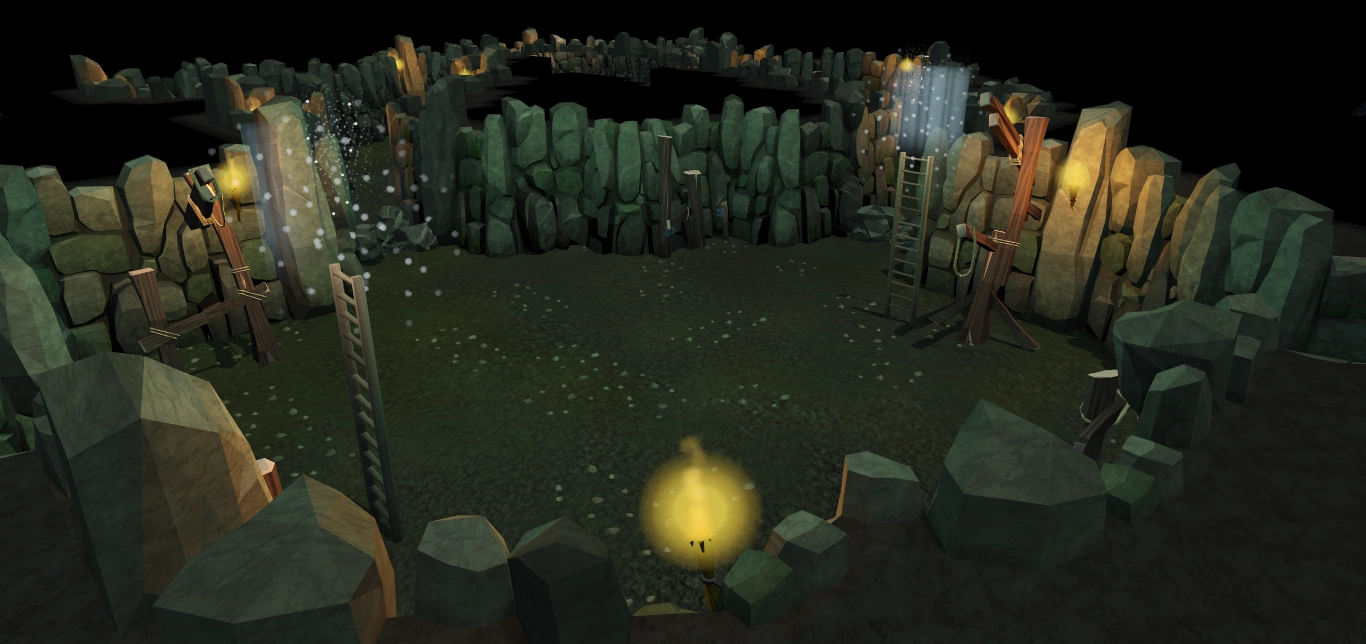
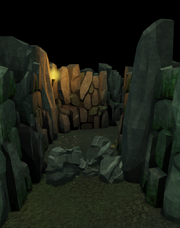
Collapsible rocks
The centre of the dungeon.
Collapsed rocks.
The collapsible rocks are located in the caves below the arena. Using a pickaxe or an explosive potion, players may collapse the walls and fill the cave passageway with rocks, so that players may not pass. To get past the collapsed rocks, players must use either 2 explosive potions or a pickaxe or both. If rocks are collapsed on top of a player, he or she will die immediately. This is an excellent trick if you are running through the tunnels with the standard, as it gets rid of many chasers and blocks the rest, but they could also kill you. The best trick to use is when it's clear, put a barricade on one side of you and put one under you (no longer applicable due to update in April 2013). Therefore, the player doesn't see it under you, and when they go to attack you they actually attack the barricade, then you can use an explosive potion on the wall, instantly killing a player no matter what their constitution level. If you are tired of getting killed by these people there is an excellent way to get around these players.
In the caves, the most popular cave tunnel is whichever one has the least resistance. For example, if a mage is at the end of one, and people are waiting to ambush you, you will obviously take the other tunnel.
Collapsible stones are also subjects to many minor bugs. For example, a player may appear to be collapsing the tunnel from inside of it, and when it collapses the player walks out unharmed. If someone dies directly when a tunnel is collapsed over them, you might see a zero over a red background. If you kill a player holding a standard in the tunnel the standard will appear on the floor at the edge of the rocks nearest to where the player died. Sometimes the stones will not collapse when mined or exploded, so players will not be vulnerable if standing under them. This glitch is more uncommon.
For some players, mostly mages or rangers, the rocks provide a great bonus. They can shoot arrows or cast spells from the other side of the rocks even when they have fallen. The players can attack opponents that did not bring runes or a ranged weapon without being harmed themselves.
These can be collapsed by pickaxes that are not bronze if the pickaxe is brought into the game, such as a rune or dragon pickaxe. With a high mining level, it can collapse walls at about the same speed as an explosive potion.
Middle island
The island in the middle.
A small island with two bridges connecting it is found in the middle of the map.
It has four towers on it with stairs leading to the top. Mages/Rangers can snipe enemy players from above there.
It has two ladders leading down to the middle of the underground caves. It allows either team to reinforce their comrades down or up in the middle, preventing the other team from completely dominating it.
This area usually the site of a brutal slug-fest between both teams during the beginning of the match. Players slam into each other and attack whoever with no discretion at all. Controlling the middle gives the team an advantage over the other. But mostly in a typical match, the middle area is contested by both sides with no gain to either side. But occasionally, one side manages to drive back the other team and technically controls the centre. While attackers from the driven-back team still make their run for the enemy flag, the other team is given a clear route to the enemy castle. The majority of the fighting now takes place at that castle where the invading team storms the castle, allowing someone to swiftly steal the flag. The downsides of capturing the island means that any enemy on the island can receive massive damage from the catapult.
The island is also frequently bombarded by Catapult attacks from both sides, as there are usually a lot of people going to and from the Island to get the Opposing Teams flag. Because of these factors, combined with the fact that Ballistae can be set up in front of the bridges that lead to the Island, many players die here. The Middle Island is often the scene of some of the most vicious battles.
The ballistae
In the 27 May 2010 update, ballista platforms were added throughout the map, mainly by the bases, stepping stones, and by the bridges going to the central island. There are ten in total. Individuals can purchase the four parts and ammunition for the ballista from the Castle Wars rewards store (and to set one up you will need all four parts and some ammo). Depending on which of the eight platforms you choose to setup your ballista on, there will be three or four directions in which it can be aimed, by rotating it (it cannot be aimed towards a castle wall). You are able to take up to 100 pieces of ballista ammo into a match to load the ballista with; a loaded ballista will automatically fire upon the first enemy to cross in front of where it's aiming, using up one piece of ammo, and will continue at targets in this way until it runs out of ammo.
As with catapults, enemy ballistae can be attacked and destroyed, so defend them well. Ballistae are incredibly weak to explosive potions(only about 3 are needed to destroy one), however, if protected and well maintained, they can be a powerful tool in your defensive arsenal.
Although this is very uncommon, some use Barricades to make a path to ballistae (usually the ones that are set up by the Middle Island) to rack up damage. This is an effective way to do damage, but is not commonly seen as it usually requires 6 to 8 barricades to be effective, and also leaves the Ballista prone to attack.
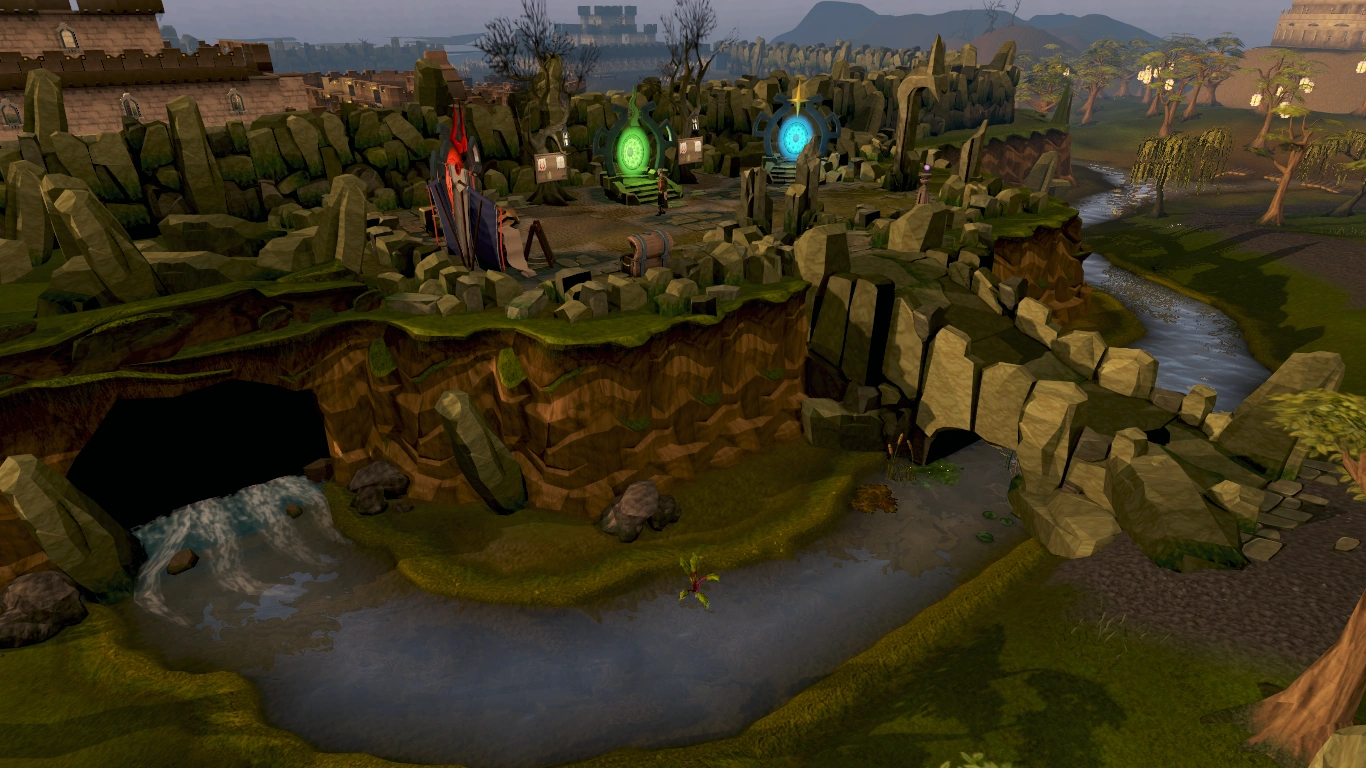
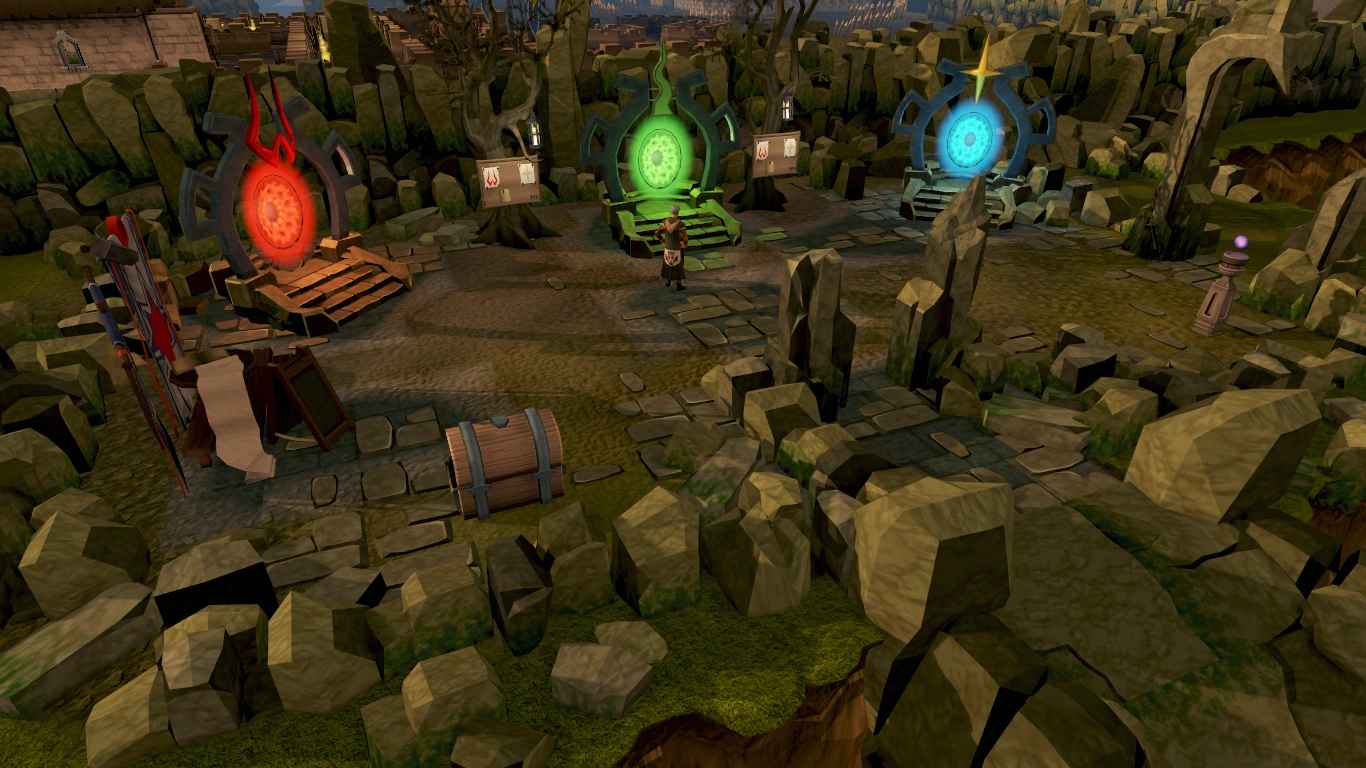
To join a team, either enter the red portal (for Zamorak, God of Chaos) or the blue portal (for Saradomin, God of Order). There is a possibility that the team you are trying to enter has too many people, so to keep the teams balanced you may not join it at that time. However, if you enter the green (for Guthix, God of Balance) portal, you join the team with the fewest number of players.
When you enter the portal, a Saradomin Cloak or Zamorak Cloak will be equipped automatically, with the type of the cape depending on your team, either red for Zamorak or blue for Saradomin. This cloak cannot be removed in game, as it serves as an indication of which team you're on.
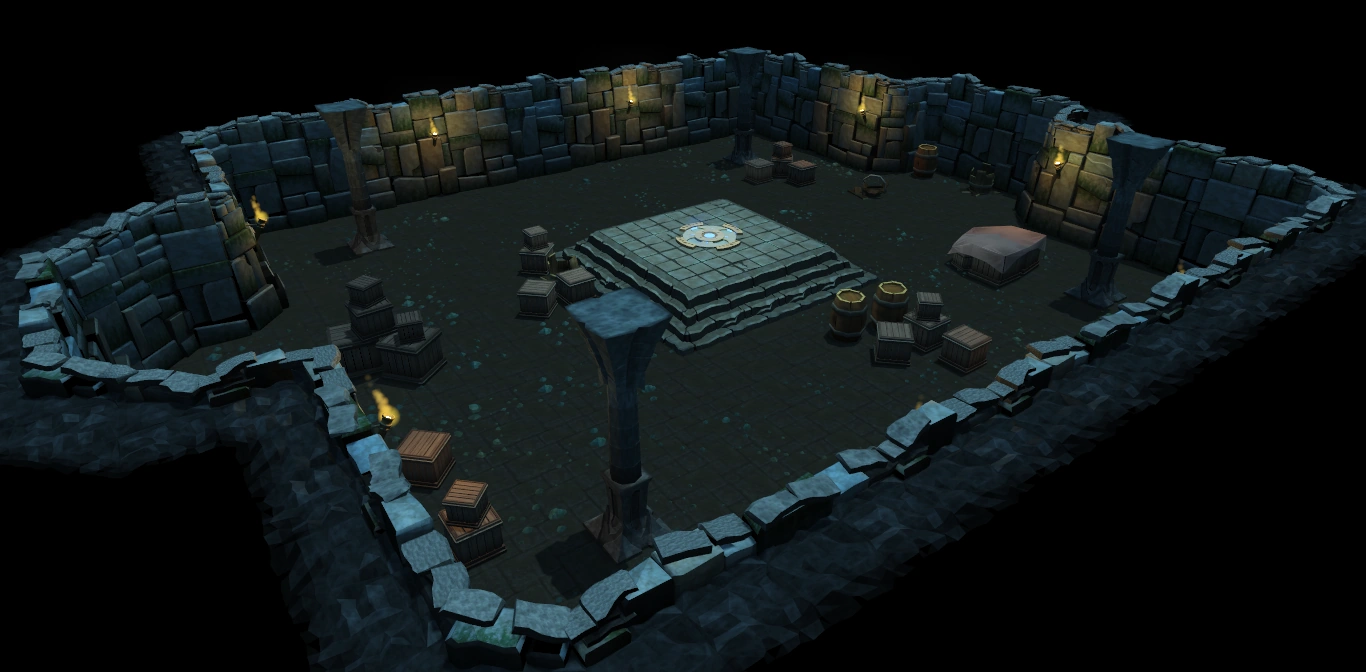
Waiting area
The waiting room
Once you join a team, you have to wait in an underground cavern until the next game starts. The Time remaining until the next game begins is displayed near the top of the screen in white print. The time to wait is always 5 minutes longer than the current game lasts, so if a game has 12 minutes left, the time to wait in the waiting area is 17 minutes. When a game has just finished, the next game will start in 2 minutes.
People usually play games such as 'Chase the Imp/Sheep/Rabbit'.
If you need to leave, you can do so through the portal of the god's colour located inside the waiting area.
If another player leaves an on-going game, a window will appear asking if you wish to enter the game, "There's a free space, do you want to join? Yes. No." First player to answer Yes will join the on-going game.
If you wear an item associated with a particular god in the opposite god's room you will be turned into either a sheep (if entering Guthix), hare (if entering Saradomin) or imp (if entering Zamorak) for the duration of your stay in the waiting room (you will be transformed back to your regular form for the game itself). While in your respective form, the only action you can do is either leave via the portal, walk around or talk. This means you cannot perform emotes or equip/unequip items.
Medium to high level players may occasionally try to trick weaker, inexperienced players out of their team by saying something like "I can't get out! The portal is broken!" This makes the unsuspecting players curious and want to see for themselves. When they click on the portal, they are sent back to the lobby. This is in the hopes that space is opened for high level, experienced players to join and help win the game.
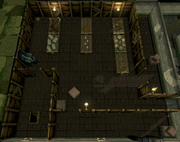
Tools
Various tools can be found at the supply room.
There are a number of special items that players can pick up while playing Castle Wars. These items are free and respawn immediately; however, they disappear once the game you are playing is over. (Also, if you choose to teleport back to the waiting area during a current game with these items in your inventory, you used to be able to keep them until you either entered the game and used them, or left the waiting room. However, Jagex recently changed this, so the only item you keep when you exit the game is a tinderbox.)
Barricades
These can be picked up on one of the tables on the 1st floor of the castles. Barricades can be placed in most places in the arena, and they are used to "block" the opposing team, hindering their ability to capture your standard. When somebody tries to walk around the barricade the game will delay their character for about 3 seconds unless the player manually clicks around the barricade.
If barricades are set up at the ends of the stairs, it will only allow one way direction transport; for example, if a player is going up the stairs and the other end is being blocked by barricades, the player can still go back up/down without leaving the stair's end or go through the barricade without destroying the barricade for the first time. However he/she cannot go back up/down to the stairs after leaving the stair's end, unless the barricade has been destroyed.
Barricades can be destroyed by setting them on fire, by manually attacking them, or by using an explosive potion. It should be noted that a barricade is immune to explosive potions whilst on fire; some players take advantage of this by burning their own barricades to extend their lifespans by a few seconds. Unlike a normal barricade, a burning barricade disappears instantly if its health is reduced to zero. One of the downsides to setting up barricades is that a team can only set up 10 at a time and it also blocks the way of friendly forces. This is why it is important to place barricades strategically only to cripple your opponents movements.
Barricades are not favoured amongst many players because most players play to only kill their opponent rather than trying to capture/defend a standard. Some people will knock them down, even if the barricades appear to be helping them. This is usually because inexperienced players tend to set them in illogical places, like stairways and doors to block everyone, including their own team. Experienced players know that using all the available barricades only to defend will leave their team members who are trying to capture a standard unable to use them to make there escape, thus unable to score.
Other useful tools
Other tools which can be outside Castle Wars or can be obtained in Castle Wars are:
Bandages - Heal 10 percent (15 percent with a Castlewars bracelet) of your total amount of life points (for example if your Constitution level is 74, therefore you have 740 life points, you get healed 74 life points for every bandage), cure poison, and increase energy by 30%. Can be used on other players of the same team (except flag-holding players with your own flag). Players may stock up on these greatly and become "medics" or "clerics" for their team, breaking off and hiding near where they might be needed. If your maximum life points is increased through the use of bonfires or nex armour, bandages heal based on your new maximum life points, potentially healing over 200 life points if also using a Castlewars bracelet.
Climbing rope - Used to scale the battlements on the other team's castle. These ropes are one way (in other words you can't climb down them, only up.) and can not be cut off. Some people will sabotage the other team's wall by getting a full inventory of ropes and running to the other team's wall. They will try and set up as many ropes as they can on the wall before being attacked and killed. Some attack the catapult by setting up rope next to the enemy, climbing up and blowing the catapult up. The ropes will disappear after a period of time.
Bronze pickaxe - For collapsing the underground cave walls to block the enemy. They are also used to clear the way through the collapsed walls. Players typically wait at the rocks and try to time their collapse perfectly as to hit a player trying to run through, although this is easier with explosive potions. Barricades may be used in combination with the walls to guarantee the player will have difficulty getting through. Some people bring their own pickaxe, like rune, to clear rocks/collapse tunnels faster.
Tinderbox - For setting fire to barricades and catapults. The fires can be put out by buckets of water. It is typically good practice to have a tinderbox in your toolbelt regardless of your choice of "profession" in your game, whether you're a cleric, warrior, or anything else.
Bucket- Fill them with water at the tap and the bucket of water is usable to put out anything on fire. Players cannot immediately relight extinguished barricades, so these are used to put out fires for Explosive potions to work.
Flare - Used to help signal where to launch rocks from the catapult
Explosive potion - Used to blow up barricades and destroying the other team's catapult. Unlike a tinderbox, an Explosive Potion can only be used once. They are also used to collapse the cave walls instantly, killing any person running under. If dropped, this potion explodes and deals 150 life points to the player who dropped it (not anyone else). When damaged by this potion, the player also says "Ow!". Many players commit suicide with these to regain lifepoints or prayer points.
Ardougne cloak 1 - From Ardougne Tasks, increases prayer when you enter the game. While in the game, you can quickly log out and back in to get this prayer boost again. (You do not need to bring the cape into the game to get the bonus, you just need to have completed the first part of the Diary)
Recommended gear
With a variety of high level players and attack styles, recommended gear can vary from player-to-player.
Magic defence
An individual with a higher defence will more than likely sacrifice heavy gear vulnerable to magic and will instead wear dragonhide armour equivalent to their range level or equip gear such as Armadyl armour and spirit shields. This gives them a better defence against ancient magicks and will allow them a better chance to capture the opposing teams flag.
Defence bonus
In open combat many players will wear heavy gear designed to maximize their defence bonus. This can range from rune equipment, barrows sets (without headgear), Bandos armour and more. It is important that lower level players wear significant equipment that will protect them from higher players using abyssal whips, chaotic weapons, godswords etc.
Flag holding is a tactic used by teams to ensure that the opposing team is unable to score points. This consists of a player grabbing their own team's standard after an enemy player has dropped it outside their castle, and then holding on to it, rendering the opposing team unable to pick it up. To retrieve the standard the opposing team needs to defeat the player holding the standard and pick it up.
When the opposing team has taken a team's standard, the team waits until their enemy is outside the castle and kills them, taking their own team standard in the process (if the standard is dropped inside the castle, attempting to pick it up will result in it being moved back to the standard stand).
A player cannot go into the base when holding their team's standard. This includes climbing up from the ladder underneath the supply room. Attempting to do this will result in the standard going back to the stand.
Flag-holding tactics
The standard is often taken to a corner of the field, near the stepping stones, with some players protecting the person holding the standard, as a player can be easily protected using two barricades, using the walls as defence from the other two sides.
Another tactic is to hide underground, next to the collapsible walls. The standard holder can then use an explosive potion or a pickaxe to collapse the walls when their enemies try to reach them, thus killing them. One way of using this method is by placing barricades on the spaces where a player can collapse the walls. The standard holder stands in one of the barricades, they put it down, then doesn't move. This way, if a player tries to attack the standard holder, the standard holder can simply collapse the tunnel. The attacker, having no way to move out of the way, dies. The only way they can reach the standard holder is by going around the other tunnel.
One more common tactic is to stay around the spikes near the outer wall of your own castle. Running around these spikes when attacked often traps the attacker on the other side, out of melee range. This buys time for the standard holder's team to kill the attacker, and prevents them from taking damage. This strategy also leaves the enemy attackers within attack range of the mages and rangers on top of the outer walls.
Another tactic is to have the player holding the flag stand in a the southern part of the 2x2 square area straight to the north of the large door in their own base. Moving any further north will result in the flag being returned to the top of the castle. Barricades are then placed in the northern two squares of the 2x2 area. This prevents the holder from being 'pushed' by a spear back into the castle. The holder then repeatedly closes the large door, preventing attacks.
A person with their own flag cannot hide within their own castle, or even within its walls. Upon returning to their castle, the flag will teleport to its starting position, and the green "safe" will appear on the screen.
Many people with their own flag will stand in the tunnels directly behind their ladder, with a barricade blocking one side of them, while the walls and ladder protect the others. This technique is very effective with bodyguards, as just before death, the carrier can click the ladder to make the flag "safe" again.
The player that holds the standard will often be someone with a high defence level and bonus, or a high level Magic or Ancient Magicks user. Defence and armour help protect the standard holder from attacks, and players with high levelled Magic or Ancient Magicks can use spells such as Entangle, Ice Burst, or Ice Barrage to immobilise the enemy team without the need to hold a weapon. This is advantageous as they can protect themselves using Magic, whereas a player using Ranged will be unable to attack as they will be holding the standard, and a player using Melee will have their attack power compromised by holding the standard, as they will have to use the standard as their weapon (the standard gives no bonuses to Attack, Defence, Strength or Prayer, and has the same attack styles as a spear).
The player will attempt to stay alive for as long as possible, with a group of other players acting as bodyguards. Donating bandages and other supplies to the standard holder may also prove useful. Since the update you can no longer heal the person holding the flag.
Standard stats
Red - Taken, which means someone has the standard, Yellow - Dropped (on the ground), Green - Safe, in proper area.
As should be found on the top left corner of the screen in the game.
Views
Some players have argued that flag holding stops the fun of castle wars, as it stops the game from being "Capture the standard" and turns it into a "Hunt and Kill" game. They argue that standard-holding is basically unfair as if a high-level player gets the standard, they consider the game to be essentially over, especially if their team does not have a player of matching combat ability (This is also known as "Stacking" among the "Veterans" of Castle Wars). However, some players consider standard holding another method of strategy used to outplay the other team, even if perceived as unfair.
Jagex has made an update to balance out the effects of standard holding by making one of the enchanted bracelets to a Castlewars bracelet. A Castlewars bracelet works for 3 games and is then destroyed. If a player is wearing this bracelet during the start of a Castle Wars game, they will deal 20% more damage to the holder of their standard, and bandages heal 50% more health to them.
Lag issues
Many players have lag issues when playing Castle Wars. Immediately after getting out of the waiting room, if there are high numbers of players, there is an off-chance of an automatic log out for lag-related server issues. However if you are automatically logged out you will automatically re-enter when you log back in and if you finished easy Ardougne tasks you will also get the prayer point bonus again.
To prevent this, players have several options:
Wait a while until the people that log out come back in.
Climb up the ladder that leads to the second floor, then go back down using the staircase after several moments.
Trivia
The table that holds bandages was once located on the ground floor, in the room that you get explosives and barricades from, but was later moved into the spawn because flag-holders would camp at the table and reheal themselves for the whole game.
On 26 October 2011, Jagex hosted a 'triple tickets' event for Castle Wars to celebrate bot-nuking-day.
There was a glitch in which attempting to buy the equipment from Lanthus you would find that the cost of Helms and Shields and Swords all seem to have been mistakenly mixed around but when purchasing the equipment you would find you still pay the right amount.


.png)


