| |||||||||||||||||||||||||
| Also called | Zamorak's Heist, DAT | ||||||||||||||||||||||||
|---|---|---|---|---|---|---|---|---|---|---|---|---|---|---|---|---|---|---|---|---|---|---|---|---|---|
| Release date | 23 February 2015 (Update) | ||||||||||||||||||||||||
| Members | Yes | ||||||||||||||||||||||||
| Voice Over | No | ||||||||||||||||||||||||
| Official difficulty | Intermediate | ||||||||||||||||||||||||
| Quest series | God series | ||||||||||||||||||||||||
| Age | Sixth Age | ||||||||||||||||||||||||
| |||||||||||||||||||||||||
Dishonour among Thieves is intermediate quest in the Sixth Age quest series. It is a sequel to Missing, Presumed Death, and features Zamorak gathering his allies to stage a heist to steal the Stone of Jas from Sliske following his downfall at the Battle of Lumbridge.
In September 2014, it won a Power to the Players poll against Elemental Workshop V, a pirate quest and a spellcrafting quest.[1] A few weeks later, another poll was released to determine three of the members of Zamorak's team. The options were Lord Daquarius, General Khazard, Nomad, Movario, Malak, Scorpius, Surok and Moldark, with the first three winning.[2] On 22 October, Mod Ollie revealed that the quest would have an intermediate difficulty.[3]
Although Missing, Presumed Death and Hazeel Cult are the only quest requirements, it is highly recommended to have completed Ritual of the Mahjarrat, Nomad's Requiem and The World Wakes as well as the Nadir saga for full storyline comprehension. Dialogue is unaffected by whether these quests have been completed or not and the quest assumes they have been completed in terms of dialogue.
Additionally, reading the three RuneScape novels by T. S. Church may help understand the background of Jerrod the werewolf.
Official description
| “ | Zamorak needs your help to steal the Stone of Jas, and he has sent his general Moia to find you. You'll need to put together an elite team of Zamorakians with different skills and abilities, and lead them through fiendish traps and puzzles laid down by the slippery Sliske. However it's not all plain sailing as some of the team members notoriously don't get along so it'll be down to you to make the team work together and steal the stone without Sliske noticing. | ” |
Walkthrough
| Start point | |||
|---|---|---|---|
| Member requirement | |||
| Official difficulty | |||
| Official length | Medium (Approximately 1 hour) | ||
| Requirements | Skill requirements are not boostable unless marked with a [B] for boostable.
Recommended
| ||
| Items required | Items from the tool belt are not listed unless they do not work or are not automatically added.
| ||
| Enemies to defeat |
Level 84 shadow of a player summoned by Sliske 8 Shadows of Zamorak's followers while empowered by the stone of Jas 3 Level 84 Zombie Archers at Zemouregal's fort 3 Level 84 Zombie Warriors at Zemouregal's fort |
Beginning the quest
Player can begin the quest by talking to Moia in the Empyrean Citadel. Moia will hand the player a Communication device which can be used to contact Moia or to teleport to Zamorak's hideout which is beneath Daemonheim. Talk to Moia, then Sliske.
Gathering the gang
Teleport to Zamorak's hideout to meet with Zamorak, Bilrach and Moia. They ask the player to gather some of Zamorak's most powerful followers to help with the heist; Hazeel, Nomad, General Khazard, Lord Daquarius, Zamouregal and Enakhra.
Hazeel
Hazeel can be found in his cultist hideout south of the Ardougne zoo and east of the clocktower, enter the dungeon and take the raft to the hideout and speak with Hazeel. He will agree to join Zamorak's team if the player will free a werewolf being held in a mansion in East Ardougne. Go to the Handelmort Mansion just to the west of the marketplace and enter the trapdoor at the back of the mansion. Speak with Jerrod who will tell you why he is being held as a prisoner and after a discussion will ask you to search the dead butler for a key so you can release him. Once you do he will agree to join the team and will remark the he doesn't eat his associates. Search the chest by the dead Butler to receive 5k coins, 3 cut sapphires (noted) and 250 dungeoneering tokens.
Nomad
Nomad can be found in Death's office just north of the Draynor lodestone. Upon entering the office you will join a conversation with Death who is attempting to reap the Nomad's soul in recompense for all the souls Nomad stole. He will agree to let Nomad go because he owes the player a favour for rescuing him during the events of Missing, Presumed Death.
General Khazard
Khazard can be found in the Ruins of Uzer by entering the stairs near the clay golem. Before he will join the team he asks the player to search the shadow realm for his mother, who he believes fought there. Agree to enter the shadow realm and search the body for a bloody journal. Read the journal and you will return to the normal realm when you close it. Talk to Khazard and after a discussion he will leave for Daemonheim. Search the chest by General Khazard for 5k coins, 3 cut sapphires (noted) and 250 dungeoneering tokens.
Lord Daquarius
Dequarius can be found in the black knights headquarters in Taverley dungeon. Speak with Daquarius who will ask the player to help him discover who is behind the spread of "Saradominist drivel," and a suspected assassination attempt. Agree to help and "discuss" the issue with the preaching black knight just to the east. Then go to the Northeastern room and speak with any of the black knights there. Finally, search the chest in the Northwestern room to find a bottle of poison and a note. Bring these back to Dequarius who after remarking that he knows who is behind it and that he will be taken care of, agrees to join the team. Search the chest in the southwestern room where you find Lord Daquarius for 5k coins, 3 cut emeralds (noted) and 250 dungeoneering tokens.
Zemouregal and Enakhra
Zemouregal and Enakhra can be found at Zemouregal's fortress, the basement of which Moia will provide a teleport to. Kill the armoured zombies and then go up the stairs and talk with Zemouregal and Enakhra who after a short talk, will agree to join the team. After they teleport away to take their place at Zamorak's side, search the chest in the room for 5k coins, 3 cut emeralds (noted) and 250 dungeoneering tokens.
Returning to Daemonheim
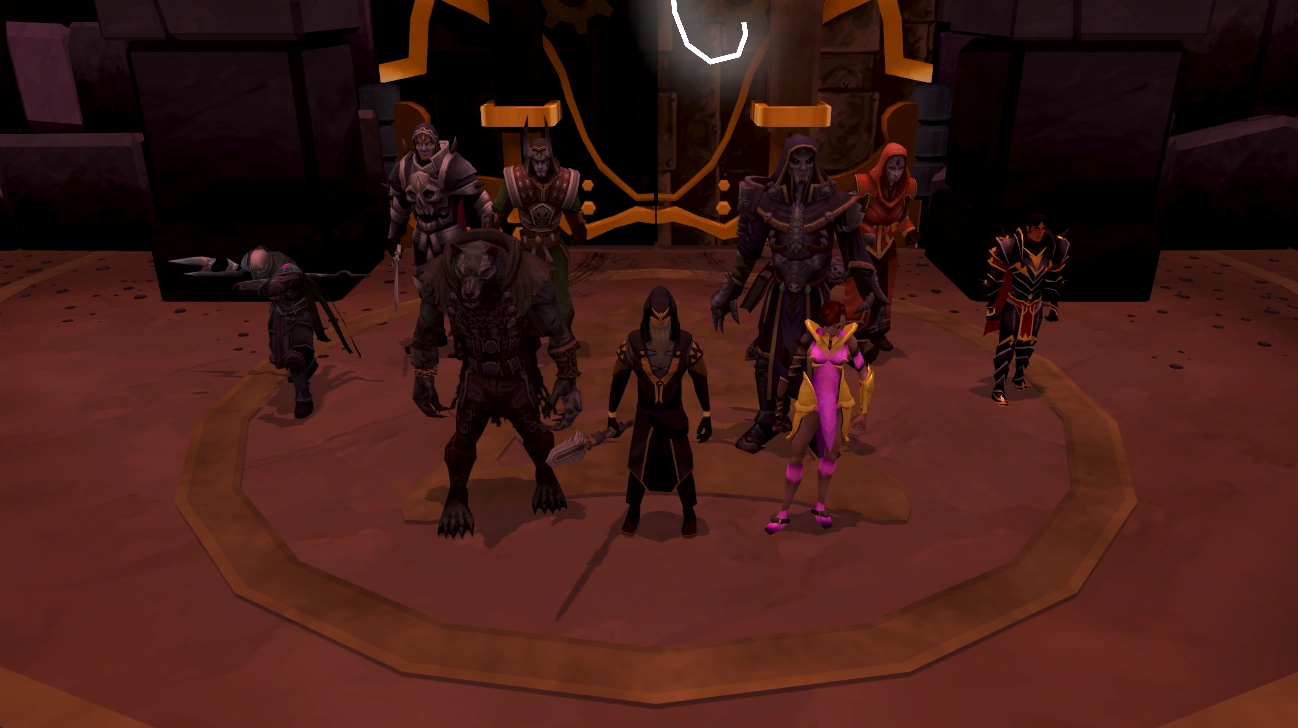
Once all parties have agreed to join the team, Moia will contact the player and offer them a teleport back to the hideout. Agree if you are ready to return. Upon arrival, you are joined by General Khazard, Hazeel, Jarrod, Nomad, Lord Dequarius, Enakhra, Zemouregal, Moia, Bilrach, and of course Zamorak. At this point you may continue the quest or talk with people. Once you continue, a discussion will start and Zamorak will offer everyone places by his side after he has the Stone of Jas, a bit into the conversation, Moia will remark the Viggora has arrived. Zamorak will ask Khazard to open a window to the shadow realm so that everyone may see Viggora, he will appear and be greeted as a long lost friend by Zamorak. Viggora tells about a secret lair hidden near the Barrows in the shadow realm, and how it contains the Stone of Jas, but is heavily guarded.
Everyone starts to argue and insist they should be the one to retrieve the stone, but Zamorak interrupts and demands everyone follow his orders. He begins to outline his plan: The player and Jarrod will infiltrate the perimeter and dispatch the guards, Dequarius is to unlock the vault, Enakhra and Nomad are to deal with Sliske's magical traps, Khazard and Hazeel are to deal with Sliske's mastery of the shadow realm, and Zemouregal is to deal with Sliske's undead horde.
After Zamorak tells you of his plan, Moia tells everyone to meet south of the Barrows in Morytania at Sliske's lair. While still in Zamorak's hideout, you can search the chest by door to the west for 5k coins, 3 sapphires (noted) and 250 dungeoneering tokens.
Heading to Sliske's lair
You can get to Sliske's lair by heading to the Barrows, either by running from northern Morytania or using Draken's Medallion to teleport straight there (you will have to run around the Barrows on the west side). Just before you enter, search the chest to the north for 5k coins, 3 cut rubies (noted) and 250 dungeoneering tokens.
The doors required are as follows:
1) Blue
2) 5 (V)
3) Green
4) Triangle
5) Red
6) Full face
7) Grey
Dealing with the Guards
Once you have made it through the tunnels, you and Jarrod must take care of the guards. You will enter the next room after a short discussion and must use the given movement options to sneak past the guards and traps to clear the room.
You CANNOT run in these rooms.
Room 1
Wait for the guard to face away from you and forward dive past him to assassinate him. Then wait for the masks to turn off and forward dive 2 times to reach the level to the south, pull it and Jarrod will take care of the last guard. Pull the last lever to open the next door.
Room 2
Stand just to the side of the first mask and as it turns off, forward dive up the hallway to the first doorway. Watch out for the shadow moving around the ground as it will catch you. Assassinate the guard as he walks past and pull the lever, Jarrod will then kill the next guard. Go through the passageway to Jarrod and forward dive past the guard and assassinate him. Proceed up the hallway and dive past the last two masks to the lever, then enter the next room.
Room 3
Forward dive past the guard to the east and assassinate him, continue to the north and dispatch the next guard, stand in the doorway and wait for the guard in the hallway to come to you and dispatch him (watchout for the shadow on the floor). Continue across the hallway and dispatch the guard walking around the pillar. Go North to the lever and dive past the guard to dispatch him and pull the lever. Get yourself caught to return to Jarrod and go back east and then down the narrow hallway and stop before entering the main hallway, wait for the shadow to go to the far end and dive into the hallway, enter the room across from you and assassinate the guard. Pull the lever in the Southeast corner (get caught and walk east). The next lever is in the Northeast corner, if you've already killed the guards then dive past the shadow to pull the lever, if you haven't killed the guards do that now.
Unlocking the Vault
Upon entering the vault you are greeted by 2 of Sliske's masks, shadow and light. After a short conversation with them, Moia will have you use Jarrod to find the guards in order to view their memories of unlocking the door. Speak with Jarrod to switch to his view, and use the controls to find sets of tracks (they glow green) by turning, then follow the tracks to find the guard. You must then talk to Moia to read the guards mind.
After you unlock the first set of memories, Nomad and Enakhra will begin draining the door, you must switch Enakhra and Nomad when the gauge on the door starts to go out of balance, if it gets to far out of balance the room will reset.
At some point (after either the 2nd or 3rd memory) Zemouregal will place portals to defend the room from the undead horde. You must also tell Zemouregal where to place portals to keep the room safe, if too many wights get into the room it will reset. You can see where they will come from next by looking for glowing eyes in the tunnels. When you directly face the vault door, you're looking SOUTH. This may be confusing when allocating Zemouregal's portals. So, keep a keen eye on your compass.
You must find 5 memories to unlock the vault, once you have found all 5 it will automatically unlock and you will no longer have to balance the door or set portals.
Encountering Sliske
If you die during the fight your grave will appear near the entrance to Sliskes lair by the barrows. With a Drakan's medallion you can easily get to your grave within 30 seconds.
This fight can be tricky, so having sources of teleportation/quickroutes towards the barrows are extremely usefull. (Drakan's Amulet preferable)
In this part of the quest, the player encounters a level 84 shadow of him/herself, but don't underestimate the abberation based on his/her level. The shadow has three special attacks that it will use throughout a part of the battle. The first attack binds the player in webbing and deals rapid hits of 600 damage. It can be evaded by rapidly clicking to break free. The second attack teleports the player to the Stone of Jas, after which it casts a spell. The player should run off the plateau as soon as possible and out of the way of the stairways, as the shadow clouds does damage equal to 50% of your maximum Life Point . The third attack will darken the room, and deal rapid hits of 750 damage to the player, this attack is avoided by staying in melee range of the shadow.
The shadow will transform into the shape of a demon upon reaching a quarter of its health, at which point the player should move away to avoid taking upwards of 2500 damage. It will increase in attack speed, and lose all it's special attacks, but begin summoning dark portals that will drain health from player and heal it rapidly if not destroyed. Walking away from his transformed form while dark portals are active will cause the room to go dark aswell, and deal rapid damage (600 ticks p/s) untill the dark portals are destroyed OR you stay close enough to your clone.
The Final Battles
After you have killed your wight, you return to the real realm to see a massive battle raging between the team you brought with, and Sliske's wights. You must control Nomad and kill 30 elite wights while the rest of the team fight their shadow counterparts. Choose an attack from Nomad's menu and start running around the room killing elite wights as they appear, after you have killed 30 the battles will end and you will appear back in the shadow realm before the stone of jas.
Touch the stone to view a cutscene of the end of the Godwars with Armadyl, Saradomin, and Bandos standing before a defeated Zamorak with the stone of Jas.
After the cut-scene you return to the real realm once again. You must kill the last 8 shadow members of the group, each of which starts with 250k life points. Don't worry though as you will be able to channel power from the Stone of Jas and are able to hit well very high, as much as 25k per hit.
The final decisions
Finally after defeating the shadows with the power of Stone of Jas, Nomad reveals his true colours and tries to steal the Stone of Jas - or at least a piece of it. Player can either choose to ruin his plans by throwing his spear back at him. After Nomads attempt Zamorak will teleport to vault and player has to choose either to help Zamorak get the stone, help Sliske to take the stone away from him or stay neutral. Either way, after player has decided what to do one will end up having a quick chat about the stone and what has happened after being told to leave the sight. Leave the vault.
Congratulations quest completed
Rewards
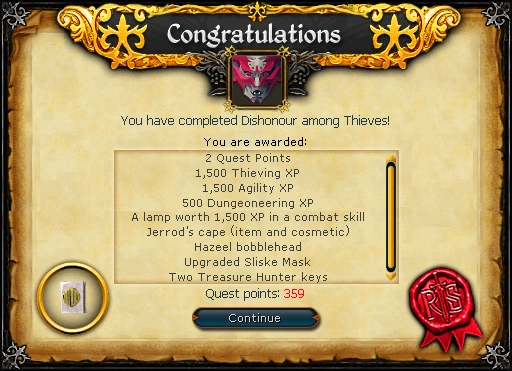
For completing the quest you will receive:
- 2 quest points
- 1,500
 experience
 - 1,500 experience
- 500 experience
- A lamp rewarding 1500 experience in a choice of either Attack, Strength, Defence, Magic, Ranged or Constitution
- Jerrod's cape (and override)
- Tiny Hazeel
- An upgraded Mask of Sliske
- 2 Treasure Hunter keys and 2 Hearts of Ice
Additional Rewards
As you recruit members of the team there are chests you can search to get gems, coins, and dungeoneering tokens.
There are three chests within Zamorak's hideout, each containing an experience lamp which can be used on any skill.
- The first chest contains an experience lamp with 7000 experience, and requires level 50 in all skills to obtain.
- The second chest contains an experience lamp with 50,000 experience, and requires level 70 in all skills to obtain.
- The third chest contains an experience lamp with 96,000 experience, and requires level 90 in all skills to obtain.
Music unlocked
- Breaking and Entering
- The Heist (unless unlocked during The Curse of Arrav)
- The Heist II
References
| Mysteries of the Mahjarrat | |||||
| Rise of Lucien |
| ||||
| Return of Zaros |
| ||||
| Arrav |
| ||||
| Sliske |
| ||||
| Related quests |
| ||||
| Related miniquests |
| ||||
| Lores and Histories |
| ||||
| Quest recollector |
| ||||