This is a list of all the bosses that can be encountered during Dungeoneering. There used to be a glitch where it was possible to receive the boss 1 level before the required Dungeoneering level, but the requirements have been adjusted to the correct levels. All bosses can drop a section of the Dungeoneering journal in addition to their listed reward.
| Floor Type | Boss Name | Dungeoneering Level Required | Floors | Drops |
|---|---|---|---|---|
|
Frozen (Floors 1-11) | ||||
| Gluttonous Behemoth | 1 | 1-11 | Boots | |
| Astea Frostweb | 1 | 1-11 | Shoes | |
| Icy Bones | 1 | 1-11 | Vambraces | |
| Luminescent icefiend | 5 | 3-11 | Daggers | |
| Plane-freezer Lakhrahnaz | 11 | 6-11 | Gauntlets | |
| To'Kash the Bloodchiller | 17 | 9-11 | Mage gloves | |
|
Abandoned 1 Also found in Abandoned 2 (Floors 12-17) | ||||
| Skeletal Horde/Divine skinweaver | 23 | 12-17, 30-35 | Helmets | |
| Hobgoblin Geomancer | 23 | 12-17, 30-35 | Leather boots | |
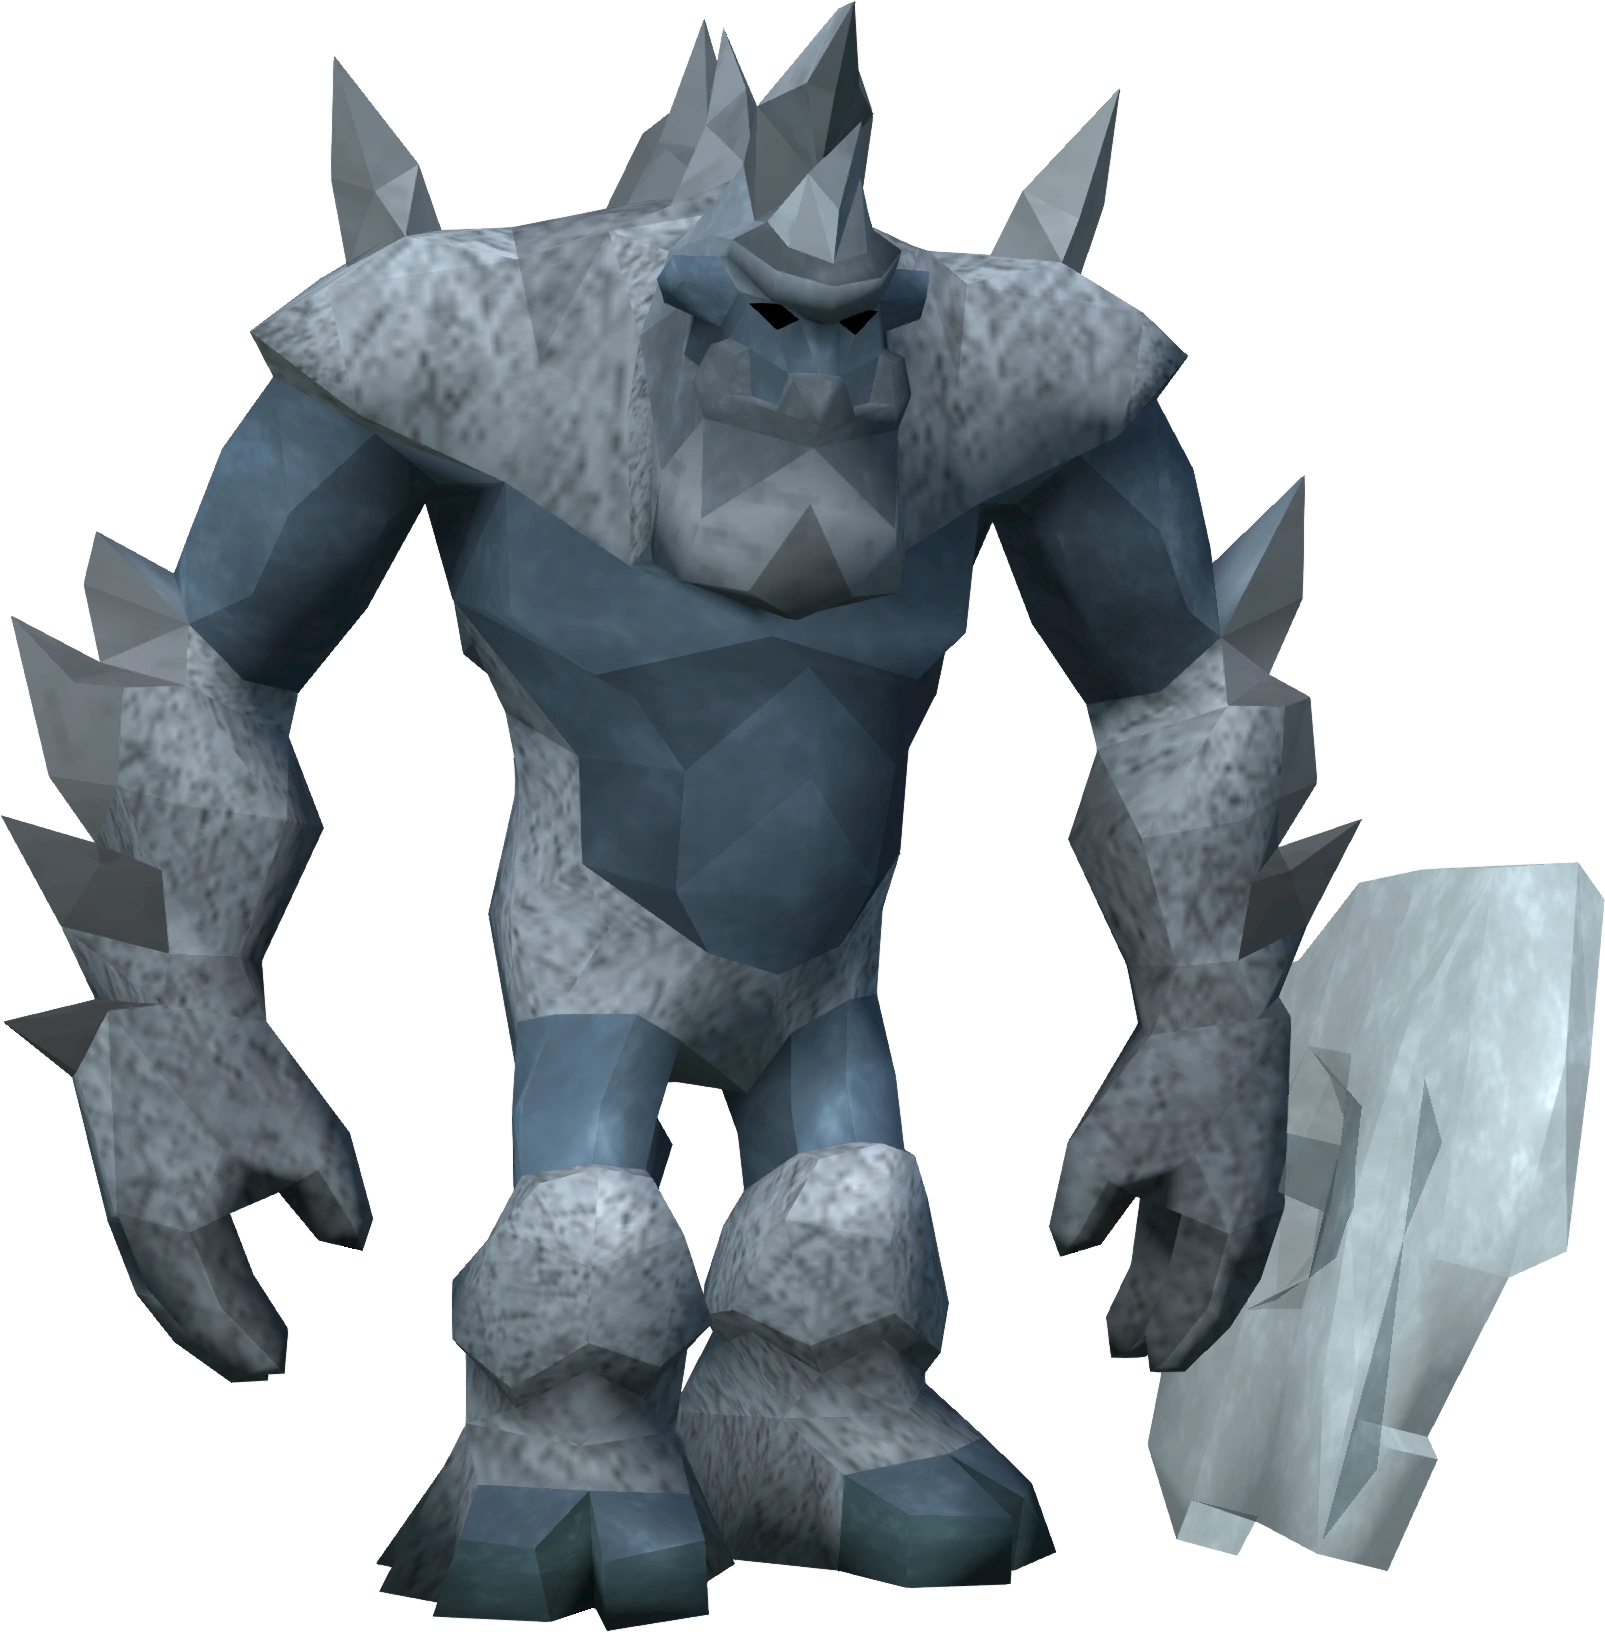
| Bulwark beast | 23 | 12-17, 30-35 | Pickaxes and Hatchets | |
| Unholy Cursebearer | 29 | 15-17, 30-35 | Staves | |
|
Furnished (Floors 18-29) | ||||
| Rammernaut | 35 | 18-29 | Mauls | |
| Stomp | 35 | 18-29 | Coifs | |
| Har'Lakk the Riftsplitter | 35 | 18-29 | Rapiers | |
| Lexicus Runewright | 39 | 20-29 | Hoods | |
| Sagittare | 45 | 23-29 | Longbows | |
| Night-gazer Khighorahk | 51 | 26-29 | Plateskirts | |
|
Abandoned 2 (Floors 30-35) | ||||
| Shadow-Forger Ihlakhizan | 59 | 30-35 | Kiteshields | |
| Bal'lak the Pummeller | 65 | 33-35 | Warhammers | |
|
Occult (Floors 36-47) | ||||
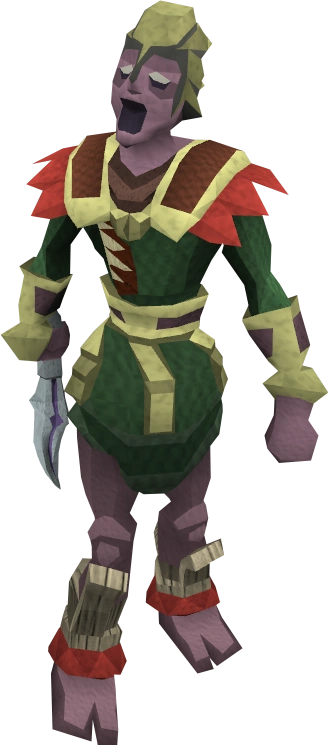
| Skeletal trio | 71 | 36-47 | Shortbows | |
| Runebound behemoth | 71 | 36-47 | Robe bottoms | |
| Gravecreeper | 71 | 36-47 | Chainbodies | |
| Necrolord | 77 | 39-47 | Chaps | |
| Flesh-spoiler Haasghenahk | 83 | 42-47 | Platelegs | |
| Yk'Lagor the Thunderous | 89 | 45-47 | Battleaxes | |
|
Warped (Floors 48-60) | ||||
| Blink | 95 | 48-60 | Longswords | |
| Warped Gulega | 95 | 48-60 | Robe tops | |
| Dreadnaut | 95 | 48-60 | Platebodies | |
| Hope devourer | 101 | 51-60 | Leather bodies | |
| World-gorger Shukarhazh | 107 | 54-60 | Spears | |
| Kal'Ger the Warmonger | 113 | 57-60 | 2h swords |
Behemoths
Gluttonous behemoth

Required level: 1
Recommended Protection Prayer: Protect from Magic
Floors: Frozen
This boss will constantly heal itself by devouring bovimastyx corpses off to its side when it has lost more than half of its lifepoints. It is vital to block the body or bodies to prevent it from healing;it is still possible to attack while doing this. When soloing, there will be only one carcass;in a group, there will always be two, but the behemoth will heal itself once in the dungeon. It is advised to wear the strongest melee armour available and use the Protect from Magic prayer. One strategy consists of two melee players blocking the behemoth that can take its attacks handily; meanwhile, the rest of the group can attack unscathed. If you or your entire group die when it reaches less than half of its lifepoints, it will heal itself to full health as soon as you re-enter into room. It can be countered by reducing it to almost half of its lifepoints and then teleporting using a personal gatestone . Restock on food and reenter the room again to finish it off. In a group, it is strongly recommended that all players enter the boss room all at the same time for a faster kill.
Bulwark beast

Weaknesses: Pickaxe(Before armour is broken),Stab,Crush,Magic
Required level: 23
Recommended Protection Prayer: Protect from Magic
Floors: Abandoned
Reward: Pickaxe or hatchet
This boss has thick rock armour which prevents all melee and ranged attacks from doing damage unless broken down; however, Magic attacks are capable of piercing it. Wield a pickaxe and attack it until you break through it all, then switch to your normal weapon and attack as normal, or have a pickaxe on your tool belt and it will be used automatically alongside melee attacks you perform. If you enter without a pickaxe in your possession, and you have none on your tool belt, one will be in the corner. There is a bar on the top of the screen showing the progress of the armour. It is important to remember that, in groups, there will only be one pickaxe spawn and the rest of the party must obtain their own. Breaking the armour does not give you Combat or Mining experience. The Bulwark Beast attacks at all times with all three forms of attack. Although in any other case it would be more helpful to use the prayer to protect from the combat style you are weakest to, the Beast drains the prayer points of all players who he isn't attacking unless they are using Protect from Magic or Deflect Magic. As such, activate this prayer whenever he turns away from you.
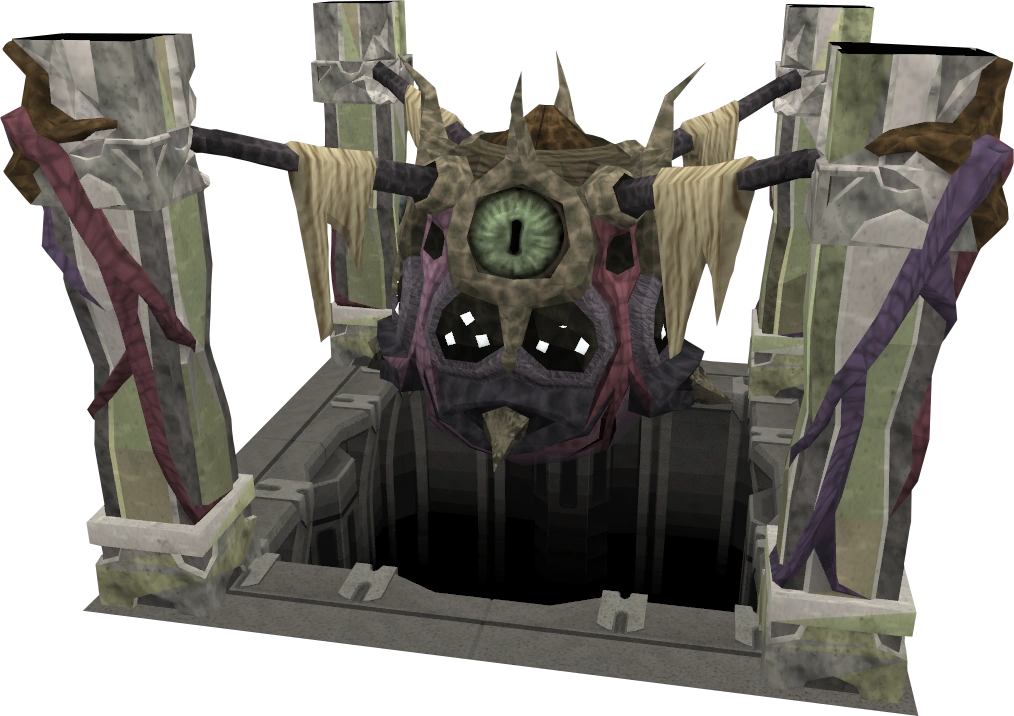
Stomp
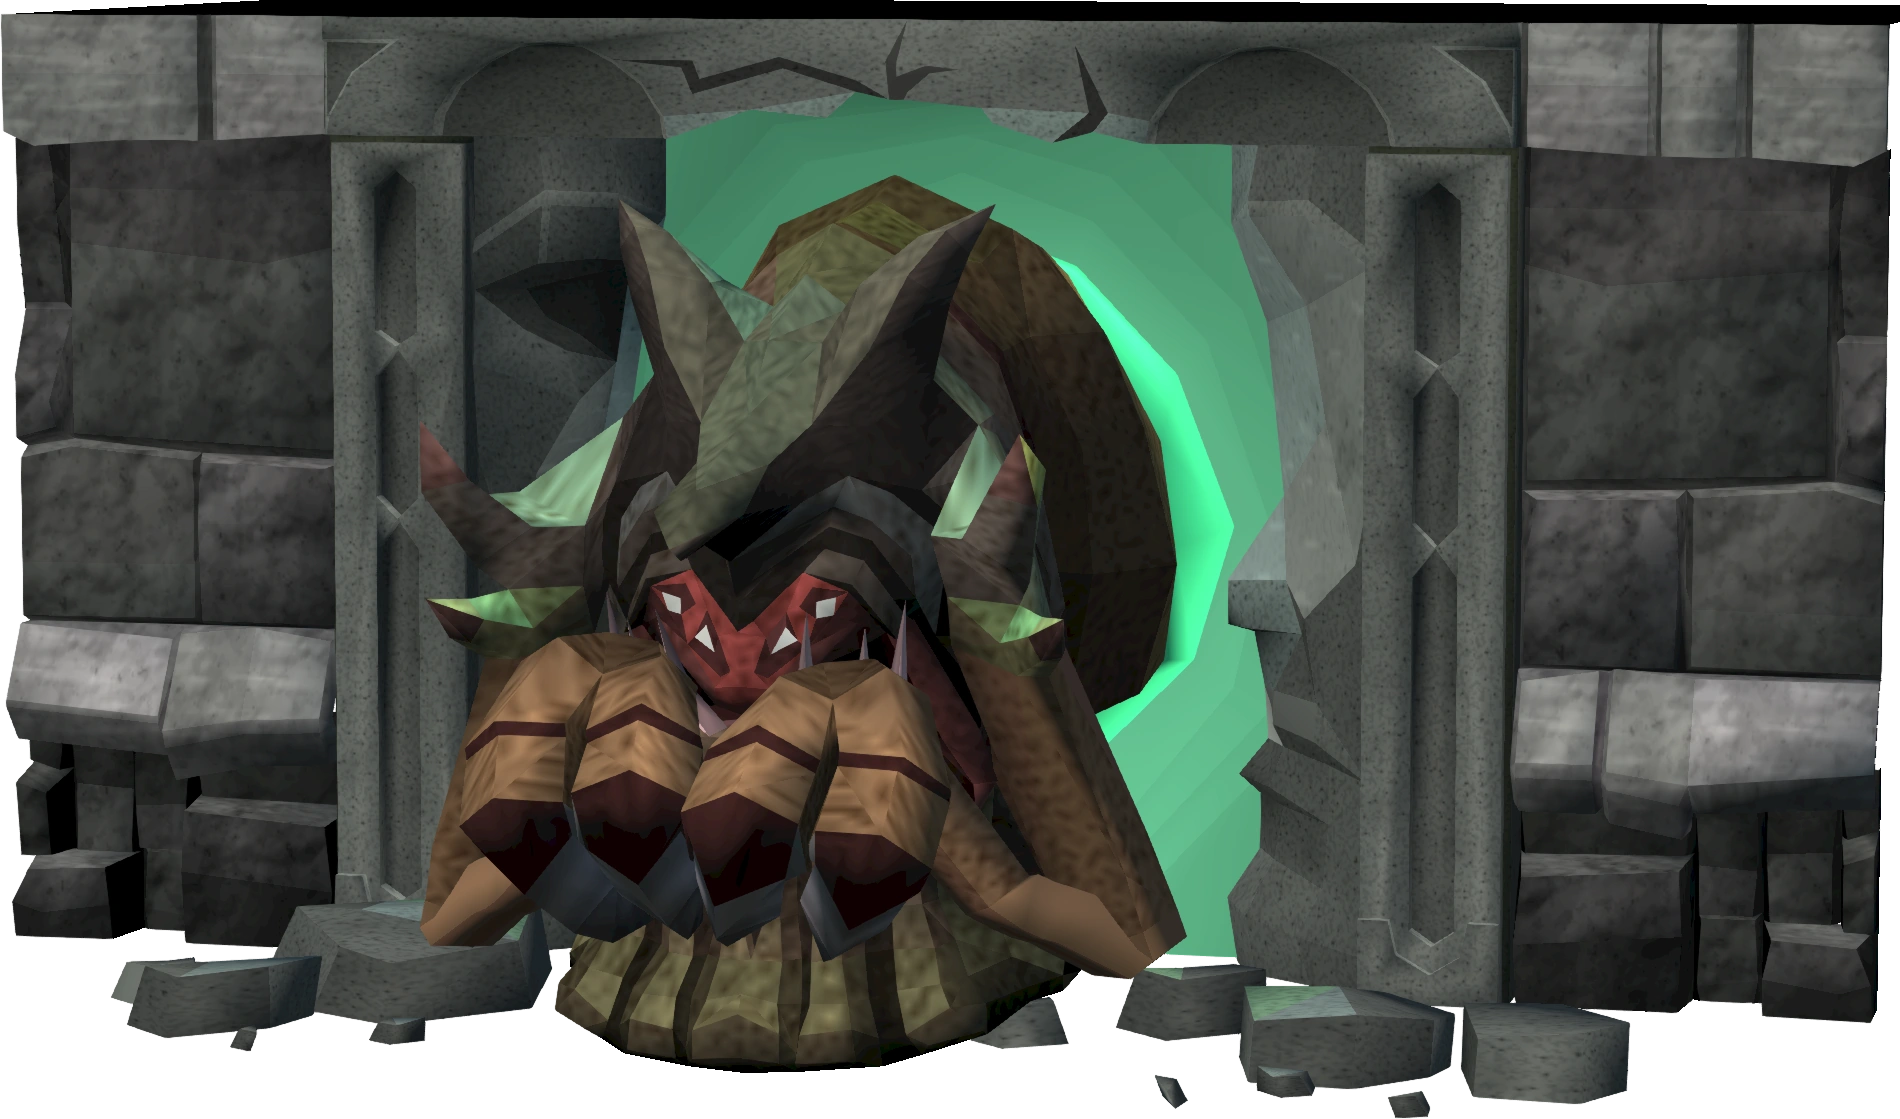
Weaknesses: Stab,Crush
Required level: 35
Recommended Protection Prayer: Protect from Ranged
Floors: Furnished
Stomp is something of an oddity; you only fight his head. When fighting this boss, ranged is recommended, followed by melee. If you use melee it will follow suit, which renders prayer besides Protect from Melee not useful. The boss is immobile, using all three types of combat and has three divisions of lifepoints. Stomp uses four kinds of attacks. When within melee range, it will smack a player with one of its arm-like mandibles. Its ranged attack is to throw a rock at you. His magic attack is to shoot a ball of energy at a single player; it will only use this attack once it is in its second phase. His special attack, which he only uses in his final stage, is to shake the room and drop a huge rock on the ground; any player that is within one square of the rock will take massive damage. The special attack can be half-negated with the Protect from ranged prayer. Whenever the boss drops to 66%, 33% or 1% lifepoints it will perform a special feat. There are two crystals next to the apparent portal structure he appears to be protruding from. After a third of his health bar has been depleted, he will cause a small-scale earthquake, causing rocks and two smaller crystals to fall. Take the crystals that fall quickly, as the rocks will stop you from moving and can block them off. If you have pickaxe on toolbelt you can clear path by mining rocks. Then use the crystals collected on the larger ones. Once both of them are placed, Stomp will enter the next stage, or die if the player(s) has completed the third stage. If you fail to charge the lodestones within a set period of time, Stomp will heal 1/3 of its lifepoints and you must repeat that stage. Once either of these events has occurred, the rocks will be cleared from the room. Ironically, Stomp is the only behemoth-type boss who can't stomp on a player underneath him.
For soloing players, at 100% to 67% lifepoints, fighting at a distance with protect from ranged will block all of the damage. At 66-34% lifepoints, melee armour and protect from magic will defend most of the damage. At lower than 33% lifepoints, protect from ranged is recommended for all players, especially melee fighters, as they might have difficulties evading the special attack and the prayer blocks half of the damage even if hit. For team players, it is worthwhile to notice only the ranged attack attacks all players at once. A good set of melee armour and using range should be enough to keep health high. Favouring protect from range over protect from magic is advised.
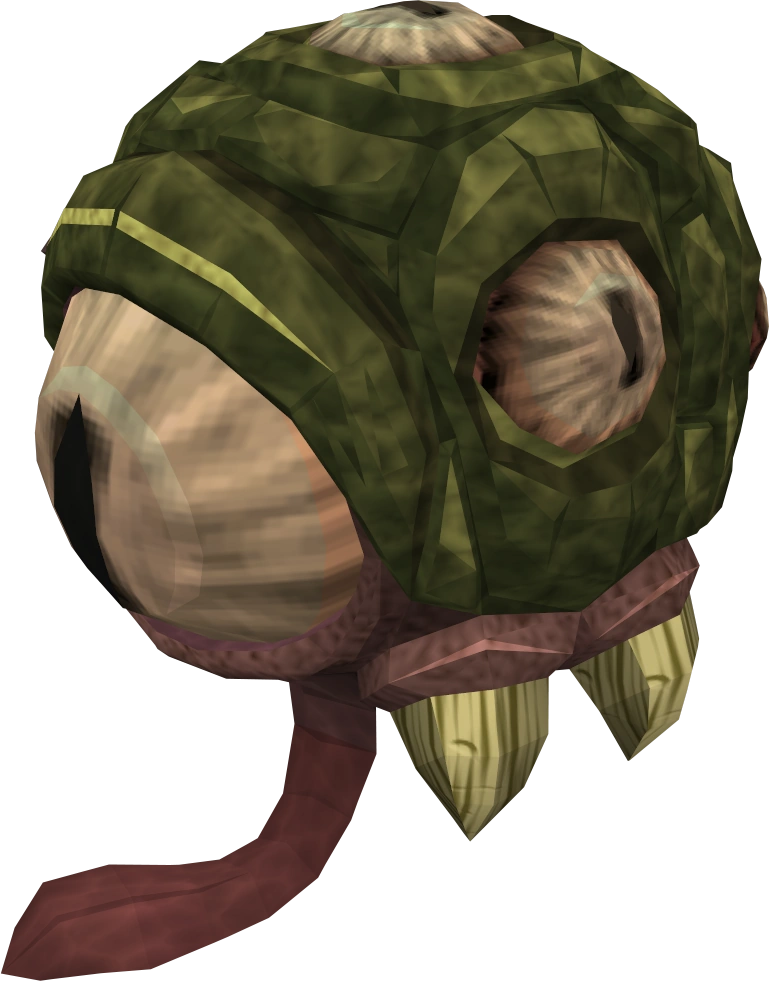
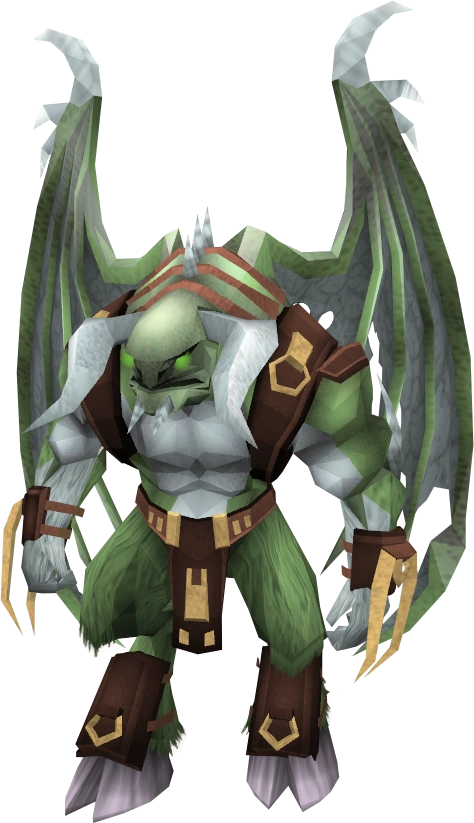
Runebound behemoth (m)
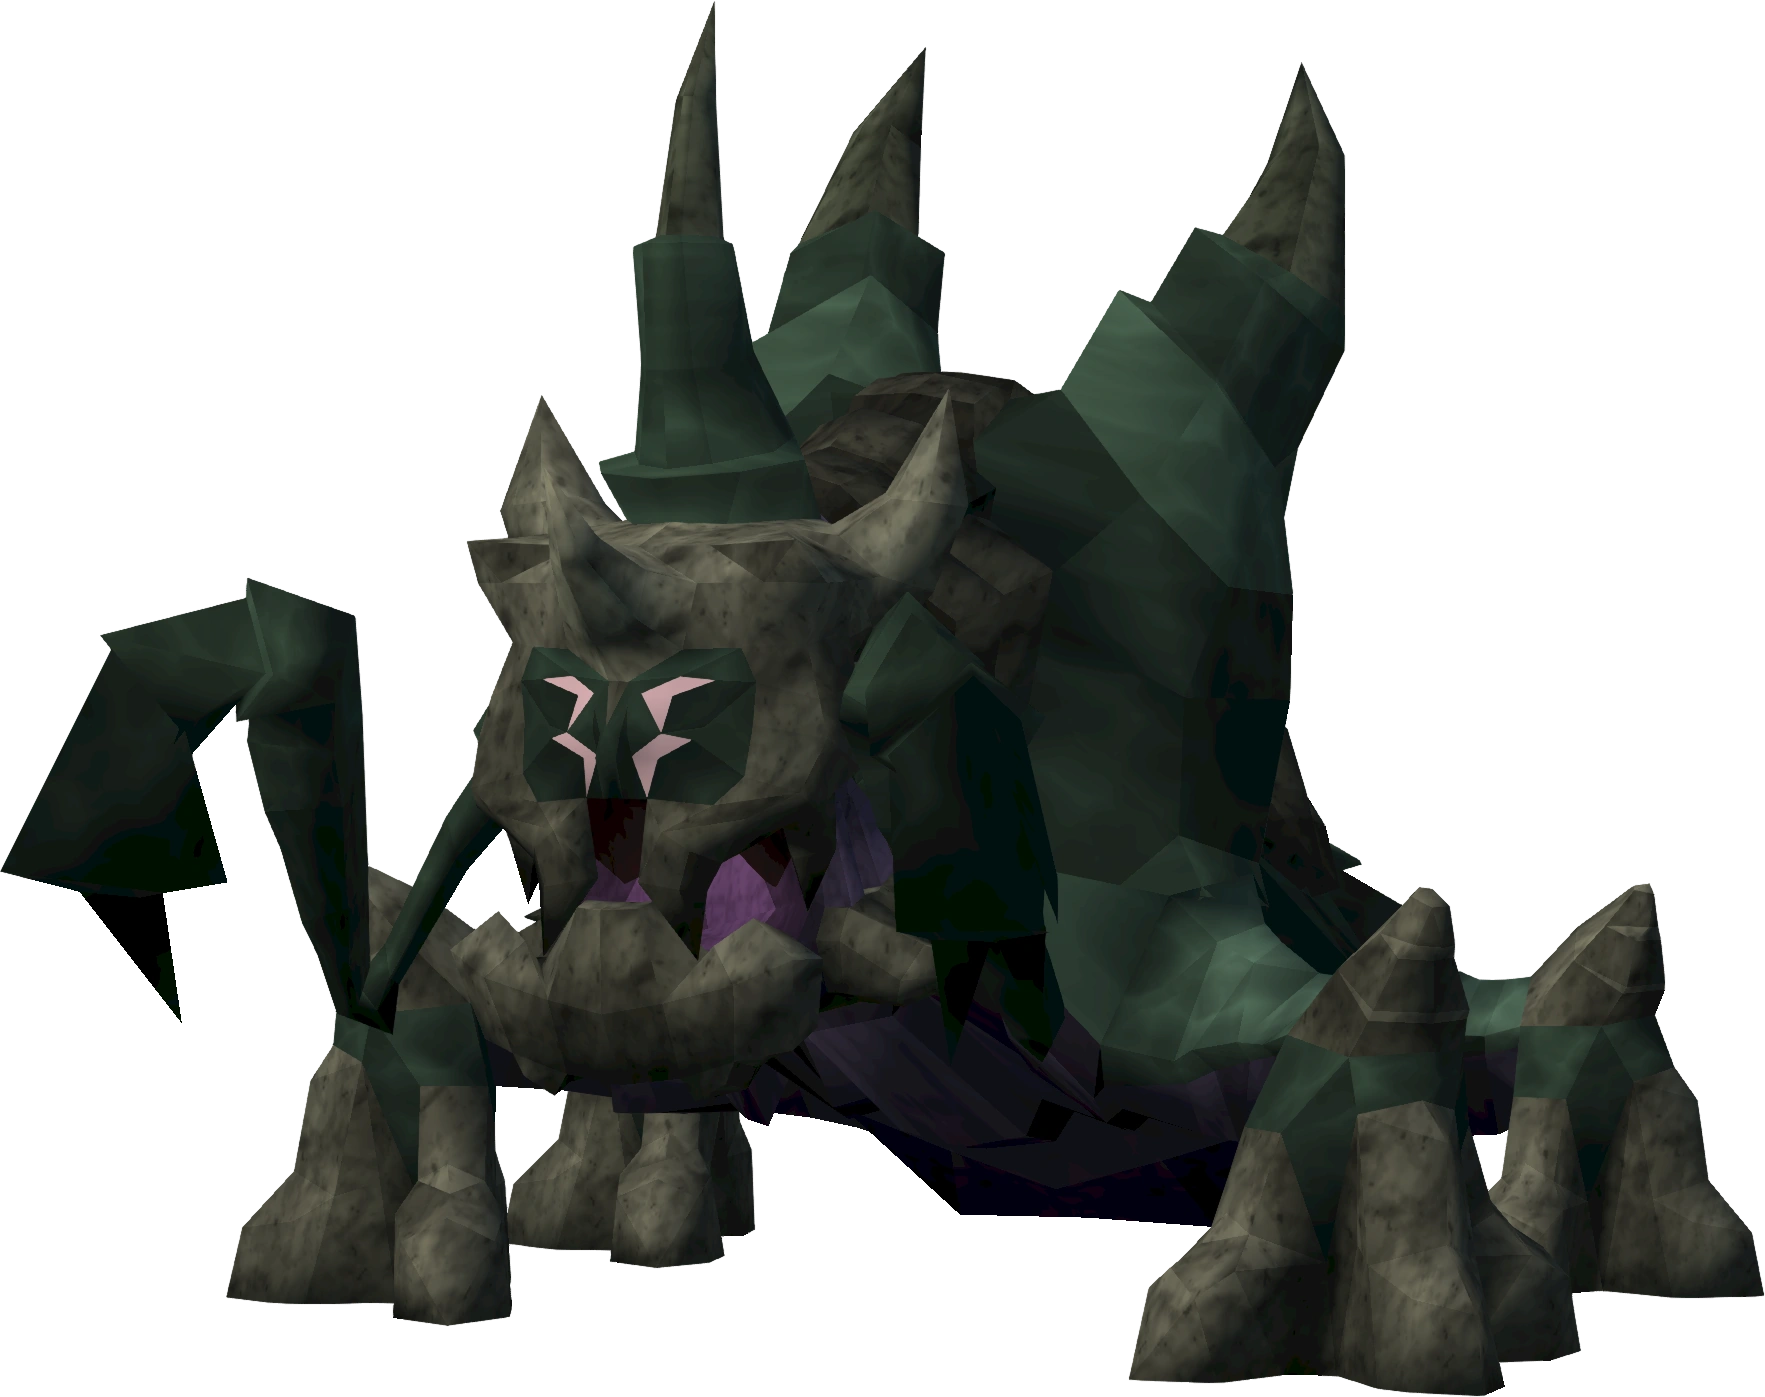
Weakness: Stab
Required level: 71
Recommended Protection Prayer: The attack style to which you are weakest.
Floors: Occult
Reward: Magic bottom
This boss can use all three protection prayers SIMULTANEOUSLY. When all of them are active, it is immune to ALL ATTACKS. There are three crystals in the room, each representing a combat style. Deactivating the proper one will deactivate that protection prayer, but this only lasts for a short amount of time. After it reactivates, the particular prayer you have disabled will be turned back on and the crystal cannot be deactivated for the next few seconds. Therefore, it is recommended to bring at least two attack styles to kill this boss. This boss uses all three attack styles, but if you activate a protection prayer while fighting, it will not use the mode of attack you are defending against. It also has a special attack magic attack. It will roar and then scatter orbs of acid around the room. It can kill the player in one hit and cannot be blocked by prayer. You can run away from it or teleport out of the room with a gatestone. This special attack can only be used if all three crystals are active, so it is recommended to keep all of them disabled. If the behemoth uses this attack, the crystals will not become active again if the deactivation period had just ended.
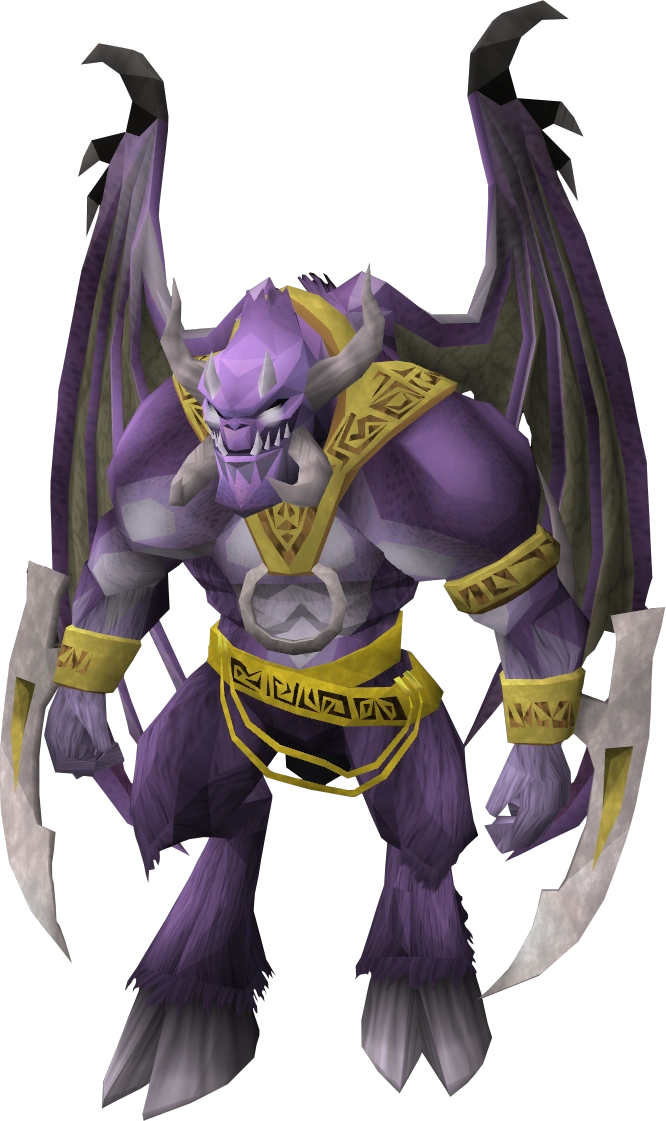
Hope devourer (m)
Weakness: Stab
Required level: 101
Recommended Protection Prayer: Melee
Floors: Warped
Reward: Ranged body
During the entire fight, this behemoth creates an aura in the room that damages you every few seconds and lowers your combat stats. It only uses melee to attack you directly. He also has a variation of the Rammernaut's "Charge" attack, which stuns and often hits for 300+ damage. Its true special attack, however, is signified by a very long roar. This will do damage and disable any active prayers. It regains health when it disables your prayers, so be careful. This effect can be easily counteracted by turning off prayers before he finishes his special, then turning it back on afterwards. Due to the fact its attacks are all close-range and it can be snared or otherwise stopped from moving, well-prepared mages will have the upper hand in this fight.
Stalkers
Plane-freezer Lakhrahnaz
Weaknesses: Stab
Required level: 11
Recommended Protection Prayer: Protect from Range/Magic
Floors: Frozen
Reward: Gauntlets
This boss' territory is covered in ice that causes the player to slip around. It is resistant to Magic and Ranged, but is weak against melee stab attacks. The boss moves around the room and can "push" a player across the ice. Melee is the most effective way of killing the Plane-freezer Lakhrahnaz because of its high magic and ranged defence. A very helpful strategy is to place a gatestone outside of the bossroom. Whenever Lakhrahnaz starts moving away, teleport out to your gatestone and he will come back to the entrance and wait for you, and when you re-enter he will be unable to push you and will stay there for a short period of time. Using magic on all stalkers are not recommended, but range can suffice for this one.
Night-gazer Khighorahk

Weaknesses: Stab/Ranged
Required level: 51
Recommended Protective Prayer: Magic
Floors: Furnished
Reward: Plateskirts
This boss is impossible to hit unless you have at least one of the four burners in the corner of the room lit. For every burner that is lit determines how much damage you will deal. With one burner you inflict 25% damage, at 2 - 50%, at 3 - 75%, and with all burners burning you will inflict maximum (normal) damage. It is not recommended to try to light all 4 burners in a solo fight, as you will only get a couple of hits in before they all start going out. A tinderbox is not necessary to light the burners. The burners do not last very long so you will have to keep lighting them. Khighorahk uses a magic and ranged attack, and it can also drain run energy, making it more difficult to light the burners and get in attacks. Note that it uses a special attack which can deal over 700 lifepoints to players within melee distance of the boss; the animation for this attack involves a blue sphere encircling the boss as it jumps into the air and smashes back down onto the ground. This attack can be easily avoided by simply running a few squares away during the animation and returning after he has hit the ground.
Once it is nearly dead, it will rejuvenate itself back to full lifepoints; however this time all the burners stay lit, and its combat level is slightly lower than before. Khighorahk gains a stun attack after rejuvenating itself.
Shadow-Forger Ihlakhizan
Weaknesses: Stab/Ranged
Required level: 59
Recommended Protective Prayer: Melee
Floors: Abandoned 2
Reward: Kiteshield
Ihlakhizan has a variety of special attacks; the most dangerous involves the shadow-forger to begin to glow and to rise into the air (there will be a note in your chat box). It is capable of hitting over 800 and lower combat stats heavily (half of remaining stat). If you are in direct view of this attack you will be hit. Therefore, once you get the warning in your chat box, it is advised to avoid the attack by hiding behind any of the pillars or running to a corner of the room. While he is not using his stat-draining attack, should you stay behind the pillars for too long a shadow will rise up from the ground and deal unblockable damage. The shadow forger can also use an unblockable orange-targeting attack which does a fair amount of damage. Another attack involves the throwing of small green pools which targets all players and is unblockable by prayer, although it reduces damage. This boss is weak against stab attacks, and all other styles do not have any advantage. Solo players are advised to protect from melee and wear the best armour, using stab style to attack it. This is the only certain way to cause it to use the melee attack which is the only attack completely blockable by prayer.
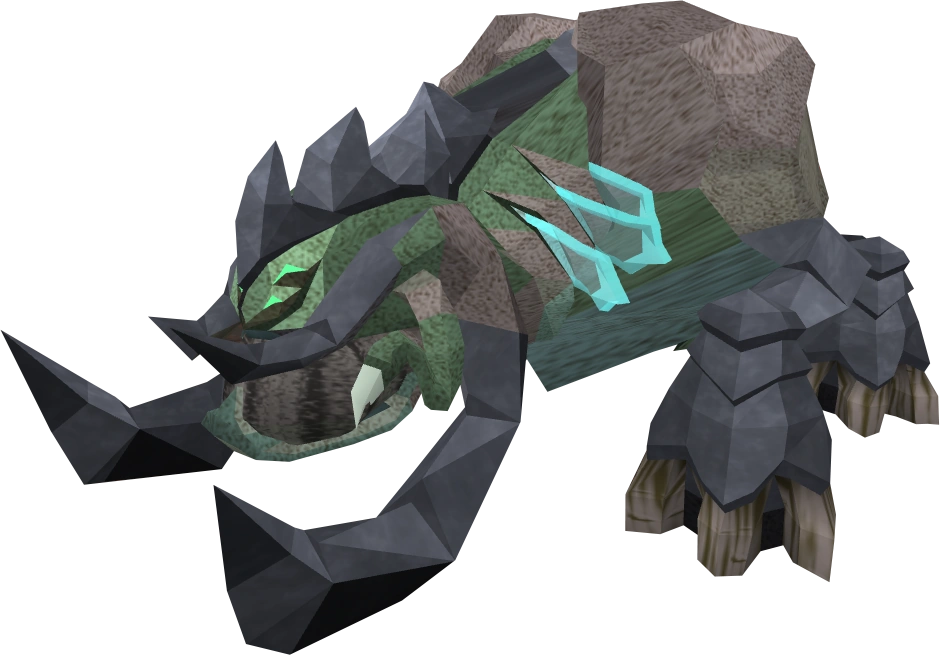
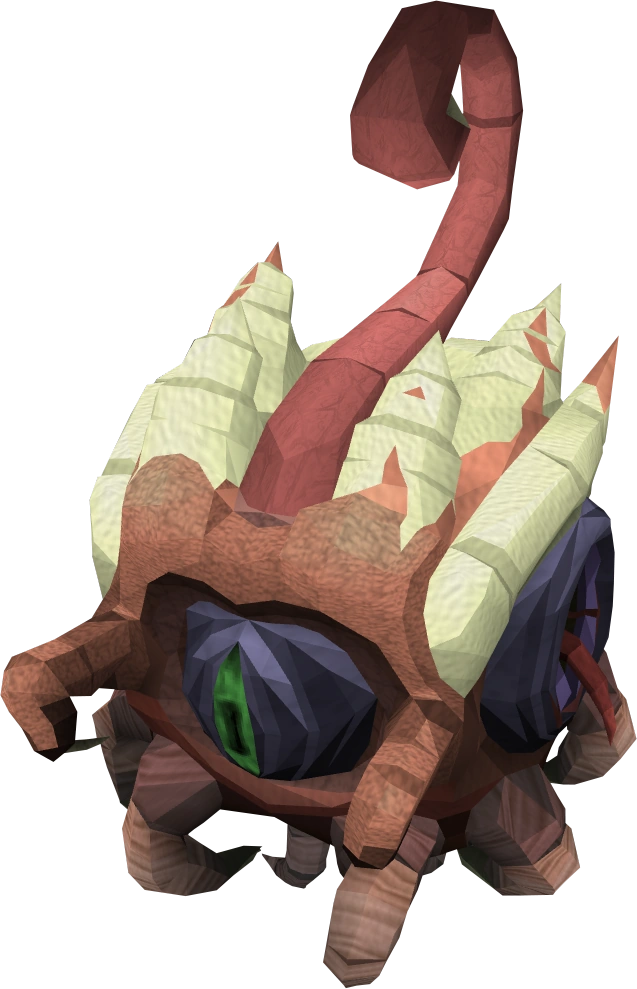
Flesh-Spoiler Haasghenahk(m)
Attack Styles: Melee, Magic
Weaknesses: Stab
Required Level: 83
Recommeneded Protection Prayer: Magic
Floors: Occult
Reward: Platelegs
The Flesh-Spoiler is similar to the Kalphite Queen in terms of transformation. When its first form is killed, its outer body explodes and spawns Flesh-Spoiler spawns to help him. In its first form, this boss can blast players with its eyeball, then place it back in its head for another attack. This is an extremely slow attack (around the speed of a 2h sword).
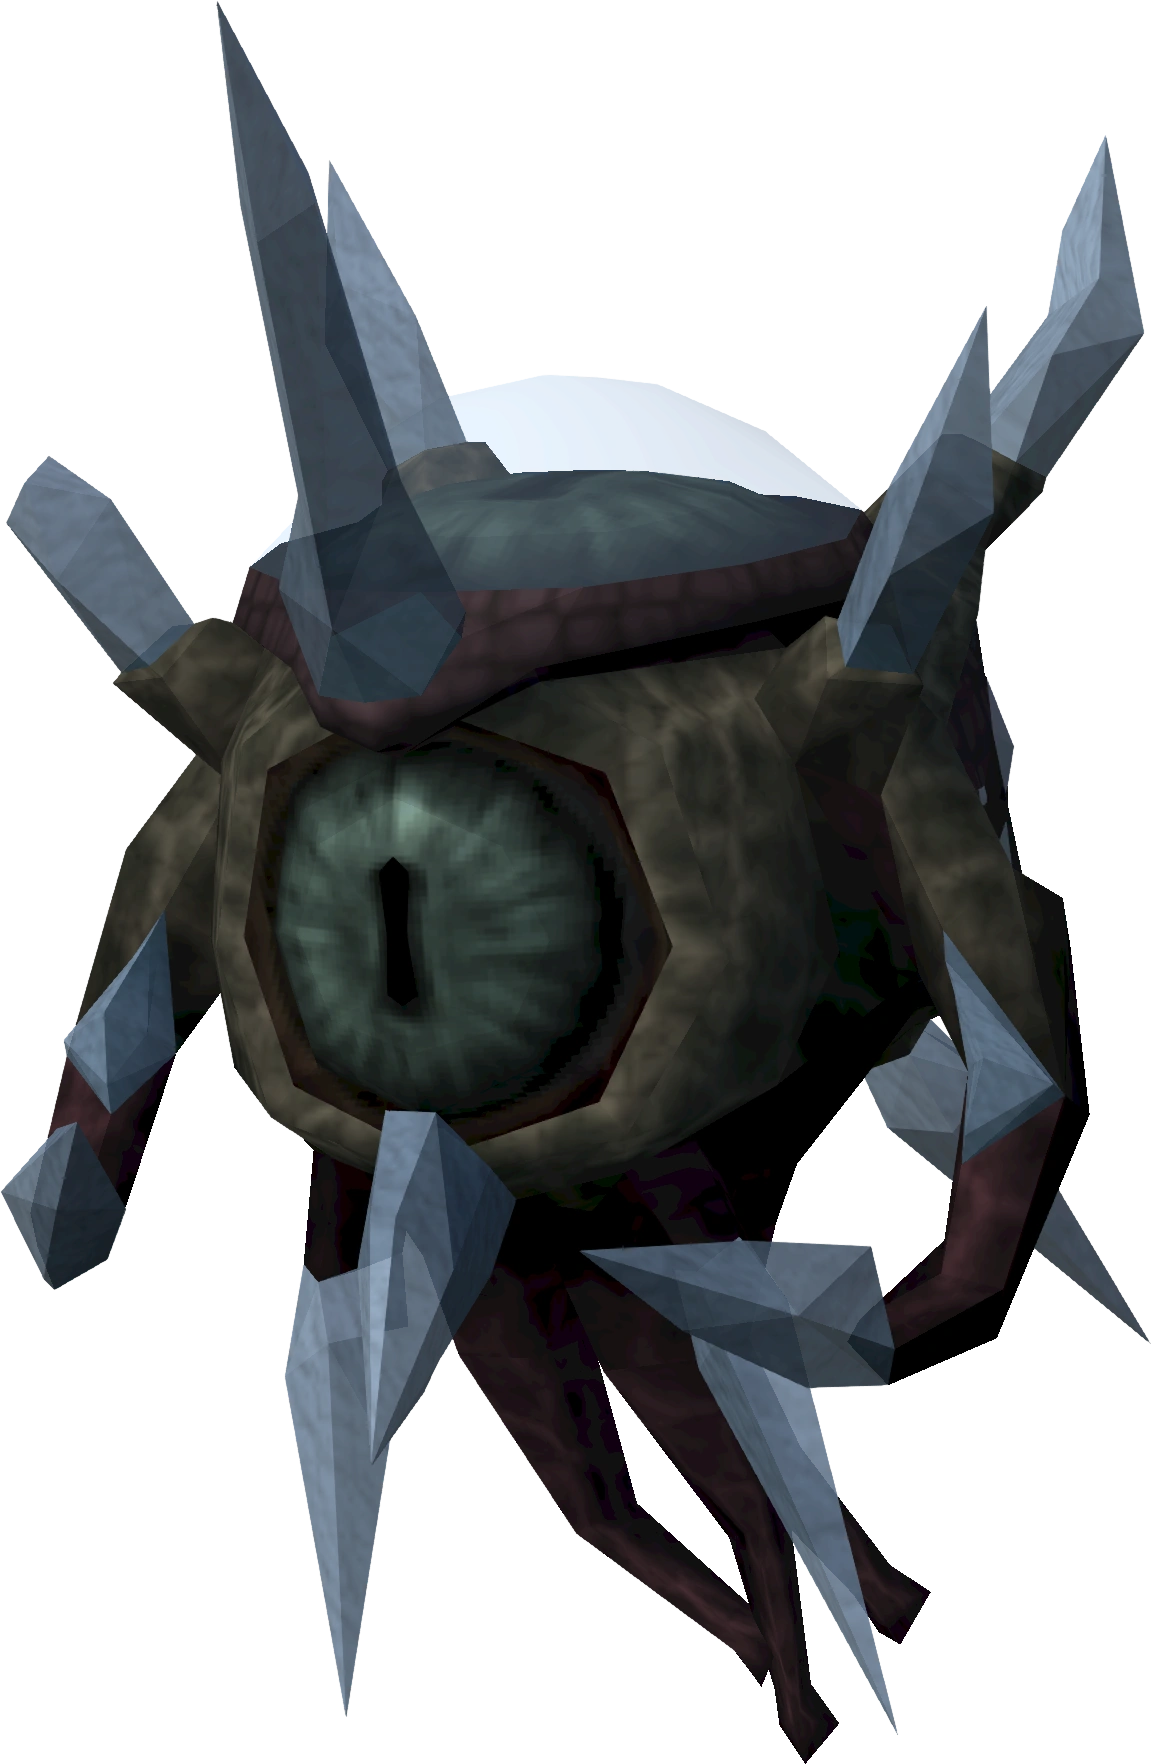
World-Gorger Shukarhazh (m)
Attack Styles: Magic, Ranged, Melee
Weaknesses: Stab
Required Level: 107
Recommeneded Protection Prayer: Range
Floors: Warped
Reward: Spear
Little is known about this final stalker. Fighting it requires a Dungeoneering level of 107 and it can be found beyond floor 54. When you enter the boss room, you'll find 3 "eye walls" that serve as an extension of his body. Every now and again, one eye will open up, and Shukarhazh will become invincible until the eye wall closes. During this time, players can attack the eye wall instead, but it can fight back as well. Despite popular belief, protect from magic prayer doesn't absorb any damage from this boss. Range prayer completely nullifies the attacks from the eye walls. The eye walls are vunerable to the corresponding name of the eye.
Kal'Gerion demons
To'Kash the Bloodchiller
Attack Styles: Melee, Magic
Weaknesses: Crush/Ranged/Magic
Required level: 17
Recommended Protection Prayer: Magic
Floors: Frozen
Reward: Gloves
Besides melee and magic attacks, this boss has a special attack when it says "DEEP FREEZE". A player will be frozen and must be quickly rescued by one of his teammates, or he will take a large amount of damage a few seconds later. This boss is weak against crush, magic, and ranged attacks. For soloers the Deep Freeze Attack is less of a threat, since the player will be freed immediately, although they will still take damage from it.
Har'Lakk the Riftsplitter
Attack Styles: Magic, Melee
Weaknesses: Stab/Ranged/Magic
Required level: 35
Recommended Protection Prayer: Magic (optional)
Floors: Furnished
Reward: Rapiers
His main attacks are magic and melee. He will only use magic if protection prayers or deflection curses are being used, and his magic attack drains prayer if the target is using Protect from Magic or Deflect Magic, although it will deal no damage. He can open portals to other dimensions to damage his enemies. The three types of portals he can open are fire, miasma, and stat draining. Fire portals do increased damage over time, miasma portals poison (which can easily stack to over 300 damage), and stat draining portals drain all stats, not just combat. As soon as he opens one of the portals, run anywhere away from the 3x3 portal to avoid damage, stat drains and poisonous affects. Upon death, any poison will be removed. He is weak against stab, ranged and magic attacks. His poison can be nullified by using any cure potion.
Bal'lak the Pummeller

Weaknesses: Stab/Ranged/Magic
Required level: 65
Prayer: Melee
Floors: Abandoned 2
Reward: Warhammers
This Boss has a defence bar at the top of your screen which goes up as time progresses. To lower this you must make him stand on one of the three green portals. If this is not possible you can create a gatestone outside the room to teleport to if the defence bar is full. This boss can disable your protection prayers. It is recommended to avoid the green portals at all costs since they will drain your defence and prayer and do damage to you.
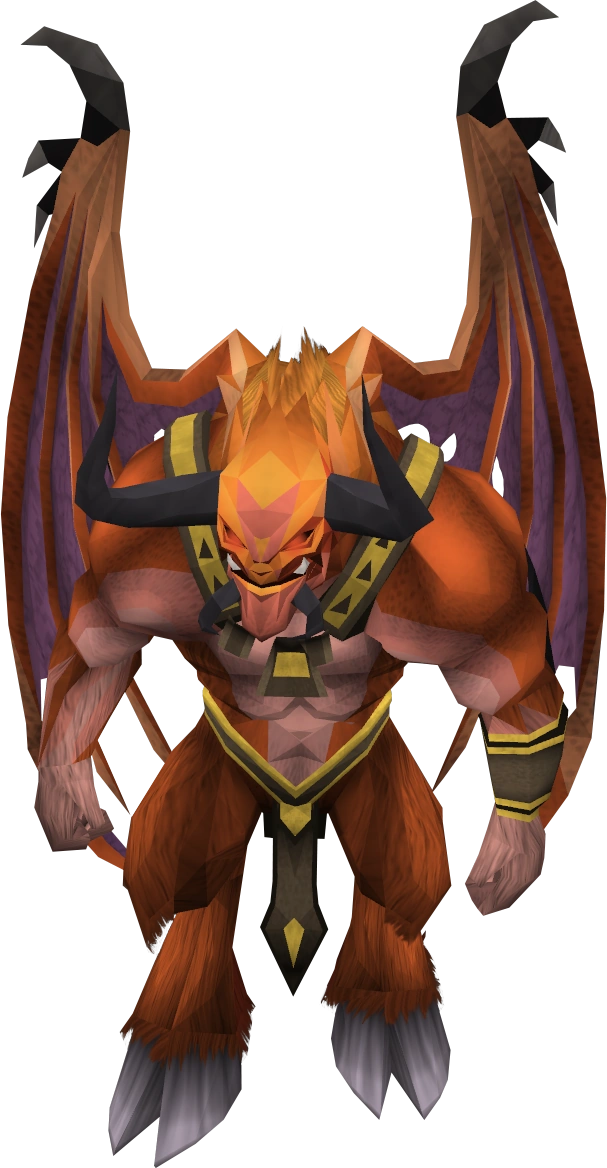
Yk'Lagor the Thunderous (m)
Weaknesses: Slash/Magic
Prayer: Melee
Required Level: 89
Floors: Occult
Reward: Battleaxes
You must kill or distract 4 of the mages who are trying to absorb its power until Yk'Lagor says "My turn!". You can start attacking it right after he says "You dare steal my power!". When he says "Come closer!", he will drag you across the room, and heal 15% of his total health. When he says "This is...", it will take a few seconds before he says "TRUE POWER!", which you will take a lot of damage with, and in most cases, will kill you instantly. It is important to avoid these attacks at all costs. To evade these two special attacks, you must hide behind one of the pillars in the room, as you are unable to teleport while inside the boss room, other than behind a pillar. Full attention is required while fighting this boss, as you have very little time to hide behind the pillars during the special attack.
Kal'Ger the Warmonger (m)
Weaknesses: Crush
Required Level: 113
Floors: Warped
Reward: 2h Swords
When players enter the boss room, a Kal'Gerion General will teleport in and either tell Kal'Ger that "the floor has been infiltrated", causing the general to be killed in one shot by Kal'Ger, or they will inform him that the floor is safe and be dismissed back to their floor. Then the fight commences. First, he hops over to your side and starts attacking you. After some damage, he will start attacking with a primal longsword. Reducing his health further will cause him to hop onto the other side of the room (there is a lava pit in the centre of the room) and start attacking you with his Celestial catalytic staff. It is HIGHLY recommended to range or mage him, despite the fact that there is a teleport orb players can use to get to his side and back, because if he hops onto the other side of the room again once you damage him some more, if anyone is on his maging side of the room when he does, he will launch everyone in the room into the lava pit, causing extensive damage. On his second attack on his meleeing side of the room, he will fight with a Primal 2h sword. Then he hops back onto the other side and fights with a Sagittarian bow. For the last part of the fight, he will hop onto the meleeing side and fight with his Primal maul.
Mages
Astea Frostweb

Weaknesses: Slash, Ranged, Fire spells
Required level: 1
Recommended Protection Prayer: Protect from Magic, Protect from Summoning (m)
Floors: Frozen
Reward: Magic shoes
Astea's regular attack uses magic that is similar to ice barrage to freeze the player while fighting, except the player is frozen for only 5 seconds rather than the usual 20. She also uses protection prayers that change randomly every 30 to 60 seconds; like all bosses, the prayers are much stronger than a player's version and absorb all attacks of that type. To counter the protective prayers, it is advised to bring more than 1 type of attack. It is much easier to do this in a group. During the fight, she will also summon Ice spider (Daemonheim) to fight you, whose level is determined by the group and the floor. The limit is 6 spiders at a time for a single player, or 2 spiders a player when in a group. The spiders hit low but are very accurate; good melee armour is advised if you decide to ignore them. Protect from Summoning can help null the spider attacks. Upon Astea's death, all her spiders will die instantly as well.
Hobgoblin Geomancer
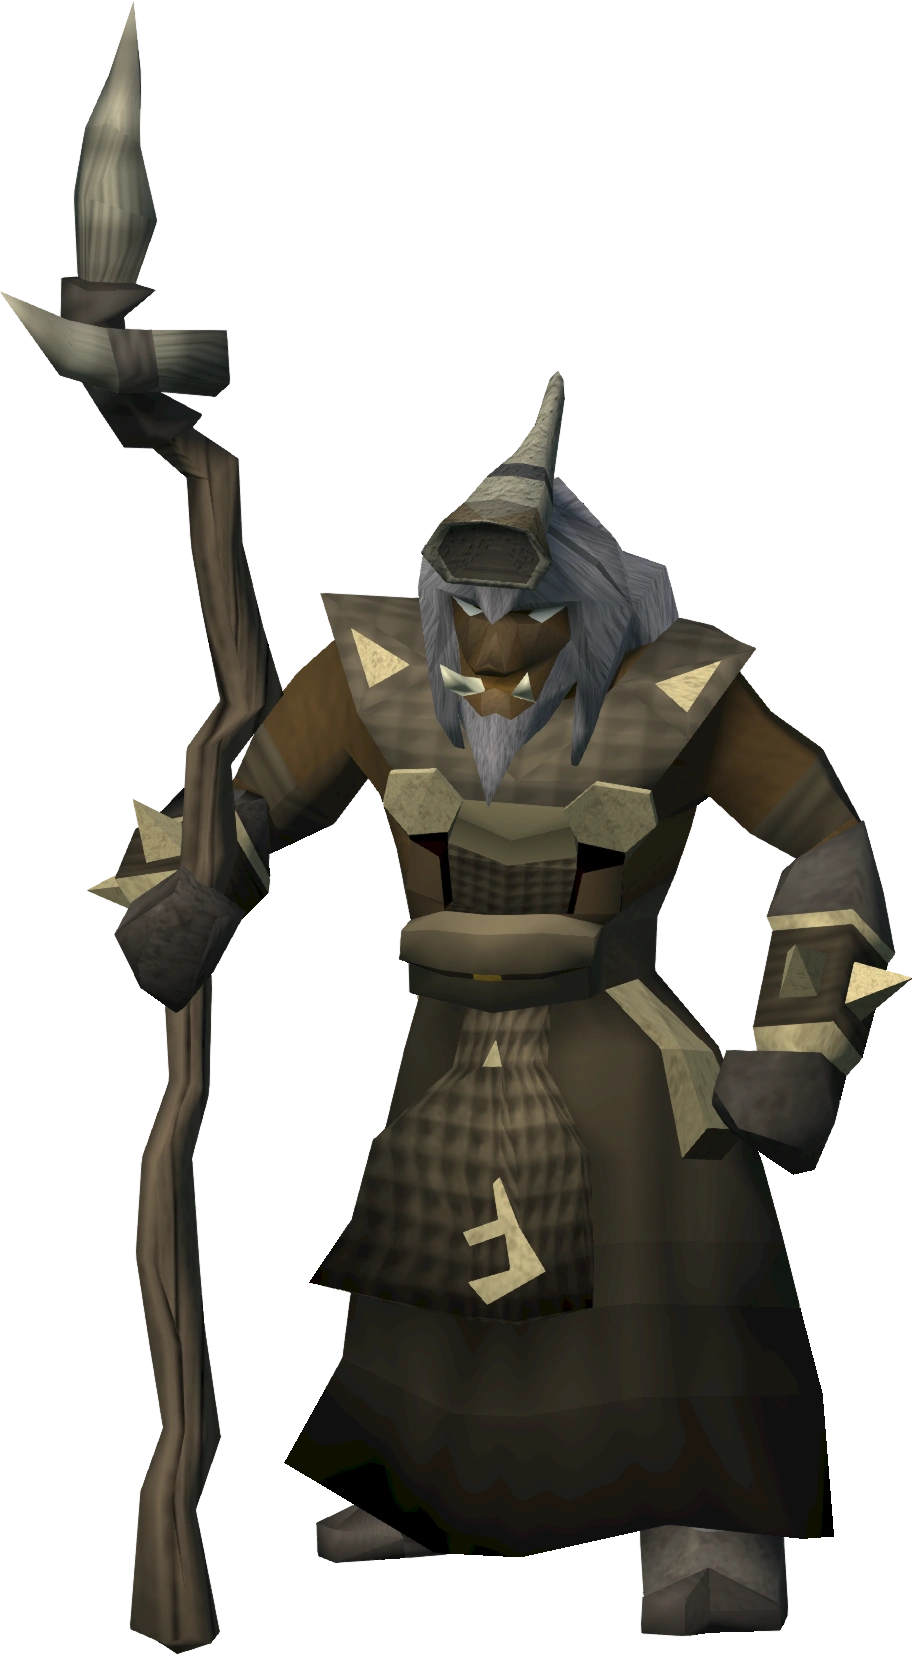
Weaknesses: Stab/ranged
Required level: 23
Recommended Protection Prayer: None
Floors: Abandoned 1
Reward: Ranged boots
The Hobgoblin Geomancer is a magic-based monster who is able to cast several spells including snare, earth spells, weakening spells, and is able to teleport around the room.
Wearing ranged armour will help protect you from his magic attacks, although he does hit with his spear. His special attack disables your prayer, reduces your prayer points if prayer is in use, and heals him if you have prayer on, so it is recommended to fight him without prayers. A good strategy is to use ranged while entangled, and then quickly switch to melee when he teleports to your position.
Lexicus Runewright

Weaknesses: Slash/Stab/Ranged
Required level: 39
Recommended protection prayer: Protect from Magic
Floors: Furnished
Reward: Magic hoods
Lexicus is found in a library. He can teleport and has two spells: Book Barrage and Almanac Army. When he shouts "Book Barrage", explosive books are summoned. 3 seconds later the books explode, dealing very high amounts of damage. Avoiding them is easily achieved by running away or teleporting out as the explosive books are quite slow, but make sure to have run on. Almanac Army summons books with 10 life points each, that deal considerable damage for their level. When you attack him with melee, 1/3 of damage dealt is reflected back to the player.
It is advised to protect from magic and range this boss since he rebounds a third of all melee damage inflicted upon him. It is recommended to have a significant amount of food, as these small amounts of damage can add up. Some players believe having protect from summoning on will help because Lexicus "summons" the books. The books he summons can hit 10-65 damage in ranged/melee/magic. When in a group, it may be helpful to have the lowest level use a fast weapon such as a shortbow to kill the books.
Sagittare
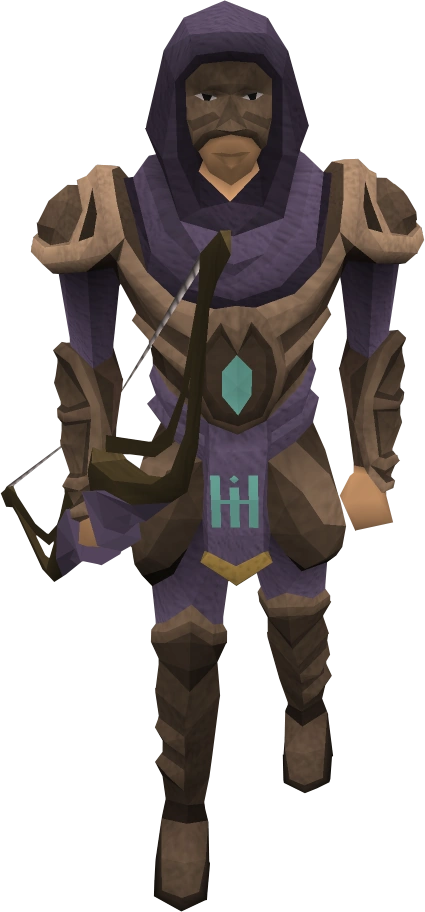
Weaknesses: Slash, Stab
Required Level: 45
Recommended Protection Prayer: Magic
Floors: Furnished
Reward: Longbows, Arrows
The Sagittare will be in a large room, with a spiral floor layout. He will have Protect from Missiles up during the whole fight, so you cannot range him. Each time a fifth of his health is lost or when he has only one Life Point remaining (similar to the Luminescent icefiend), he will teleport away and do an "Arrow Rain" special, which can be dodged. As soon as he says "Back off!", run away from the space you are standing on to avoid the attack. His main attacks are split equally among ranged and magic. He has a normal, single-target Ranged attack and a Magic attack that targets all players. His other ranged-based attack targets multiple people and forces you to walk instead of run, while his secondary magic-based attack can freeze you in place momentarily. He can teleport away from you randomly as well. Protect from Magic is recommended against this boss because being able to move slowly is better than not moving at all. Magic will not hit very high or often and should only be used when you are frozen, although you will not need to move.
Necrolord (m)

Weaknesses: Ranged/Mage (Earth Spells)
Required level: 77
Prayer: Magic
Floors: Occult
Reward: Ranged chaps
He stands behind a wall of zombie-hands, thus ranged is a must for this boss.He summons skeletons to fight with him. Put on Protect from Magic as you enter the room, and when skeletons are summoned, immediately switch to Protect from Melee. Setting a gatestone outside of the boss door while in larger teams can be helpful for teleporting out when too many skeletons have blocked up the area surrounding the Necrolord. It's also very helpful to bring a powerful melee weapon in the room, to kill the skeletons he summons quickly because they have a very low Defence.
Blink (m)

Weaknesses: Stab
Required level: 95
Prayer: Any
Floors: Warped
Reward: Longswords
When you enter the room, Blink starts running in straight lines towards the portals. He cannot be attacked while he is doing this, and entering the portals causes a ranged attack to spray from the portal. In order to fight this boss, one must stop him from running into the portals however Blink only runs in a north and eastern direction. See the Blink article for more information.
Undead
Skeletal Horde
Weaknesses: Crush/Magic
Level: 23
Prayer: Magic
Floors: Abandoned
Reward: Full helm
You'll find Divine skinweaver alone in the room, but soon skeletons will start to pour out of tunnels in the wall. Divine skinweaver will heal you when you stand on the platform. Kill skeletons, and wait for Divine skinweaver to tell you to block a hole. Block one, and then wait for her to command you again. Once you've blocked up all the holes, kill the remaining skeletons and talk to Divine skinweaver to reveal the exit ladder. Handy to remember: a tunnel must be blocked every three skeletons you kill. If you block a hole when Divine skinweaver is not telling you to, you will lose usually 100-300 health.
This is often a preferred boss over others in the Abandoned floors (and many others) due to the Divine skinweaver's aid, rendering food almost completely useless. However it is recommended to still have at least a small supply of food in case the Divine skinweaver can't heal you fast enough or you cannot get back to it in time. Protection prayers help when fighting the mages and rangers as they do not follow the player to the Divine skinweaver.
Unholy Cursebearer
Weaknesses: Crush/Ranged
Required level: 29
Prayer: Protect from Melee/Magic
Floors: Abandoned
Reward: Mage staves
The Unholy Cursebearer uses melee and occasionally casts spells. Use Protect from Melee and switch to Protect from Magic when he casts spells. Your stats will be drained slowly within his room regardless of Protection prayers, keep in mind that this WILL lower your defence so it will hit higher and more accurately. You can restore your stats at the Unholy Font at the back of the room, but doing this will heal the Cursebearer up to 1/4 of his life points and damage yourself as well. The Unholy Font can only be used once you get a message in your chat-box telling you that you can do so. If your magic is lowered below 32, you will be unable to teleport back out to your gatestone without using the Unholy Font first.
Skeletal trio (m)
Weaknesses: Superior combat triangle attack style
Required level: 71
Prayer: Protect from Magic
Floors: Occult
Reward: Ranged shortbows
Three skeletons who use one individual attack style. It is recommended to use Protect from Magic and kill the skeletal archer first, then the skeletal sorcerer, and lastly the skeletal warrior. Using the entangle spell to hold the warrior is extremely useful and highly recommended. Alternatively, the warrior may be trapped behind the archer or the sorcerer.
Gravecreeper (m)
Weaknesses: Slash, Fire spells
Required Level: 71
Recommended Protection Prayer: Protect from Missiles
Floors: Occult
Reward: Chainbodies
The Gravecreeper fights with ranged when you are farther away, but when you get closer, it will use a combination of ranged and melee attacks. When you are fighting him, he will occasionally shout out "Buuurrnnnn!" Following this, a 3x3 puddle of purple liquid will spill out around him. Touching this will result in damage for as long as you stand on it; every time you take damage, you will lose 20 prayer points. This is only a sample of his true special attack, however. When the Gravecreeper buries himself at a plinth. After this, a few of the plinths in the room begin to glow a purple colour, followed by the appearance of purple clouds. After this, all of the plinths will spew out the liquid, which has the same effect stated above. The clouds will spit out this liquid as well. You can cleanse the plinths if you want to; it will cost prayer points, but it will rid the plinth of the liquid and bring the Gravecreeper out of hiding. Be careful the moment he comes out, as the hazardous substance will still be covering most of the room.
Beasts
Icy Bones
Weakness: Crush
Required level: 1
Recommended Protection Prayer: Protect from Melee
Floors: Frozen
Reward: Vambraces
This boss has two special attacks. The first is creating ice spikes out of the ground that do damage if stood on and prevent movement, but they never appear in melee range. The other is to freeze players, but this only works from a distance. When using ranged or magic, it is often worth it to stand next to him with Protect from Melee on to avoid the spikes and freeze spells. It should be noted that his melee attacks hit very hard, often, and even through prayer and good armour, so his ranged and magic attacks aren't so much of a threat in comparison. A good set-up is to use Protect from Melee and wear high magic defence armour. He is considered one of the hardest bosses to kill in a group, as he is usually a very high level and hits ridiculously high on all players at once and he may do more damage than the players can replenish with food.
Luminescent icefiend

Weaknesses: Stab, Fire spells, Mauls are extremely efficient
Required level: 5
Recommended Protection Prayer: Protect from Missiles
Floors: Frozen
Reward: Daggers
This boss uses magic and ranged to attack. His standard attacks usually involve throwing balls of ice, but it is easily countered by using Protect from Missiles. Every time a fifth of his health has been depleted, he will become invincible and icicles will begin to fall from the ceiling. To avoid them, the player must run across the room, preferably from corner to corner.(Please NOTE that you CANNOT TELEPORT out of his room) Once the ice has melted you can continue attacking the Icefiend. If you are in a group, make sure your paths don't cross. If you get hit, it is difficult but not impossible to dodge the remaining icicles. The icicles will never kill you, so you should only heal after the bombardment is over. His icicle attack is the only thing that should cause any trouble in this battle.
Rammernaut
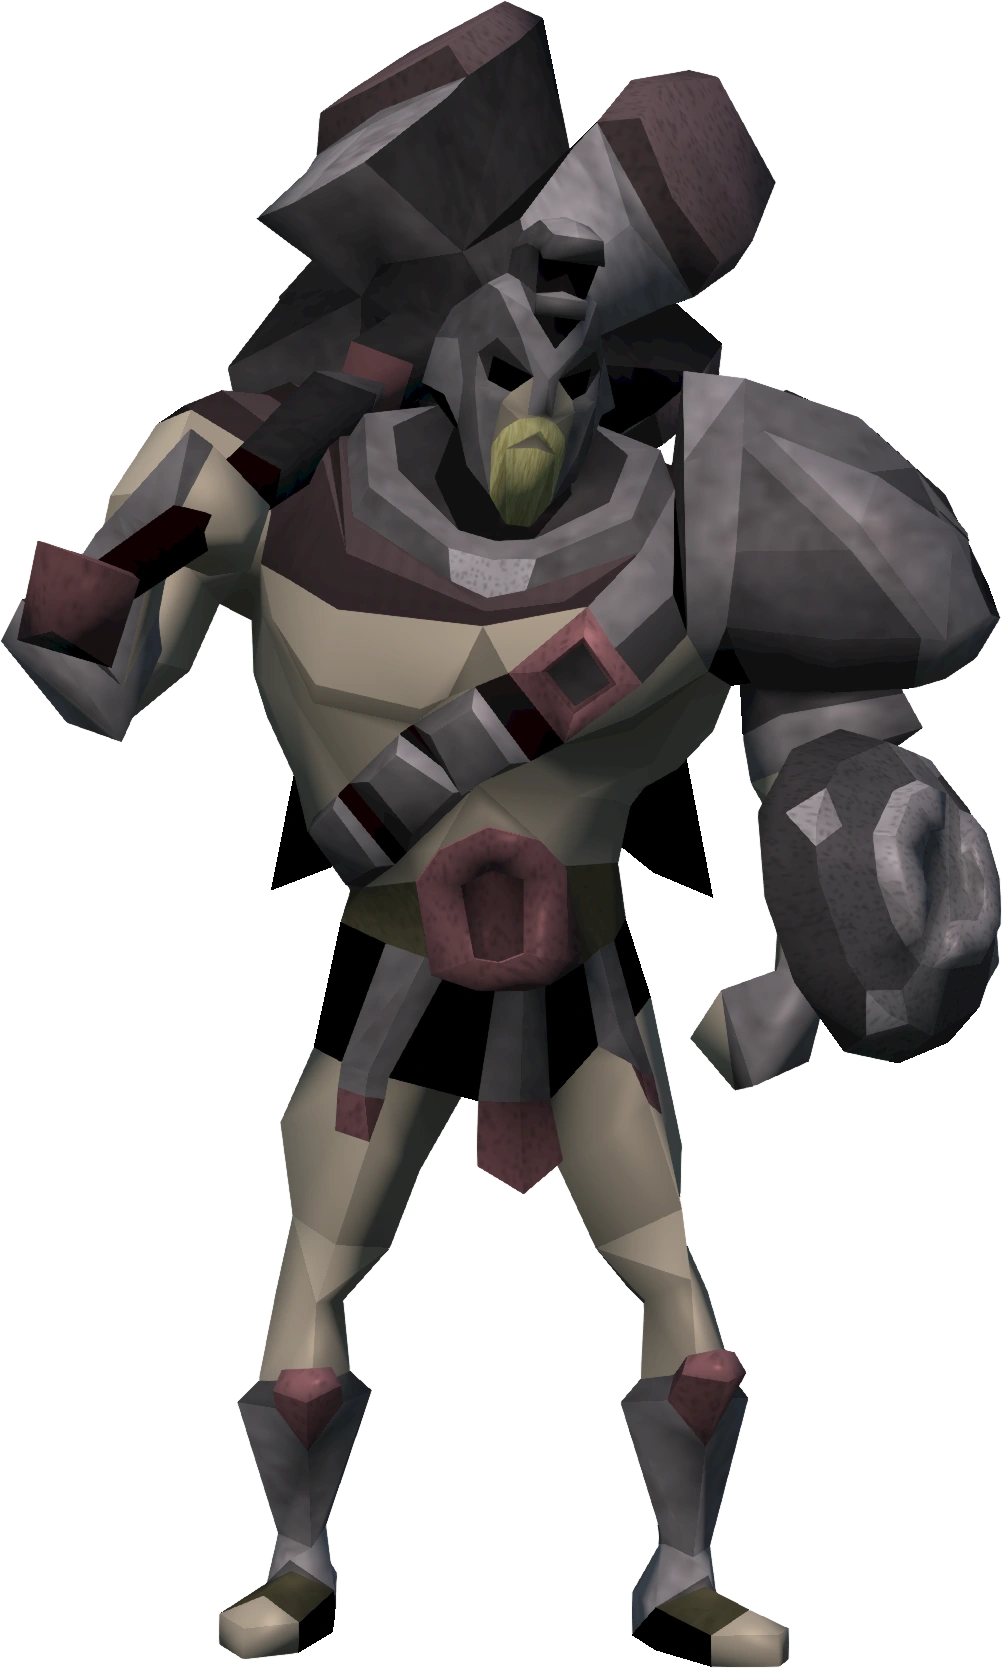
Weaknesses: Stab, Water spells
Required level: 35
Recommended Protection Prayer: Melee
Floors: Furnished
Reward: Mauls
This boss only fights with melee and is capable of hitting hard, even with good armour. If you are praying, Rammernaut will act more aggressively towards you. When he yells "CHARGE!!!",, he will run towards a player or group of players. He will stop upon hitting his target, who will be flung back a few squares and stunned, in addition to massive damage. If you can avoid him and get him to charge into a wall, he will stun himself momentarily, or if you have high enough mage you can use a teleport to either a group gatestone or your own gatestone. Just leave it outside the boss door and when he says "CHARGE!!!", teleport out and then re-enter when he is done charging. He also reduces your defence after using his charge attack, but only by 1 level. One of the best ways to defeat him is to mage him from the edges of the room, dodging him should he charge, and using Protect from Melee. If you don't move, you can trap him in a corner until he charges again. Making good use of this method can allow you to defeat him using magic or ranged without taking damage. If you are attacking him with melee with fractite armour or higher, if you find it too difficult to avoid the charge attack when he does it try turning off your prayer and attacking him without it. If you have food you should last the entire fight without dying and your armour should protect you enough to avoid more then taking a chance with avoiding the charge attack. This also allows the player more hitting time and less time running around.
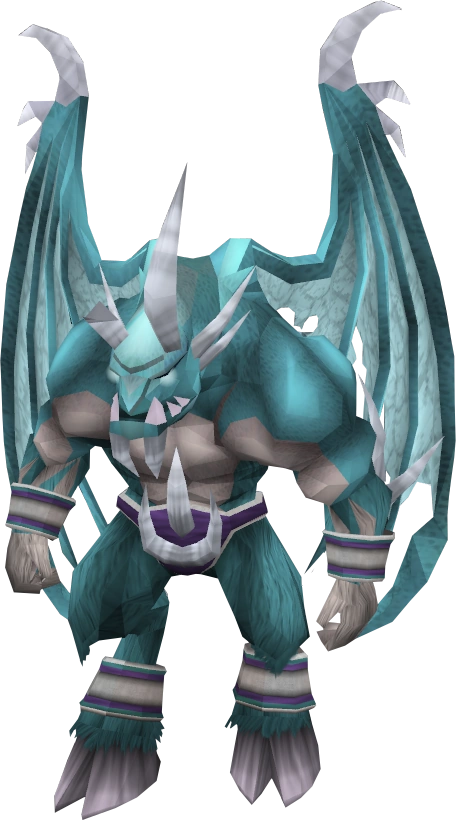
Warped Gulega (m)

Weaknesses: Slash,Gorajo combat familiars
Required level: 95
Recommended Protection Prayer: Whatever you are weakest against
Floors: Warped
Reward: Magic tops
The Warped Gulega uses all three styles of attack efficiently, with a very powerful special attack. If you are hit by it, you will be left with one life point left. This attack is aimed at the floor beneath the player, rather than the player itself ,and thus should you see it coming you can move out of the way and avoid the attack completely. The Warped Gulega naturally halves damage done by the player but, due to their history of fighting them, the Gorajo familiars are considerably more accurate and damaging than normal when fighting the Gulega. Coupled with the Bloodrager's scroll special, which lowers the opponent's defence considerably, this boss can be dealt with swiftly and with few problems.
Dreadnaut (m)
Weaknesses: Magic

Required level: 95
Recommended Protection Prayer: Melee
Floors: Warped
Reward: Platebodies
Dreadnaut is a warped version of a Rammernaut. The only difference is that Dreadnaut does not "charge" at you as Rammernaut does. He uses a special attack similar to the Dragon Scimitar's special that disables prayer for 5 seconds. He can also lower your Magic level by 10% of whatever he hits if you continually avoid him, as well as spawning orange globs similar to Grave Creeper's special attack that will damage you if stood on.
Tips for any boss
- If you have 94 magic it is recommended to use vengeance against bosses in order to inflict extra damage against bosses who hit high, in order to make the fight quicker and easier. Except for Rammernaut, since if you cast vengeance and are then hit by him, you will receive a message in your chat-box saying "You can only attack other players in a player-versus-player area." It is not known if this is a glitch, or if Jagex planned for this to happen. Stomp is also immune to the effects of vengeance. If you are in a team it is advised to vengeance the tank or meat-shield.
- It is recommended to make a gatestone and drop it outside the boss room. If you are low on health or resources you can teleport out anytime. This is only disabled for the Luminescent icefiend and Yk'Lagor the Thunderous (when not hiding behind a pillar).
- Bosses will not heal to full health after you leave the chamber by death; only the Gluttonous Behemoth will restore to full health if its health is below half.
- Use your minimap to move, ensuring easier, smoother movement.
- The higher the level of the boss, the higher the chance of getting its best drop.
- While several specific bosses can be rather tedious at any level, the combat level of the boss is generally a better indicator of the fight difficulty than the boss variety.
Trivia
- If a player dies at the same time as the boss, the death still counts, increasing the death counter by 1.
- Like some other Runescape monsters, such as God Wars dungeon bosses, the player can always one-click to attack the boss, even if the Dungeoneering boss has a higher combat level than the player.
- When the Occult Floor bosses were first released, their music track unlock hints read "This track unlocks default info". Also, most of the tracks were unplayable. This has been fixed.
- All of the Stalkers, except Plane-freezer Lakhrahnaz, have the same sound effects when receiving damage and dying.
- Astea Frostweb, the Skeletal Horde, Lexicus Runewright, the Skeletal Trio, the Necrolord, Yk'Lagor the Thunderous and Flesh-Spoiler Haasghenahk are the only bosses that can have more than one NPC in the same room. Yk'Lagor kills the mages after four of them are being distracted and the Skeletal Trio is a boss of three monsters, so these two don't summon anything to aid them in battle, unlike the other five.
Dungeoneering bosses | |
|---|---|
| Frozen | |
| Abandoned 1 & 2 |
|
| Furnished |
|
| Abandoned 2 |
|
| Occult |
|
| Warped |
|