Template:RSC page Template:Floor
| |||||||||||||||||||||||||
| Release date | 9 April 2002 (Update) | ||||||||||||||||||||||||
|---|---|---|---|---|---|---|---|---|---|---|---|---|---|---|---|---|---|---|---|---|---|---|---|---|---|
| Members | Yes | ||||||||||||||||||||||||
| Voice Over | Unknown edit | ||||||||||||||||||||||||
| Official difficulty | Experienced | ||||||||||||||||||||||||
| Quest series | None | ||||||||||||||||||||||||
| Age | Fifth Age | ||||||||||||||||||||||||
| |||||||||||||||||||||||||
Official description
| “ | The Fitzharmon family crest has gone missing, and the family honour has been lost.
Can you find the crest and return it to Dimintheis in Varrock? There are three different rewards available, but you can only choose one; so choose carefully! |
” |
Walkthrough
| Start point | |
|---|---|
| Member requirement | |
| Official difficulty | |
| Official length | Medium (45 to 90 minutes, less if you have high combat stats for killing Chronozon.) |
| Requirements | Skill requirements are not boostable unless marked with a [B] for boostable.
|
| Items required | Items from the tool belt are not listed unless they do not work or are not automatically added.
Recommended:
|
| Enemies to defeat |
|
The Crest

To start, talk with Dimintheis, who lives in the fenced-off area in the south-east corner of Varrock. He'll tell you about how, without his family's crest, he can't prove his heritage and take back his estate. His sons took the crest when they left to defend Varrock against the hordes of zombies sent forth by an evil necromancer, and he doesn't know what happened to them afterwards, although he has heard rumours that Caleb is now staying with a friend just outside the gates of Varrock
Caleb
Items Required: Cooked shrimp, Cooked salmon, Cooked tuna, Cooked bass, Cooked swordfish
Caleb can be found in Gertrude's house in Varrock. Talk to him, and he'll say his brothers and he accidentally broke the crest into three parts and each of them ended up with a piece. Luckily, he still has his piece, although he's not going to just hand it over to any passing stranger. He has an important event coming up, and he needs some fish for a special salad. Get them for him, and he'll give you the piece of the crest.
What you need is shrimp, salmon, tuna, bass, and swordfish—all cooked. If you need the fish, head West towards the Barbarian Village to fish the salmon (fly) and then teleport to Catherby where you can fish for the tuna and swordfish (Harpoon or Hand), shrimp (small net) and the bass (large net). There is a range in Catherby just East of the bank where you can cook your fish. There is also a fly-fishing spot just north-west of Camelot, where you can fish salmon. Once you have all of that, give the cooked fish to Caleb, and he'll give you the piece as promised, along with a little bit of info: He'll say that the gem trader in Al Kharid might know more about the location of Avan. Make sure that you ask Caleb about his brothers' whereabouts, otherwise the gem trader's dialogue options will not include Avan.
Avan
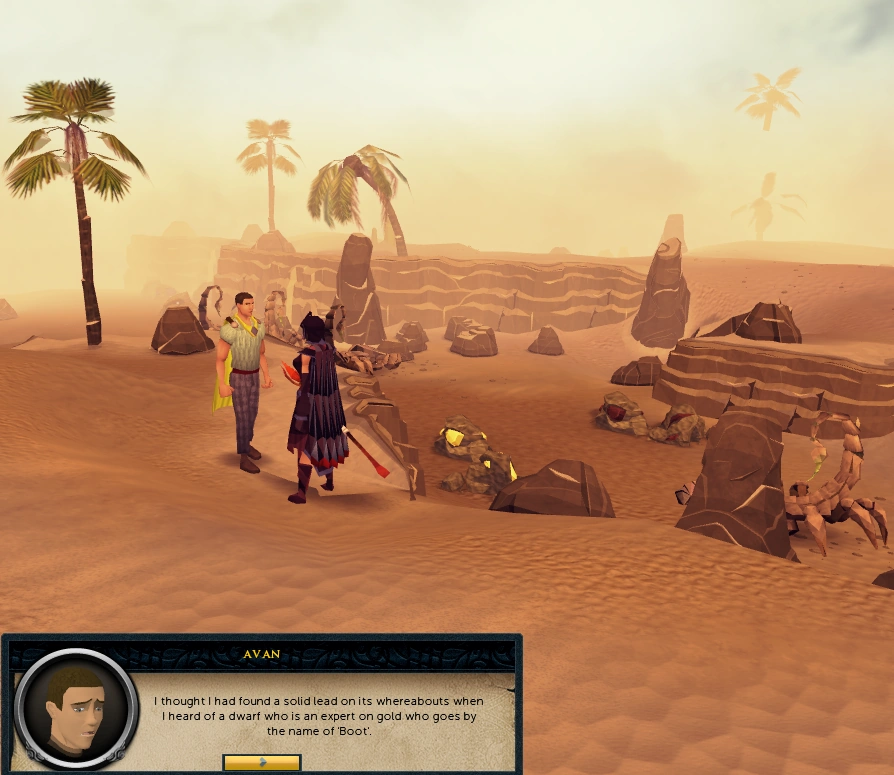

Avan wearing his Yellow cape at the mines.
Items required: A pickaxe, 2 cut rubies
Talk to the gem trader in Al Kharid, and he will remember the person that you're looking for. He directs you north towards the gold pit in the desert, the Al Kharid Mine. Head there, and talk to the man wearing a yellow cape, wandering around just at the entrance to the pit. This is, indeed, Avan, as he'll tell you when you ask him. He's not giving up his piece of the crest, though. Not unless you can help him win the affection of a certain lady by getting him a ring and necklace made out of 'perfect' gold. Unfortunately, the stuff there in the desert isn't nearly good enough. He'll tell you that a dwarf named Boot might know the whereabouts of the perfect gold.
Note: If you mine the ores and make the jewellery BEFORE speaking to Boot, speaking to Avan will result in the player still claiming not to have found the ore, and Avan will not accept the jewellery. Or, after having mined the 'perfect' gold ore, simply drop them, speak to boot, then pick them up afterwards. After that then smelt the ore and smith them into a ruby necklace and a ruby ring.
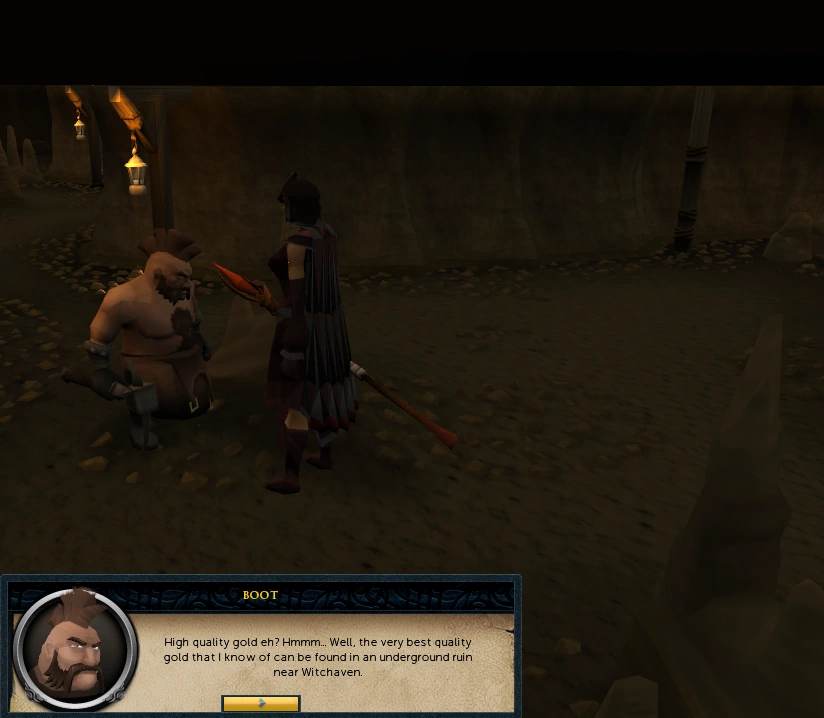

A player talking to Boot.
Make your way to the Dwarven mines south of Ice Mountain west of Edgeville and North of Falador. (Going west of Edgeville using lodestones are easier. Another way is to take an Amulet of Glory to edgeville and run west. You can also take a mine cart if you have access to them (Edgeville lodestone to Grand Exchange minecart): Boot is in a room to the west, south of the carts). Climb down the ladder into the mines. From the ladder, head south and turn west. Continue traveling west past the Living Rock Caverns entrance and the anvils, and you will find Boot wandering around down there. Talk to him, and ask him about perfect gold. He'll come up with a likely location: It's a small dungeon just between Ardougne and Witchaven. (You've already been there if you've done The Slug Menace quest.) It is recommended that you wear melee-resistant armour during this part. If you are a lower level, you will take damage.
Head to the dungeon. Make sure to get your pickaxe as well as some food and armour, as there are a bunch of level 50 Hobgoblins, level 96 Ogres, and a few level 132 Hellhounds that you'll have to either fight or avoid. Walk further inside (not into the false wall—if you have done Slug Menace—but down the tunnel). Walk east, and then a little bit to the south will be a small caged area with a couple of Hellhounds inside, along with the gold rocks you need to mine. To the north and south are two rooms with levers in and outside of them. You'll have to do a little bit of a lever puzzle here to open the gate to the Hellhounds.
(If you logout while doing the puzzle you will have to start over.)
- Go to the northern wall and pull that lever up.
- Head into the southern room and pull that lever up.
- Go back to the northern wall and pull that lever down.
- Go inside the northern room and pull that lever up.
- Leave the room and pull the lever on the northern wall up.
- Go back to the southern room and pull that lever down.
The hellhound room should now be unlocked.
After you have collected two gold ores, get your rubies and go to any furnace to smelt the jewelry (the furnace in Al Kharid is closest to Avan). Smelt the ore into perfect gold bars and then make the perfect ring and perfect necklace just like you would make any other ruby ring and necklace, just make sure to use the gold you just got. Once you have the items, head back to the Al Kharid Mine and give them to Avan. As a reward, he'll give you the second piece of the crest and, with further coaxing, tell you how to find his brother.
With the new interface they have added, there is no option to make a 'Perfect' Ring or 'Perfect' Necklace. Instead you need to click and use the 'Perfect' gold bars on the furnace. Then you will see two options in a box saying "Craft 'perfect' ring" and "Craft 'perfect' necklace". Be careful that you don't acidentally craft the same item twice or you will have to go get another gold ore, ruby, and craft a new one.
Johnathon
Items required: Anti-poison potion (1+ recommended)(needed when talking to John), Brass Key (to enter Edgeville Dungeon)
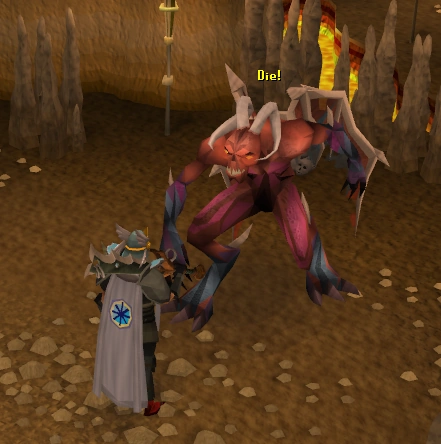
The last brother — Johnathon — is held up in the Jolly Boar Inn, just north-east of Varrock and near the Lumber Yard. He is on the first floor, in one of the bedrooms. Bring your anti-poison potion with you, and climb up the stairs to talk to him. He'll tell you he got bitten by a poison spider. Give him the antidote, and he'll be very grateful and relate to you about what happened (Note: The number of doses in your Anti-poison doesn't matter, he'll take the whole potion). Apparently, Johnathon attempted to defeat a blood demon called Chronozon. But instead, Chronozon defeated him, and in his efforts to escape, he was bitten by the poisonous spider. When you ask him for the third part of the crest, he says that he dropped it while fighting Chronozon and that you must go retrieve it.
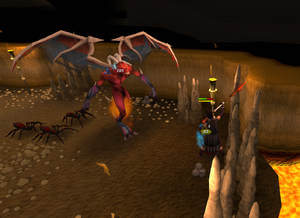
The safespot on the north-west side of the cave.
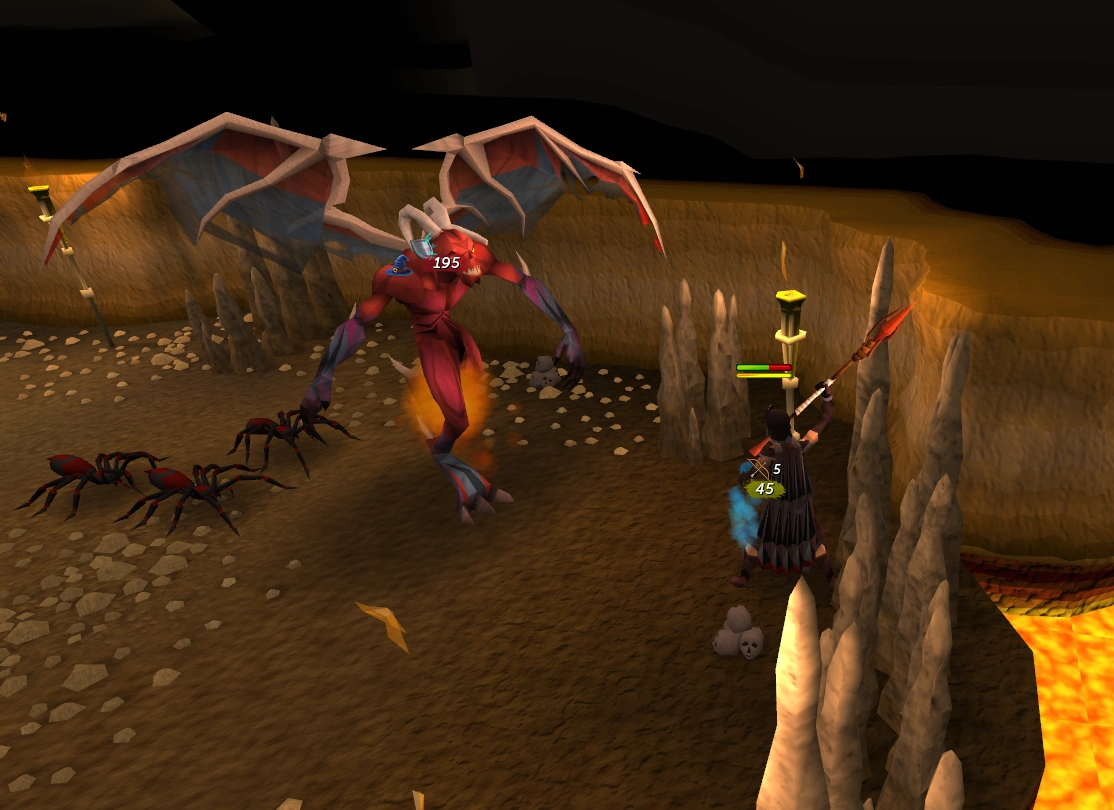
The monster is located in the Edgeville Dungeon (It is no longer in the wilderness at the earth obelisk). Enter the Edgeville Dungeon from the entrance closest to the Edgeville Bank, keep North along that path and go to the left at the farthest corner. (Do not enter the Wilderness gate in the Dungeon). It should be noted that there is a safespot on the west side of the cave in which Chronozon is located, that lies behind the space between the stalagmite and the torch ( the poison spiders can still attack you if you aren't right up against the wall).
You'll want to bring food, armour, an anti-poison potion for the poison spiders, and enough runes to cast each elemental Blast spell at least once, although it will probably take more than one casting, especially if you're lower level. This is because if the spell just "splashes" on him, it doesn't count. You have to hit (i.e. do actual damage) Chronozon with a Wind Blast, Water Blast, Earth Blast, and Fire Blast. When you do hit him with each of those spells, it will weaken him and make him a little easier. Chronozon is extremely weak to blast spells. With the requisite magic level and no negative bonuses, it is possible to kill the demon with only two or three more spells after the first four. You do not need to kill Chronozon with a blast spell, you just have to hit him with all 4 blast spells to weaken him and finish him off any way you like. In the event of teleporting or logging out after all four spells have been successfully cast, you will not have to recast the spells. Praying Protect from Melee is highly recommended. Abilities do count when the Blast spells are set to Auto-cast, and are VERY recommended if you seem to be unable to hit.
When you finally do kill him, grab the crest part and leave.
The Crest Reassembled
Now that you have all three crest pieces, put them together to make the Family Crest and then make your way back to Varrock. Give the crest to Dimintheis, who will be very, very pleased to have it back. Congratulations, Quest complete!
Reward
- 1 Quest Point
- Family gauntlets
- Access to the hellhounds in Witchaven Dungeon
- 2 extra spins on the Squeal of Fortune
Note : The Family Gauntlets on their own don't seem that impressive, but they do have a very useful ability. You can take them to any of the three brothers and have him imbue them with a *special ability. Be careful choosing, though, since you can only have one effect at a time, and it will cost 25,000 coins to change them. To change effects, just take them to the brother whose effect you want. If you lose the gauntlets, Dimentheis will have "magically" found them again and will give them back.
- Cooking Gauntlets (Caleb): Reduces the chance of burning certain fish significantly.
- Goldsmith Gauntlets (Avan): Increases the Smithing experience of smelting gold from 22.5 to 56.25.
- Chaos Gauntlets (Johnathon): Increases the damage done by Bolt spells.
Required for completing
Completion of Family Crest is required for the following:
- Defender of Varrock
- Legends' Quest
- Varrock Tasks:
- Hard: "Hand-Me-Downs"
- Seers' Village Tasks:
- Hard: "Gonna Need a Bigger Range"
Trivia
- When you receive Avan's piece of the crest, if you look at it, you will see a red dot in the middle. If you click this fragment, the red dot will disappear.
- Upon completion of the quest, your Adventurer's Log will say "The crest of the Fitzharmon family was scattered all over Gielinor! Its recovery means Dimintheis’s estate is safe."
- After completing the quest, if you talk to Juna, your character will say, "...So all three parts of the family crest were reunited."
- If you lose any of the crests, you can retrieve a new one from either of the three brothers. They all have their excuse for having it at that moment.
- If there are multiple players fighting Chronozon there will be multiples of him. In this instance, your Chronozon will be indicated with a yellow indicating arrow.
- After the PvP Wilderness was returned, Chronozon was hard for some players to deal with because he was in a PvP area, even though Jagex had promised to move all quests out of the wilderness. After some ranting in the forums (now archived), a tunnel was added that took him out of the Wilderness to his current, non-PvP location.
- Orry, the NPC watching over the beacon just north of the Jolly Bear inn, will refuse to talk to the player, if Johnathon is still ailing. After the player used anti-poison on Johnathon the usual options for beacon-NPC's are available.
- With the Deathtouched dart, you can kill Chronozon without needing the magic level to do so.
- When you "log out" while Chronozon is at the end of his lifepoints, you can get 2 pieces of the crest when you "log in" afterwards to the same world and kill him again.
- When giving an antipoison to Johnathon, antipoison flasks will not work.
- When the Evolution of Combat was released along with the new skilling interfaces, you weren't able to smith the 'perfect' jewellery. The bug was fixed some time after that.