Tags: Visual edit apiedit |
(Undid revision 14830131 by 187.19.7.2 (Talk) - no.) Tag: sourceedit |
||
| Line 171: | Line 171: | ||
| 11, 23, 35 |
| 11, 23, 35 |
||
|} |
|} |
||
| + | |||
| + | ==Waves== |
||
| + | ===Interactive map=== |
||
| + | {{Interactive fight kiln map}} |
||
| + | |||
| + | ===Table=== |
||
| + | {{Fight Kiln table}} |
||
==Rewards== |
==Rewards== |
||
Revision as of 20:10, 3 October 2015
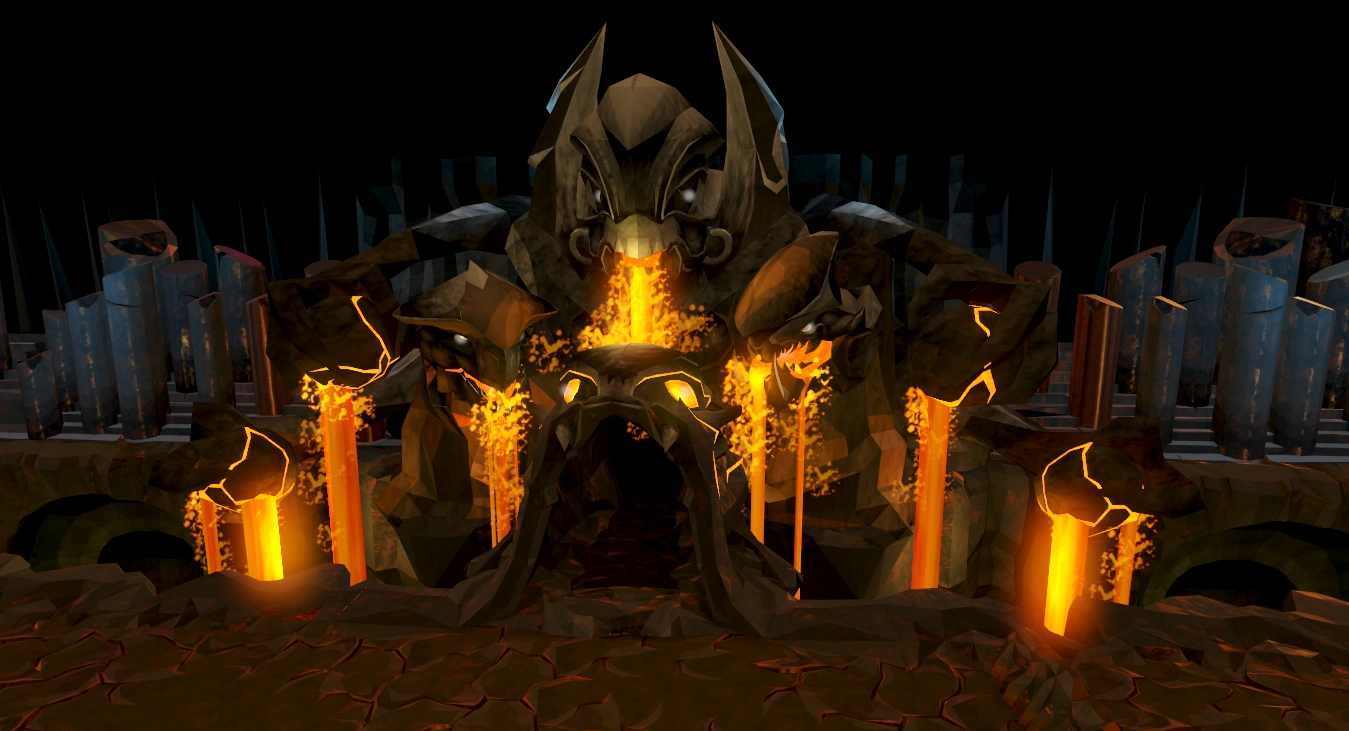

The Kiln

The TokHaar Fight Kiln is a combat minigame, wherein waves of TokHaar are fought for the sole sake of combat and their amusement. It's a tougher and improved sequel to the TzHaar Fight Cave minigame, and is extremely difficult to complete for the average player. Only the best adventurers can survive all 37 gruelling waves. This requires many times more persistence and skill than the original Fight Cave. It is recommended by Jagex and players alike that one should attain 85+ in all combat skills before attempting the Fight Kiln, although it is possible to complete it without these stats.
Entering the Fight Kiln requires having done The Elder Kiln, as well as a one-time payment of a fire cape. After this, the kiln may be played as many times as desired for the rewards - a choice of a TokHaar-Kal or an uncut onyx.
Unlike the typical 63 waves of the Fight Cave, the Fight Kiln only has 37 waves. Unlike the Fight Cave, there is no combat level pattern to be followed for each wave in the Fight Kiln. However, the waves of the Fight Kiln are always the same and the monsters always spawn in the same location. To reach the end of the minigame, players must fight a total of 7 TokHaar-Jad - who function in much the same way as the standard TzTok-Jad - before being faced with their final challenge; the gigantic Har-Aken.
There are several safespots in the Fight Kiln that can be used to lure and trap the TokHaar. Be aware, however, that the cave will slowly fill with lava, submerging the safespots and forcing the player to use the low wall in the middle of the area for luring. Lava will fill the cave after waves 10, 20, 30 and 34. By the time the final boss fight with Har-Aken commences, only a square-shaped piece of land will be available.
Every alternate wave will also cause lava crystals to spawn in the Kiln, which can be used to gain bonuses such as temporary invincibility or full prayer and life point restoration. Use them to the fullest to survive the waves - especially the seven TokHaar-Jads and Har-Aken.
Unlike the Fight cave, players are allowed to bring a familiar into the arena.
Monsters
| Name | Level | First Wave | Count | Life points | Attack style | Max hit | Weakness | Notes |
|---|---|---|---|---|---|---|---|---|
TokHaar-Hur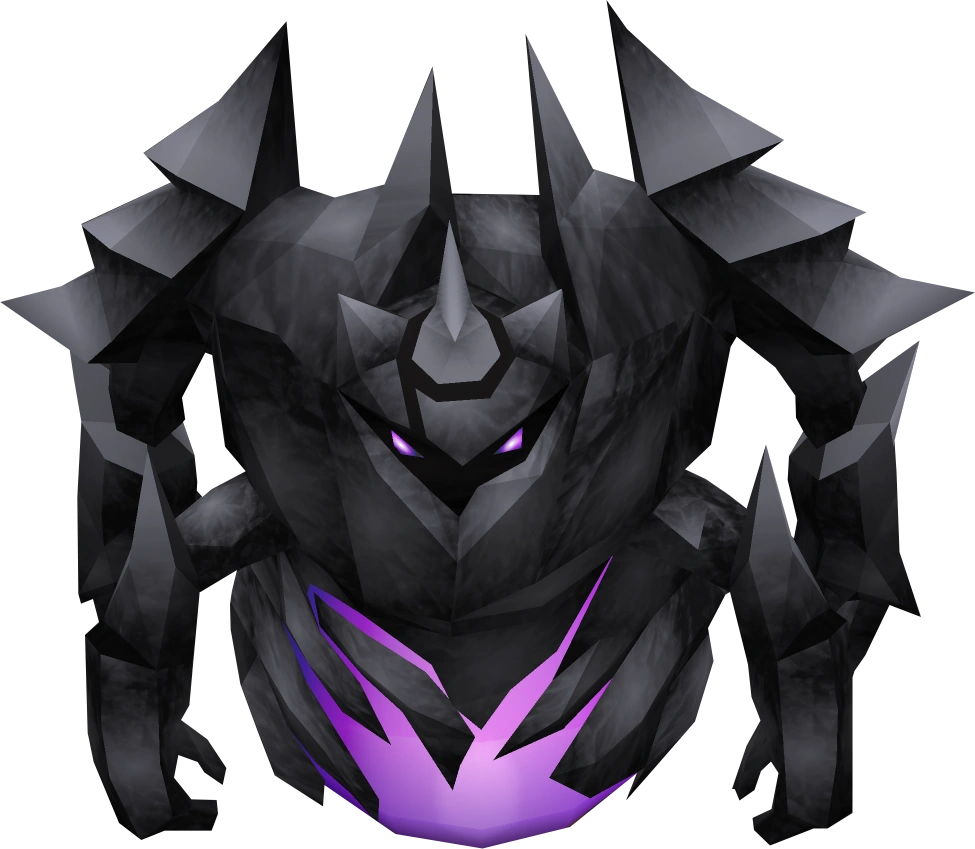
|
100 | 1 | 20 | 3,500 | 280 | By far the weakest creature in this minigame, it hardly does any damage and can be killed quickly. Using magic to kill it is recommended. | ||
| TokHaar-Xil File:TokHaar Xil.png |
140 | 1 | 8 | 5,475 | 292 | It has more life points than his TzHaar counterpart, but does not hit as often. Using melee to kill it is recommended. | ||
TokHaar-Tok-Xil
|
200 | 1 | 46 | 5,700 | 364(ranged) 220 (melee) | It hits higher and more often than his Xil counterpart but can be killed much more quickly. Using melee to kill it is recommended, and it should also be the first priority to kill in most cases (unless it is trapped). | ||
TokHaar-Mej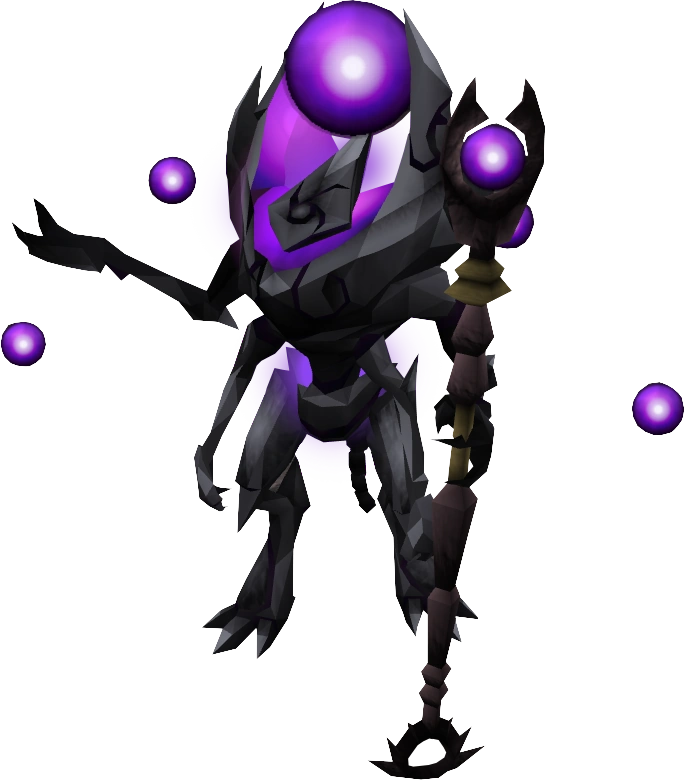
|
160 | 4 | 27 | 5,475 | 194 (melee) 292 (magic) |
It attacks with magic and accurate melee (when in melee range). Always stand at least a square away from one. Using ranged to kill it is recommended. | ||
TokHaar-Ket-Dill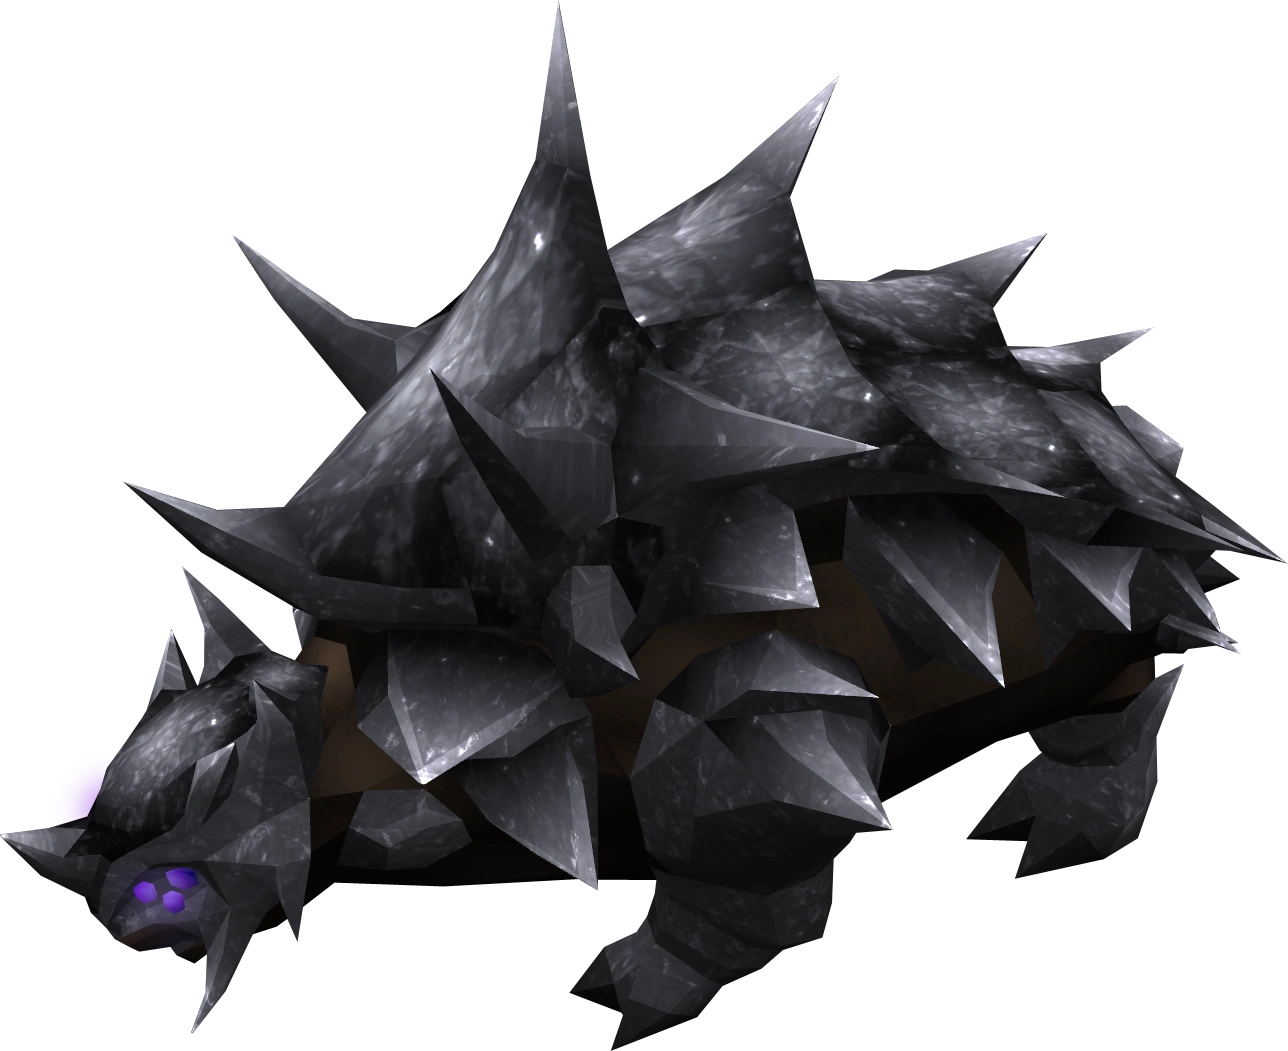
|
120 | 5 | 8 | 3,750 | 450 (melee) ~1800 (special) |
It needs to be hit with either a Rune pickaxe or Dragon pickaxe anywhere between 2-5 times to remove its armour. After the armour has been removed, it can be damaged. Dreadnips or a combat familiar can deal damage through the armour. It attacks with an accurate melee attack and sometimes uses a special attack that hits for consistently high damage. Luring and trapping it is recommended before trying to break its armour. Using magic to kill it is recommended. It tends to use the special attack more if you protect from melee. WARNING: The TokHaar-Dill's special attack is able to hit through the invulnerability crystal. 'Note': After a hidden update, pickaxes in your toolbelt will also work at chipping away at the armour. | ||
TokHaar-Ket-Zek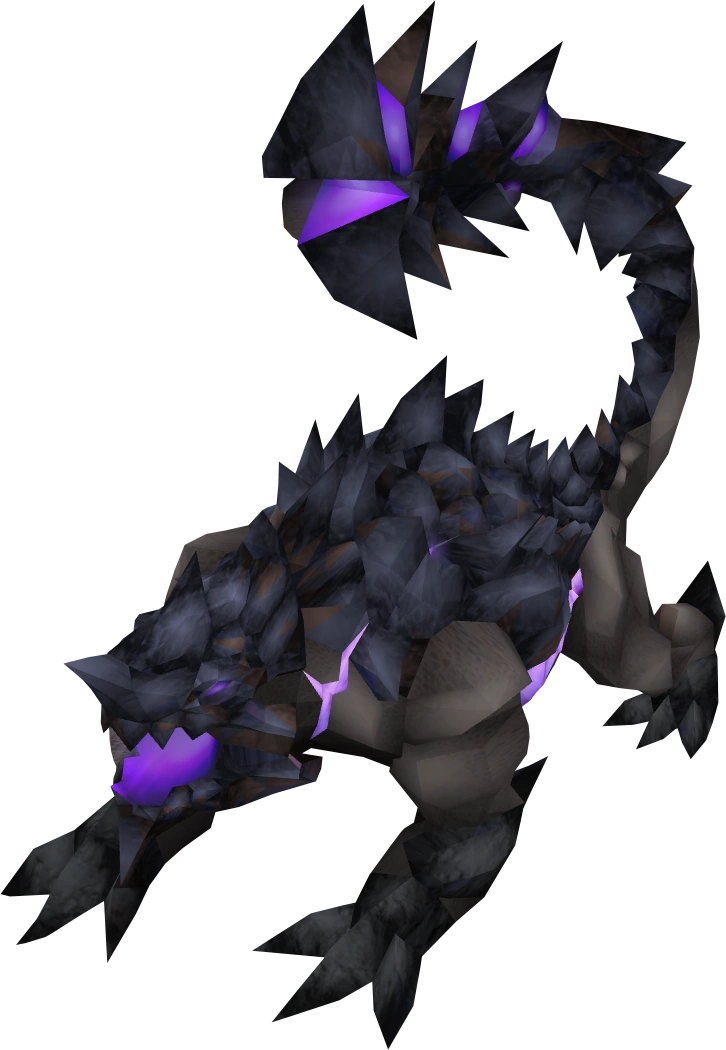
|
400 | 8 | 23 | 5,850 | 374 | It should be dealt with as soon as possible since it hits very accurately even when praying against its attack style. Using ranged to kill it is recommended. It is surprisingly weak against Dreadnips. | ||
TokHaar-Yt-MejKot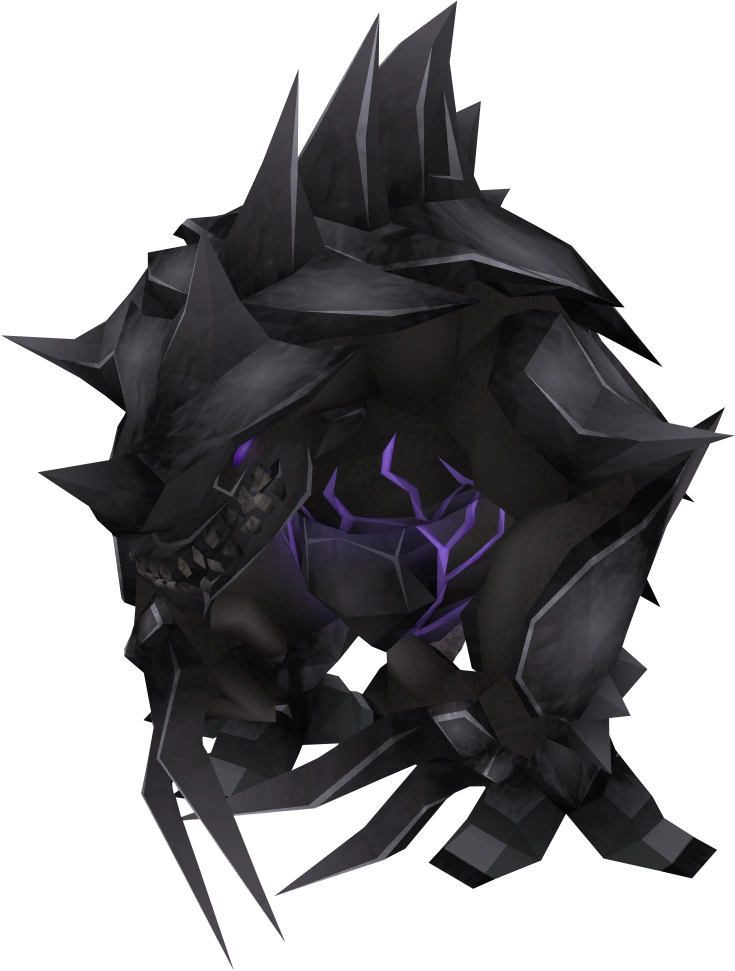
|
300 | 17 | 30 | 5,775 | 369 | Despite its high level, it is inaccurate, but it does have high strength, so trapping it or using the appropriate protection prayer is recommended. Using magic to kill it is recommended. It is surprisingly weak against Dreadnips. | ||
TokHaar-Ket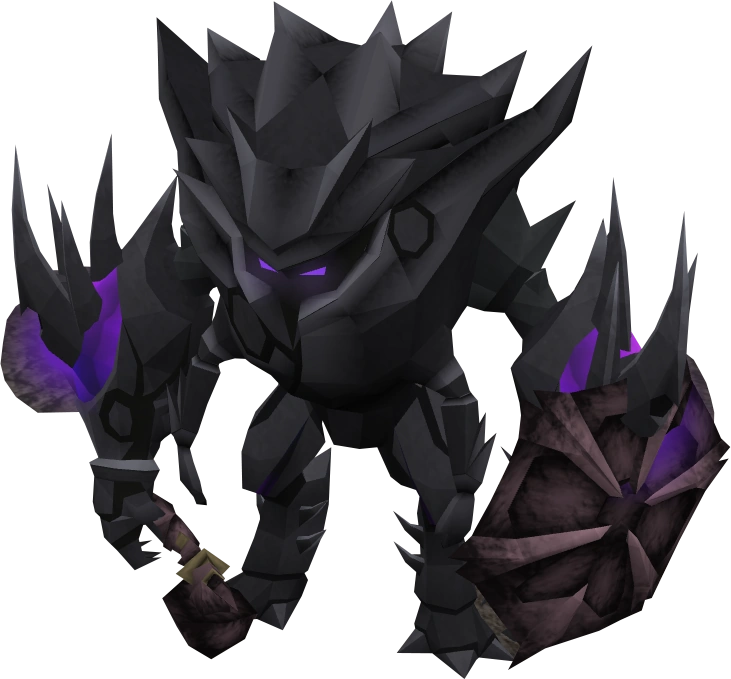
|
180 | 22 | 5 | 5,475 | 214 | It is not as dangerous as its combat level suggests, but nevertheless it should be trapped before killing it (use Protect from Melee otherwise). Using magic to kill it is recommended. | ||
TokHaar-Jad
|
780 | 10 | 7 | 7,900 | 8500+ | Similar to TzTok-Jad, it is strongly advised to switch prayers to block its attacks. Small amounts of damage (~100) will be dealt through prayer, however, so healing between prayer switches is recommended to keep life points high. It is recommended to eliminate other monsters before facing TokHaar-Jad. If that is counterproductive, make sure that other monsters do not interfere with the fight. Note that they are far easier to defeat than the standard Jad, as they do not summon any Yt-Mej-Kot and have far lower defence and life points. | ||
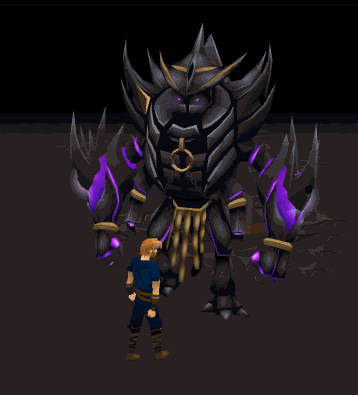
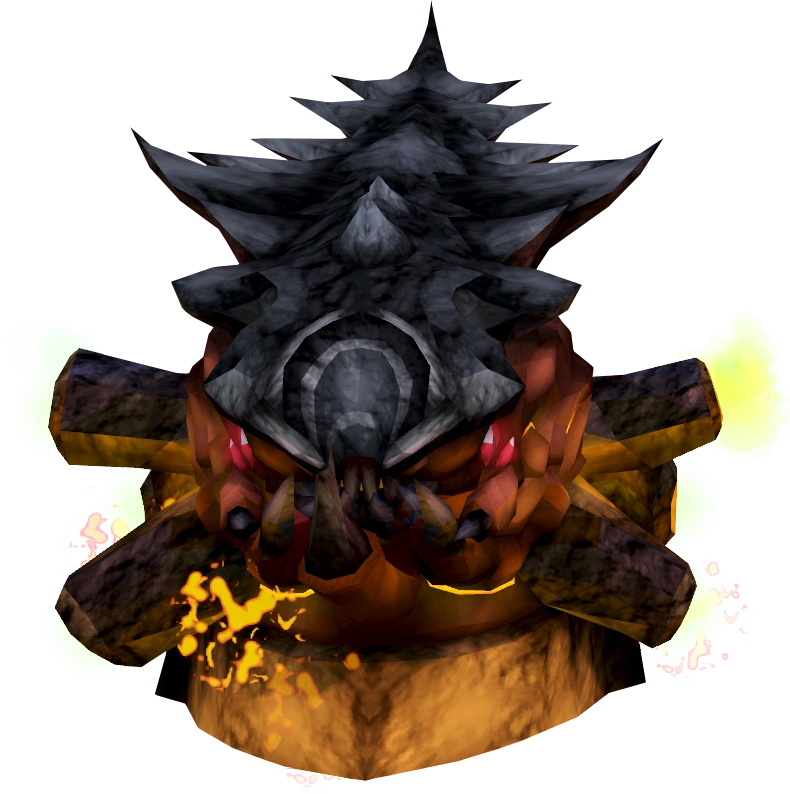
|
|
800 | 37 | 1 | 48,000 | ~250 | Head: Ranged tentacles: Magic tentacles: |
The final boss of the Fight Kiln, it attacks with numerous magic and ranged tentacles. It can only be defeated by killing its head, which emerges every 72 seconds for 27 seconds. The tentacles can be attacked, but the head will appear regardless. Storm of Armadyl or the polypore staff in combination with magic crystal and Soul Split is an effective way to damage the head, but its also dangerous, as it halves defence. So it is crucial to wear high defence armour while activating the magic crystal on Har-Aken, keeping in mind that it lasts for 3.5 minutes. |
Crystals
In some waves you can obtain Crystals, which grant certain "power-ups" usable only in the Fight Kiln. Only one crystal can be activated at a time, so the effects cannot be combined. When a crystal is used, the appropriate stat is boosted to 150% (148 at 99) while the other combat stats are reduced to 50% (49 at 99).
It is recommended to pick following crystals: Invulnerability, Constitution and Restoration. Others will just occupy inventory space and they are likely to be not needed throughout the cave. Picking magic crystal is only advised if experienced enough.
Invulnerability crystal should be used on wave 36. Constitution crystals are recommended to save for Har'Aken and restoration crystals are useful whenever your life points and prayers are low.
| Crystal | Effect | Waves |
|---|---|---|
| Offers complete invulnerability for 15 seconds. It does not work when TokHaar- Ket-Dill uses its special attack. Note that damage will still be received if the crystal is activated after a monster has already done its attack animation. | 1, 13, 25 | |
| Fully restores prayer points and life points. | 3, 15, 27 | |
| Boosts Magic by 50% for 3.5 minutes but also significantly reduces Defence, Strength, and Ranged. At level 99 Magic, the level is boosted to 148, giving a staggering 147% magic damage boost and allowing spells to frequently hit much higher than before. | 5, 17, 29 | |
| Boosts Ranged by 50% for 3.5 minutes but also significantly reduces Defence, Strength, and Magic. | 7, 19, 31 | |
| Boosts Strength by 50% for 3.5 minutes but also significantly reduces Defence, Ranged, and Magic. | 9, 21, 33 | |
| Boosts Constitution by 50% for 3.5 minutes. The Constitution boost also affects Saradomin brews and the Unicorn stallion's healing aura scrolls. It should also be noted that when the Constitution crystal wears off, the user is healed to full health. | 11, 23, 35 |
Waves
Interactive map
| 2 TokHaar-Hur 2 TokHaar-Xil 1 TokHaar-Tok-Xil | |||||||||||||||||||||||||||||||||||||
Table
Rewards

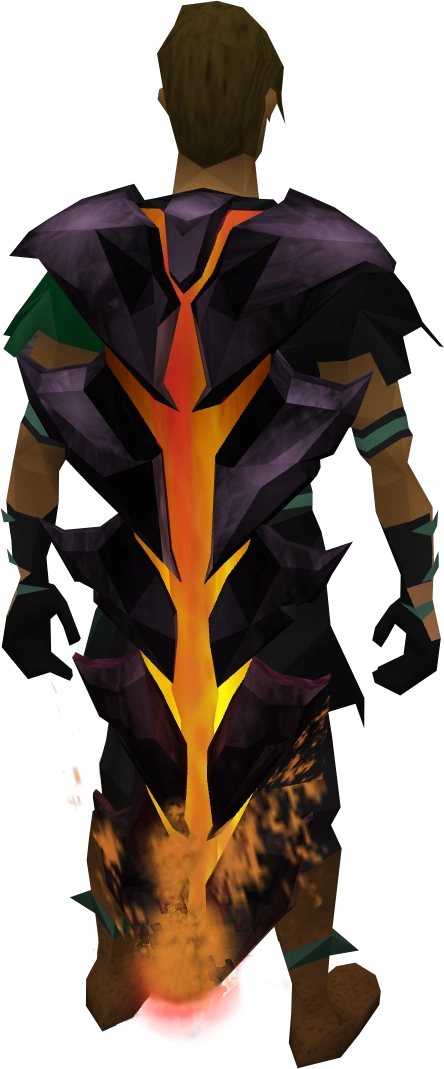
A TokHaar-Kal-Ket, one of the three capes awarded from completing the Fight Kiln
Upon victory in the Fight Kiln, players are prompted to choose reward between a TokHaar cape — a TokHaar-Kal-Ket, TokHaar-Kal-Xil or TokHaar-Kal-Mej — or an uncut onyx. Players are only able to choose the cape(s) equivalent to the combat style(s) they used most during the minigame. For example, if someone primarily uses melee, they will only get a choice between a TokHaar-Kal-Ket and an onyx, but if someone uses all three combat styles in roughly equivalent amounts, they will have a choice between all three capes and an onyx.
The TokHaar-Kal capes are some of the best in the game, possessing a damage bonus of 31 in their respective combat styles.
The kiln can be played multiple times to get all four rewards. Completing the Kiln once is also a requirement for the Completionist cape. Players may also choose to trade in a set of all three TokHaar-Kal with Tzhaar-Mej-Jeh in the central plaza to receive the Enhanced Fire Cape cosmetic override. This will destroy all three capes and is irreversible.
Note that if a player has a full inventory while choosing a reward, or clicks away from the reward chatbox, they will be transported outside of the Fight Kiln and will have to go back in and talk to TokHaar-Hok again to claim their reward (provided at least 1 free inventory slot is available). The Fight Kiln cannot be played again until a reward is chosen.
Har-Aken may rarely drop the Volcanic shard, which is used to unlock its pet version: Shrimpy.
Trivia
- Upon completing the Fight Kiln, the following message appears in your Adventurer's Log: "I defeated many waves of TokHaar, before vanquishing the mighty Har'Aken and conquering the Fight Kiln."
- An Early bird lamp was obtained by players who reached wave 30 of the minigame within two weeks of its release - before 29 February 2012.
- Sometimes, a rare glitch can occur in which the wave will begin but no monsters will spawn regardless of how long the player waits. This can be fixed by logging out and then logging back in.
- Completing the kiln nets 166,779 total experience with 125,402 going to combat styles and 41,377 going to constitution.
- On 9 February 2015, Jagex added a spawn timer for the Fight Kiln in fast and slow speeds in response to player feedback due to waves spawning slowly.