The Kiln.
The Fight Kiln is a safe minigame announced in the February 2012 Behind the Scenes, and released on 14 February 2012. It is a sequel to the Fight Cave minigame, with tougher opponents for players to fight. This minigame has proved to be the most challenging one in all of Runescape. At the end of the Fight Kiln, players will be pitted against a boss that will be tougher than two Jads combined, and get a chance to claim the new cape - TokHaar-Kal.
The Fight Kiln is a revamped version of the Fight Caves that is extremely difficult to complete. Only the best adventurers can survive all 37 grueling waves. This requires many times more persistence and skill than the original Fight Caves. Additionally, the Fight Kiln features 7 TokHaar-Jads combined throughout the waves, whereas the Fight Caves only contain one TzTok-Jad; on the last wave. It is recommended by Jagex and players alike that one should attain 90+ in all combat skills before attempting the Fight Kiln.
Before entering the Fight Kiln for the first time, players must hand in a one-off payment of a fire cape. After this, the kiln may be re-entered as many times as desired for the rewards.
Unlike the typical 63 waves from the Fight Cave, the Fight Kiln only reaches 37 waves before you fight the final boss, Har'Aken. There is no pattern to be followed for each wave, unlike the Fight Caves. However, the waves of the Fight Kiln are always the same and the monsters always spawn in the same location.
If you are using safespots in the Kiln, be aware that the cave will slowly fill with lava, forcing you onto smaller areas for fighting and submerging on safespots. This will happen on waves 10, 20, 30 and 34. By the time the final boss fight with Har-Aken commences, there will be no safespots left for you to stand on and only a square-shaped piece of land is available.
Every alternate wave will also cause lava crystals to spawn in the Kiln, which can be used to gain bonuses such as temporary invincibility or full prayer and lifepoint restoration. Use them to the fullest to survive the waves - especially TokHaar-Jad and the terrible Har-Aken.
Preparation
Suggested skills
(Note: These values are for optimum survivability rates and is completely possible without, for example players with only the combat stats and Soul Split are more than capable of beating the Fight Kiln without great difficulty as long as the technique is good.)
Melee
- 95
 (for Soul Split and Turmoil)
 - 90+
 , , , , and
 - 96+ (for pack yaks)
- 96+ (for overloads)
Magic
- 90+ and
- 96+ (for pack yaks)
- 91+ (for extreme magic potions)
Other
- 450+ boss kills on Dominion Tower (for dreadnips)
- Completed Elite or hard Seers' Village Tasks (for Enhanced excalibur)
Recommended equipment
- Dreadnips can be deployed to hit through the Dill's armour without it needing to be broken by a pickaxe. This is not a glitch.
Inventory
- 4 Overloads flasks (96 Herblore required)
- 4 Prayer Renewal Potion flasks
- 20+ Saradomin Brew flasks
- 5-6 Super Prayer flasks
- Pickaxe or Dreadnips for the TokHaar-Ket-Dill (required to break the armour of the TokHaar-Ket-Dill before attacking it using conventional methods)
- Dreadnips (optional)
- Extra Storage Familiar Pouch (Pack Yak > War Tortoise )
Monsters
| Name | Level | First Wave | Life points | Attack style | Max hit | Notes |
|---|---|---|---|---|---|---|
TokHaar-Hur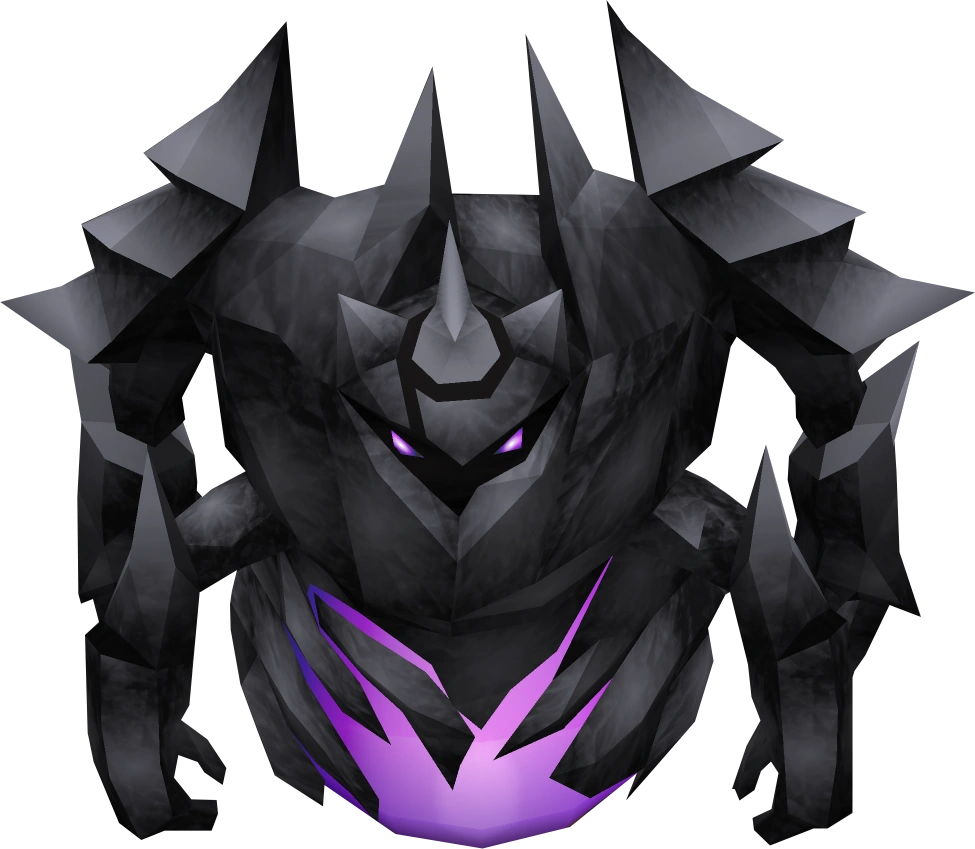
|
100 | 1 | 900 | 124 | By far the weakest creature in this minigame, hardly does any damage and can be killed quickly. Using magic to kill it is recommended. | |
| TokHaar-Xil File:TokHaar Xil.png |
140 | 1 | 1300 | 194 | Has more life than his Tok-Xil counterpart, but does not hit as hard. Also does not hit as often. Using melee to kill it is recommended. | |
TokHaar-Tok-Xil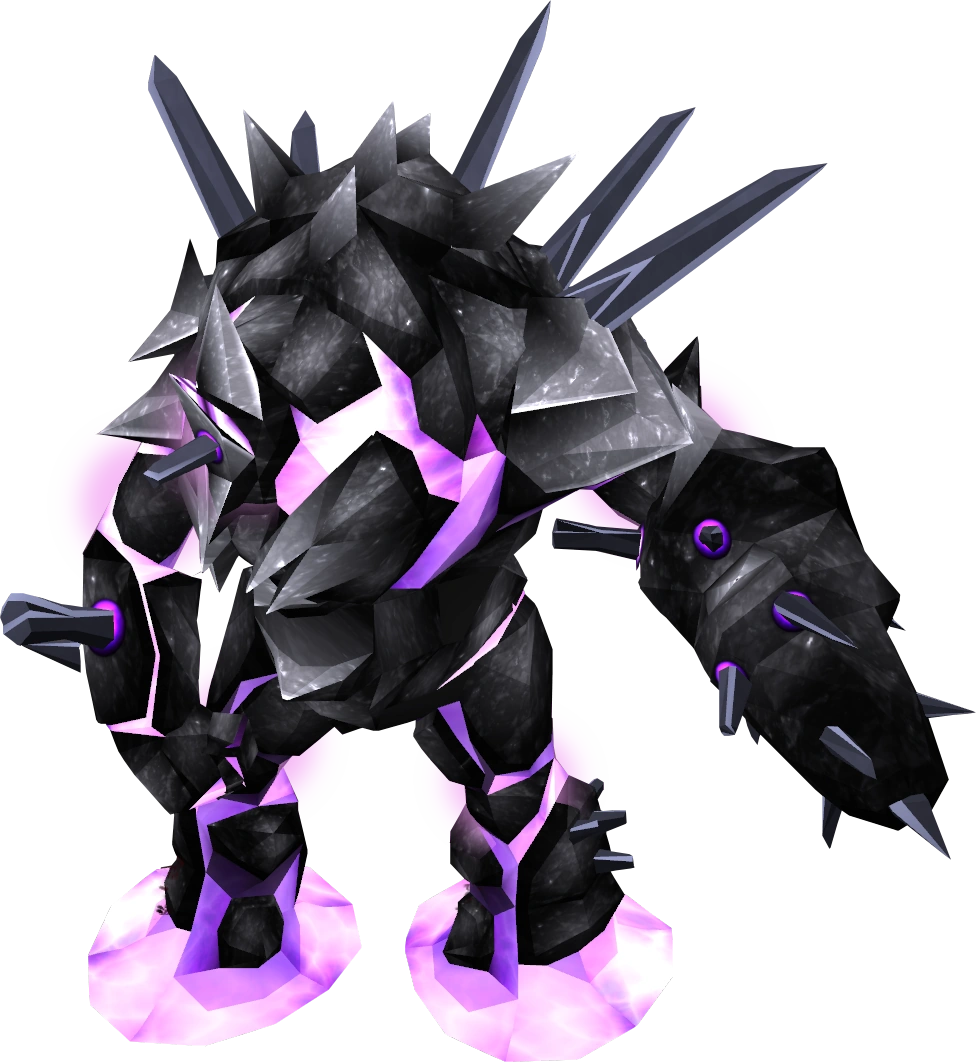
|
200 | 1 | 700 | 234 | Hits more and more accurate than his Xil counterpart but can be killed faster. Using melee to kill it is recommended. | |
TokHaar-Mej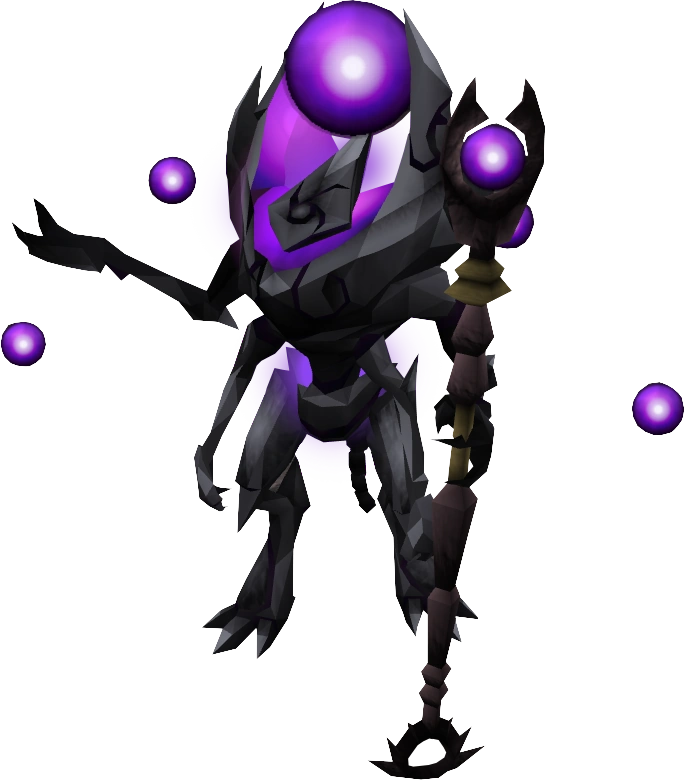
|
160 | 4 | 1,200 | Attacks with magic and accurate melee (when in melee range), can be dangerous in large numbers. Using range to kill it is recommended. | ||
TokHaar-Ket-Dill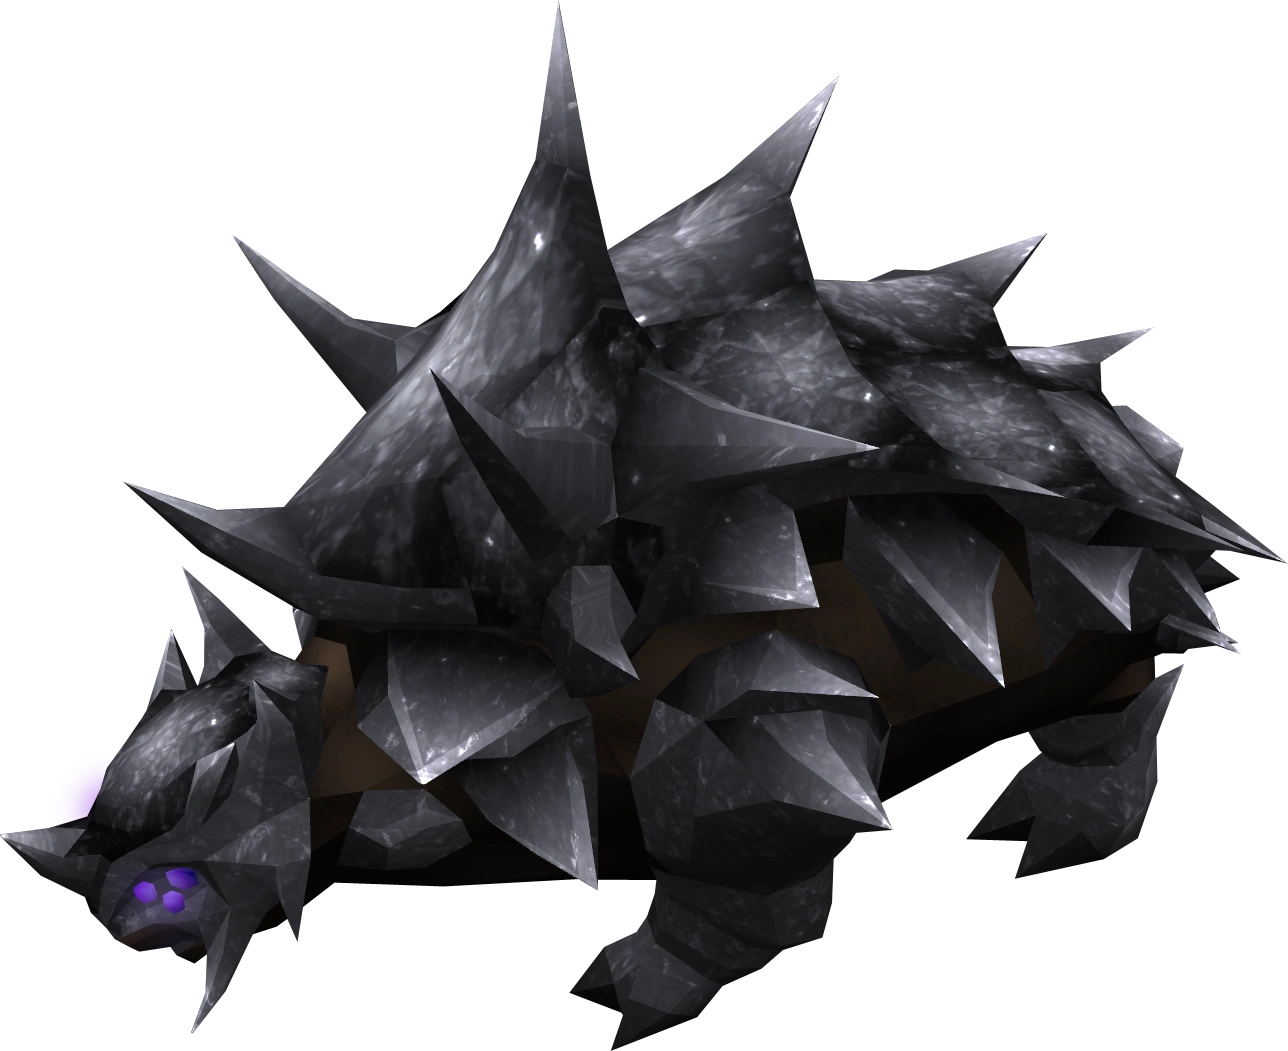
|
120 | 5 | 900 | Needs to be attacked with pickaxe (Anywhere between 2-5 times) to remove its armour. After the armour has been removed it can be damaged. Some styles can damage through armour. Dreadnips can deal damage through the armour. WARNING: The TokHaar-Dill's special attack is able to hit through the Invulnerability crystal. | ||
TokHaar-Ket-Zek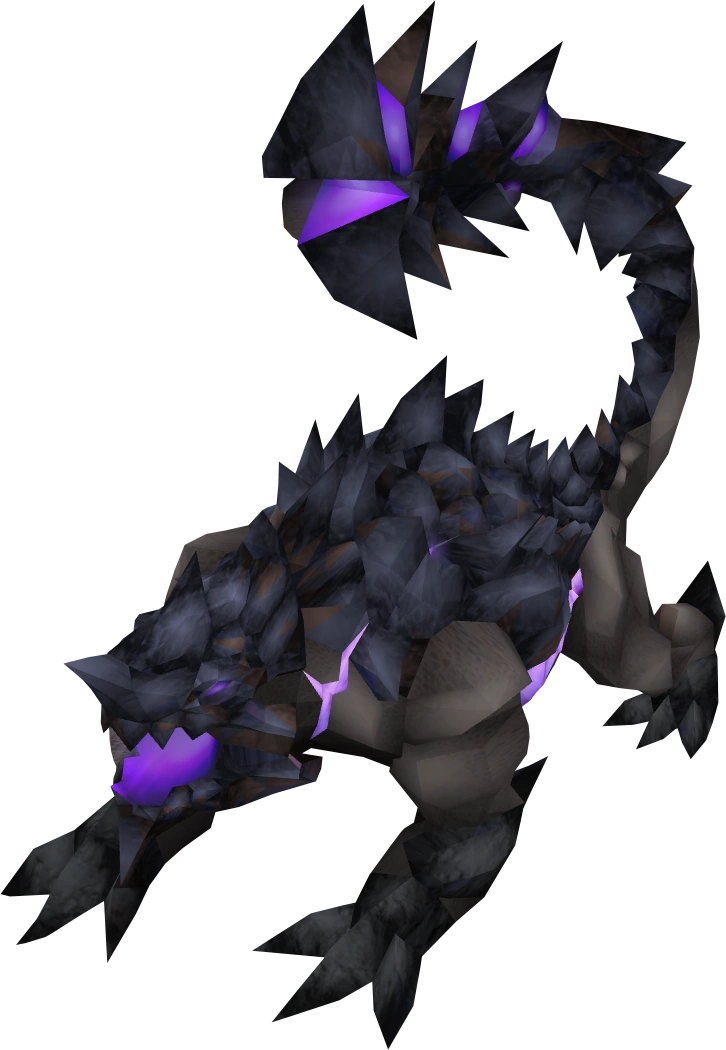
|
400 | 8 | 1,800 |
Suprisingly weak against Dreadnips. | ||
TokHaar-Yt-MejKot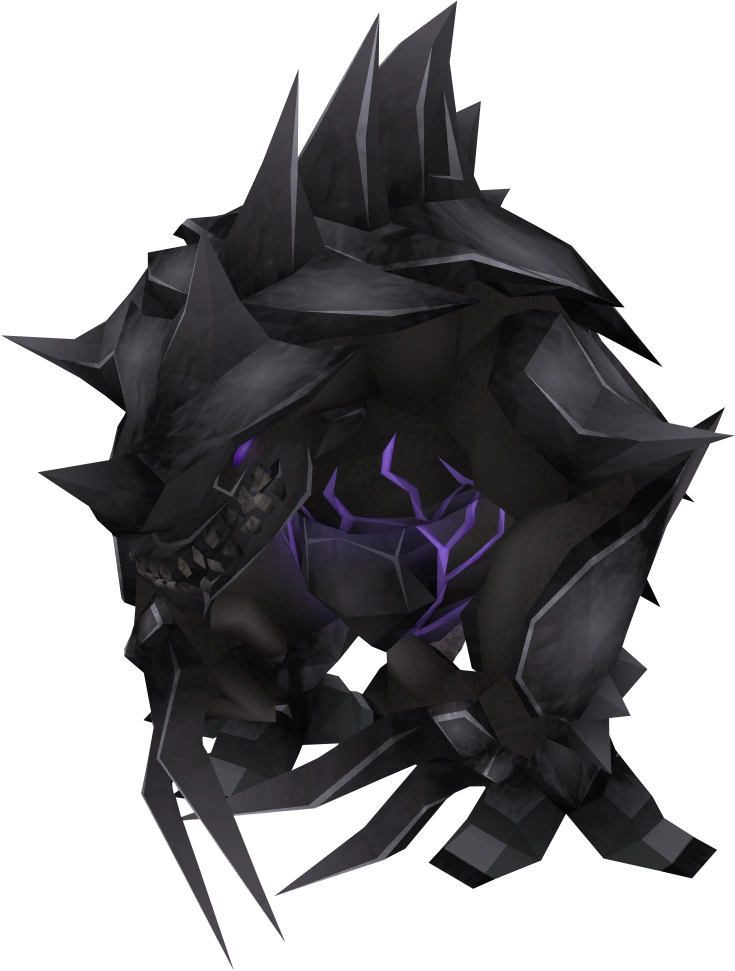
|
300 | 17 | 1,000 | Suprisingly weak against Dreadnips. Despite its high level it does not have accurate attacks, but it does have high strength. Using magic is recommended. | ||
TokHaar-Ket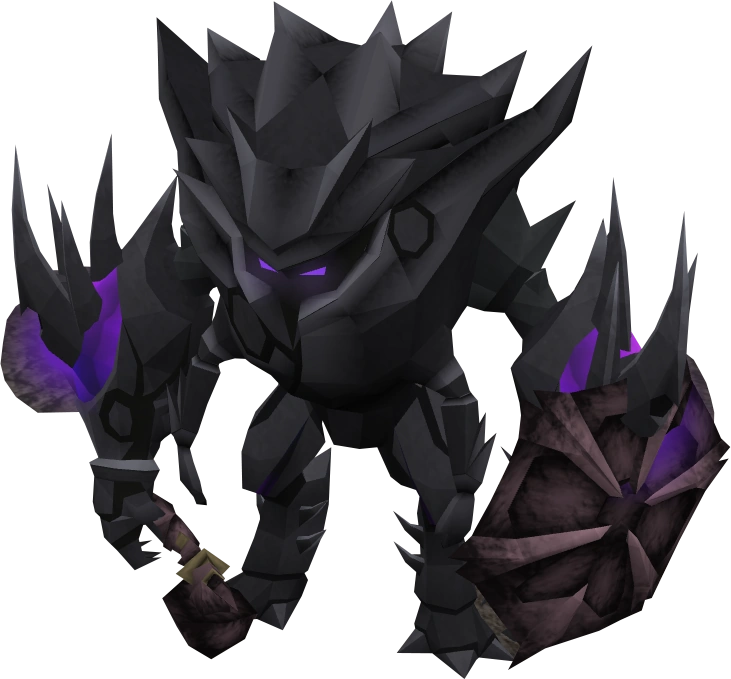
|
180 | 22 | 1,500 | He is not as dangerous as his level should suggest, but nevertheless it should be killed rather soon. Using magic to kill it is recommended. | ||
TokHaar-Jad
|
780 | 10 | 2,500 | 1014 | Similar to TzTok-Jad, it is strongly advised to switch your prayers to block his attacks. Some damage will still hit through your prayer, but only a small amount (up to 50 hp) It is recommended to eliminate other monsters before facing TokHaar-Jad, or if that is counterproductive, make sure that other monsters do not interfere with your fight. | |
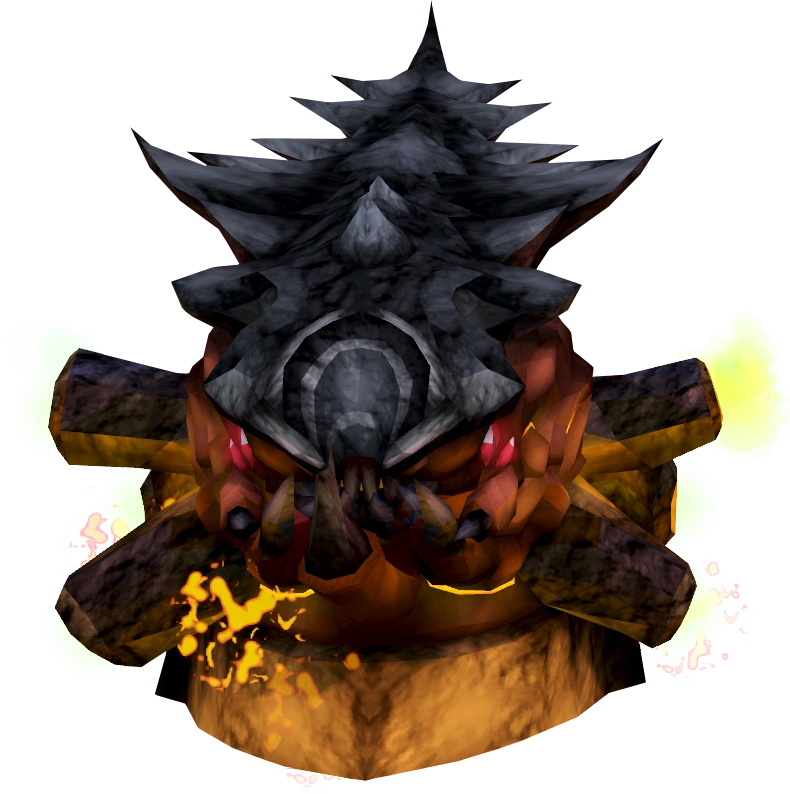
|
|
800 | 37 | 50,000 | ~250 | The final boss of the fight kiln. Attack the tentacles until the head appears out of the lava, then focus on the head until it dives again. Repeat until it is dead. Storm of Armadyl or polypore staff in combination with Lava crystal (Magic) and Soul Split is an effective way to damage the head, but its also dangerous, as it gives you 50 defence. |
Waves
Note: See below for Lava Crystal icon descriptions.
.png)
.png)
.png)
.png)
.png)
.png)
TokHaar-Jad spawn locations
Knowing the spawn locations of the TokHaar-Jad is a large advantage in the Fight Kiln. Monsters in the Fight Kiln will always spawn at the same location. Since you are able to predict where the monsters spawn, you will be able to prepare in advance for the upcoming waves.
Waves 10, 20 and 30: The TokHaar-Jad on waves 10, 20, and 30 will spawn in the southwest corner of the map, therefore standing on the north east side of the safe spot in the middle will prevent Jad from attacking you.
Wave 34: TokHaar-Jad will spawn in the southeast corner of the map, therefore standing on the northwest side of the safe spot in the middle will prevent Jad from attacking you.
Wave 35 TokHaar-Jad will spawn in the northeast corner of the map, therefore standing on the southwest side of the safe spot in the middle will lure Jad over to where you are, however he can still use his attacks, so it is advised you use the invulnerability crystal before starting this wave. However, he will walk around the rock a little forcing you to stand directly west of the safe spot to prevent him from attacking. Standing here you will need to use long range to reach both the TokHaar-Ket-Zek and the TokHaar-Tok-Xil. The best option is to stand on the north west side of the safe spot, preventing the TokHaar-Ket-Zek from attacking you, leaving you to deal with TokHaar-Jad and the TokHaar-Yt-MejKot
Wave 36 both the TokHaar-Jadz will spawn in the southeast and southwest sides of the map, standing north of the safe spot in the middle will prevent either one of the TokHaar-Jad from attacking you.
Wave 37 Har'Aken will not appear until you have slain 3 of his tentacles. He will appear for a short time (you can use the Storm of Armadyl spell about 12 times on him) before diving under the lava. You will then have to slay another 3 tentacles before he will appear again. Har'Aken will only appear on the south, east or west walls and he can seem invisible if you are not close enough to him. If you are using magic it is highly advised that you save a magic crystal for this final wave. When using mage on this wave it is highly advised to protect from range and kill the mage tentacles as they are weaker to mage than the range counterparts. If you are using Storm of Armadyl you can defeat Har'Aken when he shows for the second time, dealing over 25k damage the first time he appears, and finishing him the second time.
Lava crystals
In some waves you can obtain lava crystals, which grant certain "power-ups" usable only in the Fight Kiln. Only one crystal can be activated at a time. Including using the restoration crystal while other effects are occuring. Once using a crystal all combat stats except for the type of crystal is reduced to 50% (49 at 99) and the involved stat boosted to 150% (148 at 99).
The effects of the crystals can not be combined, i.e you can't use a constitution crystal followed by a restoration crystal to boost you to full lifepoints whilst the effects of the constitution crystal are in effect.
| Lava crystal | Effect | Waves |
|---|---|---|
| Invulnerability | This makes you completely invulnerable for 15 seconds. Does NOT work when TokHaar- Ket - Dill slams the ground and makes the ceiling fall. Note that you will still take damage from an attack if you use this crystal after a monster has already done its attack animation. | 2,14,26 |
| Restoration | Fully restores your prayer points and life points. | 4,16,28 |
| Magic | This boosts your magic by 50% but also significantly reduces your Defence, Strength and Ranged. At level 99 magic your level is boosted to 148 and gives you a staggering 147% magic damage boost, allowing spells to frequently hit well into the 900's. | 6,18,30 |
| Ranged | This boosts your ranged by 50% but also significantly reduces your Defence, Strength and Magic. | 8,20,32 |
| Strength | This boosts your strength by 50% but also significantly reduces your Defence, Ranged and Magic. | 10,22,34 |
| Constitution | Boosts your Constitution by 50% for 3.5 minutes. The Constitution boost does affect Unicorn stallion's Healing aura special move or Saradomin brews. | 12,24,36 |
Rewards
A player wearing the TokHaar-Kal.
Upon victory in the Fight Kiln, players can choose a reward of either the TokHaar-Kal cape or an uncut onyx.
Note: If a player has a full inventory while choosing his/her reward, the player will be transported outside of the Fight Kiln and will have to go back in and talk to the TokHaar leader again to claim the reward (providing atleast 1 free inventory slot is available).
Trivia
- Upon completing the Fight Kiln, the following message appears in your Adventurer's Log: "I defeated many waves of TokHaar, before vanquishing the mighty Har'Aken and conquering the Fight Kiln.
- An Early bird lamp was obtained by players who reached wave 30 of the minigame within two weeks of its release, before 29 February 2012.