| |||||||||||||||||||||||||
| Release date | 29 June 2015 (Update) | ||||||||||||||||||||||||
|---|---|---|---|---|---|---|---|---|---|---|---|---|---|---|---|---|---|---|---|---|---|---|---|---|---|
| Members | Yes | ||||||||||||||||||||||||
| Voice Over | No | ||||||||||||||||||||||||
| Official difficulty | Experienced | ||||||||||||||||||||||||
| Quest series | Fremennik, Dragonkin | ||||||||||||||||||||||||
| Age | Sixth Age | ||||||||||||||||||||||||
| |||||||||||||||||||||||||
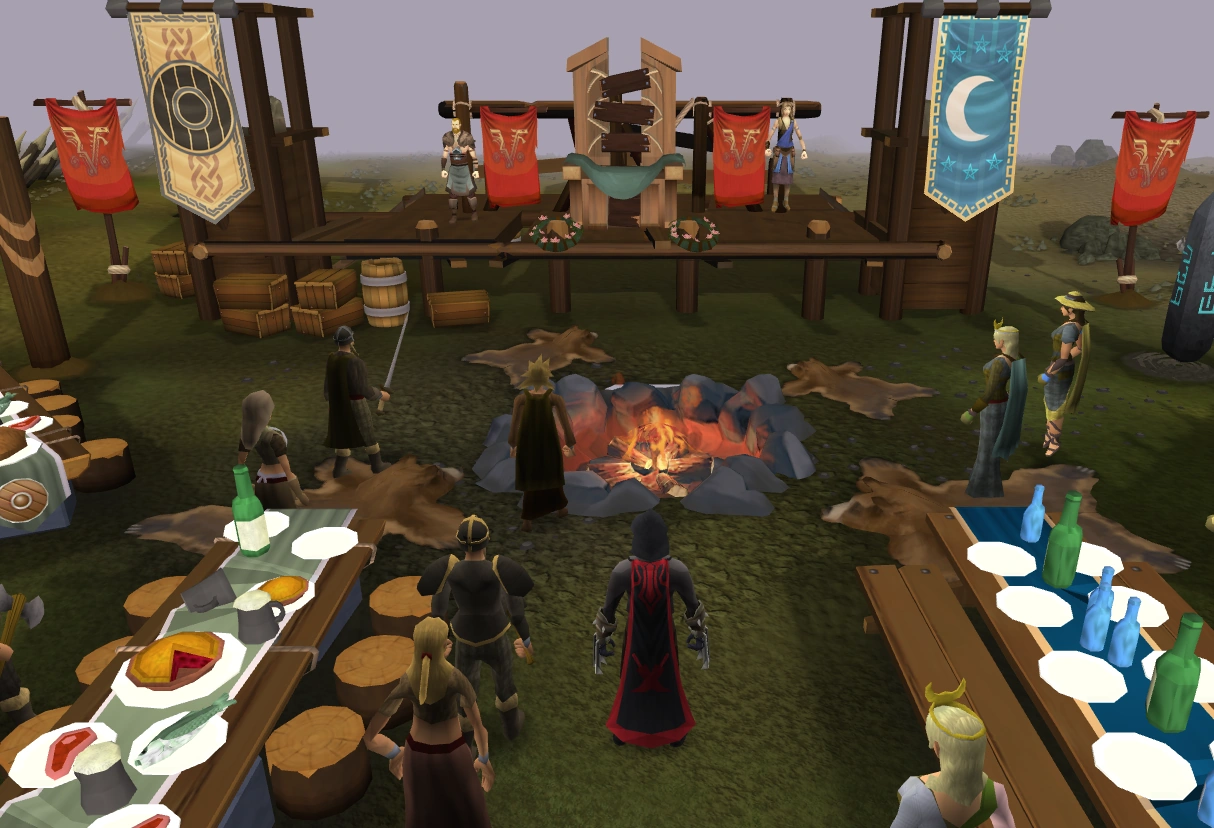
Hero's Welcome is a Fremennik quest developed by Mod Wilson. It features the return of a legendary Fremennik hero, V, who has ascended to godhood and now returns to his people in Rellekka. The Dragonkin are also featured in the quest.
Walkthrough
| Start point | |||
|---|---|---|---|
| Member requirement | |||
| Official difficulty | |||
| Official length | Medium | ||
| Requirements | Skill requirements are not boostable unless marked with a [B] for boostable.
Please note the following requirements are not boostable
| ||
| Items required | Items from the tool belt are not listed unless they do not work or are not automatically added.
Recommended: | ||
| Enemies to defeat |
|
Finding out Information about V
Start the quest by either talking to Freya Lune or Alfrick the Planner, located on the docks at the marketplace in Rellekka. They are arguing about V's arrival to Rellekka and how to prepare, asking the player to decide for them.
Freja and Alfrick suggest you ask seven people in Rellekka about V.
- Start by talking to Yrsa, who is located in the building south-west of the quest start. She will explain how V left because of the Edicts of Guthix, although instead of forcing the issue and going against Guthix, he agreed and left. Now that the Edicts no longer exist, he is coming back to Rellekka.
- Next, talk to Peer the Seer just outside of the building. He explains how V established the rune altars and magic for simple spells to benefit people, which has since been demolished by the Fremenniks.
- Talk to Swensen the Navigator in the building just south-east of Peer the Seer. He explains that V and his companion, Knut, were fighting daggermouths. As Knut died in combat, V constructed a cairn for him with Winter's Eye plants flowering around it.
- Talk to Sigmund the Merchant located in the middle of the marketplace, just north of Swensen. He explains how V protected the Fremenniks during the God Wars, despite he was much weaker than other gods. He also explains how V was not disobeying the Edicts of Guthix, similar to what Yrsa explained.
- Talk to Brundt the Chieftain found in the main hall. He explains how V is a hero to them and not a god, also explaining how he is not desiring power.
- While you are in the main hall, talk to Manni the Reveller, who will explain how there was a huge victory feast when V departed.
- Finally, talk to Olaf the Bard found north-east of the main hall. He explains how V, after touching the Stone of Jas, warned the Fremenniks about a "giant basilisk" which V led certain people to fight off.
Go back and talk to Alfrick or Freya and ask about the celebration. They will ask for information to prepare for the celebration:
| Question | Answer |
|---|---|
| What ballad should be played on V's arrival? | The ballad of the giant basilisk. |
| What flowers should be used to decorate the stage? | Winter's Eye. |
| Should magic be used in the ceremony? | Yes - Simple air and water magic. |
| What sort of feast did V have before he left? | A victory feast. |
| How should V be welcomed? | As a returning hero. |
| When did V leave the world? | At the end of the Third Age. |
| Why did V leave the world? | Out of respect for Guthix. |
V Returns


V returns to Gielinor.
After some dialogue, a cutscene will now occur where V enters Rellekka. He has become weakened upon entering Gielinor, asking you to help him.
After the cutscene go back and talk to Alfrick, who will direct you to the trading post where V wishes to meet you. Upon arriving on the island, go into the cave entrance and talk to V. V talks about his power and how it has possibly been weakened by a dragonkin called Tarshak. You can continue to talk to V if you wish to learn more about his life.


Channelling energy back into V
Go outside of the cave and investigate the gnarled tree to the north west. V will appear, draining divine energy. Investigate the gnarled tree south west of the island, channelling energy into V. Investigate the west fishing boat, then the one on the east side of the island. Next, investigate the old dock just next to the eastern fishing boat, then the old dock on the southern side of the island. Investigate the cave entrance to the southeast, then the one to the south. Finally, investigate the rock formation on the west side of the island near the planks, then the rock formation north-east of that one.
Return of the Dragonkin


Sakirth kills V.
Return to V inside the cave, who is now very weak. Talk to V, and then Sakirth will appear, with Strisath, Kalibath, and Tarshak in a cage, claiming to kill V since he is a False User. A cutscene will occur where Sakirth channels magical energy from V into Tarshak, breaking the cage and killing V.
Pass through the door north of V's corpse and search V's belongings. Read V's journal and you will receive map fragments. Solve them by aligning the pieces into a map. You will note that the map looks like the ancient caverns beneath the Baxtorian Falls whirlpool.
The fully completed map
After constructing the map, make your way to the Dragonkin entrance, which is located in the Ancient Cavern. The easiest way is to teleport to Kuradal with a ferocious ring, running south to the ancient door on the side of the wall near the forge. Alternatively, the entrance can be reached by teleporting to the Barbarian Outpost with a games necklace, then running south to the whirlpool. Once diving in, run south east and then south west to some steps (near the fairy ring) go up, then run south past Kuradal.
A player uses mithril dragonbreath to create the key.
Alternatively, if you have the Fairy Ring teleportation system unlocked, then use the following code: B-J-Q.
A key is required to enter the door. For this part you require a soft clay, and a mithril bar. Use the soft clay on the door to create a key mould. A mithril dragon can be found by going back downstairs, running north east, and climbing the stairs. Use a mithril bar on the dragon, and it will heat it up into a dragon-mithril key. Use the key to enter the door of the Dragonkin Lair.
The Dragonkin Lair


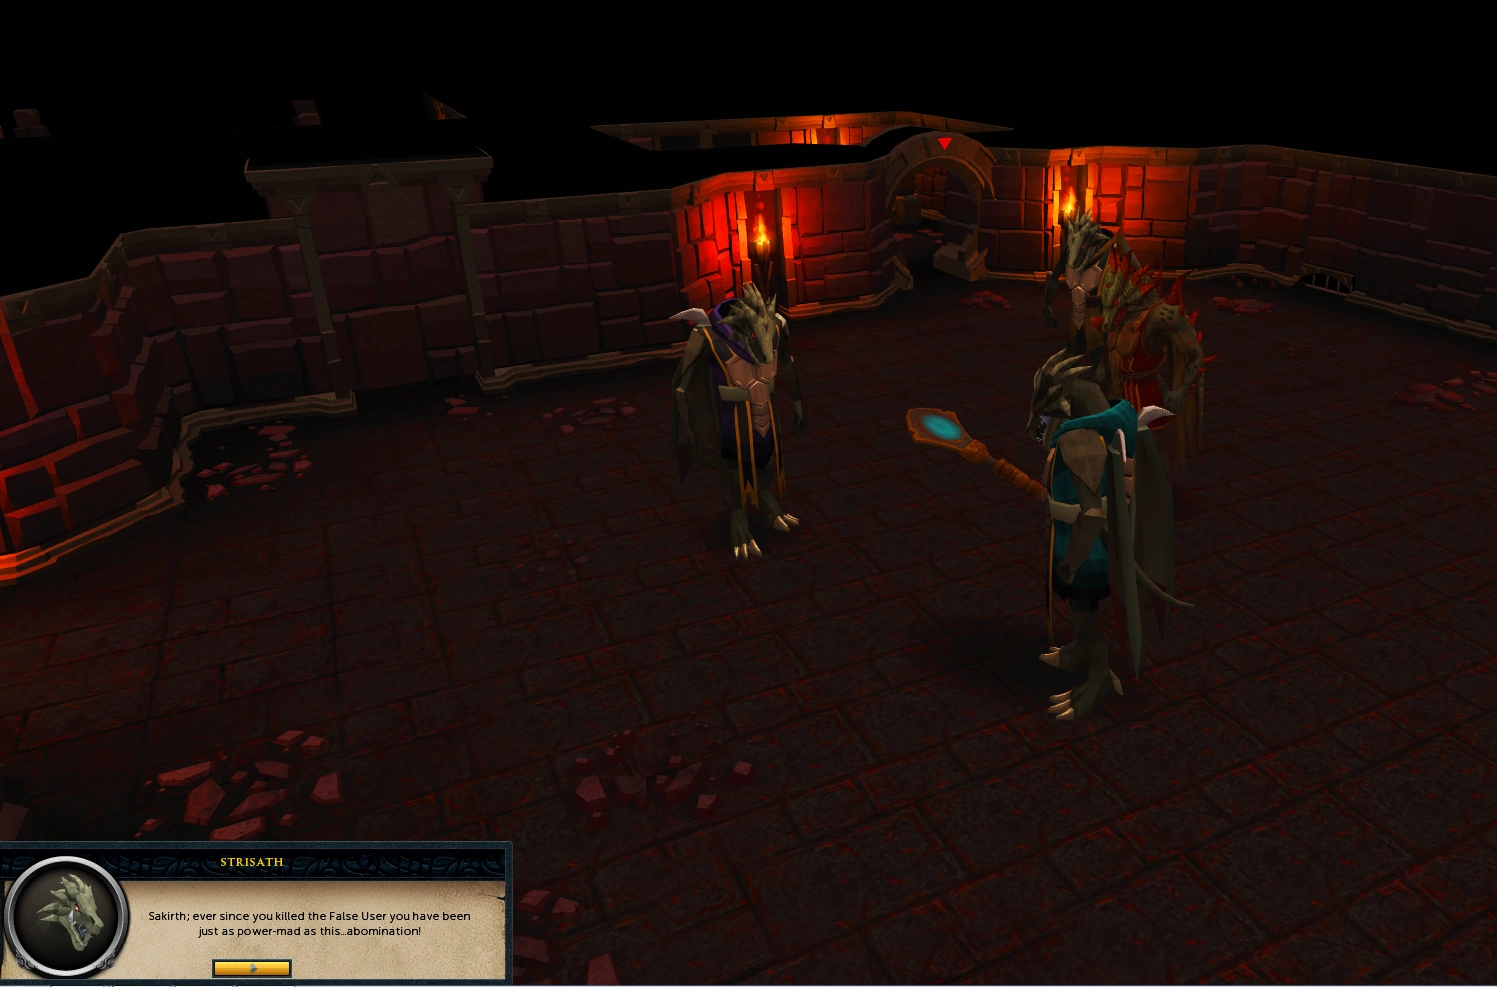
The Necrosyrtes argue with Tarshak.
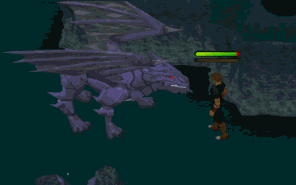
Upon entering the door, an adamant dragon will be present. Defeat it with any means, although it is weak to air spells.
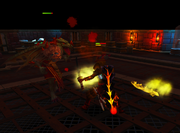
A cutscene will now occur with the four Dragonkin arguing with each other. Tarshak will wound Strisath and Sakirth, while not being able to wound Kalibath. Then, each dragonkin will attack Tarshak, causing him to flee.
You can talk to Sakirth to learn about the Elder Mirror, but he will attack you and lower your life points to 10. Go into the next room and jump the stepping stones to reach the chest on the west side. You will find a dragonkin key. Now step into the corridor. The aim is to pass without Kalibath hearing you. If you step on a pressure pad, he will hear you, restarting the puzzle. Walk through the corridor without going on the pressure pads until you reach the first eastern crate. Push it north twice, then walk around to the middle and push the two crates together north twice. Push the eastern crate east twice, then push the northernmost crate west once. Push the crate to your south once, then walk to the door.
Open the door and search the chest for the dragonkin protective charm.
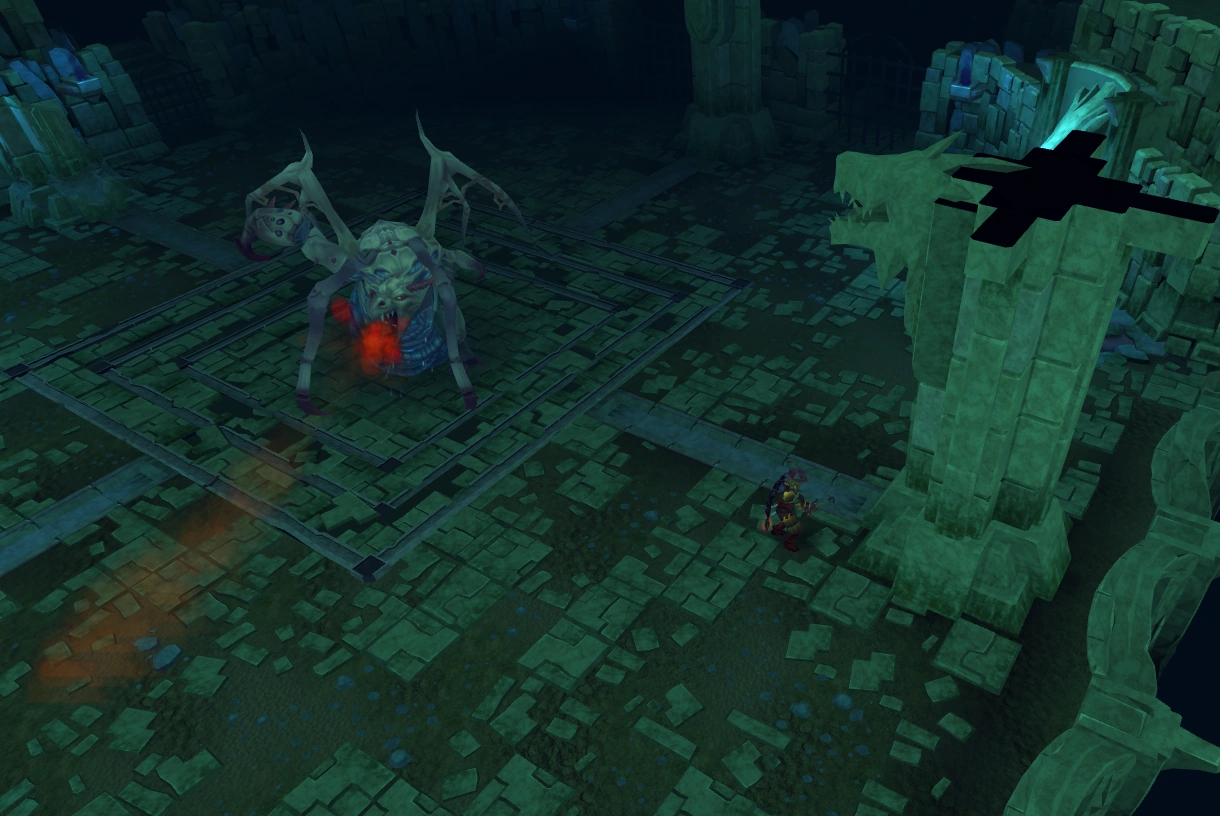
Fighting Tarshak
_chathead.png)

The battle with Tarshak
Read the notes and go to the Grotworm Lair. The easiest way to get there is by teleporting using Remora's necklace or using the Port Sarim lodestone and running north west. Go down to the third floor and reach the centre of the floor (west of the Queen Black Dragon entrance). Climb the stairs with the Dragonkin symbol on it where the player will enter Phalaks' lab, and a cutscene with Phalaks and Tarshak will occur.
Prepare to fight Tarshak. It is a simple fight, although once every 10 seconds he will charge up a stun attack around him. When the chat box message appears that this attack is being channeled, run away from Tarshak. If you remain in melee range, he will deal heavy damage to you. It would be wise to use a ranged or magic weapon to defeat him while running around the room to minimize the damage. After killing him, you will be with Phalaks, who will say that Tarshak has retreated to his sanctum somewhere in Brimhaven Dungeon.
Pursuing Tarshak

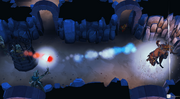
Go to Brimhaven Dungeon. The easiest way to get there is to use the Hoardstalker ring teleport. Alternatively, teleport to the Karamja lodestone and run north west to the entrance. Navigate through the dungeon to the iron and steel dragons. Enter the tunnel and encounter Tarshak, who has turned into an Abomination.
There are two phases to the boss: You must do both parts without leaving. The first phase does not allow the player to directly fight Tarshak. Instead, the player has to use the environment to weaken the ceiling, and cause a collapse. This is done by avoiding and surviving Tarshak's attacks and mining each pillar two times and then causing a collapse. During this phase he has four unique attacks. First, he sends out a jet of flame from his mouth, and rotates for 180 degrees. Players caught in the fire are dealt high damage (possibly 9000+) and are burned, dealing constant damage every few ticks. This can be stopped by running into the water. It is strongly recommended that you use surge to dodge it completely.
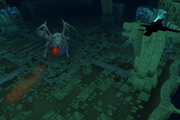
Mining the pillars in the room to collapse the ceiling
His second attack is when he rears up, and smashes down in the ground, covering a large portion (up to about a quarter) of the room in the direction his body faces. He does this twice in any 2 random areas. It is possible to easily dodge this attack while mining a pillar, as even if you are in the area the attack is in, the attack does not hit far enough to damage you. After that, he launches his third attack. On the areas where he did not perform his second attack (smash) on, rocks will fall onto the ground, dealing damage (>1500). To avoid it, simply stay in an area where he has already performed the second attack.
Finally, he will send out a Firebomb. These are extremely important and are your key to winning the fight. After mining each pillar twice, when a firebomb is sent out, you need to stand next to your weakened pillars. When the bomb explodes, it takes the pillar out, as well as dealing high damage (>4000) (do keep in mind that he will only do this much damage if you don't have the protective charm equipped) and burning you (~2000), which must be stopped by running into the water. When all four pillars are gone, a cutscene plays before Phase two begins.
In phase two, you must kill the abomination now with combat. Rocks will fall from the sky, along with fire on the ground. Dodging these will greatly reduce the amount of damage you take, while also damaging the abomination. Again, it will do a charge attack every now and then that requires you to run away from it. Failing will result in you being stunned and taking damage.
Additional method is to keep playing "cat and mouse" by running around the middle square, while keeping the abomination away from you on the other side of the square. Doing so will cause abomination getting damaged often by falling debris.
A Beast of Burden is strongly recommended to hold more food. For all dragonfire attacks, the protective charm will lower damage to about 10% of their original strength.
If you die during this fight, your gravestone will appear in the room with the steel and iron dragons.
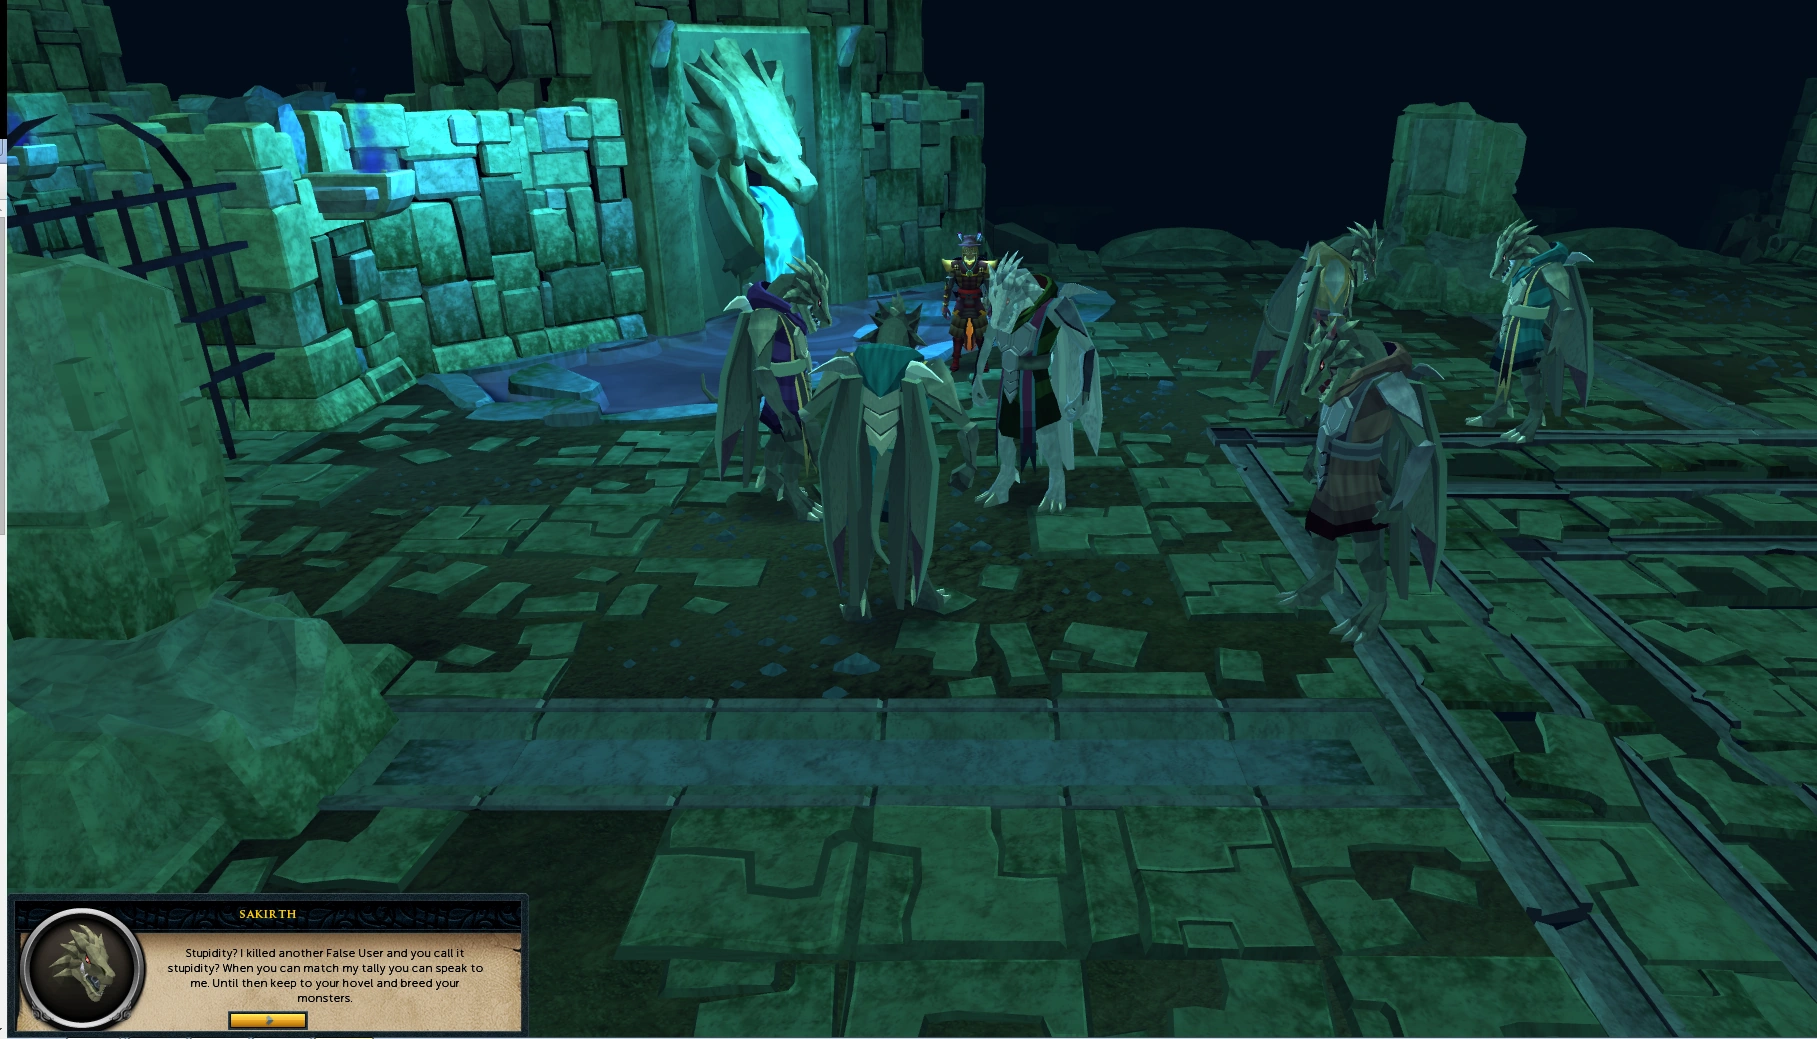
Return to Rellekka

The Dragonkin argue with eachother.
After defeating the abomination, Kerapac, Phalaks, and Silkath will appear. Later, Sakirth, Strisath, and Kalibath will appear, causing conflict with each other.
Afterwards, return to Rellekka and talk to Freya Lune or Alfrick the Planner. You will go to V's island once again. Enter the cave entrance and pass the door and finish the quest.
Congratulations! Quest complete.
Rewards
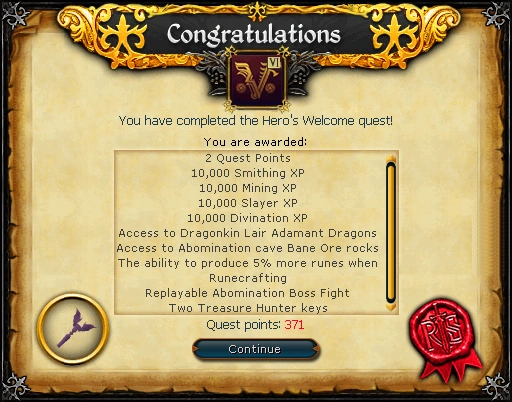
- 2 quest points
- 10,000
 experience
 - 10,000 experience
- 10,000 experience
- 10,000 experience
- Access to Dragonkin Lair Adamant dragons
- Access to Abomination cave Bane ore rocks
- The ability to produce 5% more runes when Runecrafting
- Replayable Abomination Boss fight, which can drop main-hand and off-hand Dragon javelins, and the Abomination cape.
- Access to Hannu, Emissary of V
- 2 Treasure Hunter keys and 2 Hearts of Ice
Music unlocked
Trivia
- The cut scenes of V arriving in Rellekka and his death can be replayed by right clicking on the V altar on V's Island inside the cave next to Hannu, his emissary.
- Upon asking V about some of his stories in other planes, he mentions that he defeated a lava demon for which a wizard took the credit, possibly referencing The Lord of The Rings in which Gandalf The Grey holds off The Balrog, a fire demon.
- In another story from V, he mentions a plane whereby he gets bored of the mention of a "power level" possibly referencing the Dragonball universe television series.
- In another story from V, he talks about someone that he should have known was up to no good, with his "would you kindly" this and "would you kindly" that, a reference to the first Bioshock game.
- In another story, he mentions someone named Steed, and not knowing what he was avenging. Likely a reference to the character John Steed and the British spy series The Avengers.
- Another story, he talks about fighting giant insects with a lizard king. Likely a Godzilla reference.
- He also mentions having told someone that he comes from the land of ice and snow, giving the person inspiration for a song. Likely a reference to Led Zeppelin's Immigrant Song.
- Another story mentions leaving before finding out the result of a union between a frog and a pig. Likely a reference to The Muppets' Miss Piggy and Kermit.
- Yet another story makes reference to Super Mario 64 and receiving cake after defeating Bowser.
- Another story makes a sideways reference to their "on-hold" game Stellar Dawn, specifically the Pliigi race.
- One story has the quoted line "I guess this is a case of... divine intervention." and mentions a person fiddling with their eyeglasses. Possibly a reference to Horacio Caine from CSI: Miami.
- In another story, he bids a were-giant goodbye and watches him walk away into the sunset. Likely a reference to The Hulk.
- If the player has unlocked the title "the World Guardian", Alfrick will make a reference to the player's status as a World Guardian before departing for the trading post.
- During the cutscene in the Dragonkin lair, Tarshak says to the others "you owe me awe." This is a reference to the novel Red Dragon by Thomas Harris, in which the main antagonist uses this line. The novel's title is likely the reason this quote was used.
Hero's Welcome | |||||
|---|---|---|---|---|---|
| NPCs |
| ||||
| Enemies |
| ||||
| Items |
| ||||
| Post-quest rewards |
| ||||
| Locations |
| ||||
| Music |
| ||||
| Miscellaneous |
| ||||
| Main series | |
| Related (mini)quests |
|
| Main quests | |
| Related quests |
|