mNo edit summary Tag: sourceedit |
mNo edit summary |
||
| (43 intermediate revisions by 20 users not shown) | |||
| Line 1: | Line 1: | ||
| − | {{Otheruses|the transport system|the boss in |
+ | {{Otheruses|the transport system|the boss in Daemonheim that must be defeated through lodestones|Stomp (monster)}} |
{{Otheruses|def=no|the teleportation method in Daemonheim|Gatestone}} |
{{Otheruses|def=no|the teleportation method in Daemonheim|Gatestone}} |
||
[[File:Lodestone map icon.png|left]] |
[[File:Lodestone map icon.png|left]] |
||
| − | {{Gifresize|Home Teleport (lodestone).gif|150px|caption=Lodestone |
+ | {{Gifresize|Home Teleport (lodestone).gif|150px|caption=Lodestone teleport default animation.}} |
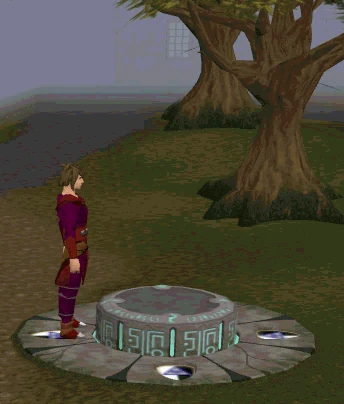
{{Gifresize|Activating lodestone.gif|150px|caption=A player activating a lodestone.}} |
{{Gifresize|Activating lodestone.gif|150px|caption=A player activating a lodestone.}} |
||
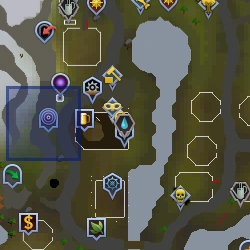
The '''Lodestone Network''' is a teleportation system that permits travel to various locations across [[Gielinor]] via the [[Home Teleport]] spell. After selecting Home Teleport, an interface will pop up, allowing you to choose where to teleport. Lodestones can be found as symbols on the minimap and on the world map, making locating them easy. Apart from Lumbridge, an ancient lodestone in the area must be activated in order to unlock travel to new locations. |
The '''Lodestone Network''' is a teleportation system that permits travel to various locations across [[Gielinor]] via the [[Home Teleport]] spell. After selecting Home Teleport, an interface will pop up, allowing you to choose where to teleport. Lodestones can be found as symbols on the minimap and on the world map, making locating them easy. Apart from Lumbridge, an ancient lodestone in the area must be activated in order to unlock travel to new locations. |
||
| − | A new player can only teleport to Lumbridge by default, and must complete all the tutorial |
+ | A new player can only teleport to Lumbridge by default, and must complete all the tutorial introductory tasks before unlocking new lodestone locations. For [[free-to-play]] players, the only locations available are [[Lumbridge]], [[Al Kharid]], [[Draynor Village]], [[Ashdale]], [[Edgeville]], [[Falador]], [[Port Sarim]], [[Varrock]], [[Burthorpe]], the [[Wilderness]] and [[Taverley]] - the members-only locations are greyed out in the background. |
| − | Related to unlocking the lodestones are the [[Lodestone |
+ | Related to unlocking the lodestones are the [[Lodestone achievements]] which were released on [[13 March]] [[2012]] alongside the Lodestone Network update. They consist of unlocking each lodestone with the exception of the lodestones in Burthorpe, Bandit Camp, Lumbridge, and Lunar Isle. The achievements do not yield further rewards, apart from unlocking the lodestones. |
| − | The lodestones were built by the second [[Wizards' Tower]] wizards after the discovery of teleportational spells. The lodestone network's introduction |
+ | The lodestones were built by the second [[Wizards' Tower]] wizards after the discovery of teleportational spells. The lodestone network's introduction - and proximity to key locations and other alternative transport networks - has largely reduced the need for teleportation spells across all three spellbooks, as well as the use of [[Portal Chamber]]s in a [[Player-owned house]]. |
| + | |||
| + | Lodestone teleports use the default lodestone animation, however players may override this by activating [[Animations#Spells|teleport override animations]] within the Spell Animations section of the Animations tab, found in the Customisations interface. |
||
==In proximity of the lodestones== |
==In proximity of the lodestones== |
||
| − | + | '''Banking''' |
|
* The lodestone closest to a bank is [[Prifddinas]], but requires completion of [[Plague's End]]. |
* The lodestone closest to a bank is [[Prifddinas]], but requires completion of [[Plague's End]]. |
||
* The closest lodestone to a bank for free-to-play players is [[Burthorpe]]. It is also the second closest lodestone to a bank for members. |
* The closest lodestone to a bank for free-to-play players is [[Burthorpe]]. It is also the second closest lodestone to a bank for members. |
||
| + | '''Grand Exchange''' |
||
| ⚫ | |||
| + | |||
| ⚫ | |||
| + | ''Free to play'' |
||
| + | * For free to play players the Varrock lodestone is the fastest way to get to the Grand Exchange. |
||
| + | ''Pay to play'' |
||
| + | * The lodestone closest to a Grand Exchange is [[Prifddinas]], but requires completion of [[Plague's End]]. |
||
| + | * After partial completion of the Jack of Spades quest, the Menaphos lodestone is the fastest option for pay to play players to access the Grand Exchange. |
||
| ⚫ | |||
| + | * A [[Ring of Wealth]]/[[Ring of fortune|Fortune]]/[[Luck of the dwarves]] can directly teleport a player to the Grand Exchange entrance. |
||
| ⚫ | |||
* The Yanille lodestone is the closest to the [[Fairy Ring]] network. |
* The Yanille lodestone is the closest to the [[Fairy Ring]] network. |
||
| − | ** The Edgeville lodestone, however, is the closest to |
+ | ** The Edgeville lodestone, however, is the closest to both a bank and a Fairy Ring. |
* The Al Kharid lodestone is closest to the [[Gnome Glider]] network. |
* The Al Kharid lodestone is closest to the [[Gnome Glider]] network. |
||
* The Port Sarim lodestone is closest to a [[Charter ship]] port. |
* The Port Sarim lodestone is closest to a [[Charter ship]] port. |
||
| − | + | ''Stat Restore Objects'' |
|
| − | * The Falador lodestone is closest to both an [[Altar]] and a small [[Summoning |
+ | * The Falador lodestone is closest to both an [[Altar]] and a small [[Summoning obelisk]] to restore both your Prayer and Summoning points. |
** If you have access to and have completed the Canifis God Statue, the Canifis lodestone is the closest to an "altar" to restore your Prayer points. |
** If you have access to and have completed the Canifis God Statue, the Canifis lodestone is the closest to an "altar" to restore your Prayer points. |
||
* The Taverley lodestone is closest to a [[player-owned house|POH]] portal (with level 10 [[Construction]]). It also has convenient access to the [[Plank maker]] and the bank. |
* The Taverley lodestone is closest to a [[player-owned house|POH]] portal (with level 10 [[Construction]]). It also has convenient access to the [[Plank maker]] and the bank. |
||
| Line 32: | Line 42: | ||
* When the Hati winter event is active, players should be wary of using the Fremennik lodestone, as it is close to one of [[Hati]]'s spawn points. |
* When the Hati winter event is active, players should be wary of using the Fremennik lodestone, as it is close to one of [[Hati]]'s spawn points. |
||
| − | + | Compared to spellbook teleports, most of the lodestones in the lodestone network are situated far away from major points of interest. This compensates for the free nature of the teleport; not requiring runes. |
|
| − | ==Quick |
+ | ==Quick teleports== |
| − | A player has the ability to use [[vis wax]] to charge their quick-teleports in the Lodestone Network, allowing for instant teleports. Each vis wax yields 10 charges by which 1 charge is consumed each teleport. A player may store a maximum of 4,000 charges. It costs {{ |
+ | A player has the ability to use [[vis wax]] to charge their quick-teleports in the Lodestone Network, allowing for instant teleports. Each vis wax yields 10 charges by which 1 charge is consumed each teleport. A player may store a maximum of 4,000 charges. It costs {{NoCoins|{{GEP|vis wax|0.1}}|c}} per quick-teleport. Instant lodestone teleports was an idea suggested on [[RuneLabs]]. |
| + | |||
| + | After completing the hard [[Wilderness achievements]] teleporting to the Wilderness Lodestone is always instant and free of charge. Not all teleportation [[animations|animation override]]s also override quick teleports. |
||
==Locations== |
==Locations== |
||
| ⚫ | |||
| − | {{incomplete|Iceberg}} |
||
| ⚫ | |||
| ⚫ | |||
| ⚫ | |||
| ⚫ | |||
| ⚫ | |||
| ⚫ | |||
| + | ! Shortcut |
||
| ⚫ | |||
| ⚫ | |||
| − | !Keyboard shortcut |
||
| ⚫ | |||
| − | !Quick teleport [[File:Magic-icon.png]] level |
||
! class="unsortable" | Image |
! class="unsortable" | Image |
||
! class="unsortable" | Minimap |
! class="unsortable" | Minimap |
||
|- |
|- |
||
| − | | |
+ | | [[File:Lumbridge lodestone icon.png|40px]] |
| − | |[[Lumbridge]] |
+ | | [[Lumbridge]] |
| − | |East of [[Lumbridge Castle]]. |
+ | | East of [[Lumbridge Castle]]. |
| + | | {{Key press|L}} |
||
| ⚫ | |||
| − | |No |
+ | | No |
| ⚫ | |||
| − | |10 |
||
| − | |[[File: |
+ | | [[File:Lodestone (Lumbridge) location.png|x120px]] |
| ⚫ | |||
|- |
|- |
||
| − | | |
+ | | [[File:Burthorpe lodestone icon.png|40px]] |
| − | |[[Burthorpe]] |
+ | | [[Burthorpe]] |
| − | |Centre of Burthorpe, east of [[Warriors' Guild]]. |
+ | | Centre of Burthorpe, east of [[Warriors' Guild]]. |
| + | | {{Key press|B}} |
||
| ⚫ | |||
| − | |No |
+ | | No |
| ⚫ | |||
| − | |5 |
||
| − | |[[File: |
+ | | [[File:Lodestone (Burthorpe) location.png|x120px]] |
| ⚫ | |||
|- |
|- |
||
| − | | |
+ | | [[File:Lunar Isle lodestone icon.png|40px]] |
| − | |[[Lunar Isle]] |
+ | | [[Lunar Isle]] |
| − | |South-west of the [[bank]] ( |
+ | | South-west of the [[bank]] (after [[Lunar Diplomacy]]). |
| + | | {{Key press|Alt+L}} |
||
| − | |ALT+L |
||
| − | |Yes |
+ | | Yes |
| ⚫ | |||
| − | |75 |
||
| − | |[[File:Lunar Isle |
+ | | [[File:Lodestone (Lunar Isle) location.png|x120px]] |
| ⚫ | |||
|- |
|- |
||
| − | | |
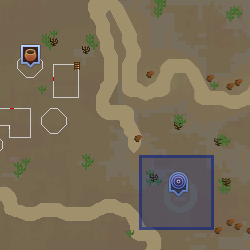
+ | | [[File:Bandit Camp lodestone icon.png|40px]] |
| − | |[[Bandit Camp (Kharidian Desert)|Bandit Camp]] |
+ | | [[Bandit Camp (Kharidian Desert)|Bandit Camp]] |
| − | |South-east of the Camp, surrounded by [[mystical mirror]]s ( |
+ | | South-east of the Camp, surrounded by [[mystical mirror]]s (after [[Desert Treasure]]). |
| + | | {{Key press|Alt+B}} |
||
| − | |ALT+B |
||
| − | |Yes |
+ | | Yes |
| ⚫ | |||
| − | |80 |
||
| − | |[[File:Bandit Camp |
+ | | [[File:Lodestone (Bandit Camp) location.png|x120px]] |
| ⚫ | |||
|- |
|- |
||
| − | | |
+ | | [[File:Taverley lodestone icon.png|40px]] |
| − | |[[Taverley]] |
+ | | [[Taverley]] |
| − | |South of [[Player-owned house|POH]] Portal. |
+ | | South of [[Player-owned house|POH]] Portal. |
| + | | {{Key press|T}} |
||
| − | |T |
||
| − | |No |
+ | | No |
| ⚫ | |||
| − | |10 |
||
| − | |[[File: |
+ | | [[File:Lodestone (Taverley) location.png|x120px]] |
| ⚫ | |||
|- |
|- |
||
| − | | |
+ | | [[File:Al Kharid lodestone icon.png|40px]] |
| − | |[[Al Kharid]] |
+ | | [[Al Kharid]] |
| − | |North of [[Al Kharid Palace]]. |
+ | | North of [[Al Kharid Palace]]. |
| + | | {{Key press|A}} |
||
| − | |A |
||
| − | |No |
+ | | No |
| ⚫ | |||
| − | |15 |
||
| − | |[[File:Al-Kharid |
+ | | [[File:Lodestone (Al-Kharid) location.png|x120px]] |
| ⚫ | |||
|- |
|- |
||
| − | | |
+ | | [[File:Varrock lodestone icon.png|40px]] |
| − | |[[Varrock]] |
+ | | [[Varrock]] |
| − | |South gate. |
+ | | South gate. |
| + | | {{Key press|V}} |
||
| − | |V |
||
| − | |No |
+ | | No |
| ⚫ | |||
| − | |15 |
||
| − | |[[File: |
+ | | [[File:Lodestone (Varrock) location.png|x120px]] |
| ⚫ | |||
|- |
|- |
||
| − | | |
+ | | [[File:Edgeville lodestone icon.png|40px]] |
| − | |[[Edgeville]] |
+ | | [[Edgeville]] |
| − | |West of the [[General Store]]. |
+ | | West of the [[General Store]]. |
| + | | {{Key press|E}} |
||
| − | |E |
||
| − | |No |
+ | | No |
| ⚫ | |||
| − | |40 |
||
| − | |[[File: |
+ | | [[File:Lodestone (Edgeville) location.png|x120px]] |
| ⚫ | |||
|- |
|- |
||
| − | | |
+ | | [[File:Falador lodestone icon.png|40px]] |
| − | |[[Falador]] |
+ | | [[Falador]] |
| − | |Outside north gate. |
+ | | Outside north gate. |
| + | | {{Key press|F}} |
||
| − | |F |
||
| − | |No |
+ | | No |
| ⚫ | |||
| − | |35 |
||
| − | |[[File: |
+ | | [[File:Lodestone (Falador) location.png|x120px]] |
| ⚫ | |||
|- |
|- |
||
| − | | |
+ | | [[File:Port Sarim lodestone icon.png|40px]] |
| − | |[[Port Sarim]] |
+ | | [[Port Sarim]] |
| − | |South of [[Gerrant's Fishy Business]]. |
+ | | South of [[Gerrant's Fishy Business]]. |
| + | | {{Key press|P}} |
||
| − | |P |
||
| − | |No |
+ | | No |
| ⚫ | |||
| − | |25 |
||
| − | |[[File:Port Sarim |
+ | | [[File:Lodestone (Port Sarim) location.png|x120px]] |
| ⚫ | |||
|- |
|- |
||
| − | | |
+ | | [[File:Draynor lodestone icon.png|40px]] |
| − | |[[Draynor Village]] |
+ | | [[Draynor Village]] |
| − | |At the Crossroads, north of Draynor. |
+ | | At the Crossroads, north of Draynor. |
| + | | {{Key press|D}} |
||
| − | |D |
||
| − | |No |
+ | | No |
| ⚫ | |||
| − | |20 |
||
| − | |[[File:Draynor Village |
+ | | [[File:Lodestone (Draynor Village) location.png|x120px]] |
| ⚫ | |||
|- |
|- |
||
| − | | |
+ | | [[File:Ardougne lodestone icon.png|40px]] |
| − | |[[Ardougne]] |
+ | | [[Ardougne]] |
| − | |North entrance (between [[potato]] and [[wheat]] patch). |
+ | | North entrance (between [[potato]] and [[wheat]] patch). |
| + | | {{Key press|Alt+A}} |
||
| − | |ALT+A |
||
| − | |Yes |
+ | | Yes |
| ⚫ | |||
| − | |60 |
||
| − | |[[File: |
+ | | [[File:Lodestone (Ardougne) location.png|x120px]] |
| ⚫ | |||
|- |
|- |
||
| − | | |
+ | | [[File:Catherby lodestone icon.png|40px]] |
| − | |[[Catherby]] |
+ | | [[Catherby]] |
| − | |North of fishing shop. |
+ | | North of fishing shop. |
| + | | {{Key press|C}} |
||
| − | |C |
||
| − | |Yes |
+ | | Yes |
| ⚫ | |||
| − | |30 |
||
| − | |[[File: |
+ | | [[File:Lodestone (Catherby) location.png|x120px]] |
| ⚫ | |||
|- |
|- |
||
| − | | |
+ | | [[File:Yanille lodestone icon.png|40px]] |
| − | |[[Yanille]] |
+ | | [[Yanille]] |
| − | |Outside the west gate. |
+ | | Outside the west gate. |
| + | | {{Key press|Y}} |
||
| − | |Y |
||
| − | |Yes |
+ | | Yes |
| ⚫ | |||
| − | |65 |
||
| − | |[[File: |
+ | | [[File:Lodestone (Yanille) location.png|x120px]] |
| ⚫ | |||
|- |
|- |
||
| − | | |
+ | | [[File:Seers village lodestone icon.png|40px]] |
| − | |[[Seers' Village]] |
+ | | [[Seers' Village]] |
| − | |South of the [[Forester's Arms]] pub. |
+ | | South of the [[Forester's Arms]] pub. |
| + | | {{Key press|S}} |
||
| − | |S |
||
| − | |Yes |
+ | | Yes |
| ⚫ | |||
| − | |55 |
||
| − | |[[File: |
+ | | [[File:Lodestone (Seers' Village) location.png|x120px]] |
| ⚫ | |||
|- |
|- |
||
| − | | |
+ | | [[File:Eagles' Peak lodestone icon.png|40px]] |
| − | |[[Eagles' Peak (location)|Eagles' Peak]] |
+ | | [[Eagles' Peak (location)|Eagles' Peak]] |
| − | |West of the [[Tree Gnome Stronghold]], near [[Kathy Corkat]]. |
+ | | West of the [[Tree Gnome Stronghold]], near [[Kathy Corkat]]. |
| + | | {{Key press|Alt+E}} |
||
| − | |ALT+E |
||
| − | |Yes |
+ | | Yes |
| ⚫ | |||
| − | |45 |
||
| − | |[[File:Eagles' Peak |
+ | | [[File:Lodestone (Eagles' Peak) location.png|x120px]] |
| ⚫ | |||
|- |
|- |
||
| − | | |
+ | | [[File:Tirannwn lodestone icon.png|40px]] |
| − | |[[Tirannwn]] |
+ | | [[Tirannwn]] |
| − | |In the clearing with the [[Elf Tracker]]. |
+ | | In the clearing with the [[Elf Tracker]] after starting [[Regicide]]. |
| + | | {{Key press|Alt+T}} |
||
| − | |ALT+T |
||
| − | |Yes |
+ | | Yes |
| ⚫ | |||
| − | |75 |
||
| − | |[[File: |
+ | | [[File:Lodestone (Tirannwn) location.png|x120px]] |
| ⚫ | |||
|- |
|- |
||
| − | | |
+ | | [[File:Oo'glog lodestone icon.png|40px]] |
| − | |[[Oo'glog]] |
+ | | [[Oo'glog]] |
| − | |Outside the north wall of the city, near the [[Monastery of Ascension]]. |
+ | | Outside the north wall of the city, near the [[Monastery of Ascension]]. |
| + | | {{Key press|O}} |
||
| − | |O |
||
| − | |Yes |
+ | | Yes |
| ⚫ | |||
| − | |65 |
||
| − | |[[File:Oo'glog |
+ | | [[File:Lodestone (Oo'glog) location.png|x120px]] |
| ⚫ | |||
|- |
|- |
||
| − | | |
+ | | [[File:Karamja lodestone icon.png|40px]] |
| − | |[[Karamja]] |
+ | | [[Karamja]] |
| − | |Southwest of [[Brimhaven]], near the [[Brimhaven Dungeon]]. |
+ | | Southwest of [[Brimhaven]], near the [[Brimhaven Dungeon]]. |
| + | | {{Key press|K}} |
||
| − | |K |
||
| − | |Yes |
+ | | Yes |
| ⚫ | |||
| − | |50 |
||
| − | |[[File: |
+ | | [[File:Lodestone (Karamja) location.png|x120px]] |
| ⚫ | |||
|- |
|- |
||
| − | | |
+ | | [[File:Canifis lodestone icon.png|40px]] |
| − | |[[Canifis]] |
+ | | [[Canifis]] |
| − | |Next to [[Mazchna]]. |
+ | | Next to [[Mazchna]]. |
| + | | {{Key press|Alt+C}} |
||
| − | |ALT+C |
||
| − | |Yes |
+ | | Yes |
| ⚫ | |||
| − | |50 |
||
| − | |[[File: |
+ | | [[File:Lodestone (Canifis) location.png|x120px]] |
| ⚫ | |||
|- |
|- |
||
| − | | |
+ | | [[File:Wilderness Volcano lodestone icon.png|40px]] |
| − | |[[Wilderness Volcano]] |
+ | | [[Wilderness Volcano]] |
| − | |South of the volcano, near one of the [[Wilderness obelisk]]s, in level 15 |
+ | | South of the volcano, near one of the [[Wilderness obelisk]]s, in level 15 [[Wilderness]]. |
| + | | {{Key press|W}} |
||
| − | [[Wilderness]].<br />'''Warning:''' This is a known hotspot for [[Player killing|player killers]]. You will be asked if you wish to proceed before teleporting to this location. |
||
| − | | |
+ | | No |
| ⚫ | |||
| ⚫ | |||
| ⚫ | |||
| − | |85 |
||
| ⚫ | |||
| ⚫ | |||
|- |
|- |
||
| − | | |
+ | | [[File:Fremennik Province lodestone icon.png|40px]] |
| − | |[[Fremennik Province]] |
+ | | [[Fremennik Province]] |
| − | |East of [[Rellekka]]. |
+ | | East of [[Rellekka]]. |
| + | | {{Key press|Alt+F}} |
||
| − | |ALT+F |
||
| − | |Yes |
+ | | Yes |
| ⚫ | |||
| − | |70 |
||
| − | |[[File:Fremennik Province |
+ | | [[File:Lodestone (Fremennik Province) location.png|x120px]] |
| ⚫ | |||
| ⚫ | |||
| ⚫ | |||
| ⚫ | |||
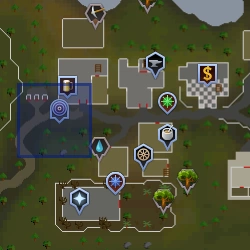
| + | | Southeast of [[Ashdale Caves]] |
||
| + | | {{Key press|Shift+A}} |
||
| ⚫ | |||
| ⚫ | |||
| + | | [[File:Lodestone (Ashdale) location.png|x120px]] |
||
|- |
|- |
||
| − | | |
+ | | [[File:Prifddinas lodestone icon.png|40px]] |
| − | |[[ |
+ | | [[Prifddinas]] |
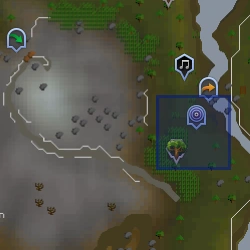
| + | | The [[Tower of Voices]] (after completion of [[Plague's End]]) |
||
| ⚫ | |||
| + | | {{Key press|Alt+P}} |
||
| − | |SHIFT+A |
||
| + | | Yes |
||
| ⚫ | |||
| ⚫ | |||
| − | |5 |
||
| − | |[[File: |
+ | | [[File:Lodestone (Prifddinas) location.png|x120px]] |
| ⚫ | |||
|- |
|- |
||
| − | | |
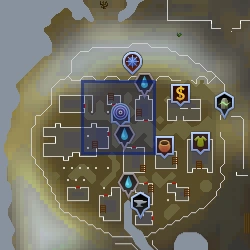
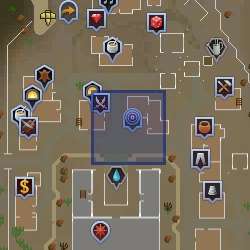
+ | | [[File:Menaphos lodestone icon.png|40px]] |
| − | |[[ |
+ | | [[Menaphos]] |
| − | |The |
+ | | The centre of Menaphos (after starting [[The Jack of Spades]]) |
| + | | {{Key press|M}} |
||
| − | |ALT+P |
||
| − | |Yes |
+ | | Yes |
| + | | [[File:Menaphos lodestone location.png|x120px]] |
||
| − | |90 |
||
| − | |[[File: |
+ | | [[File:Lodestone (Menaphos) location.png|x120px]] |
| ⚫ | |||
|- |
|- |
||
| − | | |
+ | | [[File:Teleport to J-Mod lodestone icon.png]] |
| [[JMod]] event lodestone |
| [[JMod]] event lodestone |
||
| Varies |
| Varies |
||
| − | | {{ |
+ | | {{NA}} |
| No |
| No |
||
| − | | {{ |
+ | | {{NA}} |
| − | | {{ |
+ | | {{NA}} |
| ⚫ | |||
|- |
|- |
||
| − | | |
+ | | [[File:Tuska lodestone icon.png|40px]] |
| − | |[[Tuska]]<ref name="tuska">This lodestone |
+ | | [[Tuska]]<ref name="tuska">This lodestone was only active during the third World Event, [[Tuska Comes]].</ref> |
| − | |Tuska's back |
+ | | Tuska's back |
| − | |T<ref name="tuskahotkey">This hotkey |
+ | | {{Key press|T}}<ref name="tuskahotkey">This hotkey was only available when the lodestone network map was zoomed onto Tuska.</ref> |
| − | |No |
+ | | No |
| + | | [[File:Tuska lodestone location.png|x120px]] |
||
| ⚫ | |||
| − | |[[File: |
+ | | [[File:Lodestone (Tuska) location.png|x120px]] |
| ⚫ | |||
| ⚫ | |||
| ⚫ | |||
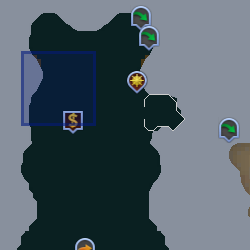
| + | | [[Iceberg (2015 Christmas event)|Iceberg]]<ref name="iceberg">This lodestone was only active during the 2015 Christmas Event.</ref> |
||
| + | | Iceberg |
||
| ⚫ | |||
| ⚫ | |||
| + | | {{NA}} |
||
| + | | [[File:Lodestone (Iceberg) location.png|x120px]] |
||
|} |
|} |
||
| Line 299: | Line 298: | ||
==Trivia== |
==Trivia== |
||
| − | * Only 15 lodestones were available at first, but 7 more (Canifis, Eagles' Peak, Fremennik Province, Karamja, Oo'glog, Tirannwn, Wilderness Volcano) were added on [[24 June]] [[2013]]. The Ashdale lodestone was added on [[12 May]] [[2014]] |
+ | * Only 15 lodestones were available at first, but 7 more (Canifis, Eagles' Peak, Fremennik Province, Karamja, Oo'glog, Tirannwn, Wilderness Volcano) were added on [[24 June]] [[2013]]. The Ashdale lodestone was added on [[12 May]] [[2014]], the Prifddinas lodestone was added on [[22 September]] [[2014]], and the Menaphos lodestone was added on [[5 June]] [[2017]], making a total of 25. |
* Each lodestone is detailed with the city crest of the city it's located in. The Home Teleport interface shows these seals as well. |
* Each lodestone is detailed with the city crest of the city it's located in. The Home Teleport interface shows these seals as well. |
||
* Even though the update page said that Edgeville was unlocked by default for players who've completed Desert Treasure, it was actually the desert Bandit Camp that was unlocked. |
* Even though the update page said that Edgeville was unlocked by default for players who've completed Desert Treasure, it was actually the desert Bandit Camp that was unlocked. |
||
| Line 309: | Line 308: | ||
* During the 2013 Christmas event [[Up to Snow Good]], the Lumbridge Lodestone was made invisible because of the snow that covered Lumbridge. This also allowed the area where the lodestone was located to be walked over instead of around. |
* During the 2013 Christmas event [[Up to Snow Good]], the Lumbridge Lodestone was made invisible because of the snow that covered Lumbridge. This also allowed the area where the lodestone was located to be walked over instead of around. |
||
* On [[17 February]] [[2014]] the Lodestone Network interface was [[Update:Heist - New Minigame|updated]]. On free to play worlds members only parts of the map were greyed out and lodestone icons replaced with the membership sigil, clicking on which triggers the subscription form. All teleport locations received a description when a player hovers over an icon. |
* On [[17 February]] [[2014]] the Lodestone Network interface was [[Update:Heist - New Minigame|updated]]. On free to play worlds members only parts of the map were greyed out and lodestone icons replaced with the membership sigil, clicking on which triggers the subscription form. All teleport locations received a description when a player hovers over an icon. |
||
| + | * On [[21 May]] [[2018]], the lodestones were graphically reworked. |
||
* Upon clicking the "Info" option of a J-Mod placed lodestone, it states: {{RSFont|This lodestone has been placed by a J-Mod. This means there is an event going on near by. Look out for it.|color = gray}} |
* Upon clicking the "Info" option of a J-Mod placed lodestone, it states: {{RSFont|This lodestone has been placed by a J-Mod. This means there is an event going on near by. Look out for it.|color = gray}} |
||
* Teleporting to a lodestone via [[Circus barker]]s always uses the slow teleport, regardless of the quick teleport setting. |
* Teleporting to a lodestone via [[Circus barker]]s always uses the slow teleport, regardless of the quick teleport setting. |
||
| ⚫ | |||
| − | |||
| ⚫ | |||
| − | {{RuneLabs}} |
||
[[fi:Lodestone Network]] |
[[fi:Lodestone Network]] |
||
| + | [[pt:Rede de Magnetitas]] |
||
| − | [[Category:Transportation]] |
||
| − | [[Category:Controversies]] |
||
Latest revision as of 19:43, 3 March 2019

The Lodestone Network is a teleportation system that permits travel to various locations across Gielinor via the Home Teleport spell. After selecting Home Teleport, an interface will pop up, allowing you to choose where to teleport. Lodestones can be found as symbols on the minimap and on the world map, making locating them easy. Apart from Lumbridge, an ancient lodestone in the area must be activated in order to unlock travel to new locations.
A new player can only teleport to Lumbridge by default, and must complete all the tutorial introductory tasks before unlocking new lodestone locations. For free-to-play players, the only locations available are Lumbridge, Al Kharid, Draynor Village, Ashdale, Edgeville, Falador, Port Sarim, Varrock, Burthorpe, the Wilderness and Taverley - the members-only locations are greyed out in the background.
Related to unlocking the lodestones are the Lodestone achievements which were released on 13 March 2012 alongside the Lodestone Network update. They consist of unlocking each lodestone with the exception of the lodestones in Burthorpe, Bandit Camp, Lumbridge, and Lunar Isle. The achievements do not yield further rewards, apart from unlocking the lodestones.
The lodestones were built by the second Wizards' Tower wizards after the discovery of teleportational spells. The lodestone network's introduction - and proximity to key locations and other alternative transport networks - has largely reduced the need for teleportation spells across all three spellbooks, as well as the use of Portal Chambers in a Player-owned house.
Lodestone teleports use the default lodestone animation, however players may override this by activating teleport override animations within the Spell Animations section of the Animations tab, found in the Customisations interface.
In proximity of the lodestones
Banking
- The lodestone closest to a bank is Prifddinas, but requires completion of Plague's End.
- The closest lodestone to a bank for free-to-play players is Burthorpe. It is also the second closest lodestone to a bank for members.
Grand Exchange
Free to play
- For free to play players the Varrock lodestone is the fastest way to get to the Grand Exchange.
Pay to play
- The lodestone closest to a Grand Exchange is Prifddinas, but requires completion of Plague's End.
- After partial completion of the Jack of Spades quest, the Menaphos lodestone is the fastest option for pay to play players to access the Grand Exchange.
- The Edgeville lodestone gives access to the Grand Exchange for members with 21 Agility via a shortcut at the northwest wall of the Grand Exchange, providing quicker access than the Varrock lodestone.
- A Ring of Wealth/Fortune/Luck of the dwarves can directly teleport a player to the Grand Exchange entrance.
Transport
- The Yanille lodestone is the closest to the Fairy Ring network.
- The Edgeville lodestone, however, is the closest to both a bank and a Fairy Ring.
- The Al Kharid lodestone is closest to the Gnome Glider network.
- The Port Sarim lodestone is closest to a Charter ship port.
Stat Restore Objects
- The Falador lodestone is closest to both an Altar and a small Summoning obelisk to restore both your Prayer and Summoning points.
- If you have access to and have completed the Canifis God Statue, the Canifis lodestone is the closest to an "altar" to restore your Prayer points.
- The Taverley lodestone is closest to a POH portal (with level 10 Construction). It also has convenient access to the Plank maker and the bank.
- While the Yanille lodestone is also quite close, it requires level 50 Construction to locate your home there, has no possibility of converting logs to planks and it takes more time to reach a bank.
- Danger
- The Wilderness volcano lodestone is in the Wilderness, and is thus dangerous. You will be given a warning (this warning can be turned off) before teleporting and you will be asked to confirm if you really wish to go there.
- Players below combat level 15 should take care when using the Edgeville lodestone, as there is an aggressive mugger within range of the arrival location.
- When the Hati winter event is active, players should be wary of using the Fremennik lodestone, as it is close to one of Hati's spawn points.
Compared to spellbook teleports, most of the lodestones in the lodestone network are situated far away from major points of interest. This compensates for the free nature of the teleport; not requiring runes.
Quick teleports
A player has the ability to use vis wax to charge their quick-teleports in the Lodestone Network, allowing for instant teleports. Each vis wax yields 10 charges by which 1 charge is consumed each teleport. A player may store a maximum of 4,000 charges. It costs 1,543.3 coins per quick-teleport. Instant lodestone teleports was an idea suggested on RuneLabs.
After completing the hard Wilderness achievements teleporting to the Wilderness Lodestone is always instant and free of charge. Not all teleportation animation overrides also override quick teleports.
Locations
| Icon | Name | Location | Shortcut | Members | Image | Minimap |
|---|---|---|---|---|---|---|
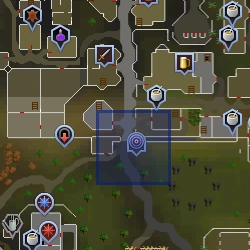
| Lumbridge | East of Lumbridge Castle. | L | No | 
|
| |
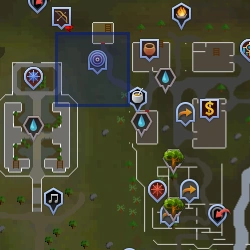
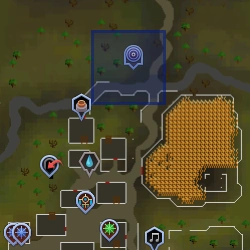
| Burthorpe | Centre of Burthorpe, east of Warriors' Guild. | B | No | 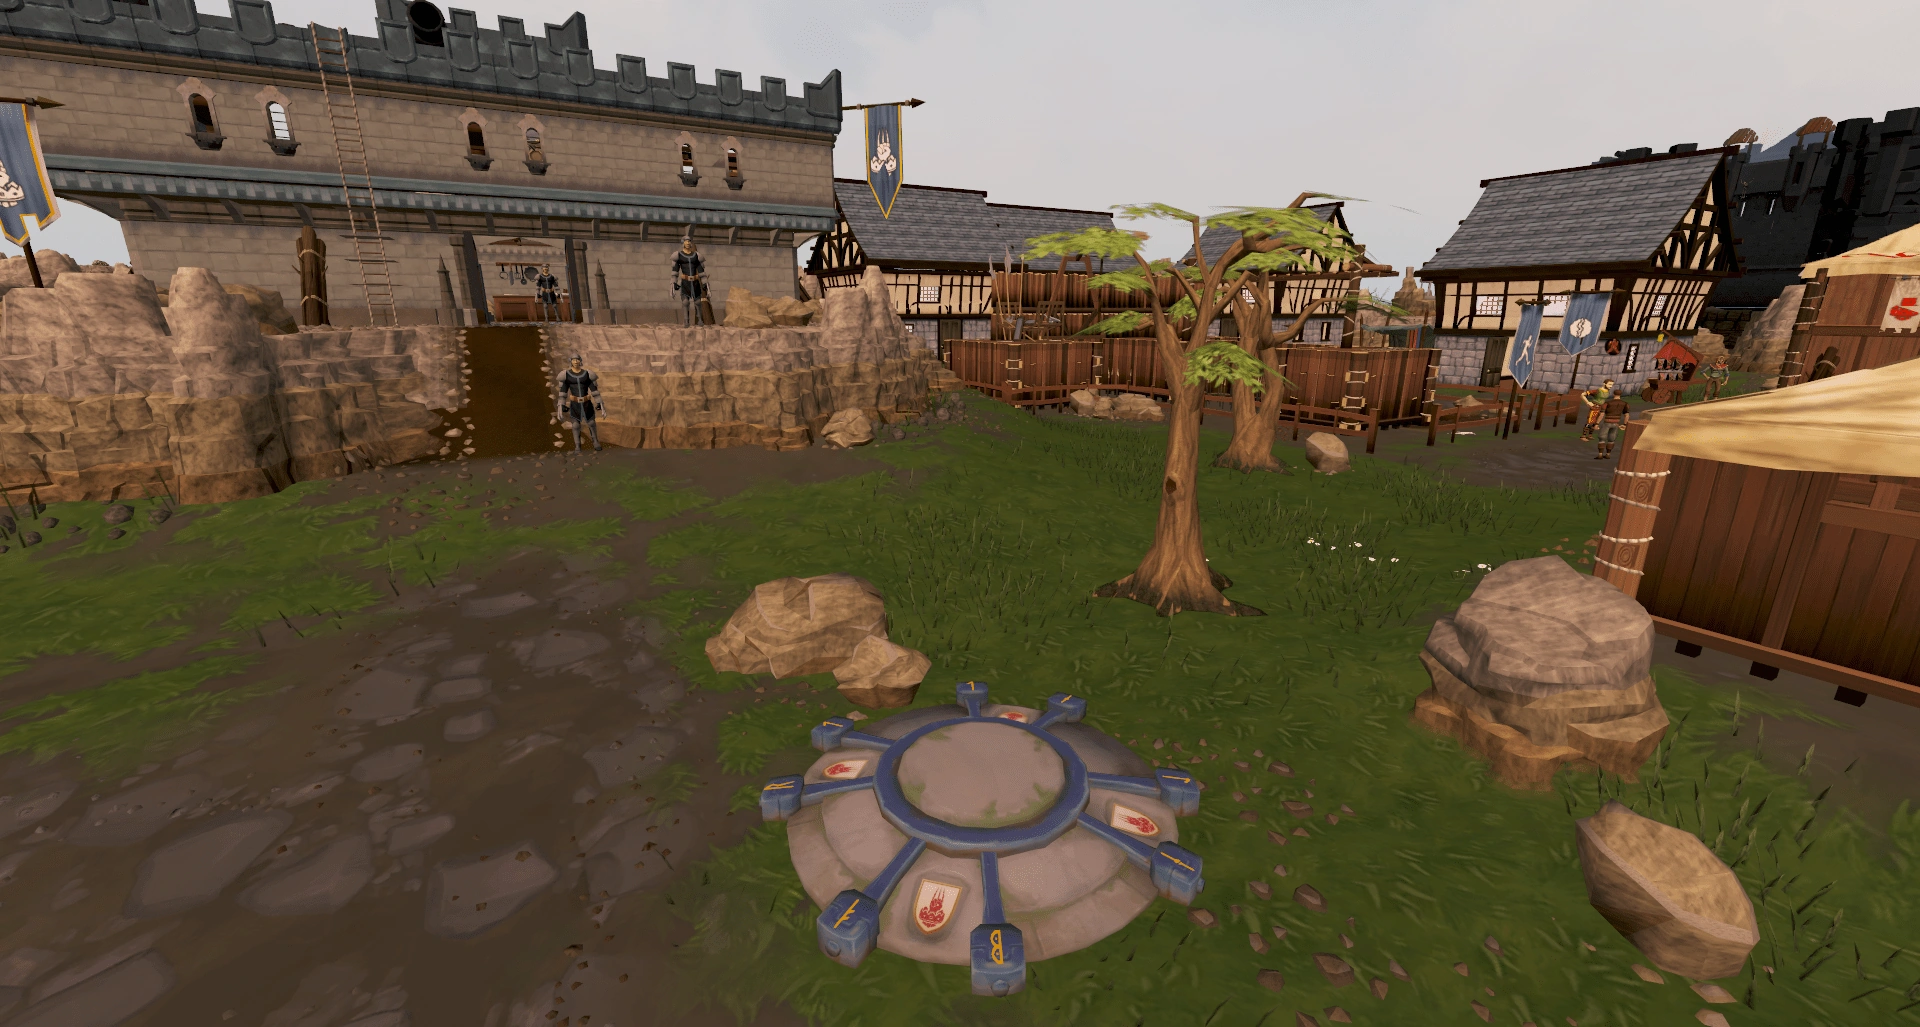
|
| |
| Lunar Isle | South-west of the bank (after Lunar Diplomacy). | Alt+L | Yes | 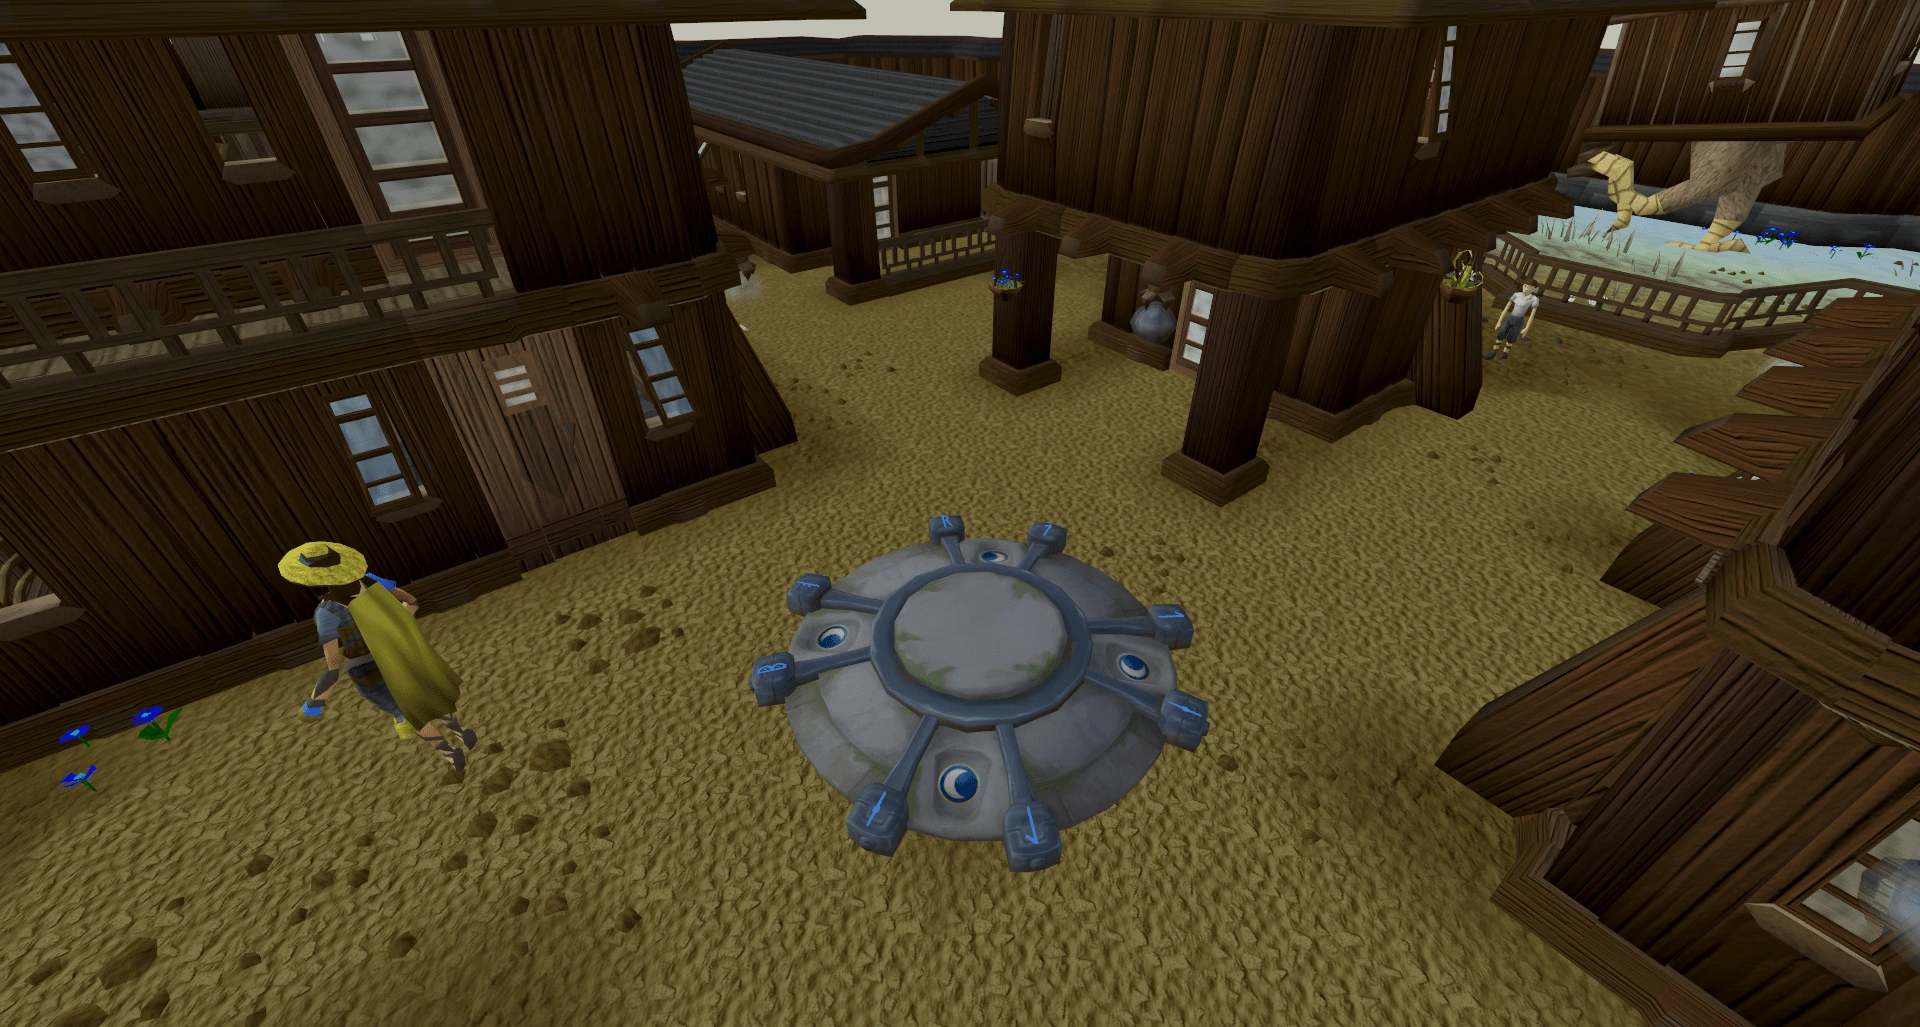
|
| |
| Bandit Camp | South-east of the Camp, surrounded by mystical mirrors (after Desert Treasure). | Alt+B | Yes | 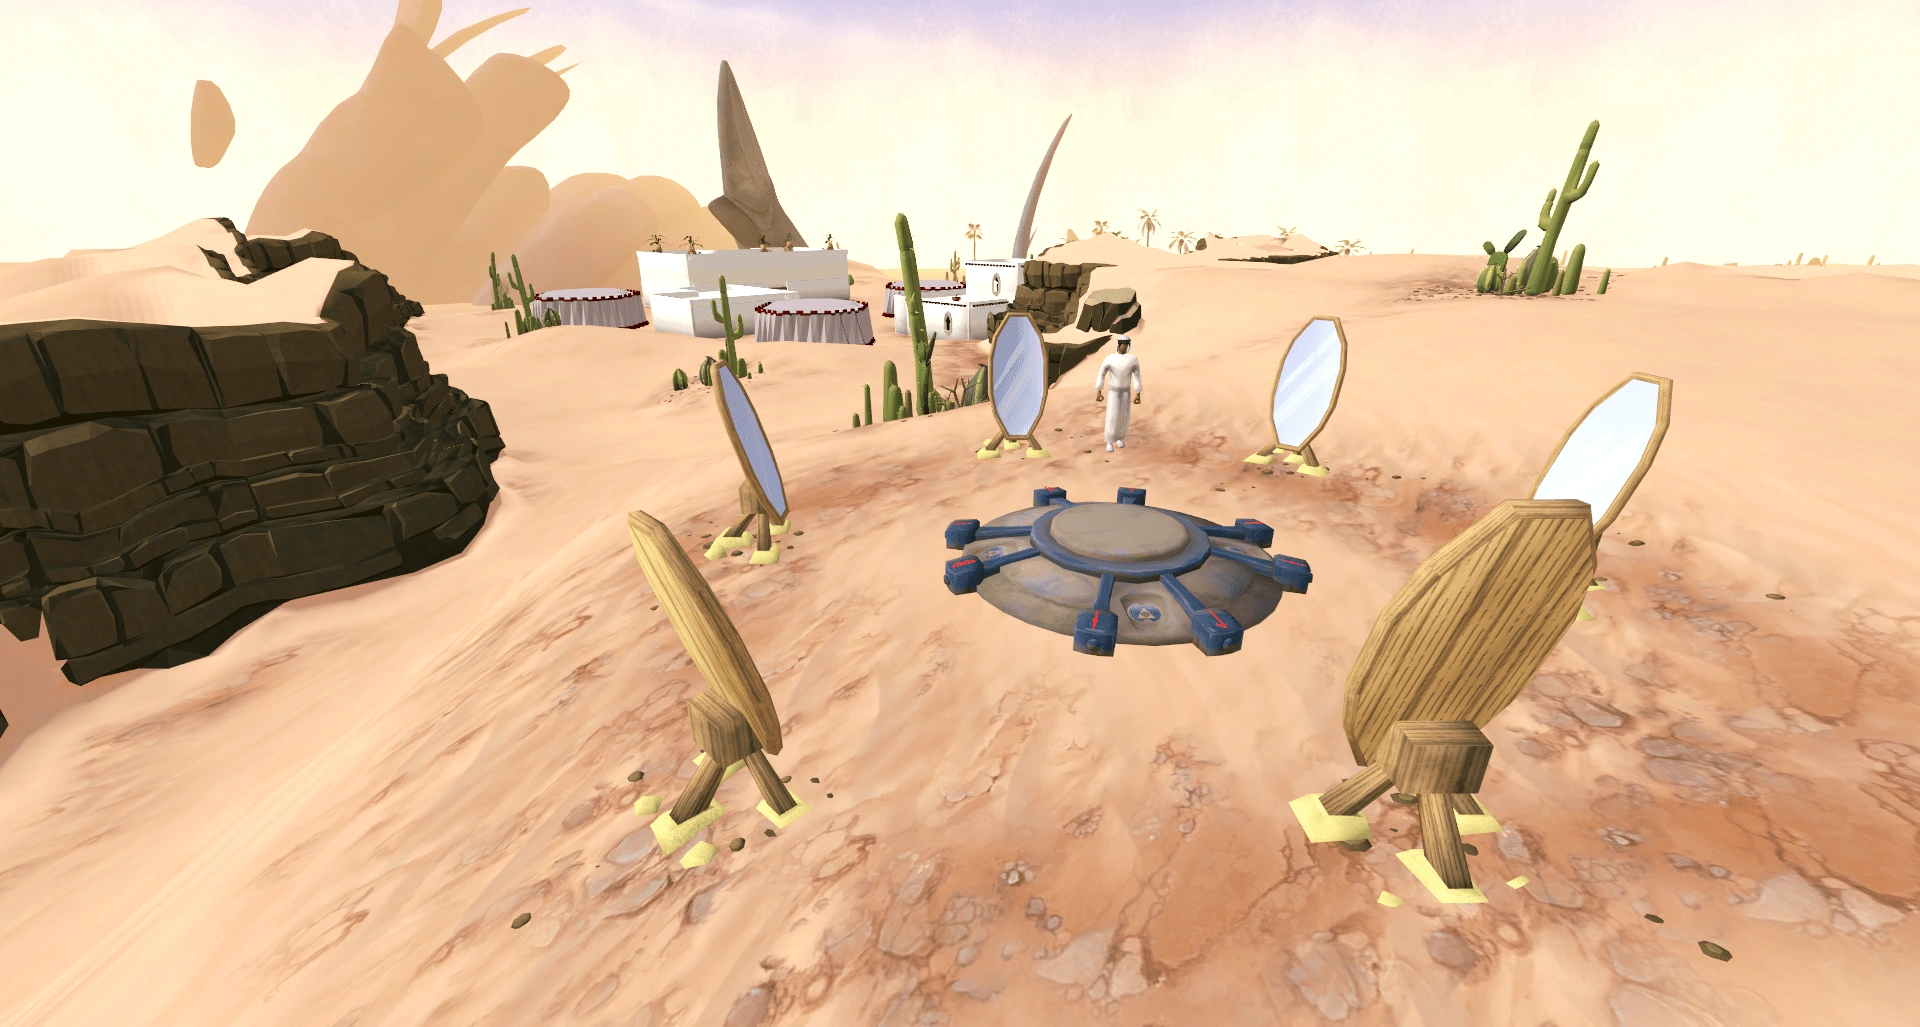
|
| |
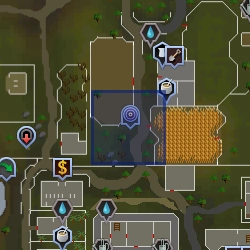
| Taverley | South of POH Portal. | T | No | 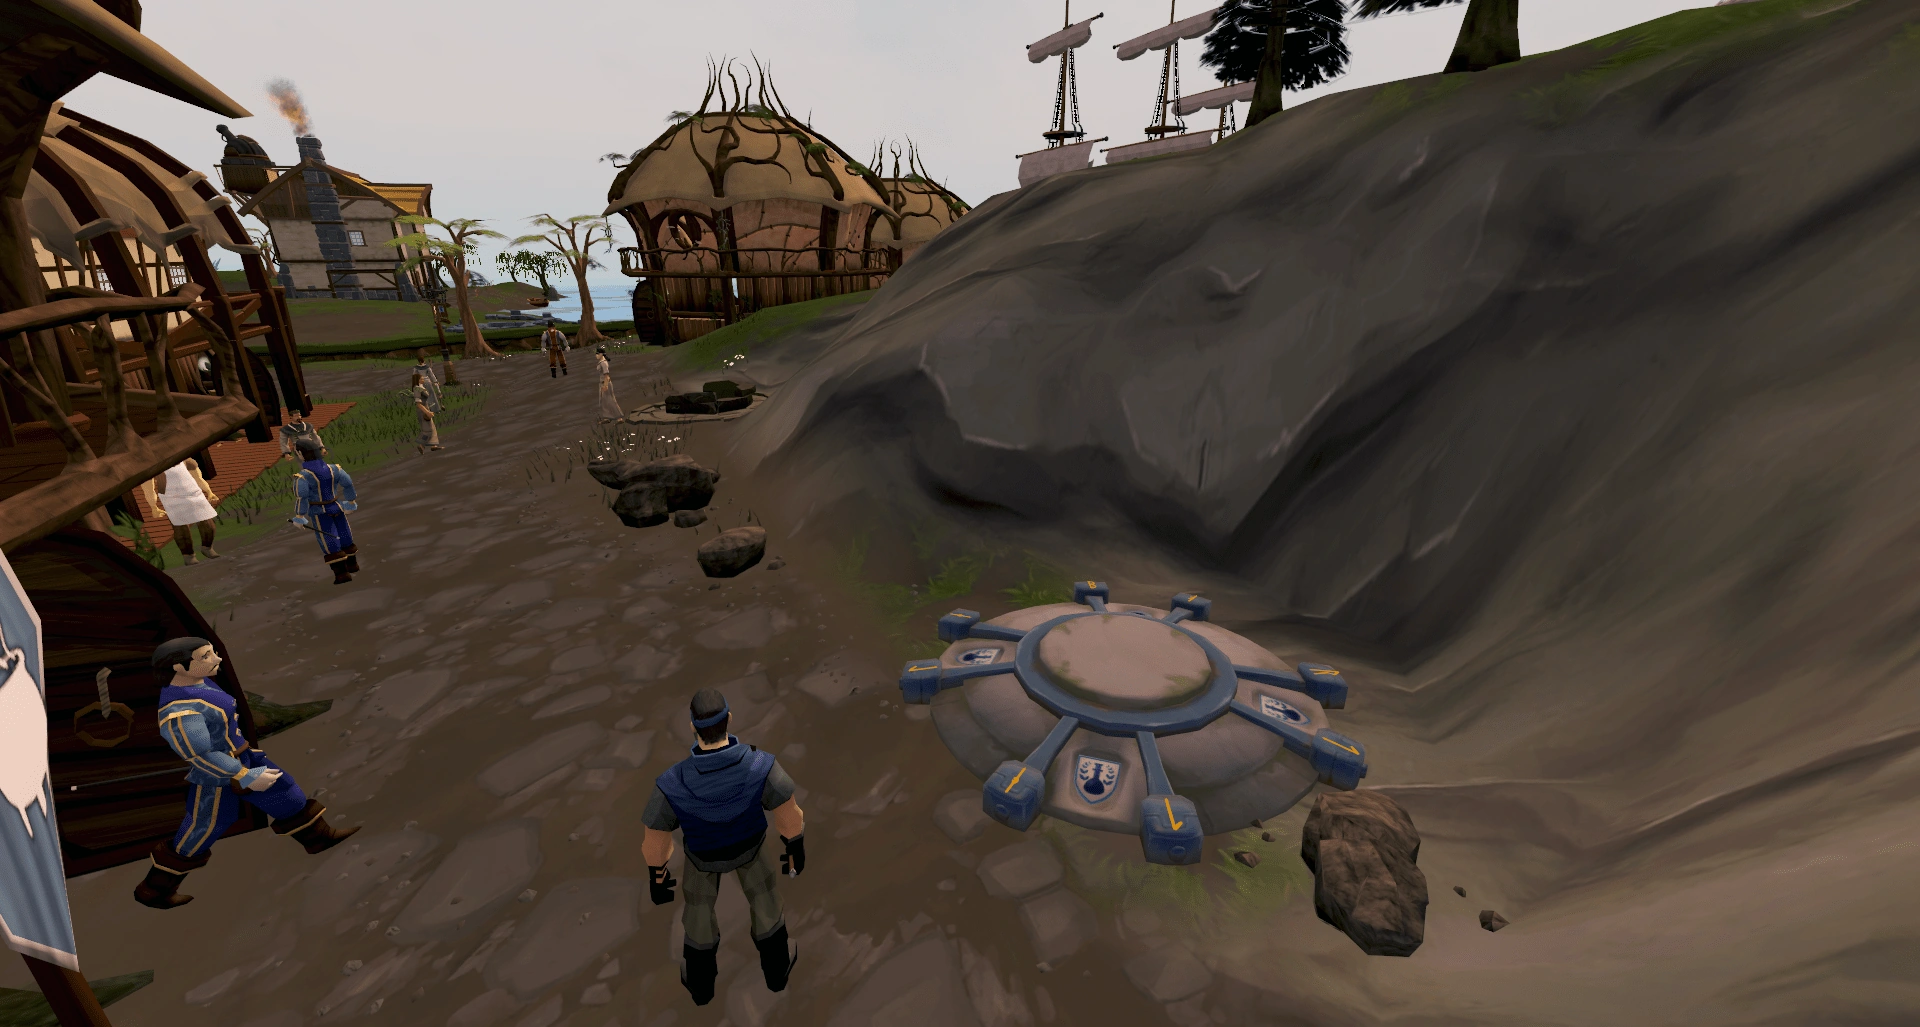
|
| |
| Al Kharid | North of Al Kharid Palace. | A | No | 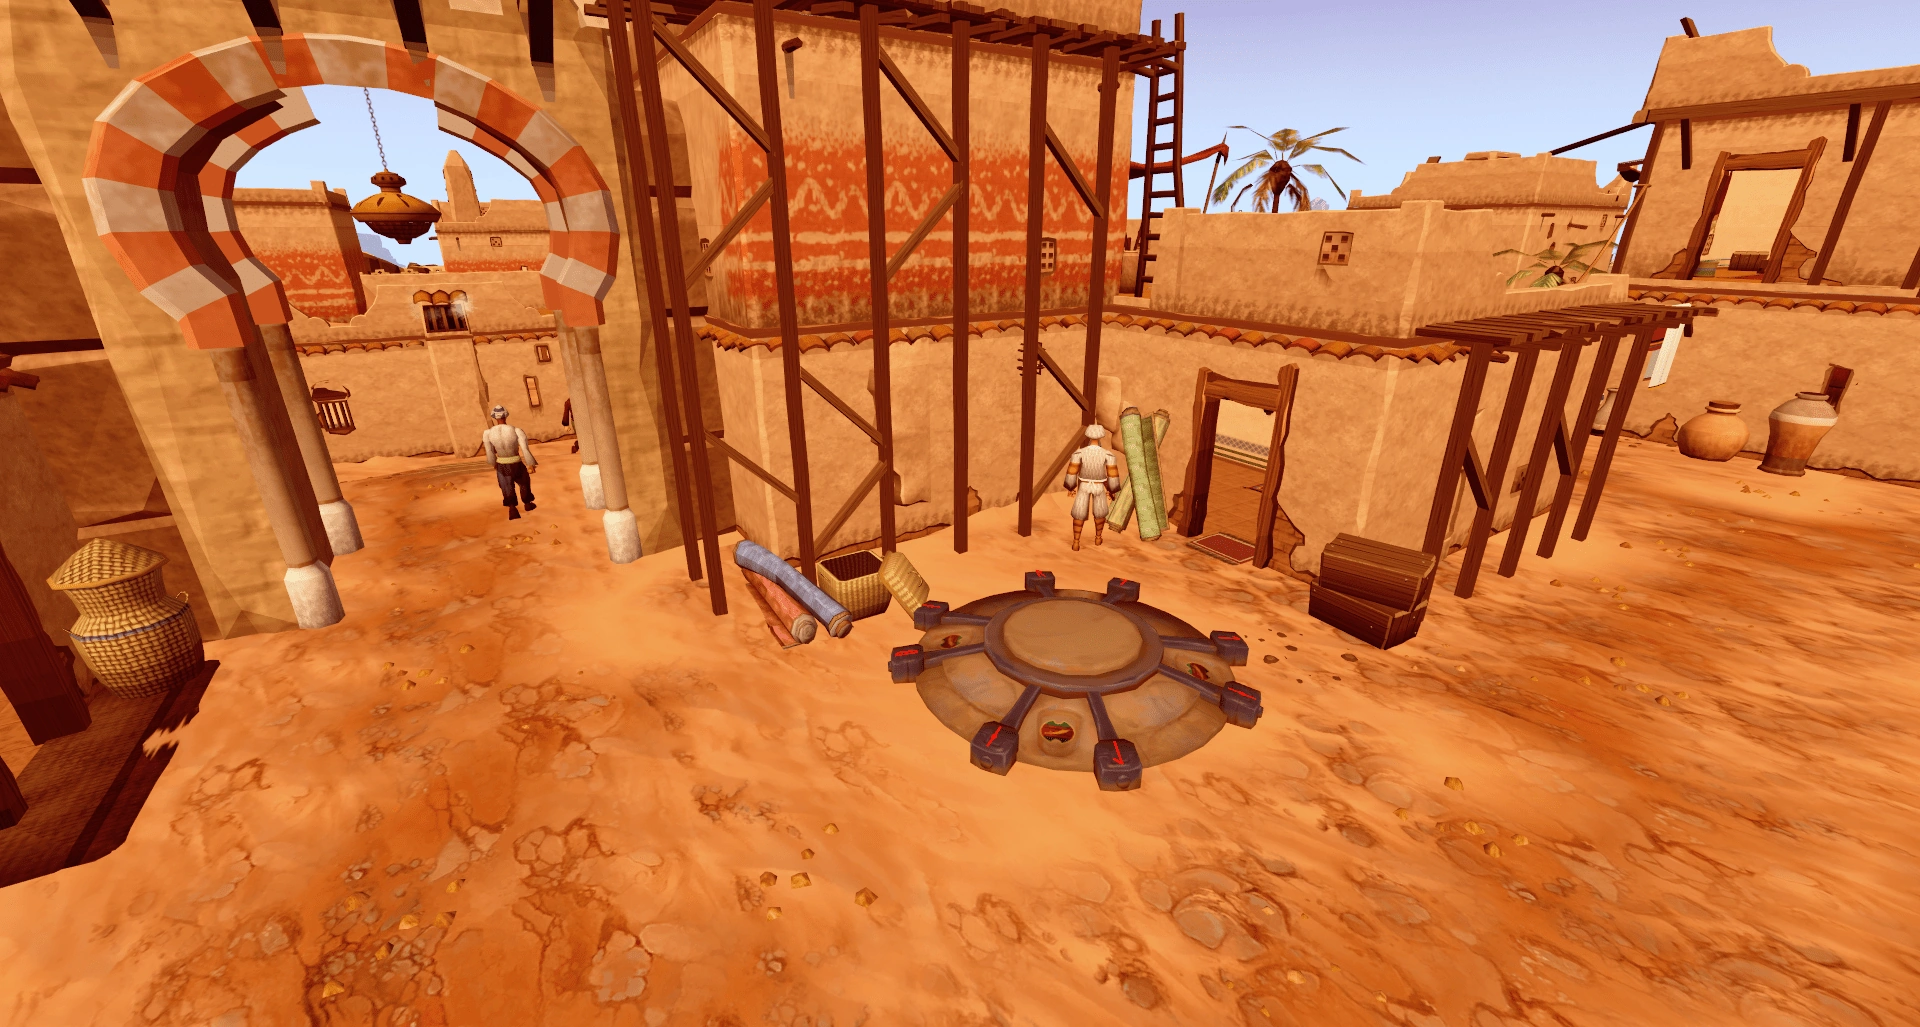
|
| |
| Varrock | South gate. | V | No | 
|
| |
| Edgeville | West of the General Store. | E | No | 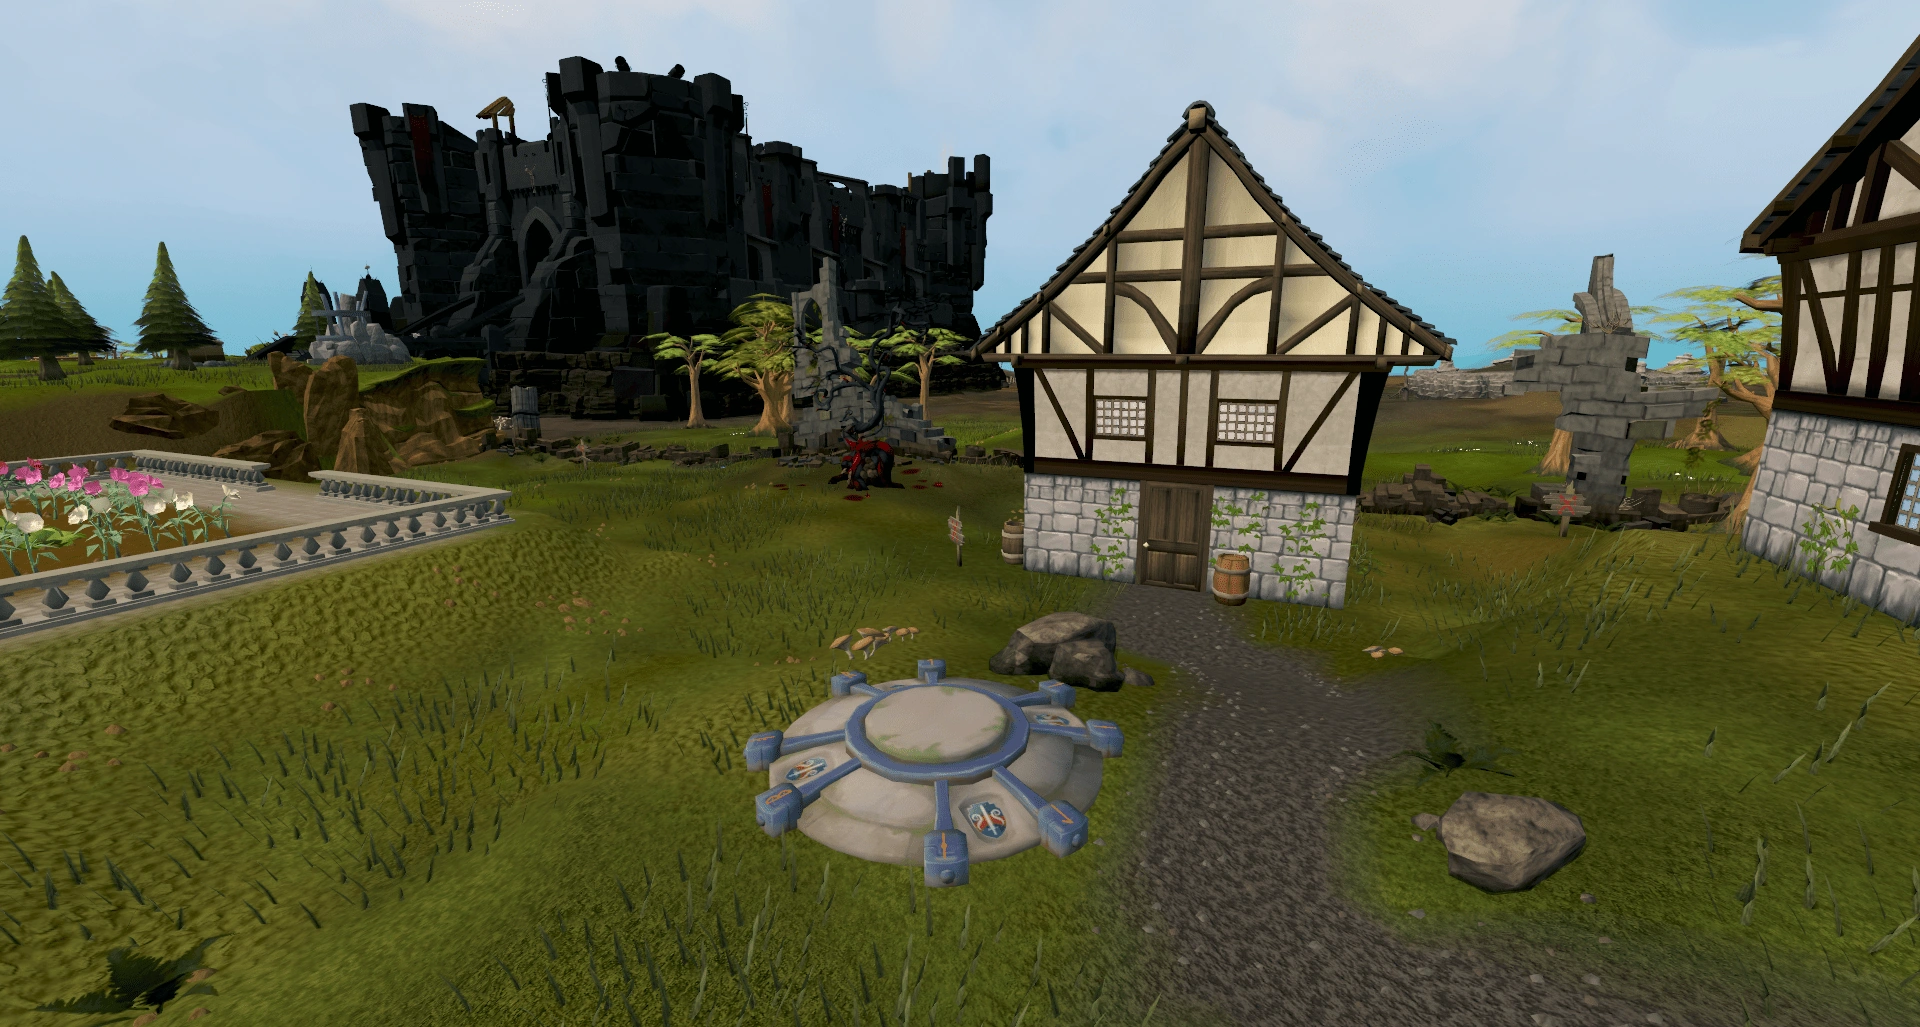
|
| |
| Falador | Outside north gate. | F | No | 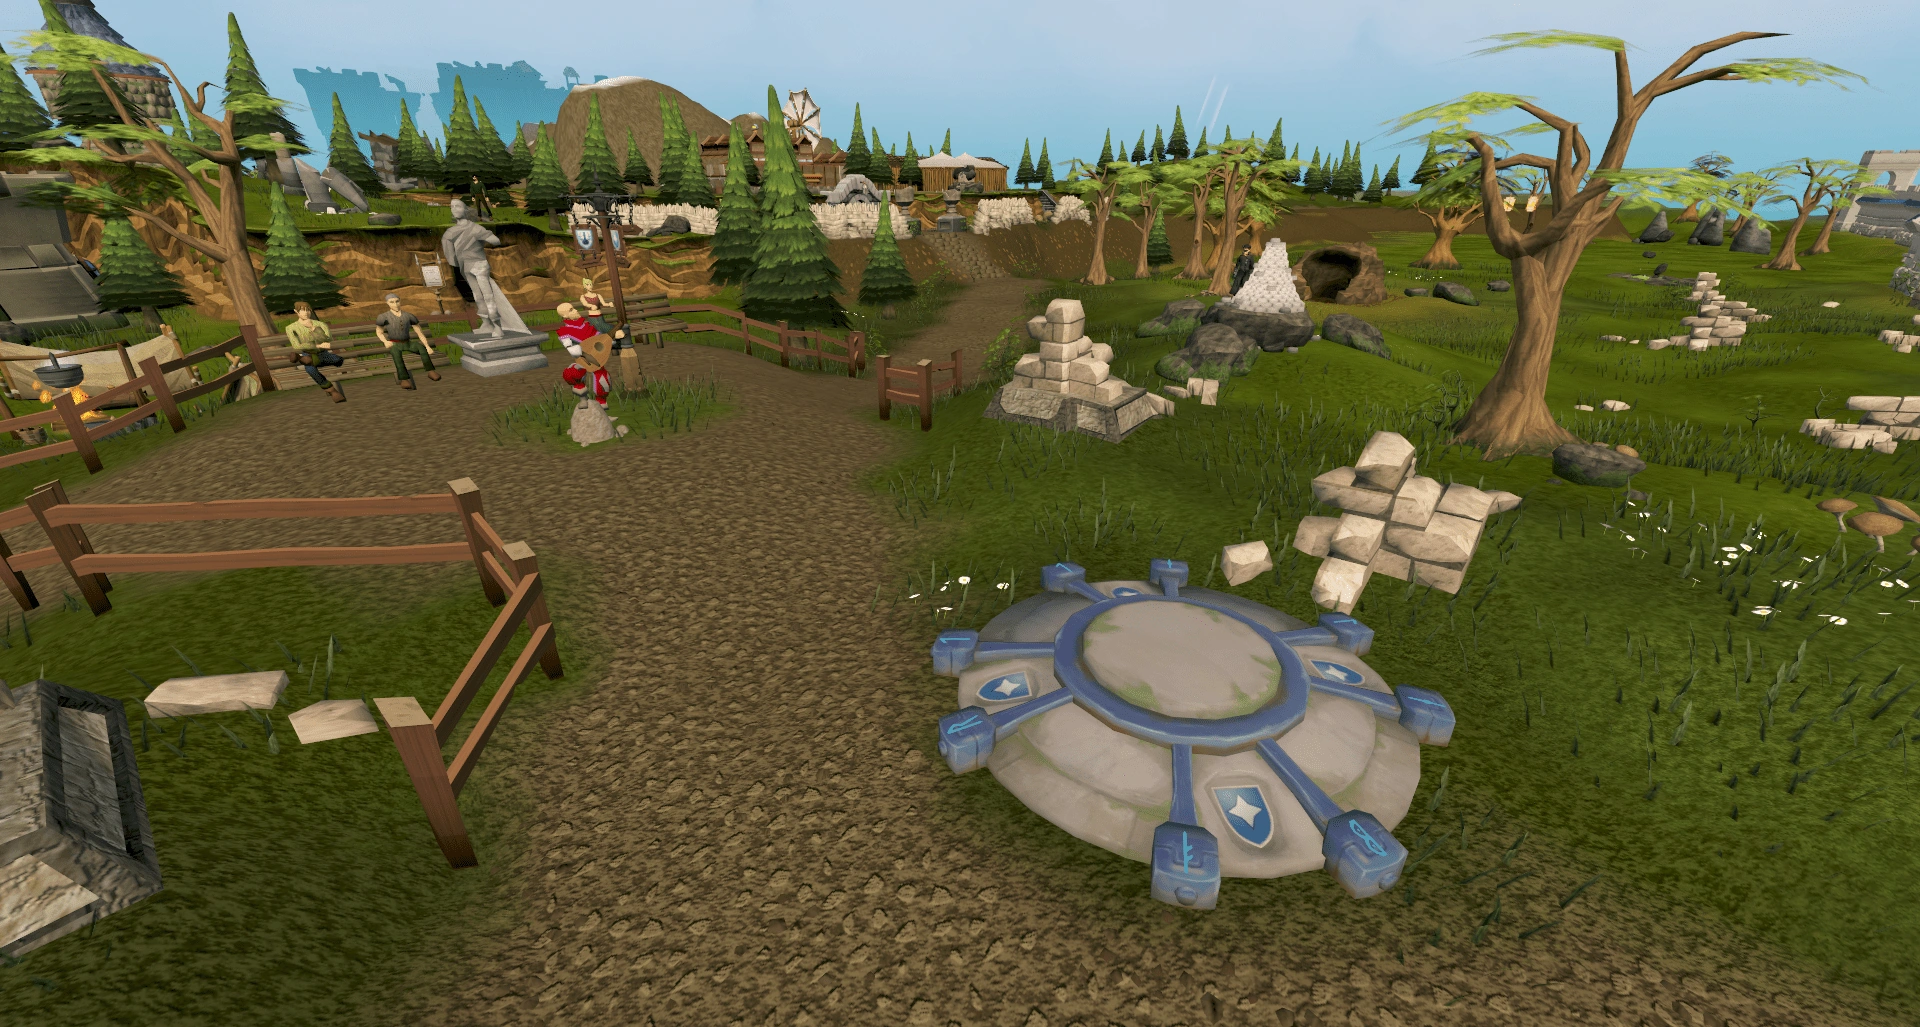
|
| |
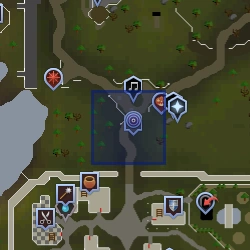
| Port Sarim | South of Gerrant's Fishy Business. | P | No | 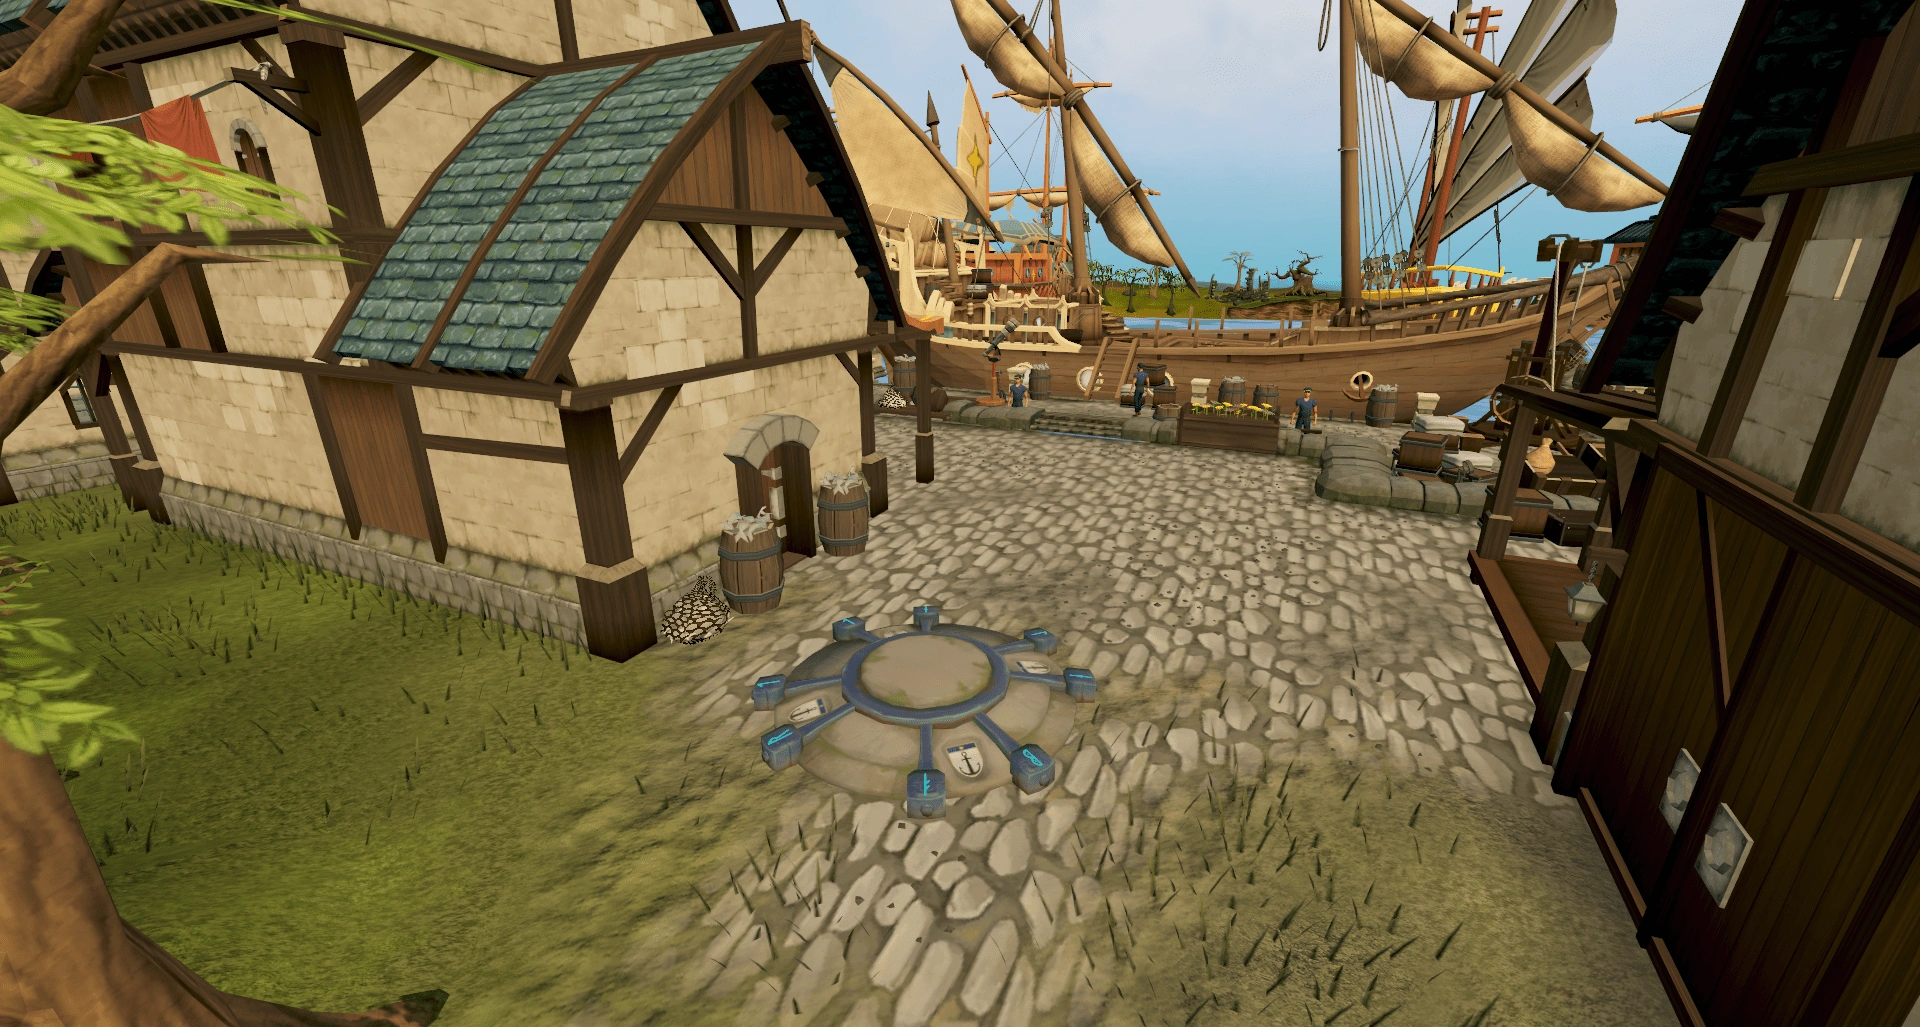
|
| |
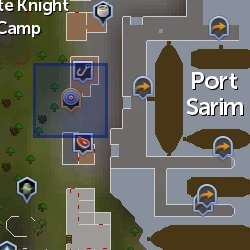
| Draynor Village | At the Crossroads, north of Draynor. | D | No | 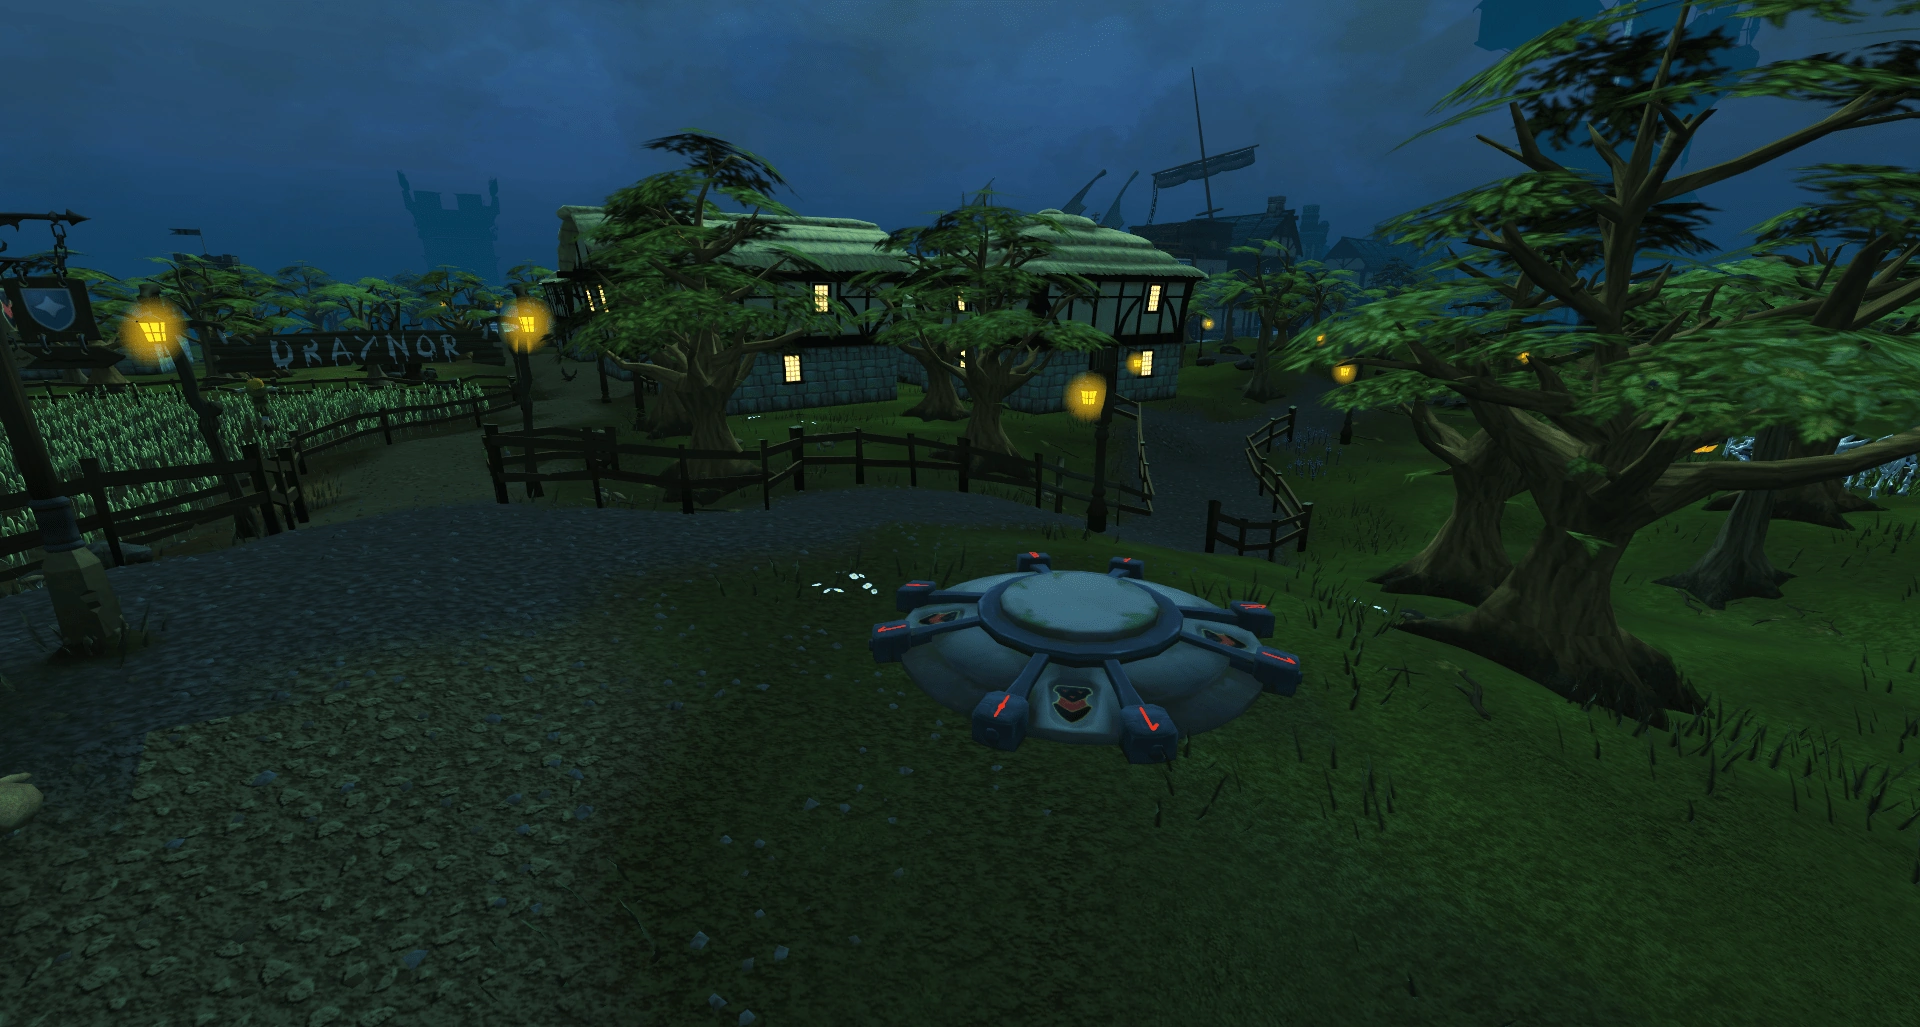
|
| |
| Ardougne | North entrance (between potato and wheat patch). | Alt+A | Yes | 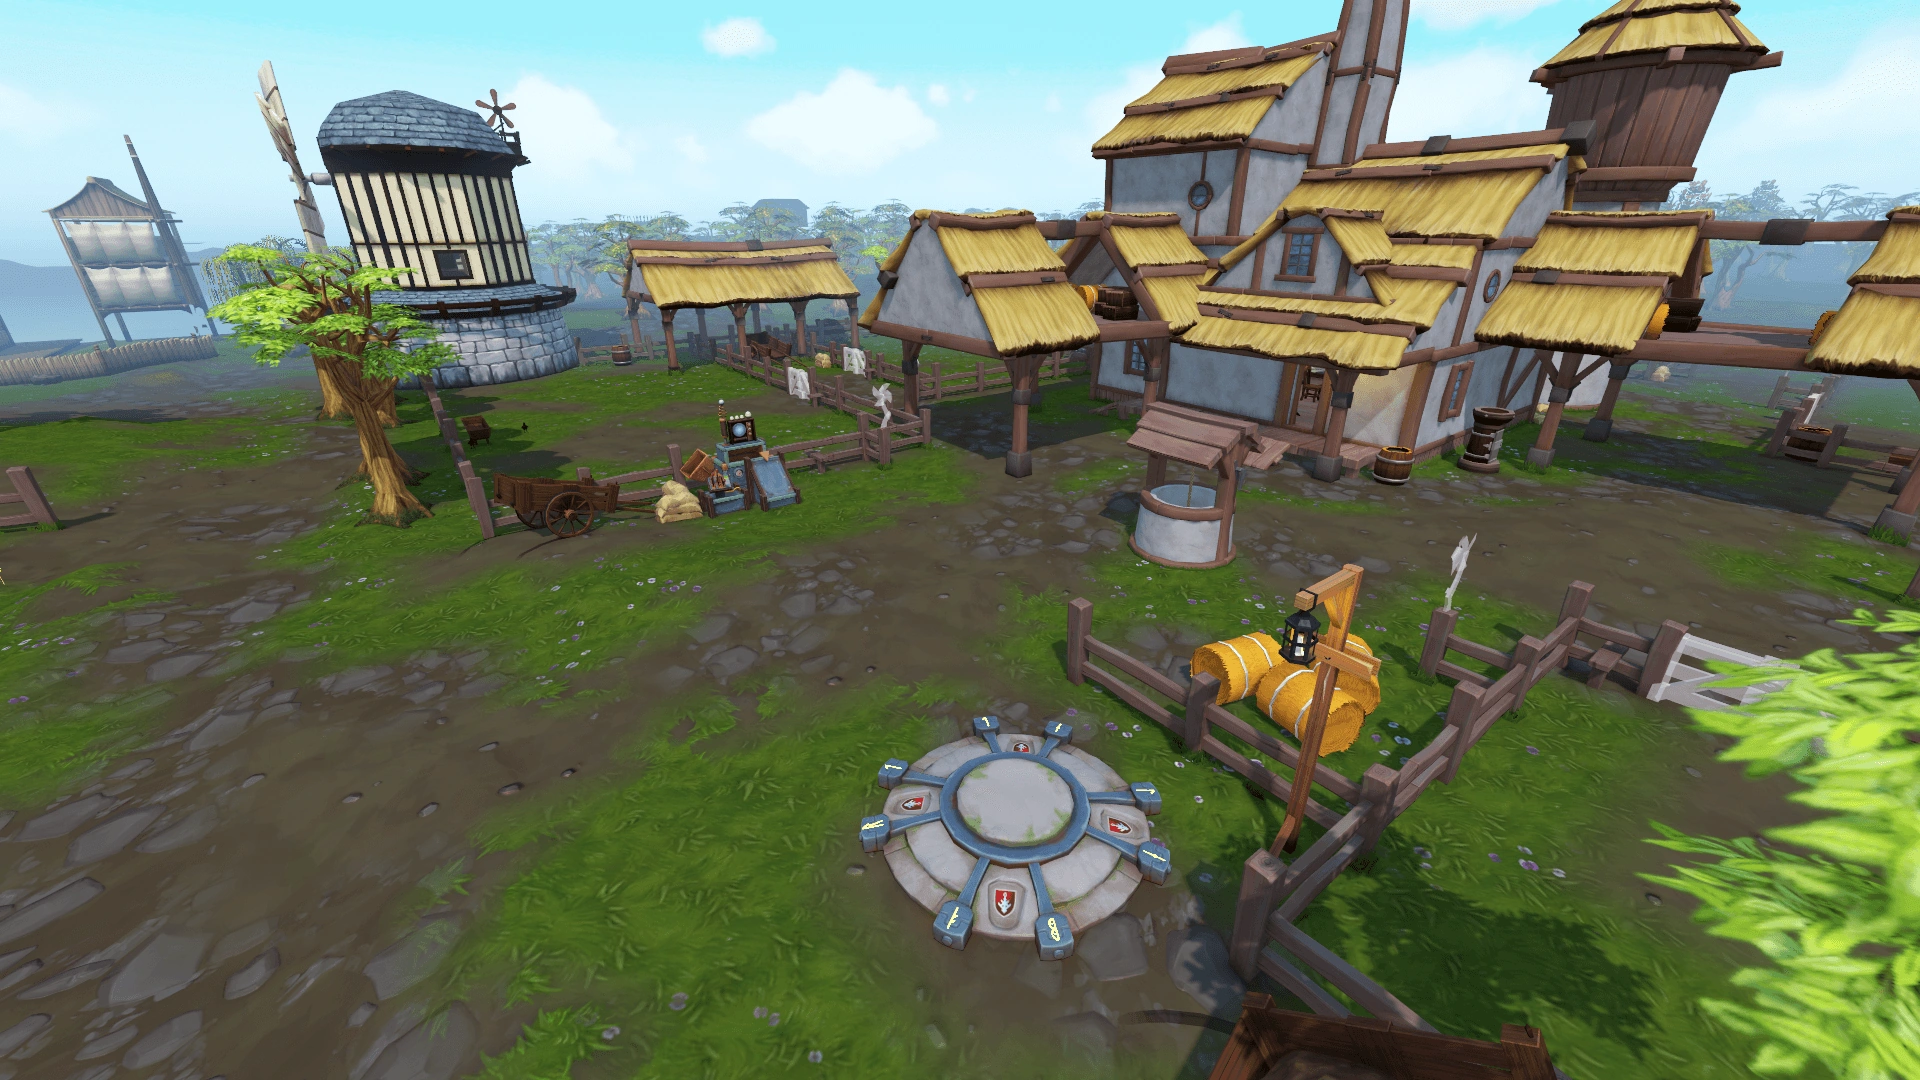
|
| |
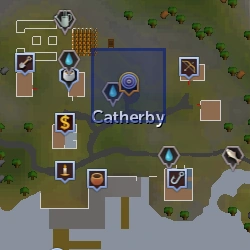
| Catherby | North of fishing shop. | C | Yes | 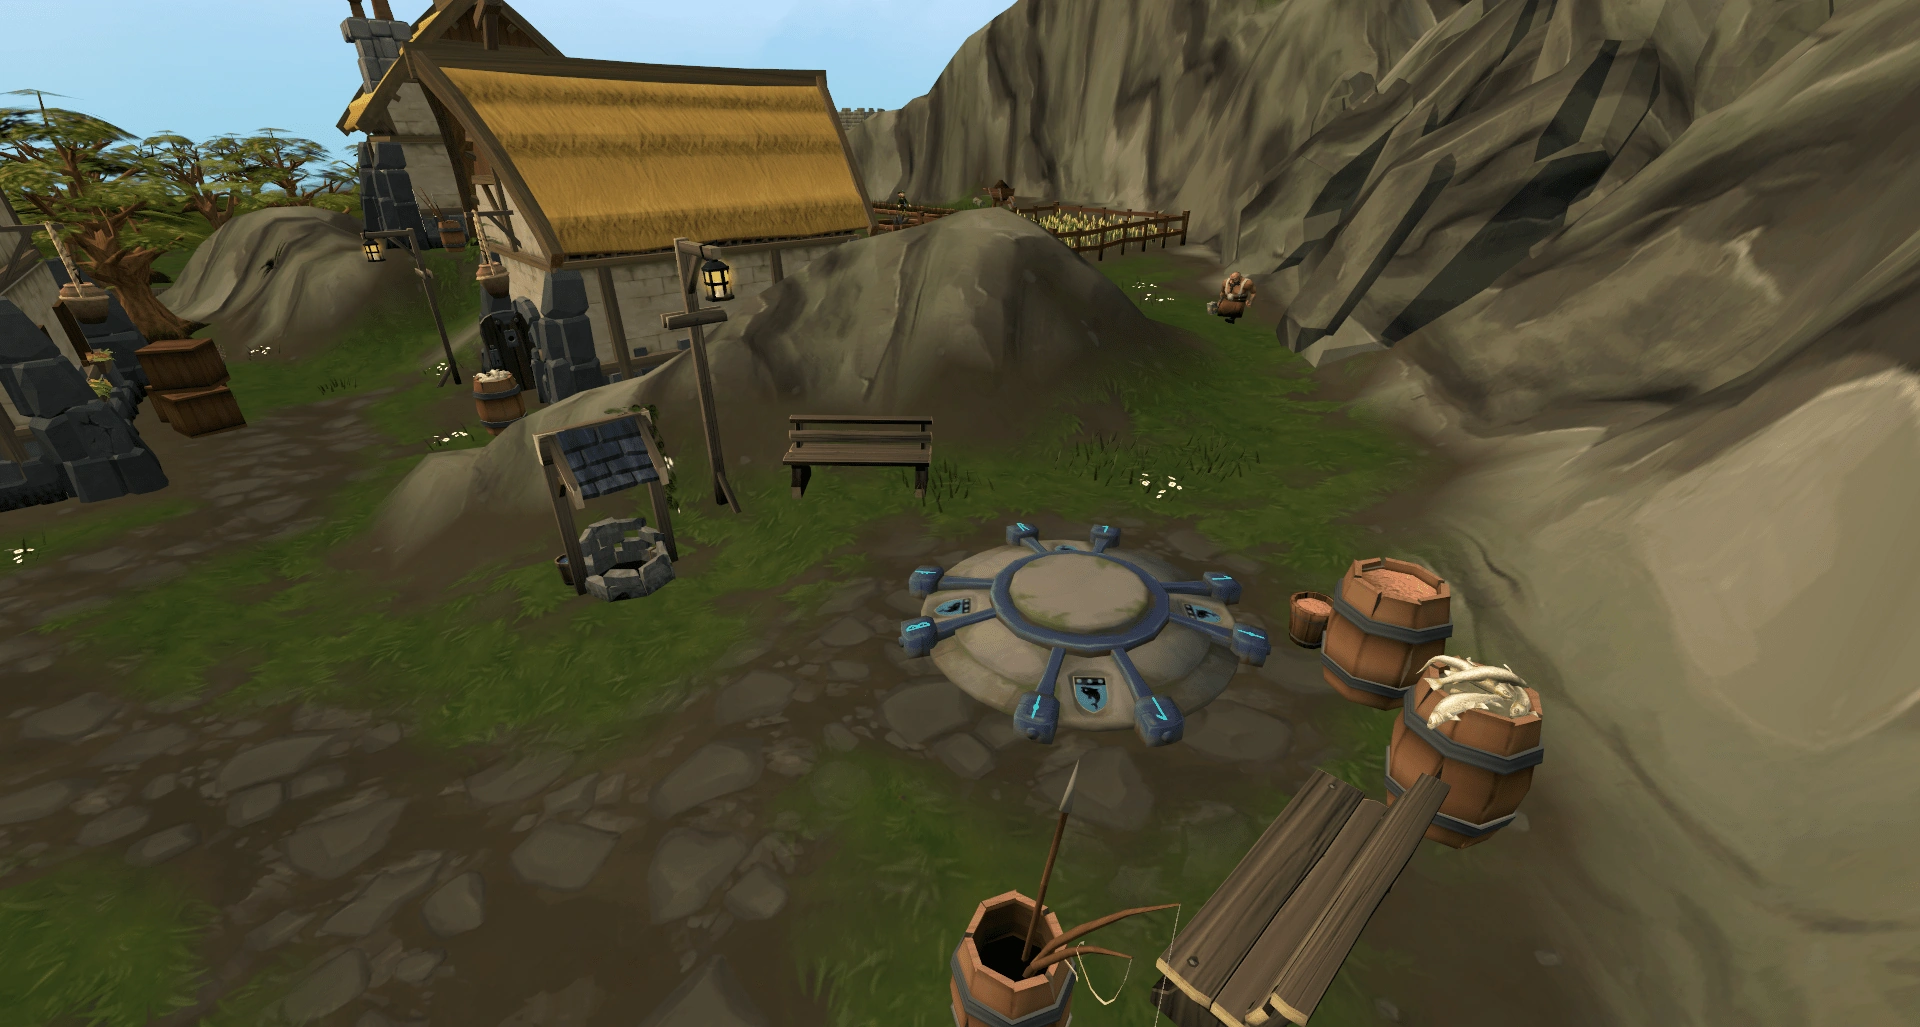
|
| |
| Yanille | Outside the west gate. | Y | Yes | 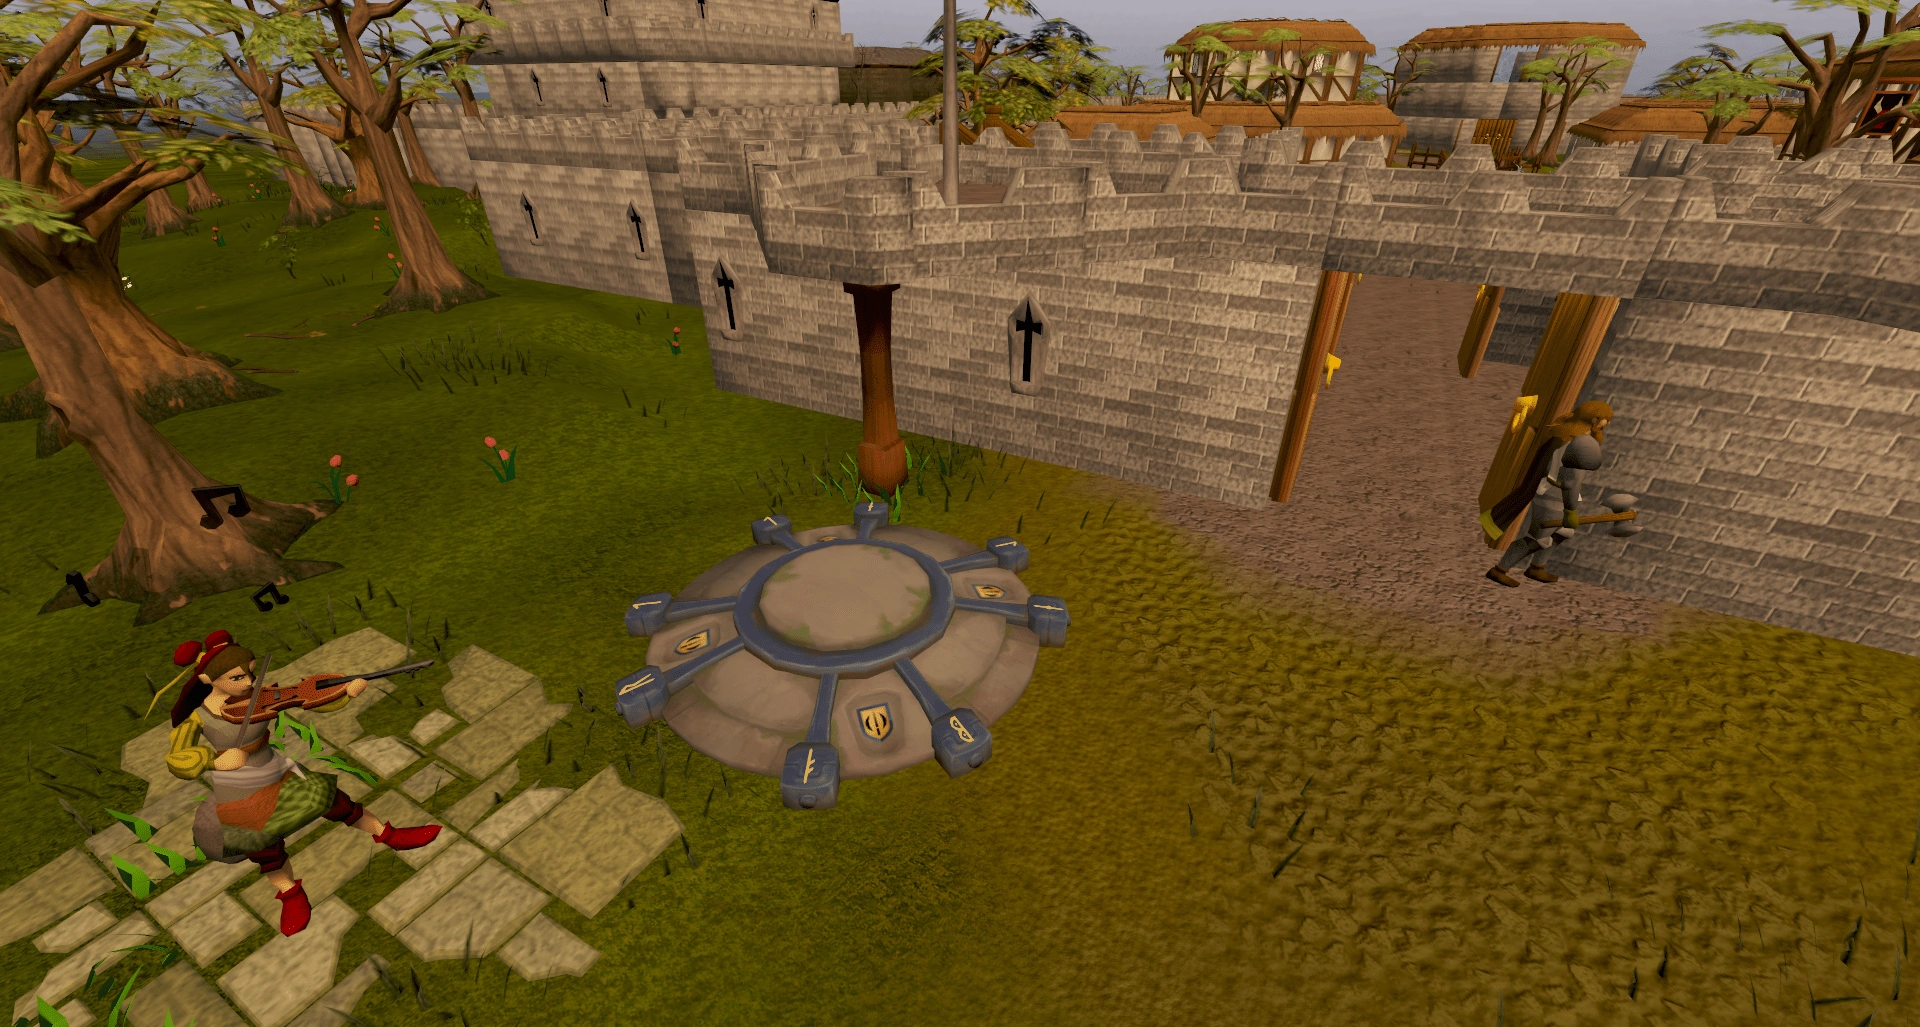
|
| |
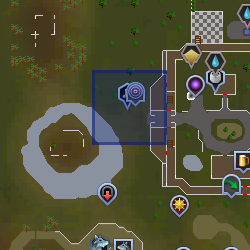
| Seers' Village | South of the Forester's Arms pub. | S | Yes | 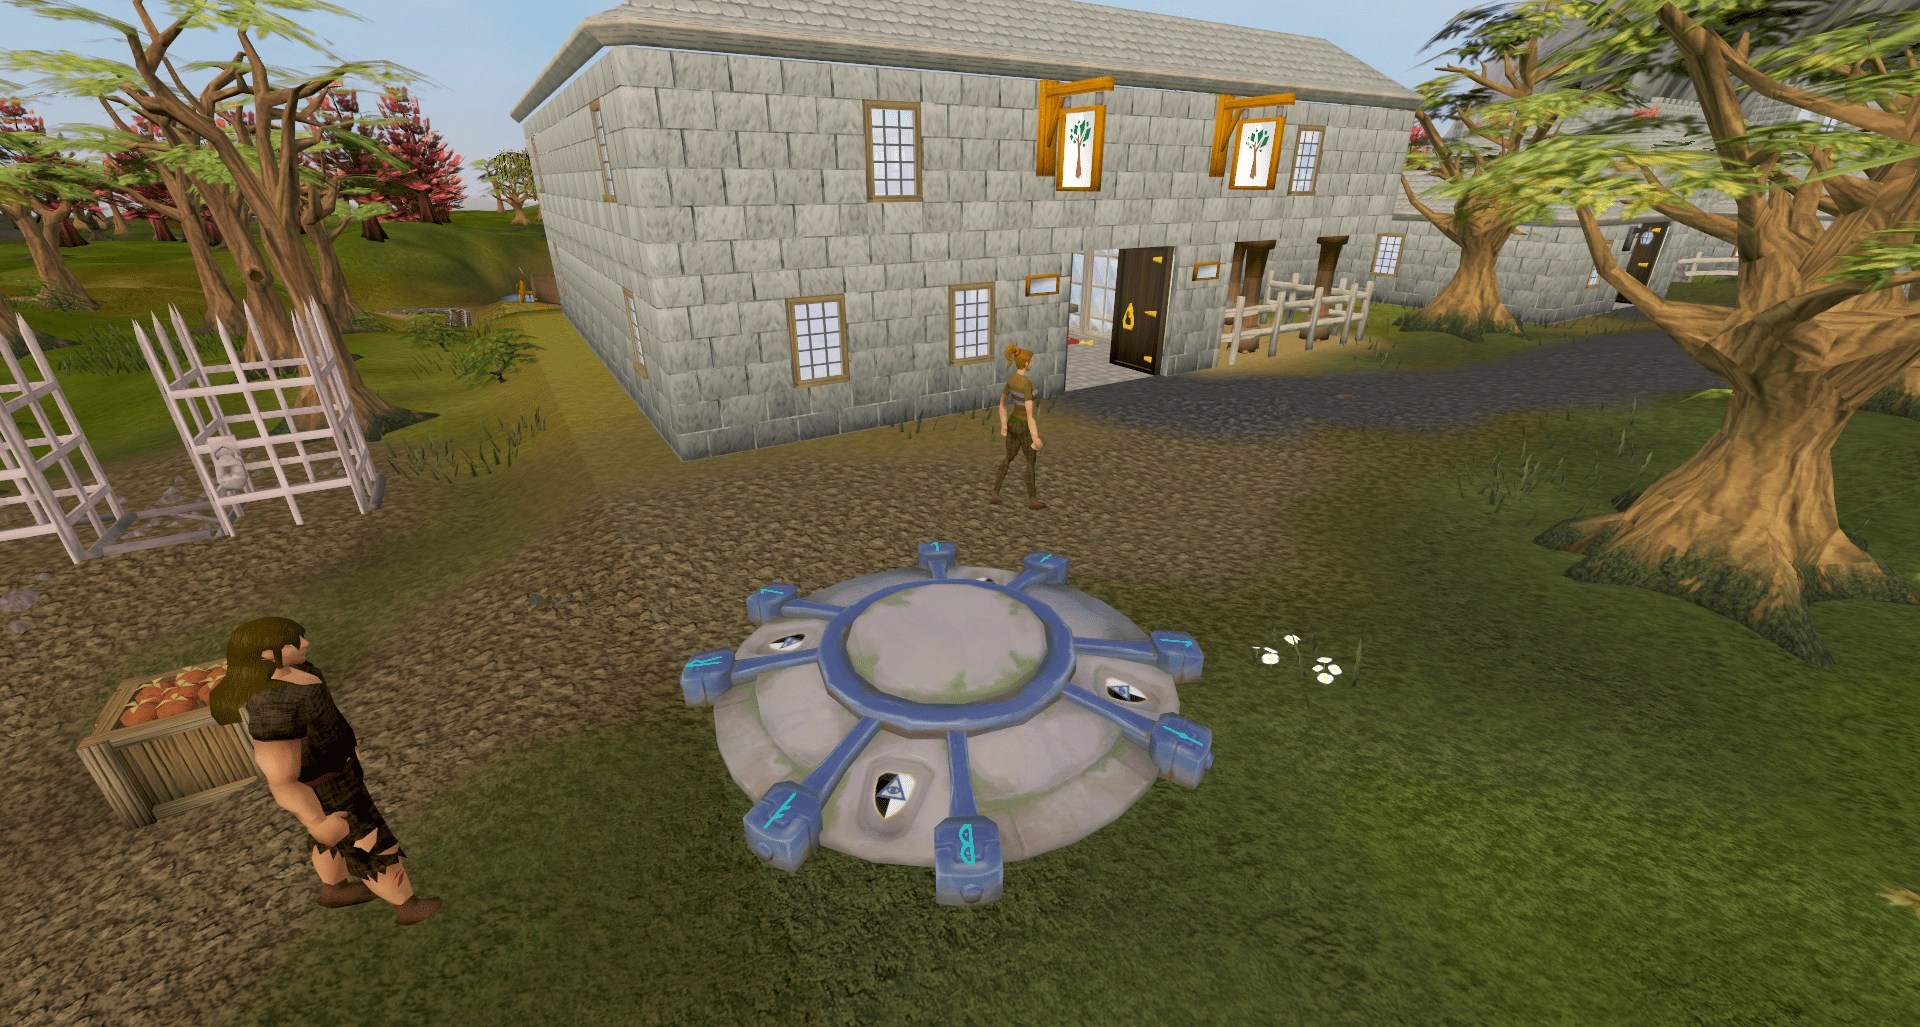
|
| |
| Eagles' Peak | West of the Tree Gnome Stronghold, near Kathy Corkat. | Alt+E | Yes | 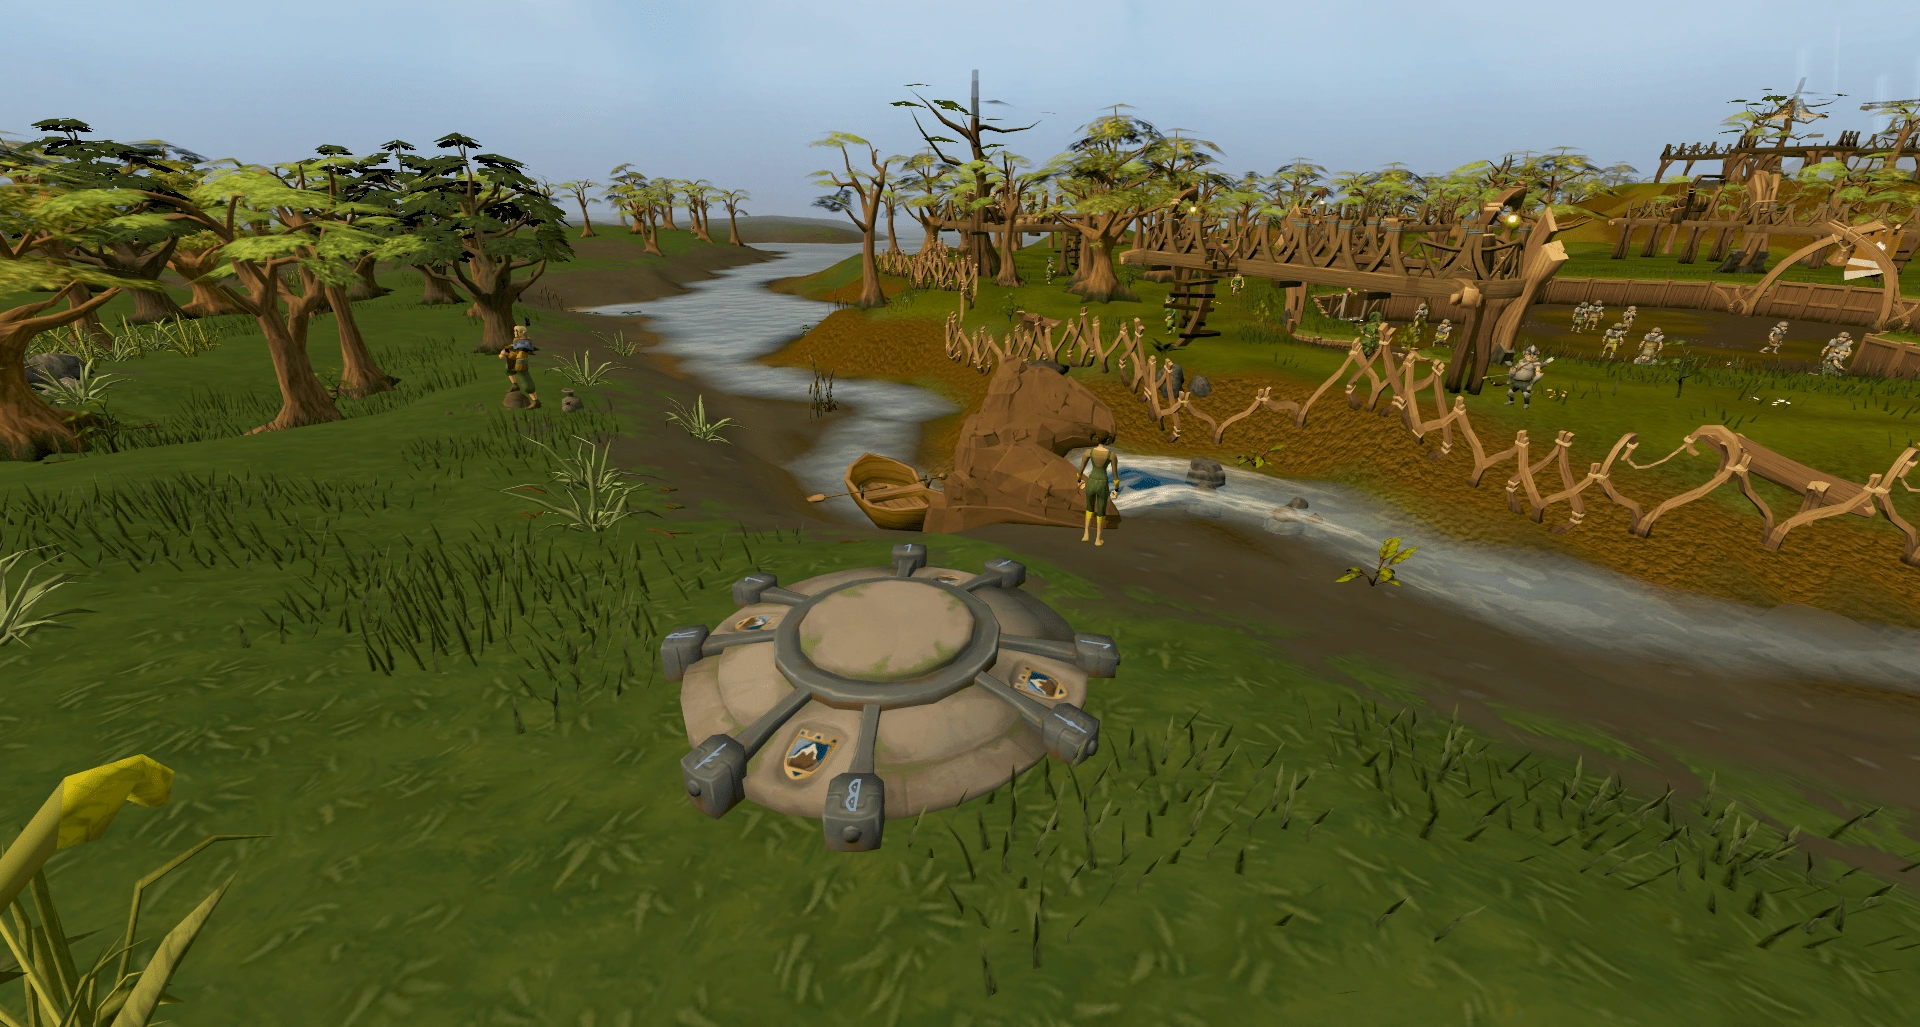
|
| |
| Tirannwn | In the clearing with the Elf Tracker after starting Regicide. | Alt+T | Yes | 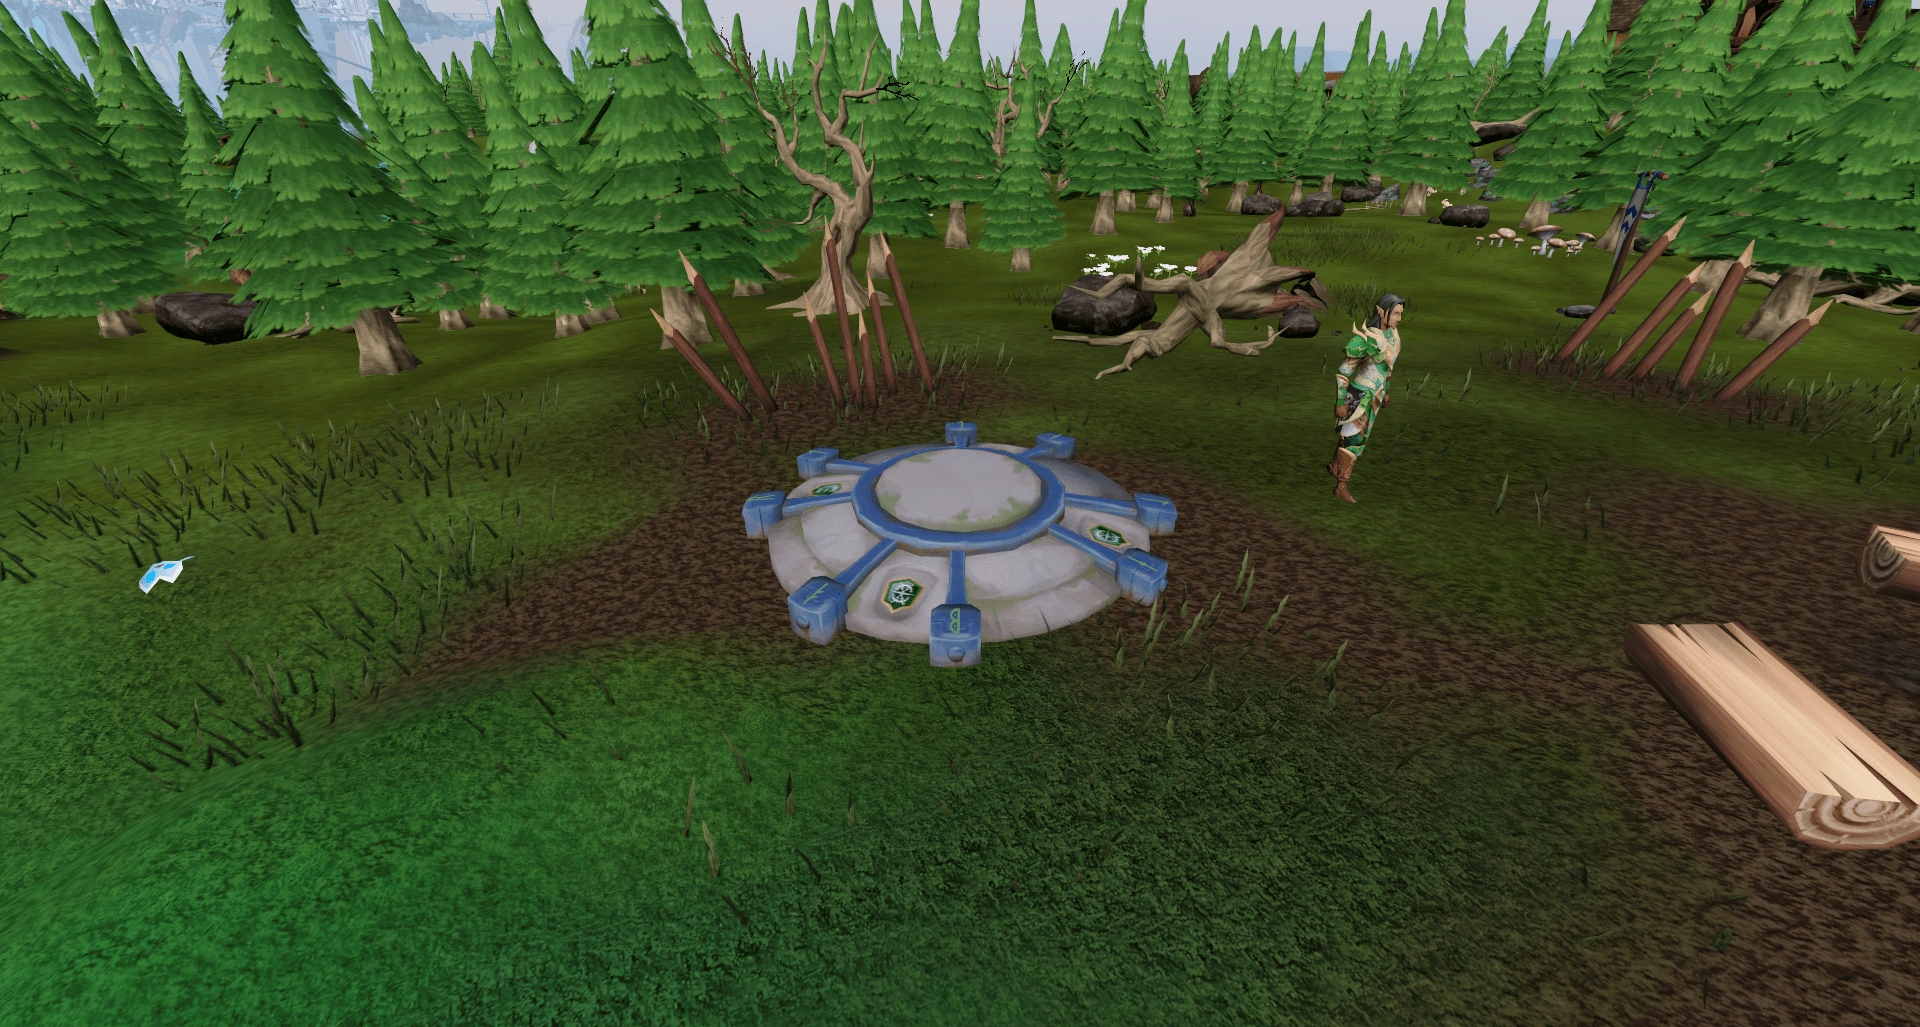
|
| |
| Oo'glog | Outside the north wall of the city, near the Monastery of Ascension. | O | Yes | 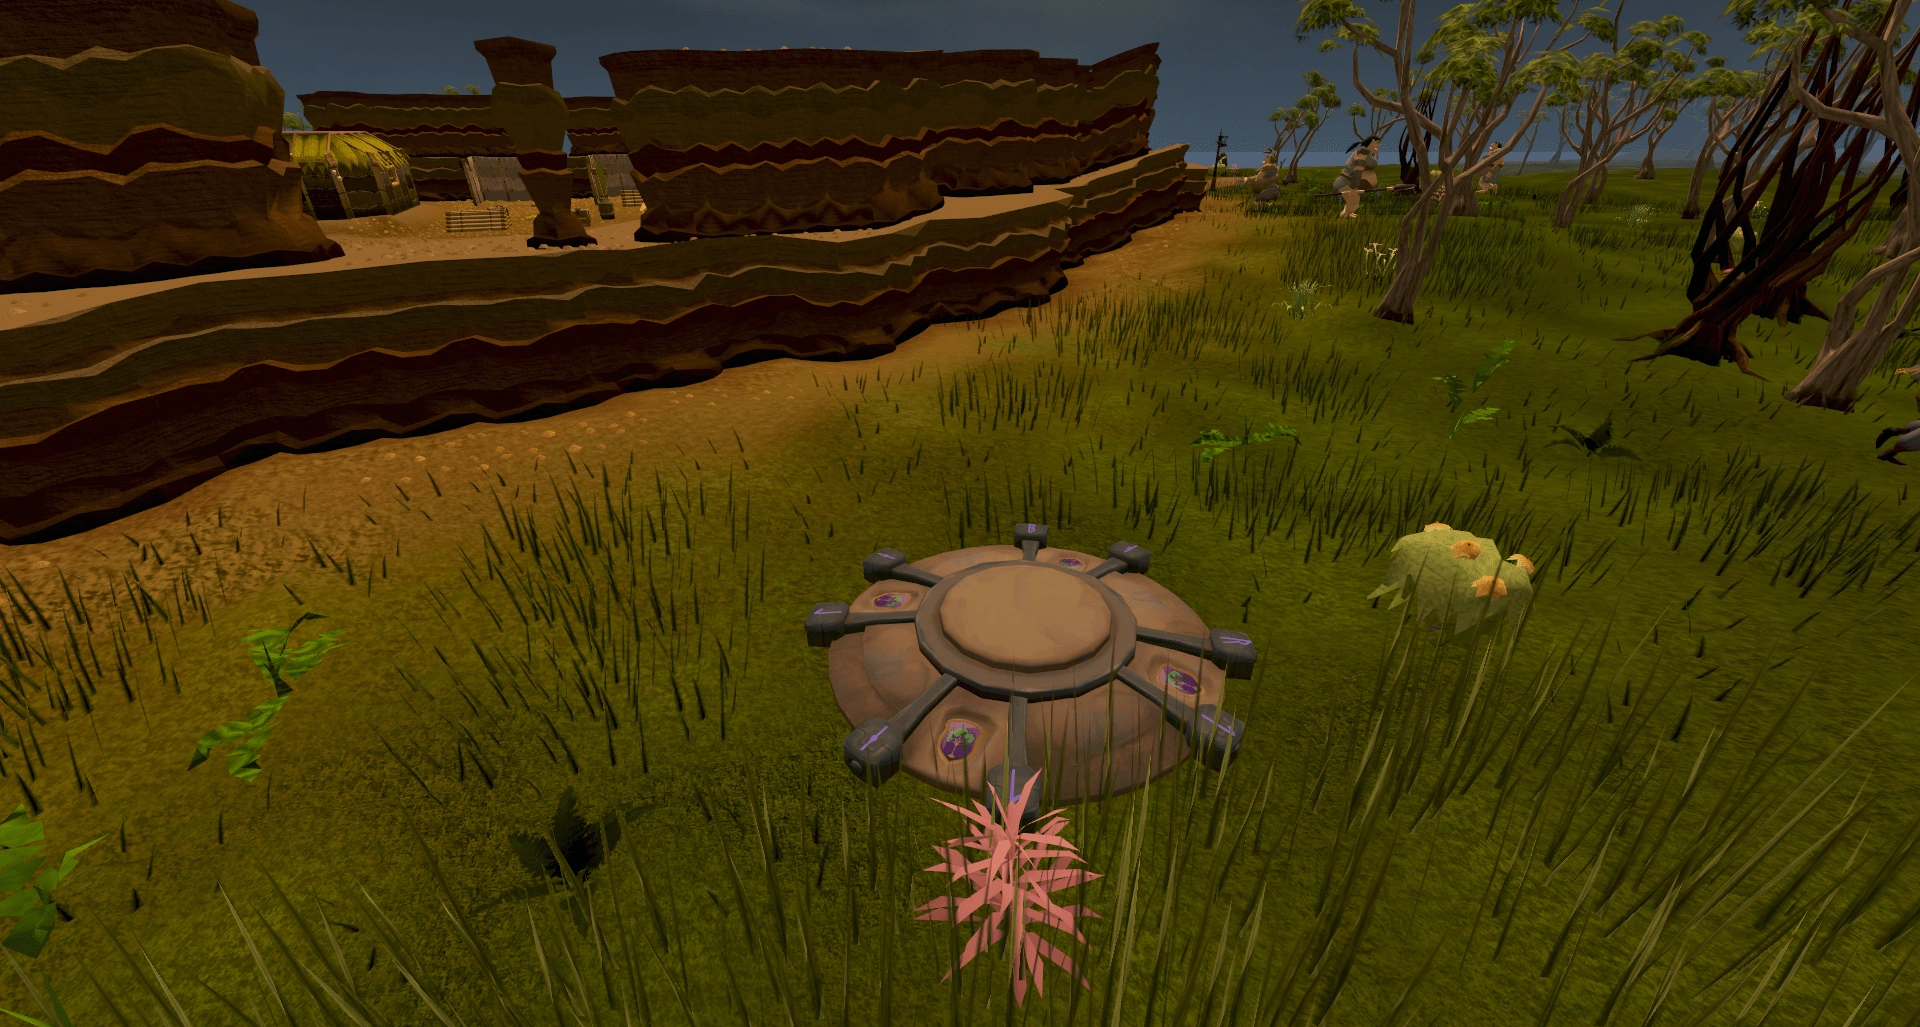
|
| |
| Karamja | Southwest of Brimhaven, near the Brimhaven Dungeon. | K | Yes | 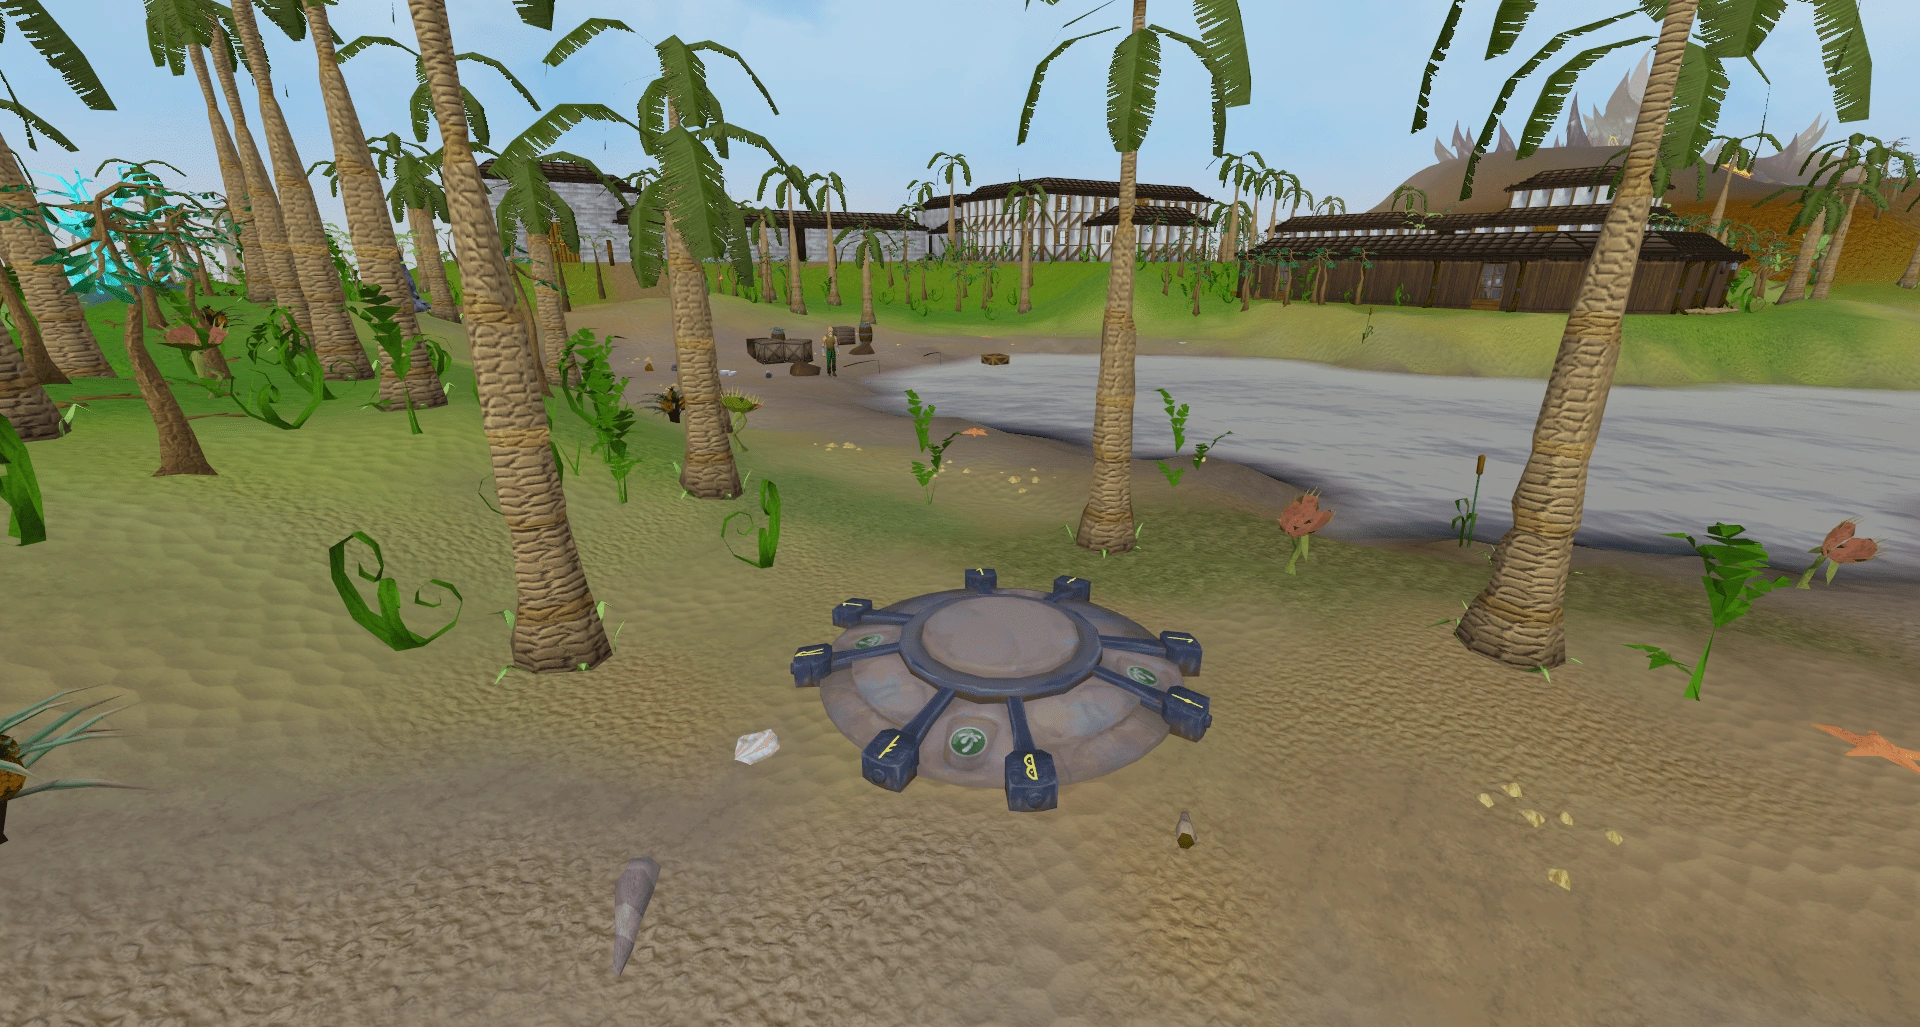
|
| |
| Canifis | Next to Mazchna. | Alt+C | Yes | 
|
| |
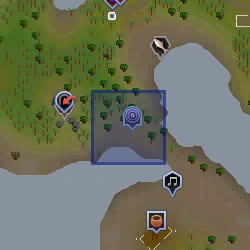
| Wilderness Volcano | South of the volcano, near one of the Wilderness obelisks, in level 15 Wilderness. | W | No | 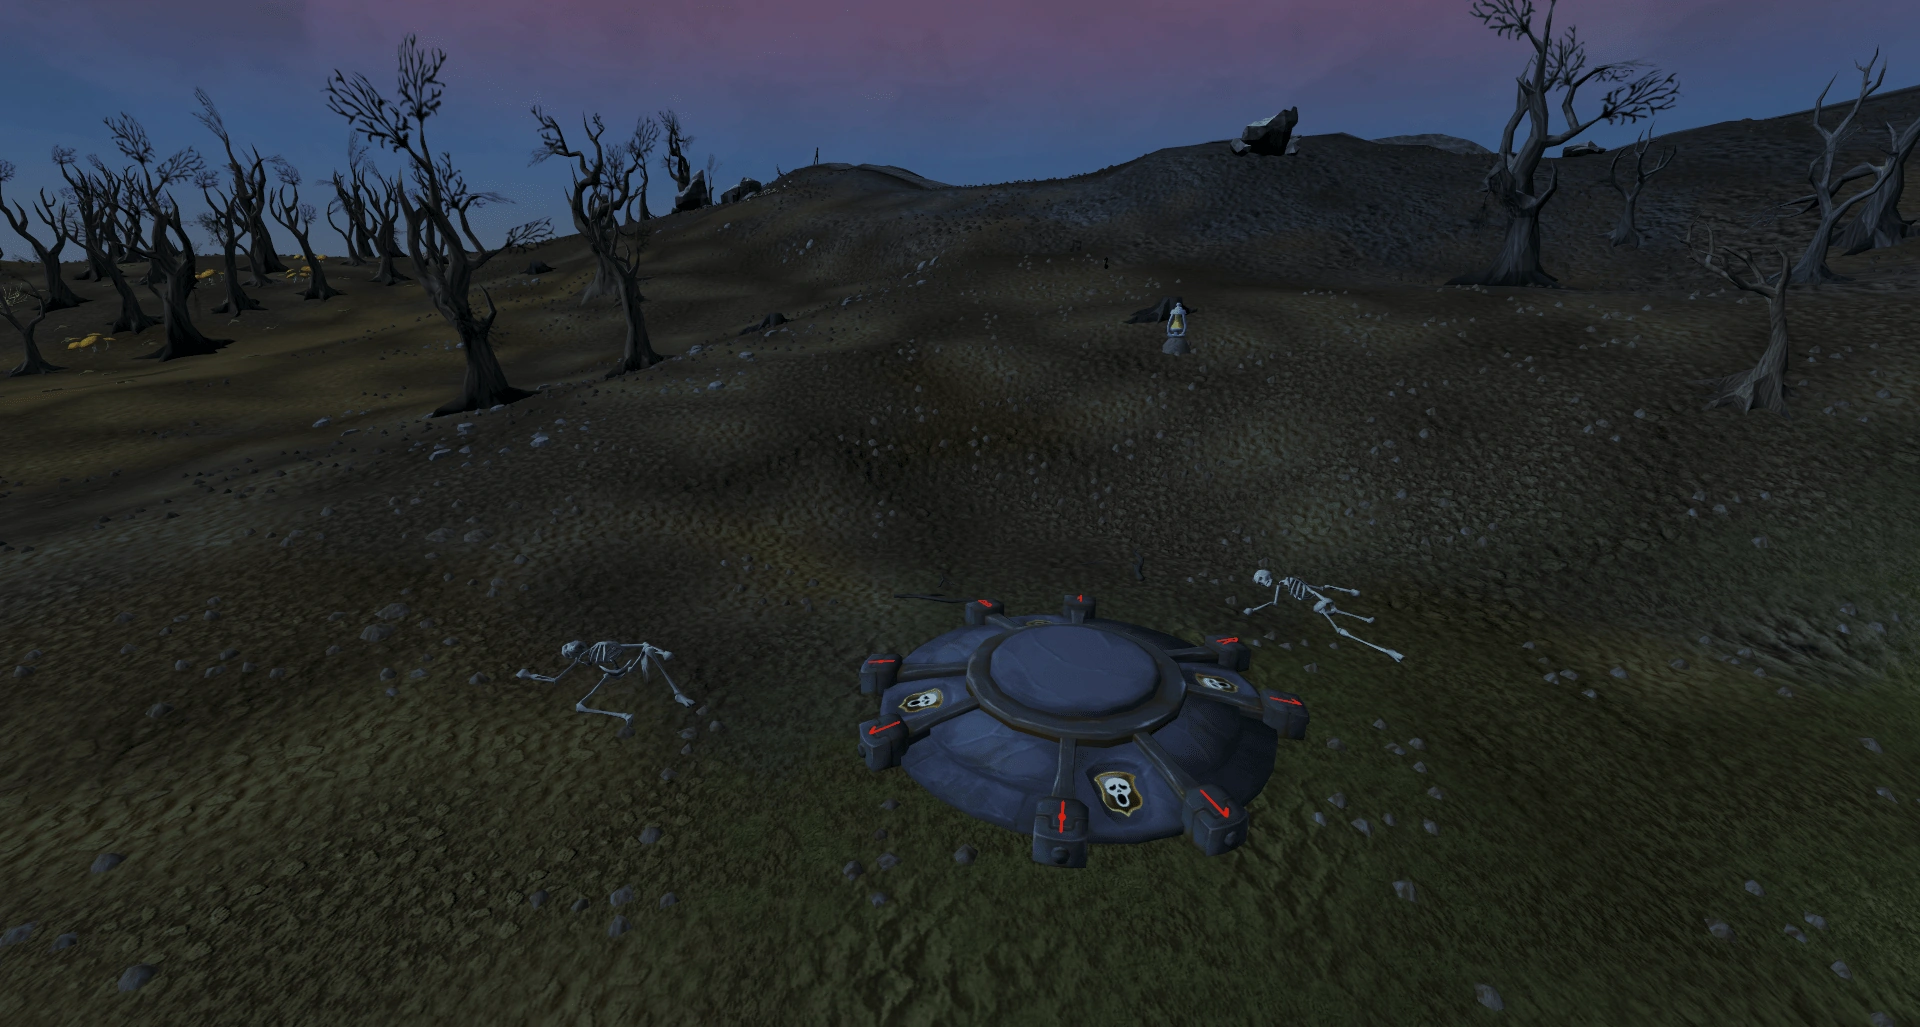
|
| |
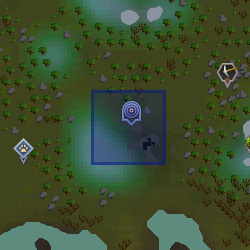
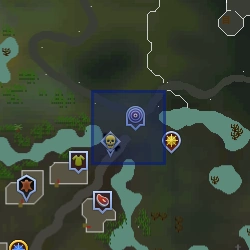
| Fremennik Province | East of Rellekka. | Alt+F | Yes | 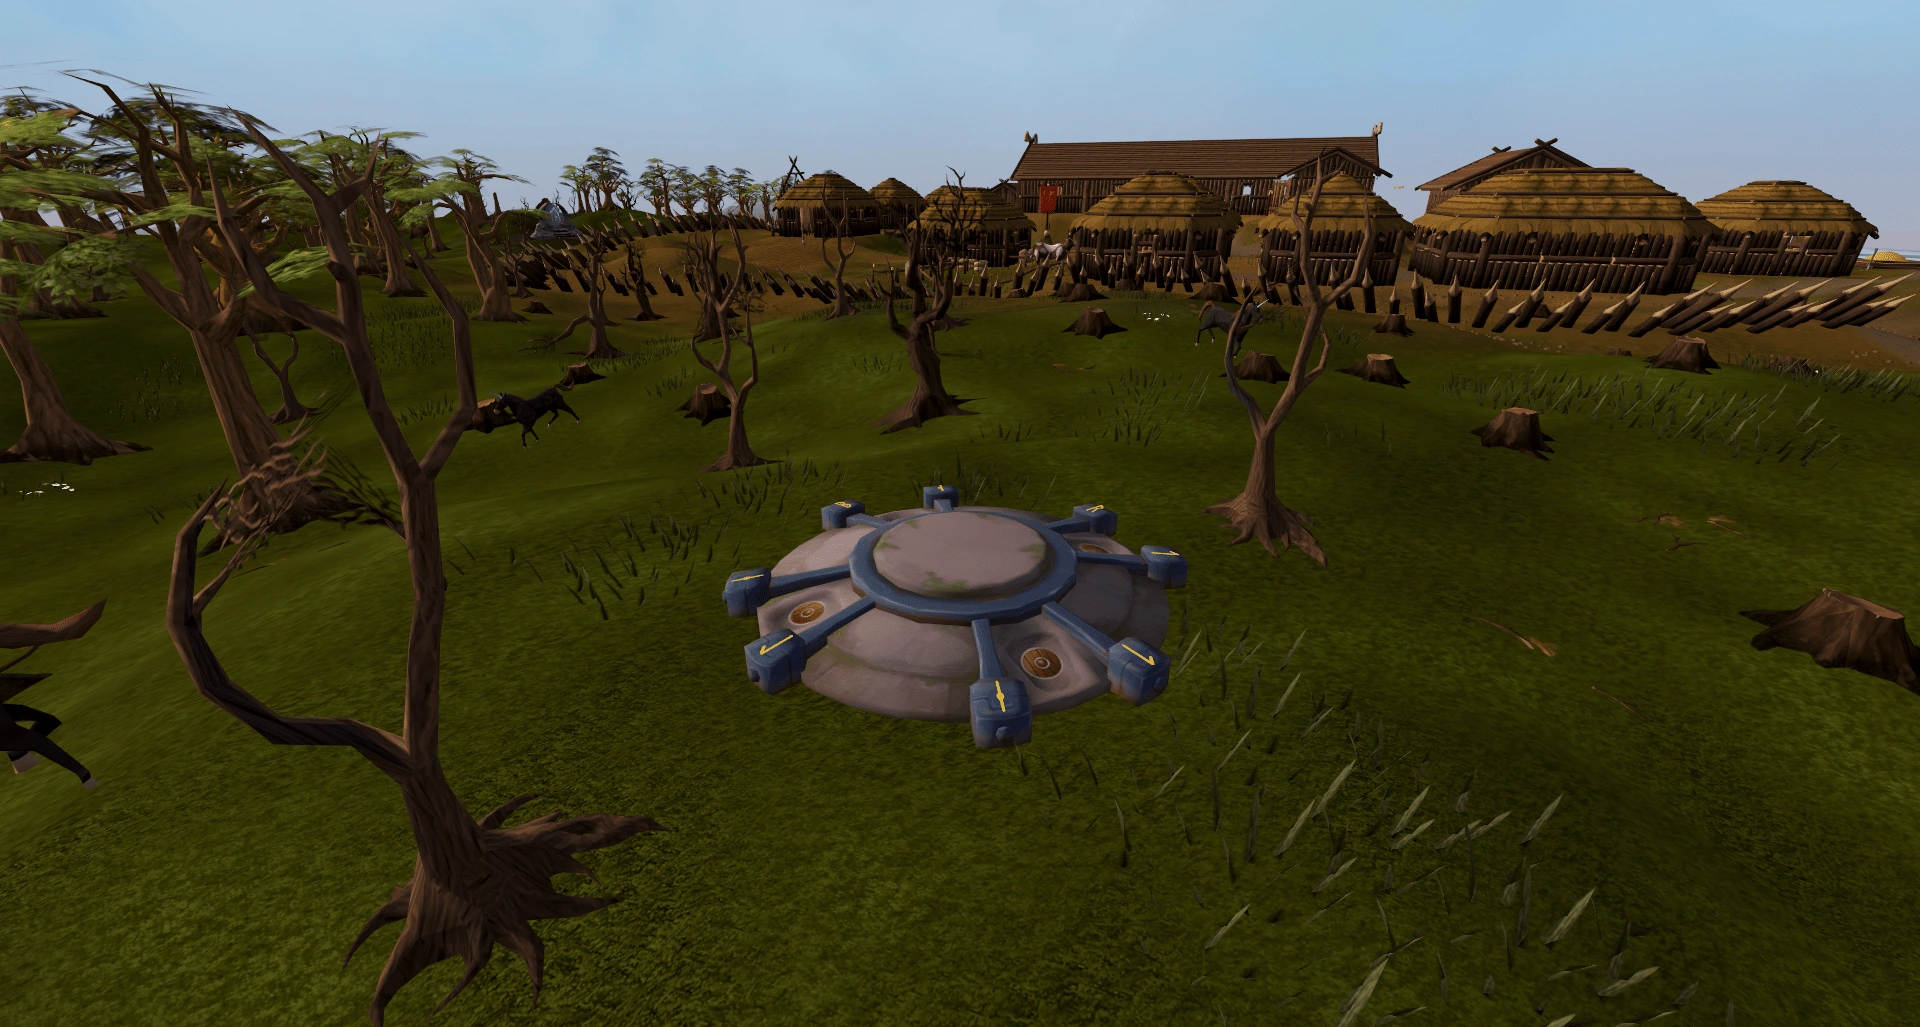
|
| |
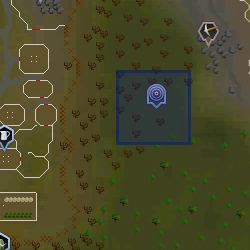
| Ashdale | Southeast of Ashdale Caves | Shift+A | No | 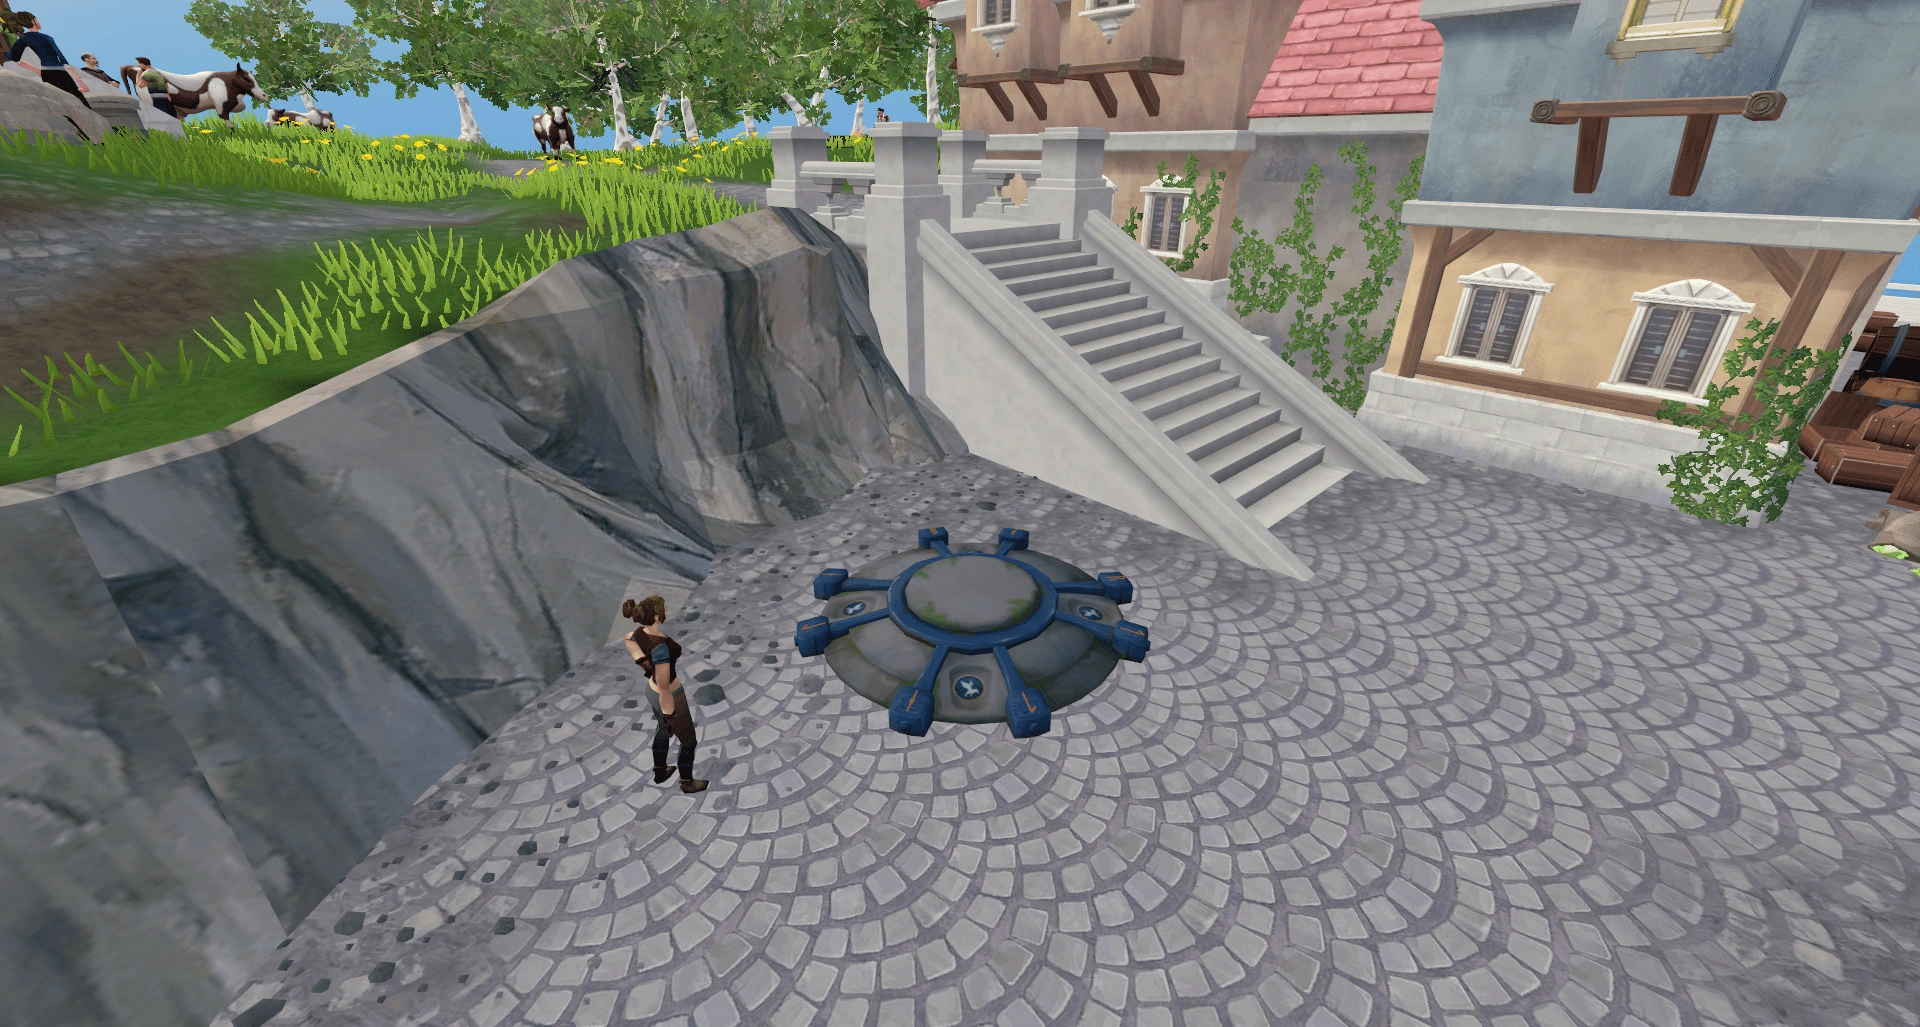
|
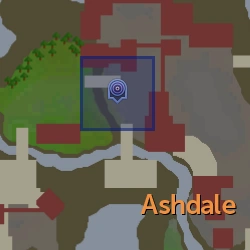
| |
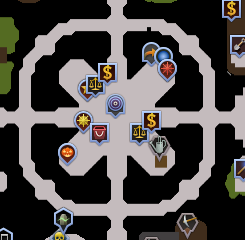
| Prifddinas | The Tower of Voices (after completion of Plague's End) | Alt+P | Yes | 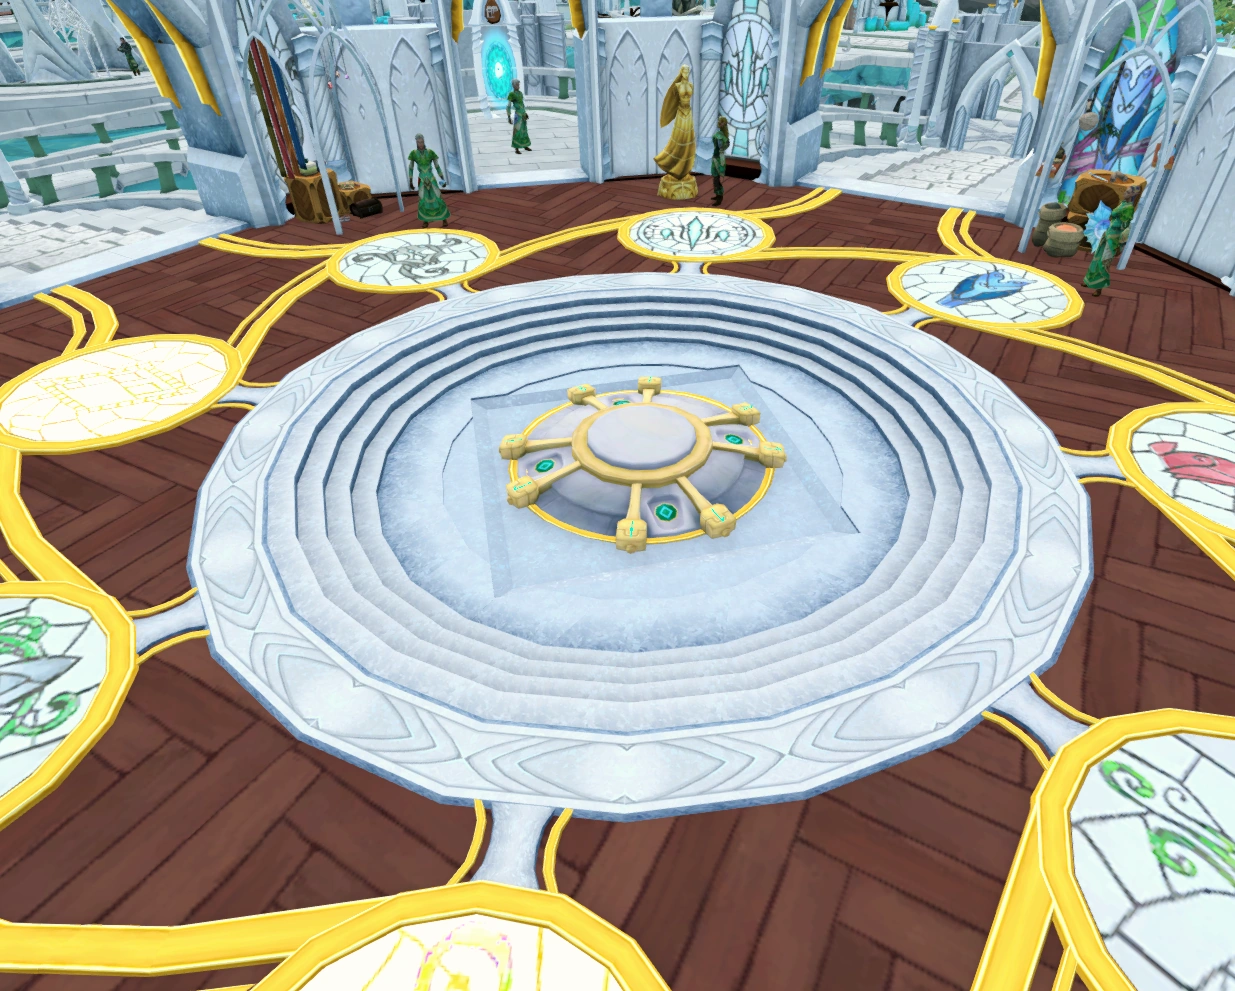
|
| |
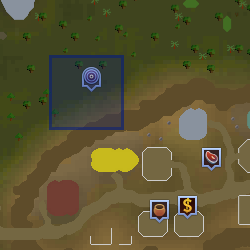
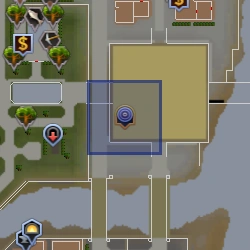
| Menaphos | The centre of Menaphos (after starting The Jack of Spades) | M | Yes | 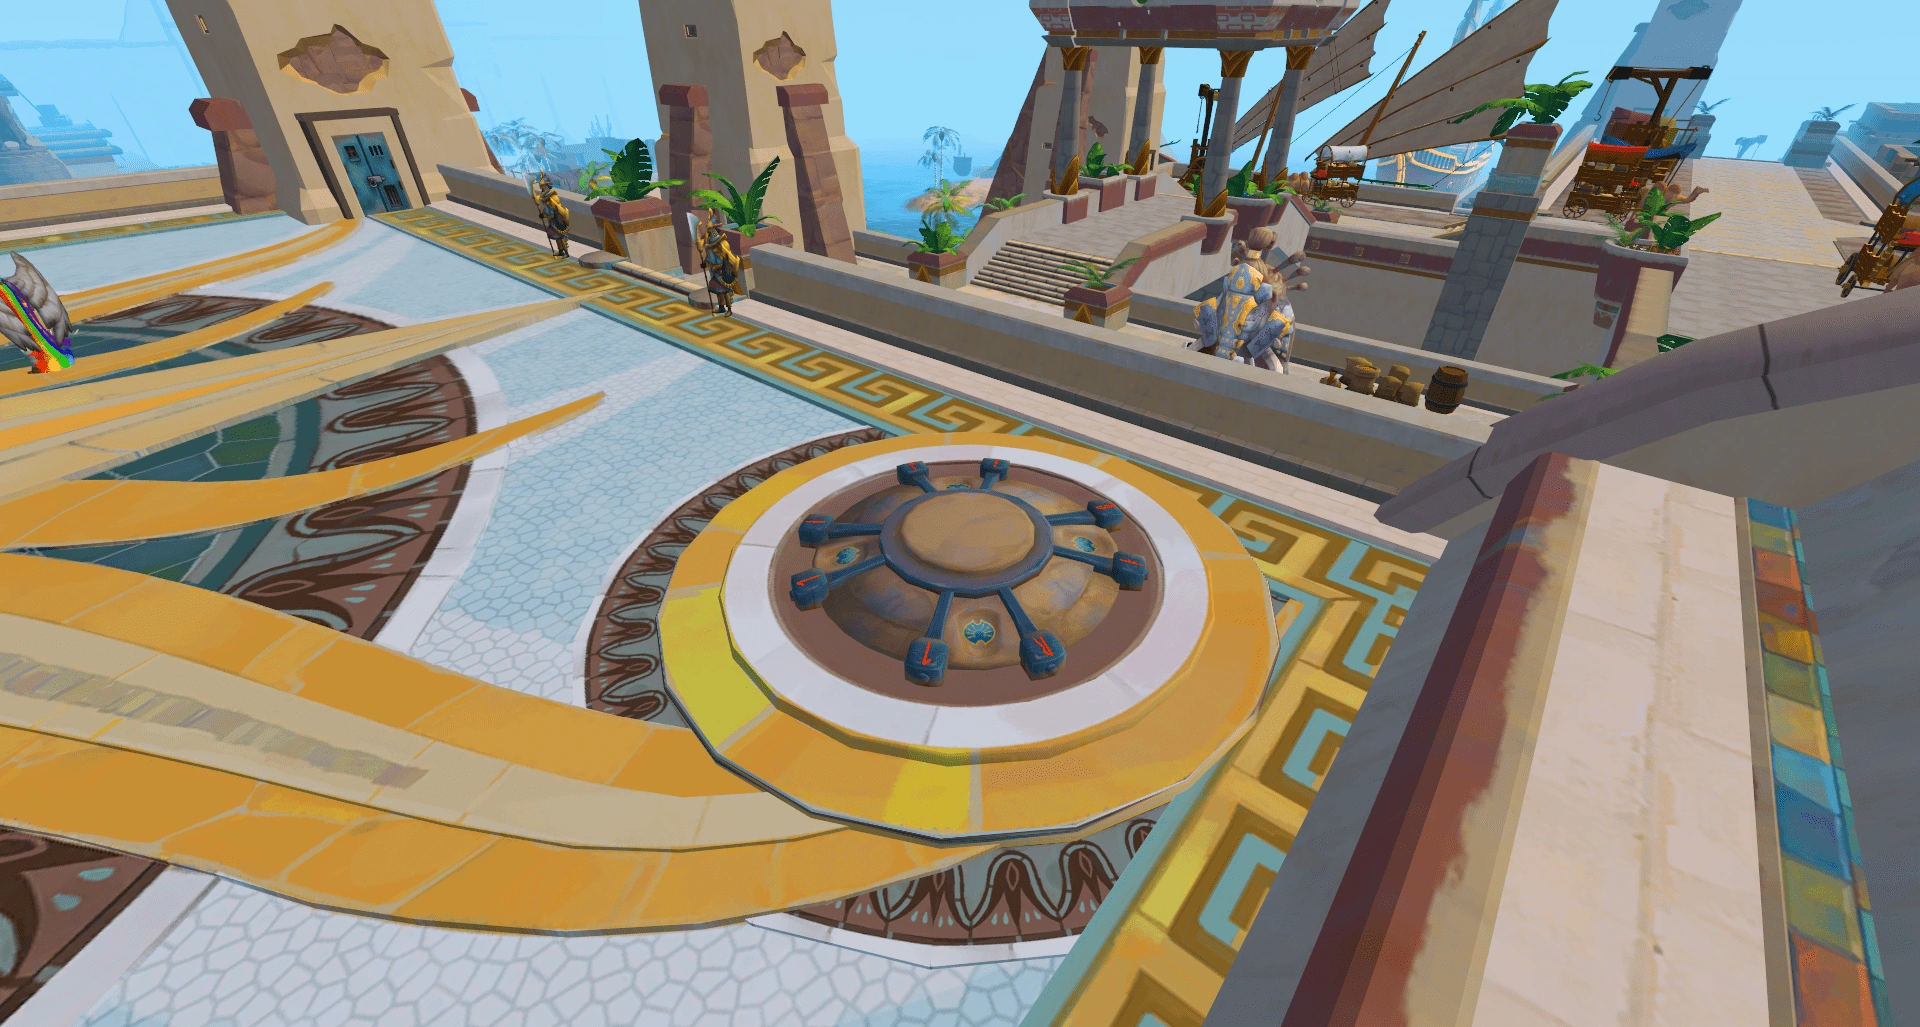
|
| |
| JMod event lodestone | Varies | N/A | No | N/A | N/A | |
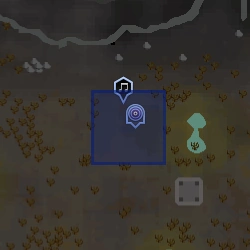
| Tuska[1] | Tuska's back | T[2] | No | 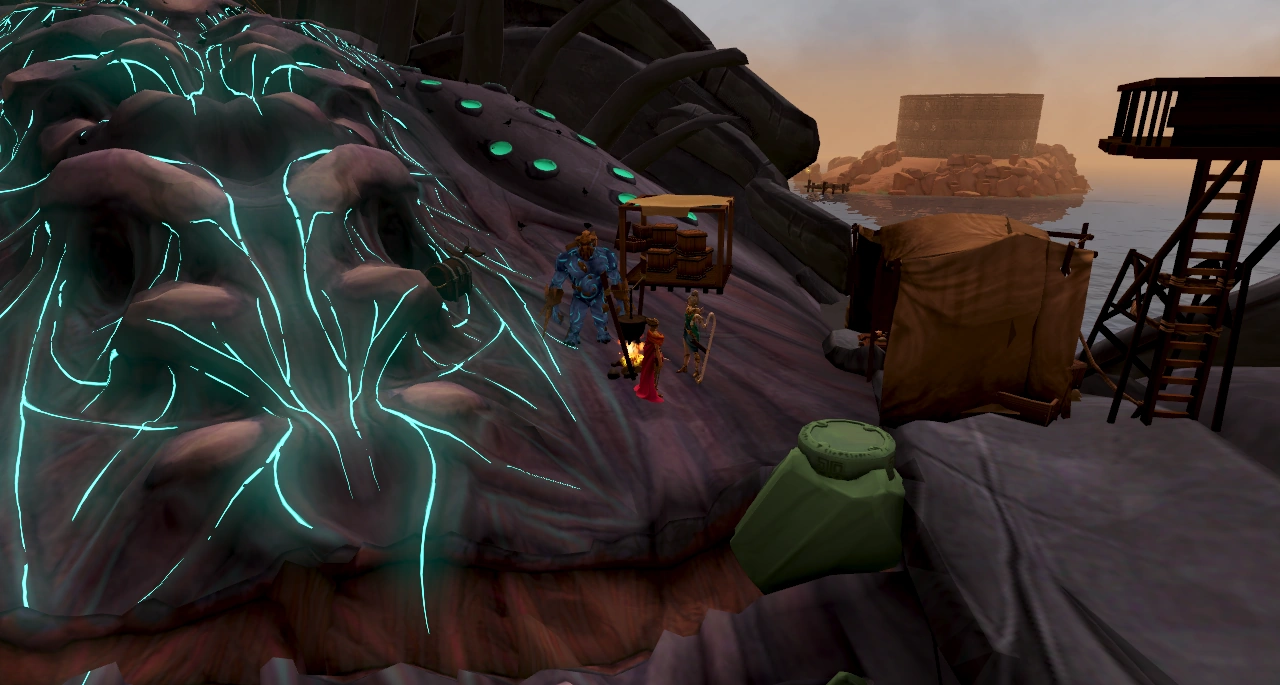
|
| |
| N/A | Iceberg[3] | Iceberg | N/A | No | N/A | 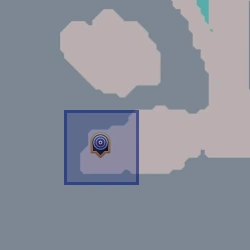
|
- ^ This lodestone was only active during the third World Event, Tuska Comes.
- ^ This hotkey was only available when the lodestone network map was zoomed onto Tuska.
- ^ This lodestone was only active during the 2015 Christmas Event.
Gallery
")
")
")
.png "Lodestone interface (Tuska).png (320 KB)")
")
.png "Lodestone interface (Christmas 2015).png (314 KB)")
Trivia
- Only 15 lodestones were available at first, but 7 more (Canifis, Eagles' Peak, Fremennik Province, Karamja, Oo'glog, Tirannwn, Wilderness Volcano) were added on 24 June 2013. The Ashdale lodestone was added on 12 May 2014, the Prifddinas lodestone was added on 22 September 2014, and the Menaphos lodestone was added on 5 June 2017, making a total of 25.
- Each lodestone is detailed with the city crest of the city it's located in. The Home Teleport interface shows these seals as well.
- Even though the update page said that Edgeville was unlocked by default for players who've completed Desert Treasure, it was actually the desert Bandit Camp that was unlocked.
- On the Home Teleport interface, the Port Sarim crest is rectangular, however, on the lodestone it is a shield.
- A lodestone in real life is a natural magnet, generally naturally magnetised iron ore. The lodestones may be called what they are because, like a compass, they help you navigate around the world, or more likely they were associated with the power to attract other objects, before the discovery of magnetism. They were also considered to be strongly linked with magic as a source of power.
- If taking a drink of water in the desert after selecting the lodestone you wish to teleport to, the animation will have you standing up. The same thing occurs when taking poison damage.
- Before the lodestone network, home teleport could only bring you to Lumbridge (you could choose Burthorpe as well if you are member), Edgeville or Lunar Isle, depending on the spellbook used.
- You cannot use a Lodestone teleport from the Fishing Trawler minigame. Also, you cannot teleport when you have not jumped down from the area you stand immediately after completing/leaving a dungeoneering party.
- During the 2013 Christmas event Up to Snow Good, the Lumbridge Lodestone was made invisible because of the snow that covered Lumbridge. This also allowed the area where the lodestone was located to be walked over instead of around.
- On 17 February 2014 the Lodestone Network interface was updated. On free to play worlds members only parts of the map were greyed out and lodestone icons replaced with the membership sigil, clicking on which triggers the subscription form. All teleport locations received a description when a player hovers over an icon.
- On 21 May 2018, the lodestones were graphically reworked.
- Upon clicking the "Info" option of a J-Mod placed lodestone, it states: This lodestone has been placed by a J-Mod. This means there is an event going on near by. Look out for it.
- Teleporting to a lodestone via Circus barkers always uses the slow teleport, regardless of the quick teleport setting.