Details
| Start point | |
|---|---|
| Member requirement | |
| Official difficulty | Unknown edit |
| Official length | Medium |
| Requirements | Skill requirements are not boostable unless marked with a [B] for boostable.
For total completion:
|
| Items required | Items from the tool belt are not listed unless they do not work or are not automatically added.
NOTE: Items listed below that mention that are obtained during the quest, are not always dropped or looted in this quest, so you may want to get the items ahead of time so you don't count on them.
Recommended Items:
|
| Enemies to defeat |
|
Walkthrough
The location of the pyramid.
- Talk to Leela about a pyramid in the region of Uzer. She wants to resurrect a mummy in a region south of Uzer in a pyramid called the "Uzer Mastaba".
- Go to the pyramid (Fairy ring D-L-Q) and go east to enter inside (Another option is to go through the Shantay Pass and take a carpet to Uzer, total cost of 200 gp or 100gp if you're wearing the ring of charos).
- Visit all the rooms and Rummage Skeletons. They will rise up and turn into Skeleton looters, which will become aggressive and attack you. Killing each one will provide different items. None of the items found on the ground (Useless ration boxes, Tatty bag, Defective spades, Shattered axes, Sub-optimal lantern, and Suboptimal flask) are needed to complete the quest.
- The items needed are a plain Canopic Jar, a Pyramid journal, a Scroll of the dead and a Mummy hand.
- Return to Leela and she will tell you that you need to reconstruct the body to 75% as well as find out her identity and reform her shadow.
Collecting objects
- Talk to the Golem in the passage to the east.
- Head north-west, open the imposing door, and talk to the Golem Guard guarding the door and then kill him with crush attack style.
- Descend down to the second level.
- Head down the east and west passages to collect three more Canopic Jars and the Mummy with no hand. There are level 41 small scarabs wandering around that are aggressive to you despite your combat level.
- Combine this with the Mummy hand to get Senliten's mummy.
Floor Puzzle

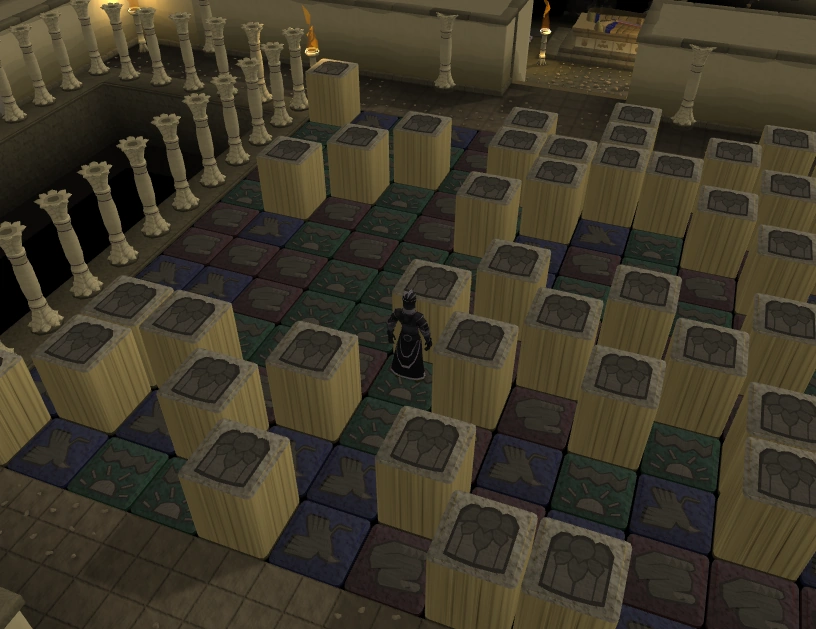
The floor puzzle.
- NOTE: You can take serious damage if you're not careful - damage can be 15 to 25 easily.
Find a way over the Floor Puzzle to the Tomb. This puzzle is different for every player, and changes with every visit.
| Stepping on a | blue stone raises the red tiles. Not dangerous. | |
| red stone raises the green | ||
| green stone raises the yellow | ||
| yellow stone raises the blue |
The easiest way is to try and find a path of blue and green blocks or red and yellow blocks all the way through as this will result in no damage.
| Stepping from | green to red triggers a trap. Players can take damage. | |
| red to blue | ||
| yellow to green | ||
| blue to yellow |
Restoring the Tomb
A player restoring the statue of Apmeken.
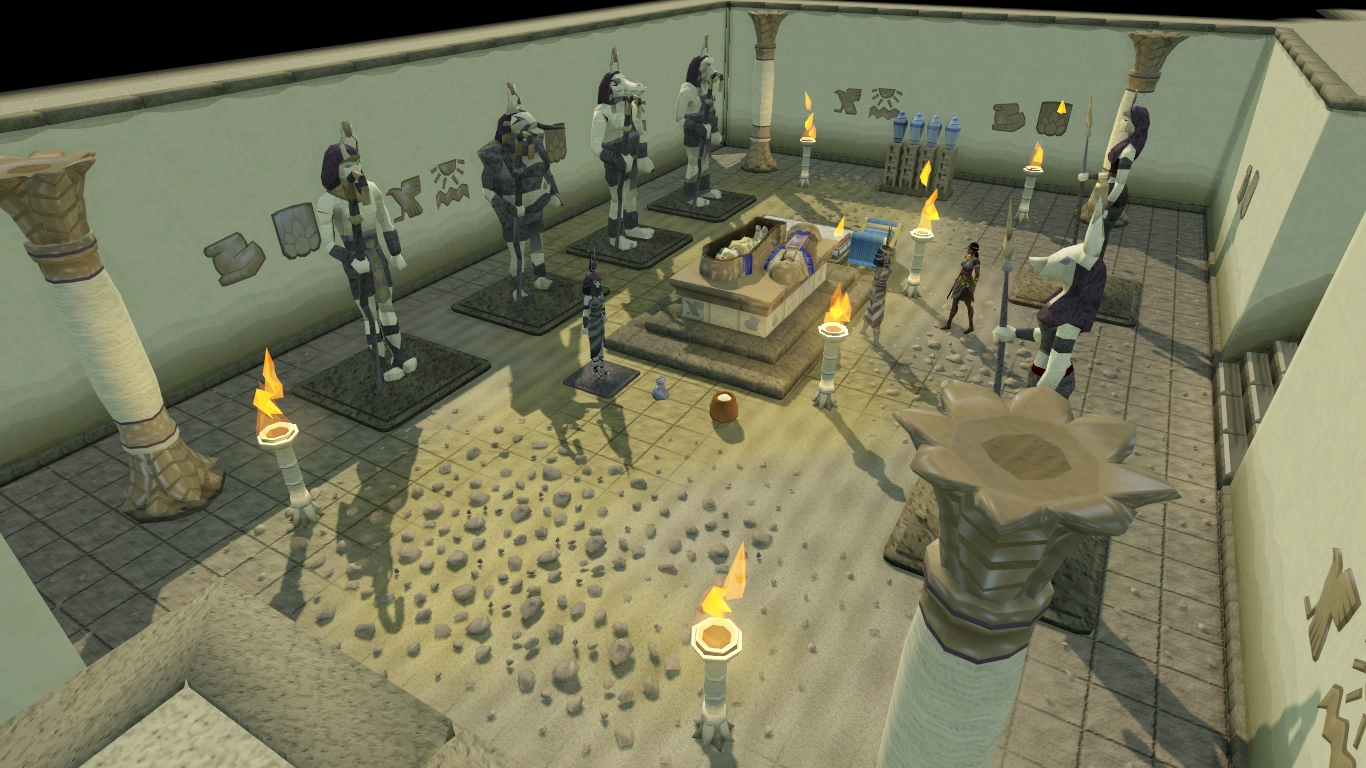

The look of the Tomb, after completing the tasks.
Right-click the Pyramid Journal or the Scroll of the Dead and select the Check progress-option, this shows the percentage of completed actions and the quantity of remaining actions. The quest completion requires 75% complete, though continuing beyond that rewards more experience.
Body
- Place the Senliten's mummy back into the sarchophagus by left clicking on the sarchophagus (2/6, 8% completion).
- Place the Canopic Jars onto the empty shelves to the west (1/6, 4% completion each).
Spirit
- Pray at each of the statues to restore them. Restoring all statues drains a total of 70 prayer points and gives a total of 6,500 Prayer experience (1/5, 4% completion each statue).
- Note: Amascut's altar will boost your prayer up to 4 points over maximum at the cost of 3HP per prayer point; the other altars restore prayer normally. You cannot recharge prayer points from statues until all statues are recovered.
Shadow
- Go into the eastern chamber and kill the level 41 Tumeken's shadow for 300 magic xp (1/5, 4% completion).
- Note: Each brazier requires 5 fire runes to light. The required Magic level starts at 20, and increases by 5 for each brazier.
- Light the southern brazier, requiring level 20 Magic. Tumeken's shadow appears again, with a combat level of 50. Kill the shadow to receive 600 Magic experience (1/5, 4% completion).
- Light the northern brazier. The shadow (now level 55) appears again. Kill it to receive 900 Magic experience (1/5, 4% completion).
- Light the western brazier. A level 64 spirit will spawn. Kill it to receive 1,200 Magic experience (1/5, 4% completion).
- Finally, light the eastern brazier. Tumeken's shadow appears for the last time, being level 72. Kill it to receive 2,000 Magic experience (1/5, 4% completion).
Body double
- Repair the table and chair with a hammer and a saw. This rewards 2,100 Construction experience (1/6, 4% completion).
- Make some spiced wine by adding spice into a jug of wine. Put the spiced wine onto its space (1/6, 4% completion).
- Put a pot of grain (not pot of flour, use wheat on empty pot) onto its space. This rewards 2,100 Cooking experience (1/6, 4% completion).
- Build the statue with some Willow logs and a knife (450 crafting xp, 1/6, 4% completion).
- Click on the statue to create it (900 crafting xp, 1/6, 4% completion).
- Click on the statue to improve it (2000 crafting xp, 1/6, 4% completion).
You can return to Leela and complete the quest after being 75% complete.
Rewards
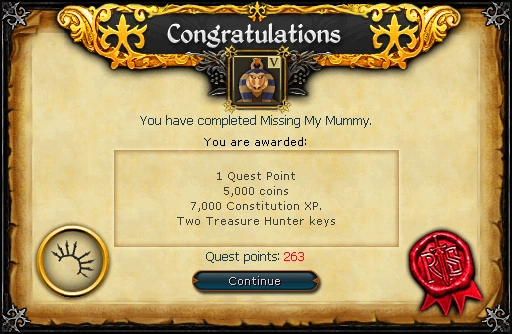
- 1 Quest Point
- 5,000 coins
- 7,000 Hitpoints Experience
- Access to the Amascut altar in the Pharaoh Queen's burial chamber, allowing extra prayer points at the cost of some hitpoints.
- 2,100 Cooking, 2,100 Construction, 5,000 Magic, 6,500 Prayer, 6,000 Crafting, and up to 3,000 Thieving experience earned during the quest
Total completion
Note: This part is totally OPTIONAL, the only reward you will get from completing this is satisfaction, and some new information from the Queen. However, there may be further rewards in the future. Note you do not need to complete this part of the quest in order to wear the Quest Cape.
- To complete the name of the Queen, go to Ali Morrisane. He says he can make a copy of the original. Get him a glass of sq'irk juice, by doing the Sorceress's Garden minigame.
- You need to collect the necessary number of sq'irks for your juice of choice.
- Use Pestle and Mortar on the sq'irk to squeeze the juice into a Beer Glass.
- Head back to Ali, and he will give you a Copied name papyrus. You will receive Thieving experience. Next time you talk to him with your Ring of charos(a) equipped, he will give you the original Mummy's name papyrus.
- Travel to Reldo in the Varrock Palace. He says he needs an Al kharid flyer, which you can get from Ali the Leaflet Dropper between Varrock and Al Kharid. Bring him the flyer and he will give you a scroll of praise. Bring the scroll of praise and Mummy's name papyrus (original and copy) to the Pharaoh Queen (she was a "ghost" before, now she is in full form) for 100 percent completion.
Music Unlocked
- Ancestral Wisdom
- The Plundered Tomb
Trivia
- On the day of release, the spoilers read: "As one might expect, the rewards are a mystery, even to the enlightened. Please check back tomorrow."
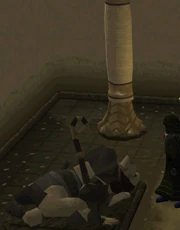
- The uninviting hole in the eastern area with the Small Scarabs, leads to a multi-combat dungeon with many more scarabs. By clearing the rubble from the other hole, a shortcut can be made, leading from the eastern passage on the top floor, back to the eastern scarab room.
- Although it's not needed to complete the quest, the Ring of Charos is to be used while talking to Ali Morrisane to acquire the full name of the Pharaoh Queen. However, you'll still need to get a sq'irk juice.
- The items that can be found inside the pyramid are from AMCE. This is a pun on the word 'acme' ('the highest point, as of achievement or development'), which is a popular name for firms on Earth and for the fictional ACME firm in a cartoon series Looney Tunes. The misspelling of 'acme' is a hint about the quality of the firm's products.
- The Pharaoh Queen speaks about Stern Judges which appear to be the Mahjarrat that is shown when she says that they are from another plane, can shapeshift, and one of their number must die in order for them to regenerate.
- With the release of this quest, the pyramid was uncovered, along with another area of 'The Unknown'.
- After repairing the statues of the deities, whenever they come back into your view from a distance, they undergo the repairing animation that was shown when you first restored them.
- This quest is part of the Mysteries of the Mahjarrat quest series. When it was released, Jagex stated 'while it might not seem like it initially, this quest is actually part of the same quest series as Tale of the Muspah; this one just approaches things from a very different direction, so it’s probably not entirely clear how things fit together yet.'[1]