| |||||||||||||||||||||||||
| Also called | NE | ||||||||||||||||||||||||
|---|---|---|---|---|---|---|---|---|---|---|---|---|---|---|---|---|---|---|---|---|---|---|---|---|---|
| Release date | 15 February 2016 (Update) | ||||||||||||||||||||||||
| Members | Yes | ||||||||||||||||||||||||
| Voice Over | Partially | ||||||||||||||||||||||||
| Official difficulty | Master | ||||||||||||||||||||||||
| Quest series | Sliske quest series | ||||||||||||||||||||||||
| Age | Sixth Age | ||||||||||||||||||||||||
| |||||||||||||||||||||||||
Nomad's Elegy is a quest that is part of the Sliske quest series, following on from Dishonour among Thieves. It features Nomad and his plan to siphon every soul from all over Gielinor and its underworlds into the Soul Obelisk. The player teams up with Death, Icthlarin, Zanik and several dead characters to lay siege to Nomad's fortress and stop his plans. It involves a fight against Nomad, which has multiple stages and checkpoints.
Walkthrough
| Start point | |||||
|---|---|---|---|---|---|
| Member requirement | |||||
| Official difficulty | |||||
| Official length | Long | ||||
| Requirements | Skill requirements are not boostable unless marked with a [B] for boostable.
The following quests take place before Nomad's Elegy and are recommended if you wish to avoid spoiling them, but they are not requirements.
| ||||
| Items required | Items from the tool belt are not listed unless they do not work or are not automatically added.
Recommended Items: Dreadnips | ||||
| Enemies to defeat |
|
Trouble brewing

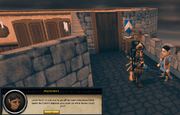
To start the quest, you will need to speak to Zimberfizz, the small red imp located in the Soul Wars lobby, which can be accessed through the portal in Edgeville.
Zimberfizz explains that the Soul Obelisk is being a little strange, so you are asked to look around the throne room by investigating the tent to the north-east of the lobby.
Inside the room, there are several different points of interest that can be investigated. The progress of finding the clues you need are indicated to you as you find them. The room contains sticky goo, crystals and the Nomad's throne that need investigating. After finding 3/5 clues, investigate the fading footprints on the east side of the room.
Your player and Zimberfizz will quickly realise who the footprints belong to, and you are killed via an explosion and transported to Death's office.
Nomad's plan


Meeting with Icthlarin and Death.
Inside the office, you find both Icthlarin and Death discussing Nomad. Death explains that Nomad has created an army and brought it and the soul obelisk to The Underworld, in an attempt to seize Icthlarin's fortress. Nomad is absorbing all of the souls in the underworld of anyone who has died on Gielinor. In an attempt to stop it, Icthlarin is trying to shield as many souls as possible.
However, Icthlarin cannot do enough to stop Nomad and requires the player's help in defeating Nomad, by taking back Icthlarin's fortress and killing him for the final time. You will require an army, as Nomad have members of the Order of Ascension fighting by his side, described as "religious fanatics".
Icthlarin states that he has set up a headquarters over the River Noumenon, accessible through the door in Death's office, and will ask you to go through there to begin preparations for the fight against Nomad.
Limbo
Template:Dangerous quest section
Recommend items: Some combat gear and some food. However you will not be allowed to enter the afterlife with a follower, so be sure to dismiss them.
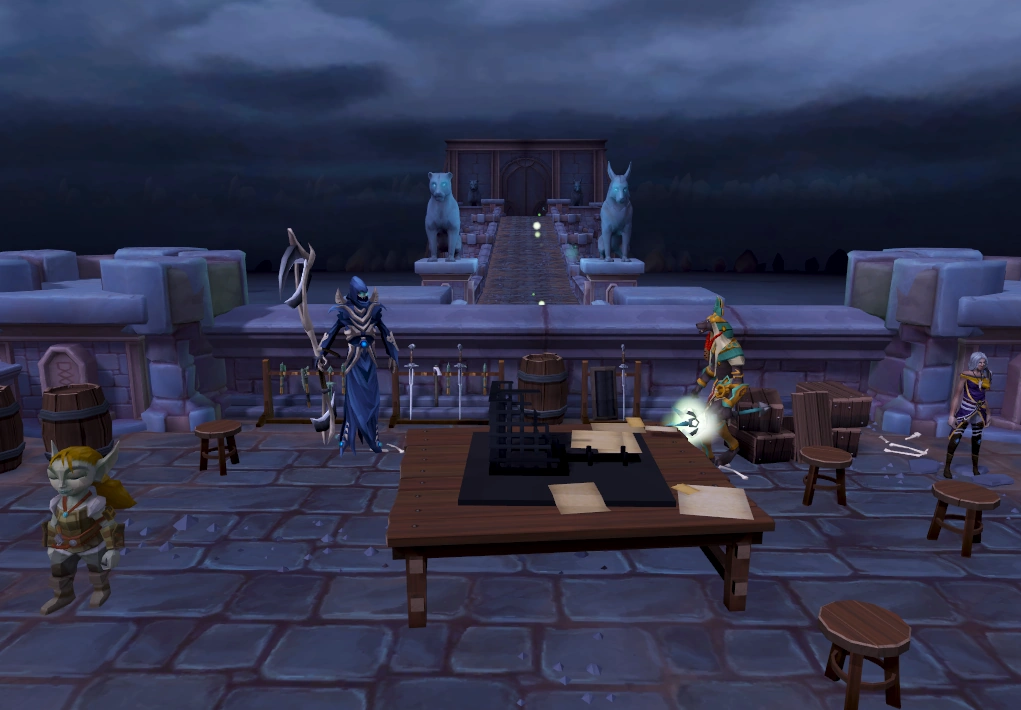
When you enter the area, speak to Death again who will provide information about what exactly you need to do. He explains that the river allows souls to be transported to Icthlarin's fortress. As Nomad has taken control of the fortress, you will need to collect allies by taking them (through lost souls that haven't made it across the river) from their afterlives.
Go north-west to the dock and sail to the afterlife in order to be transported to an alternate version of Lumbridge Castle and the surrounding area. Go north and speak to Astrid or Brand (depending on whatever your character's gender was during Throne of Miscellania). They have "crossed afterlives" to find the player and help fight Nomad. They ask you to speak to three souls and help them remember various information about themselves, in order to recruit them as an ally to your cause.
The three people you need to talk to within this area are Jessika or Korasi (depending on the outcome of The Void Stares Back), Xenia, and Hazelmere.
Void memories
Speak to Jessika/Korasi, located in the alternate version of Bob's Brilliant Axes. They have no motivation to do anything anymore, so you need to find something that is worth fighting for. In order to help them, you will need to recover their memory fragments.
Head south-west of the Lumbridge Castle grounds and find Wizard Grayzag.
The following sections are based on which character you have spoken to:
Korasi's memories

Confront Grayzag on behalf of Korasi by stating that he is a mere image of danger and fear in Korasi's mind. He will then raise doubt by reminding you of all innocents who died because of the Void Knight's failure. As Korasi, you respond by mentioning all the people than can be saved and are worth fighting for. Accepting that truth then causes Grayzag image to morph to Korasi herself, symbolising her acceptance. You receive the first half of her memory.
The other half of Korasi's memory is being held by an incarnation of Jessika, who can be found in the castle's main gate southern tower, on the 1st floor[UK]. Speaking to her will reveal that Korasi has not forgotten Jessika, and still deeply cares about her. She will then give you the second half of Korasi's memory.
Use the two memory halves together, which creates her whole memory and return to Korasi.
Jessika's memories

Confront Grayzag on behalf of Jessika by stating that he is a mere image of danger and fear in Jessika's mind. He will then raise doubt by reminding you of all innocents who died because of the Void Knight's failure. As Jessika, you respond by mentioning all the people than can be saved and are worth fighting for. Accepting that truth then causes Grayzag image to morph to Jessika herself, symbolising her acceptance. You receive the first half of her memory.
The other half of Jessika's memory is being held by an incarnation of Korasi, who can be found in the castle's main gate southern tower, on the 1st floor[UK]. Speaking to her will reveal that Jessika has not forgotten Korasi, and still deeply cares about her. She will then give you the second half of Jessika's memory.
Use the two memory halves together, which creates her whole memory and return to Jessika.
Xenia's memories

Speak to Xenia, located inside the dining room of the Lumbridge Castle (prominently used in Recipe for Disaster). She seems to have forgotten her name and the "stories" of her adventures. In order to help Xenia, you will need to recover memory fragments belonging to her.

Fighting Xenia's shame.
Go upstairs to the 1st floor[UK] and attempt to open the chest in Duke Horacio's room. You will be attacked by Xenia's Guilt. After you defeat it, pick up the Guiltful key it drops, open and search the chest. You will find the first half of Xenia's memories. If you attempt to open the chest without the key in your inventory, the guilt will attack again. The chest in to recover the first memory fragment belonging to Xenia.
Go upstairs to the 2nd floor[UK] to where the bank would be and attempt to open the chest. You will be attacked by Xenia's Shame. After you defeat it, pick up the Shameful key it drops, open and search the chest. If you attempt to open the chest without the key in your inventory, Shame will attack again. Use the two memory halves on each other and talk to Xenia again.
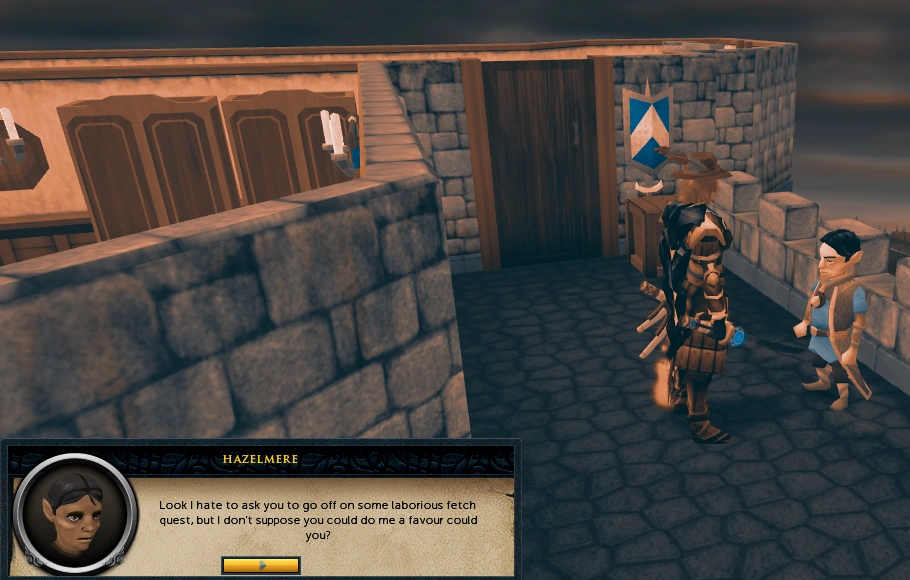
Hazelmere's memories

Hazelmere is located on the 1st floor[UK] of the Lumbridge Castle. He asks you to find the different instances of him in the world in order to help recover his memories.
After talking to him, another instance is located elsewhere on the 1st floor[UK], whom you can speak to, allowing Hazelmere to start regaining the memories he had previously lost. After you speak to him, he will teleport away, with an energy glob indicating which direction to look for him next.
Speaking with a young incarnation of Hazelmere.
Climb the stairs to the 2nd floor[UK], and on the west side, climb the ladder and speak with Hazelmere. After speaking with him, he will teleport to the top of the main gate. Descend the ladder, take the stairs all the way down, and climb the ladder to the top of the main gate and speak with Hazelmere. He'll then teleport into the building south of Korasi/Jessika. He'll then teleport behind the castle. Speak with Hazelmere again, and he'll teleport to the final location beside Astrid/Brand. Ask him to help you fight Nomad, and he will knowingly and willingly agree.
After aiding each recruit, speak to Astrid/Brand again, and Nomad will appear and kill them (again).You may then leave through the portal.
Bandosian afterlife
Area of effect abilities work well here, as well as various different boosts and Prayers. It is recommended to stock up on food, weapons and armour before starting this section. This is not a safe death. If you die, you will be transported to death's office and will have to buy your items back.


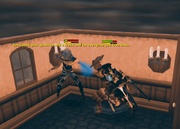
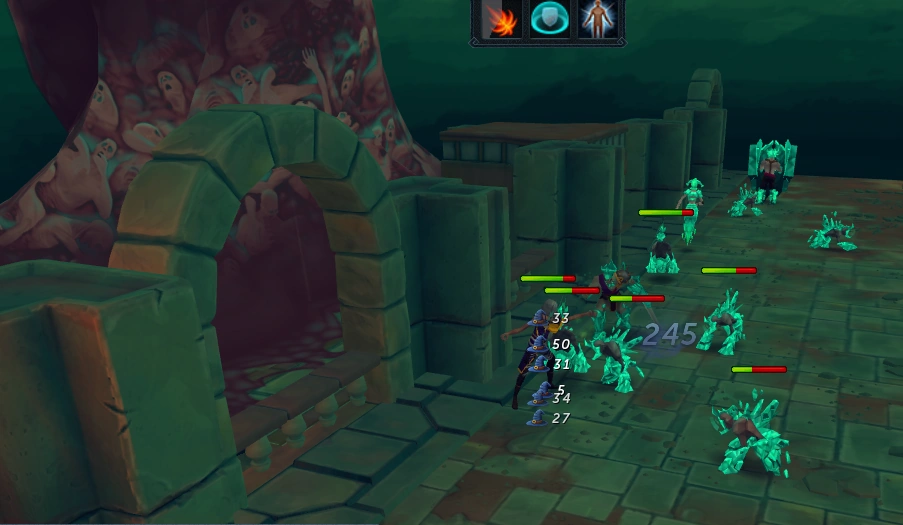
Protecting the cave goblins with Zanik.
Go north-east to the other dock, which will take you to a new area. In this area, there are waves of opponents engaging cave goblins. You must protect the cave goblins by using various different abilities and attacks, Ice Barrage is a great help if you have access to it. Three waves must be passed for you to continue the quest, and your progress is saved after each. Each wave gets progressively more difficult and if all of the goblins die, you will be transported back to the dock and will have to start that wave over again. You will also not regain any health if you fail to save the goblins.
Interrogation of Legio Septimus
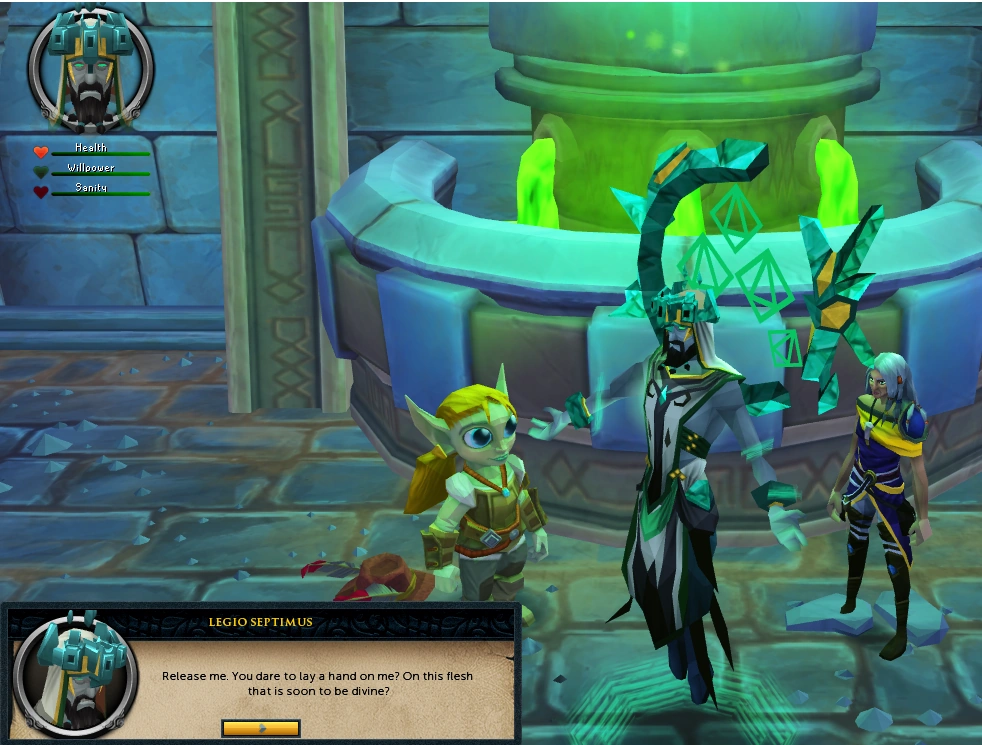

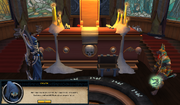
Interrogating Septimus with Zanik and Xenia.
After Death confirms you've gathered your allies, use the War table to interrogate Legio Septimus. In order to do this, you must get ready to manipulate, torture, or charm your way to get enough out of him. One method is to use Xenia as a bad cop until Legio reaches no sanity, remove his crystals until he's about a quarter of a way from having no life, then let him recuperate a few times and speak to him about Nomad to discover the weakness in the fortress.
Building the battering ram
Choose two characters and help them collect rocks and logs to build the battering ram. Then go to the hotspot at the front of the bridge and build the ram.
Siege on Nomad's Fortress
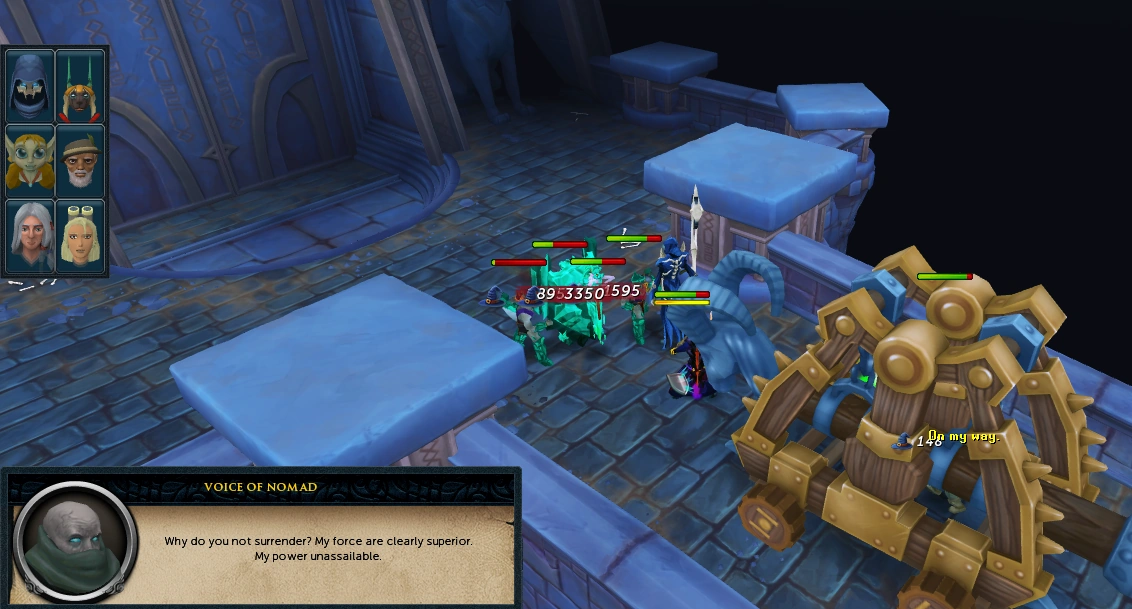
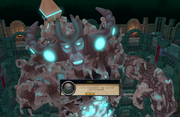
Defeating the ascended on the way to Nomad's fortress.
Fight large waves of Order of Ascension and strategically place allies to fend off opposing threats. You may skip the second part by going into the eastern cave and using the shortcut.
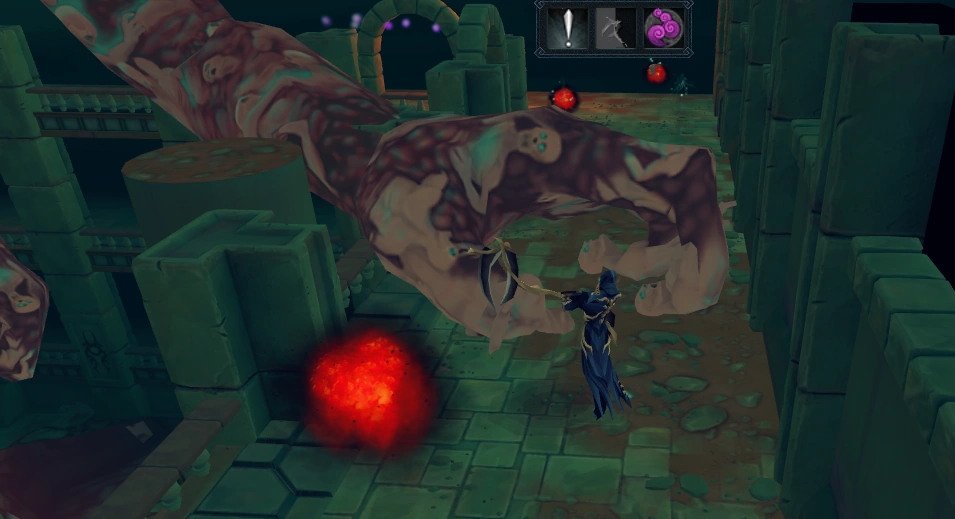
Fighting Nomad and Gielinor
_chathead.png)
You start each interim fight outside the range of Gielinor's attacks. To leave, exit through the wall portal behind you. If you die during this part, your gravestone will appear just outside Death's hourglass. The quest can be continued from Death's portal in Draynor Village. If you are killed by Nomad, you will continue at whichever phase you have progressed to, with Nomad at full health. NPC deaths during the interim battles are safe, and the phase will restart immediately.

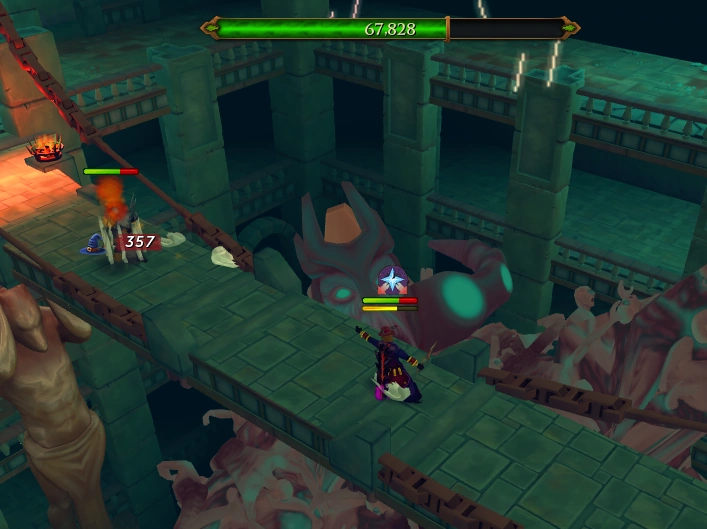
Nomad reveals his creation, Gielinor
It's time to stop the construct. You will fight Nomad in four matches, with the time between each fight leading an ally against Gielinor. To begin, run to the center bridge to challenge Nomad. The fights with Nomad are not with safe deaths, the ones with the ally however are safe.
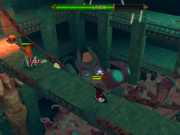
The battle with Nomad
First combat phase
First phase consists of fighting Nomad with 100,000 LP. In each Nomad battle, just remember to keep moving. Shadows will appear at the destination of bomb attacks. Gielinor will gesture before the beam spell fires on your location at the time of the gesture. Occasionally, Nomad will say "Witness the power of Gielinor!" teleporting the player to the middle of the bridge. In a few seconds, Gielinor will attack the player's location, dealing heavy melee damage. This attack can be easily avoided by running forward or using the Surge ability.
Xenia

Xenia fights the ascended at Gielinor's base
- You can only attack by pressing the displayed attack buttons, with cycling cooldowns.
Xenia's responsibility is to clear the Ascended creatures blocking the outer ring. She has three attacks:
- Blast - hits nearby rorarii for damage
- Shield Dome - Lowers received damage and reflects some back at gladii
- Shadow Stalk - summons a copy to fire a single attack behind scutarii
By standing in the center of a group and repeatedly using abilities, the monsters can be cleared. Abilities such as Shadow Stalk will become useless once the nearby scutarii is killed. Attacking Capsarius siphons health to Xenia. Clear each ascended member until your time with Xenia is over.
Second combat phase
Second phase consists of fighting Nomad with 100,000 LP. In addition to the first phase attacks, he will now also have access to his Soul Blast attack from Nomad's Requiem.
When Nomad orders you to face his wrath, the Soul Blast projectile will follow and wound you for 7500 lifepoints unless you run behind a wall. Resonance will negate the damage. This attack will reduce your prayer points whether successful or negated. You will know when you have successfully hidden behind a wall when Nomad says "Stop hiding, worm." and teleports you to the centre of the bridge for Gielinor to attack you.
Death
Death attacks Gielinor's hand
- You can only attack by pressing the displayed attack buttons, with cycling cooldowns.
Death's responsibility is to cripple the construct. He has three attacks:
- Provoke - grabs the attention of the construct when standing precisely due north, west, south, or east on the platform. Gielinor will then slam a hand on the area so quickly provoke and walk a few squares away.
- Scythe - while near the hand, Death will tear out a spirit. Gielinor follows this attack by making the area unstable, soon collapsing the section for high area damage
- Spirit - claims released spirit. This should be done quickly before running to the next platform opening to prevent injury from the collapse.
Stand directly north, west, south, and east of Gielinor to provoke the construct, move a few spaces away, move towards the hand, use the scythe, claim the released spirit, and move on quickly to prevent fatal damage.
Third combat phase
Third phase consists of fighting Nomad with 100,000 LP. In addition to the previous phase attacks, Nomad will now create a copy of himself halfway at 50,000 LP. While his clone is alive, Nomad will not use his Soul Blast attack or teleport you to the centre for Gielinor to attack. However, Gielinor will continue to bombard you periodically. When you have killed the clone, Nomad will resume using these attacks.
Icthlarin
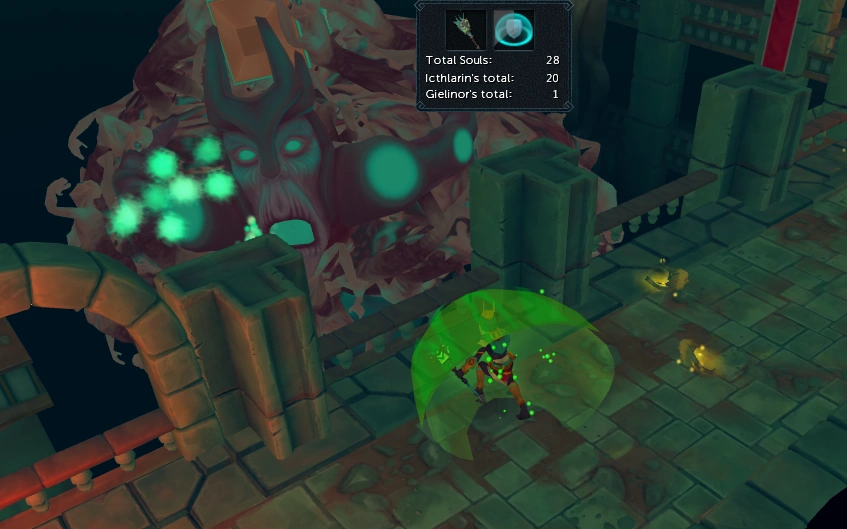

Icthlarin siphons souls and deflects Gielinor's attacks
- You can only attack by pressing the displayed attack buttons, with cycling cooldowns.
Icthlarin's responsibility is to prevent spirits from being absorbed by Gielinor as it builds strength. He has two attacks:
- Release spirits - rescues nearby spirits from Gielinor and absorbs them for personal strength
- Shield - blocks damage from Gielinor's final attack based on the amount of spirits absorbed
Quickly run a circle around the construct as being caught in its absorption beam will kill Icthlarin and restart the interrim event. When possible, center Icthlarin among a group of spirits, use the Release Spirits ability, then continue in the circle. Taking the spirits before Gielinor does so strengthens your Shield ability and weakens Gielinor's final attack. If you struggle to keep in front of his beam, try sticking to the inner walls as you'll have less squares to travel around. You won't be able to absorb every spirit, so don't risk being caught by the beam in order to do so, just ensure you have more than Gielinor.
After all spirits are either absorbed by Icthlarin or Gielinor, it will charge a strong attack. At this point, activate the shield and wait out the spell. Repeat these steps until your time as Icthlarin is over.
Final combat phase
The final phase consists of Nomad with 100,000 LP using only quick melee attacks. It's recommended to use protect from melee for this phase - and a shield along with defensive abilities, as they will make the fight much easier and reduce the requirement for healing. Magic damage against Nomad is also tripled during this phase of the fight, therefore using a combination of a wand and a shield will make the final phase less difficult.
Aftermath
The player can choose to have either Death or Icthlarin kill Gielinor. Sliske will arrive and invite the player (and Death, if he was chosen to kill Gielinor) to a competition among gods to compete for the Stone of Jas. Afterwards, you will be given the option to either kill Nomad or let him live; regardless, Sliske will take him.
Once the dialogue is over, you may optionally speak with your allies before speaking with Death. Before leaving, you will be given the choice of whether or not Zanik should be appointed as the watcher of Nomad's obelisk. If you do not, then the obelisk has no guardian; ashes will replace Zimberfuzz. If you do, then Zanik will replace Zimberfuzz. Finally, you will exit.
")
")
")
Rewards
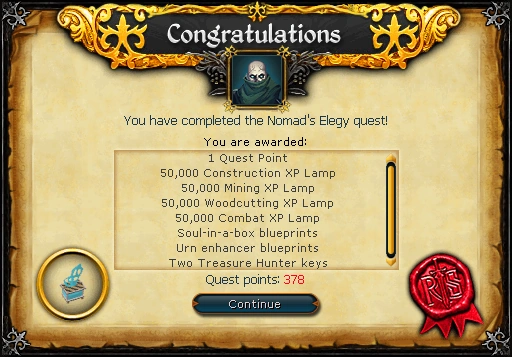
- 1 quest point
- Construction Lamp
- Mining Lamp
- Woodcutting Lamp
- Combat Lamp
- Invention blueprints for soul-in-a-box and urn enhancer.
- 2 Treasure Hunter keys and 2 Hearts of Ice
Music unlocked
Transcript
Gallery
_update_image.jpg "News main Runefest-2015 (5) update image.jpg (136 KB)")
")
Trivia
- After completing the quest, the Adventure's Log reads "I saved the souls of the dead and prevented the ultimate completion of Nomad's scheme."
- There is an extra option when interrogating to Legio Septimus: [use secret ravensworn handshake] to which Legio Septimus will reply with: "Yes, the thirteenth moon stands ascendant. It is the shadow glass that starts the call."
- A quick examine on the various wandering souls throughout the underworld will reveal that those were the souls of NPCs that you have done quests for in the past.
Nomad's Elegy | |||||||
|---|---|---|---|---|---|---|---|
| Part 3 of the Sliske quest series | |||||||
| NPCs | |||||||
| Enemies |
| ||||||
| Items |
| ||||||
| Rewards |
| ||||||
| Locations |
| ||||||
| Music |
| ||||||
| Miscellaneous |
| ||||||
| Main series | |
| Related quests |
|
| Related |
|