| |||||||||||||||||||||||||
| Also called | OoaK | ||||||||||||||||||||||||
|---|---|---|---|---|---|---|---|---|---|---|---|---|---|---|---|---|---|---|---|---|---|---|---|---|---|
| Release date | 10 March 2014 (Update) | ||||||||||||||||||||||||
| Members | Yes | ||||||||||||||||||||||||
| Voice Over | No | ||||||||||||||||||||||||
| Official difficulty | Grandmaster | ||||||||||||||||||||||||
| Quest series | Dragonkin series | ||||||||||||||||||||||||
| Age | Sixth Age | ||||||||||||||||||||||||
| |||||||||||||||||||||||||
One of a Kind is a grandmaster quest chronicling the study of Hannibus, a dragon rider, by Mr. Mordaut and the uncovering of Robert the Strong's lost library.
It is notable for having significant quest requirements, being less straightforward than the quests preceding it, and featuring lots of travelling: characteristics which saw a decline throughout 2012 and 2013.[1] In the final quarter of 2013, Mod Raven created several threads on the forums, asking about people's views on quest requirements and which elements of While Guthix Sleeps people most enjoyed, which were subsequently incorporated into One of a Kind.[2][3]
Official description
| “ | As part of his studies, Mr. Mordaut has uncovered the latest entries to the dragon rider journal indicating the ultimate fate of Hannibus, the last of the dragon riders. Mordaut is hoping that the player will help him investigate. Mr Mordaut is an avid historian of dragon history, and Hannibus would represent a momentous discovery, particularly if he can be discovered alive. Not only can Hannibus give an insight into the past of the dragons, but his calming influence on dragons gives Mr. Mordaut hope that the dragons can learn to put aside their rage and differences and potentially become unified as a species. | ” |
Walkthrough
| Start point | |||||
|---|---|---|---|---|---|
| Member requirement | |||||
| Official difficulty | |||||
| Official length | Long (1 - 4 hours depending on puzzle skills) | ||||
| Requirements | Skill requirements are not boostable unless marked with a [B] for boostable.
Additionally, completion of Ritual of the Mahjarrat is optional, but unlocks an additional reward.
| ||||
| Items required | Items from the tool belt are not listed unless they do not work or are not automatically added.
Recommended:
| ||||
| Enemies to defeat |
|
Mr. Mordaut's Research
Speak to Mr. Mordaut at his office in the Varrock Museum, located in a pocket dimension accessed by opening the door directly at the backside of the stairs on the bottom level of the museum. He says that he is researching the history of the dragons and has uncovered the final journal of Hannibus, the Dragon Rider. This journal may give information about the current location of Hannibus and suggests reading it if you accept the quest. He gives you the journal, in which Hannibus describes how he has been hunted by Enakhra, who was collecting petrified trophies for Zamorak. Hannibus had been hiding in a cave but then decided to travel far away to throw Enakhra off his scent, leaving his dragon behind. After reading it, speak to Mordaut again.
Mordaut believes that Enakhra was able to curse Hannibus, turning him into a statue, but that Enakhra was never able to deliver it to Zamorak. He also says that, during research into the Dragonkin, he discovered that Robert the Strong had found a strange, lifelike statue and taken it to his library to study and he believes this to be Hannibus. Unfortunately, the location of the library has been lost. Suggest to Mordaut that Bob the Cat might know something, as he is the reincarnation of Robert the Strong, and he will agree and tell you to go and speak to Bob.
Searching for Robert the Strong's Library
_chathead.png)

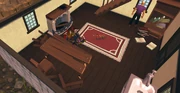
Laying waste to Unferth's house.
Use your enchanted catspeak amulet to locate Bob, who wanders all over Gielinor. A cramulet can also be used if it contains an enchanted catspeak amulet. If an unenchanted catspeak amulet is stored in the cramulet, you'll have to dismantle it from the cramulet before recharging its enchantment with five death runes via Hild in eastern Burthorpe. A good place to start looking for Bob is in Burthorpe, as that's where he spawns after every game update. Once you have found Bob, he will tell you that he doesn't remember anything about his former life, but when he first saw the house just west of Gaius' Two Handed Shop in Burthorpe, he was instantly attracted to it, and thus adopted the human living there, Unferth. Suggest to check his house.
Go to Bob's house just east of Burthorpe Castle and speak to Unferth. He will not know of any libraries, only repeatedly insisting that he does not own any ogre romance novels. Ask him if you can search for the hidden library and he will remark that Bob was always particularly drawn to the ground floor. Proceed with your investigation, smashing the bookcase, spreading soot from the fireplace and devastating the table in the process. He will angrily remark that you are probably going to tear up his carpet next. Remove the rug to reveal a hidden trapdoor, to Unferth's shock; enter it to find yourself in the library of Robert the Strong.
Last of the Dragon Riders

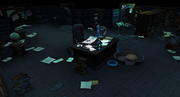
The library of Robert the Strong.
Once in the library, you will find dozens of bookcases, shelves with scrolls, armour stands and weapon racks, loose papers, locked chests and several Dragonkin artefacts from Brimhaven Dungeon and Kethsi. There is also a pet basket for Odysseus and a blackboard with a map of Dragonkin locations. One bookcase contains a book about Robert's youth on Teragard, the original human realm, and how he broke into the church where the Schism, the source of the planet's power, was held and was transported to another dimension. Near the blackboard is a large stone statue of a reptilian creature holding a lance.


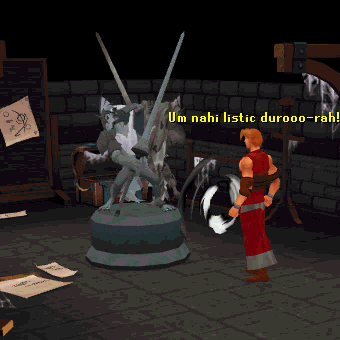
The statue in Robert's library.
Next, search Robert's desk in the middle. This will reveal a book on making a scroll of Rock Animation, which could animate the statue. Robert remarks in it that he figured out one item to be an emerald (an uncut emerald will also work), but had to go to a seer for the other one. The seer responded with a riddle:
| “ | I feed upon the sword, spade and rake; I pierce the armour that none can break; One drop and I can stop a watch's flow; But without time I cannot grow. What am I? |
” |
The solution to the riddle is "rust", which affects metal items although it needs time to appear. Searching the weapon rack near the stairs allows you to scrape some iron oxide into a bottle.
Search the desk while holding an emerald along with the iron oxide and choose to create an Animate Rock scroll. Read the scroll while standing beside the statue in the southern part of the room, and you will animate the statue of Hannibus, the last Dragon Rider.
Speak with Hannibus and inform him it is the Sixth Age. He is in an emotional state, having been released after millennia of conscious petrification and the loss of his kinsmen. He will tell you about how he and his kin left their homeworld to follow the "Empty Lord" Zaros, who promised a way to solve their problem of declining population, and how they became riders of dragons in his armies instead. He will also tell you about the Olun'dai, the predestined fate Hannibus and the other Ilujanka believe to be part of. Eventually you will decide that he needs a way to return home and suggest to search the library for clues.
Search the bookcases on the east and west side of the library. After searching the eastern one, you'll receive a primer on Dragonkin language. It contains translations of a couple of words from the Dragonkin language, including their names for several geographical locations, as well as an explanation of how their simple grammatical syntax works. Search the western bookcase to find a book titled "Flight of the Dragonkin", which features Robert wishing he could talk to the "enormous statues with stone eyes gazing out across the world" in order to learn more about the Dragonkin. The first page of the Dragonkin Primer contains some text in the Dragonkin language. You can either translate the words using the list on the following pages, or toggle the automatic translation option. Now read the map behind Hannibus to update your knowledge of Dragonkin language with place names if you hadn't already.
You must now either follow the lead in the Dragonkin primer, or locate the mysterious stone statues around the world. These can be done in any order, but it is recommended to do the latter first.
The Mysterious Statues
To follow the lead in the book in Robert's library, you must find several mysterious statues scattered around the world. You must seek out at least two of these statues, which are located near the Seers' Village bank, outside the Tower of Life, near the Fishing Guild entrance, and near the Brimhaven house portal.

Speaking to one of the mysterious statues.
After finding one, you must find a way to speak to it. Do this by enchanting it with your animate rock scroll. It will ask if you are a Dragonkin or a TokHaar. You can say you are one of the two or reveal that you are a human, to which the statue will reply that humans destroyed many of their kind, all built by the TokHaar eons ago, to use as building material for their castles. They will also tell you that they had been positioned in a circle to all gaze in the direction of something called The Sleeper, but that a group of knights had rotated the statues to point to their holy grail. It will then ask you to rotate it to face the correct location; comply with this. Visit all statues and rotate them. You actually only need to speak to and turn two, but when you complete all four, you get a reward of 10,000 bonus experience in any skill you wish.

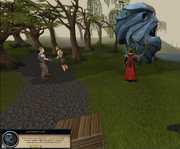
Speaking to the Submerged statue.
Now you must follow the directions they face in order to locate the 'Sleeper'. By intersecting the statues' views, you will note that it is located on Entrana, so bank any items with stats and travel there. In the far north-west corner of Entrana the top of a submerged statue can be seen off the coast. Use your Animate Rock scroll anywhere near there to bring it to life and to summon Hannibus, and it will speak of the great danger of the Dragonkin and tell you more information of the Creators. Additionally, it will remark that a certain god had once encountered it and not heeded its warnings not to use the Elder Artefacts, which would invoke the Kin's wrath, before submerging the statue. Also, a non-combative Dragonkin had once visited it to inquire about the curse of Jas. When asked about travelling between dimensions to get Hannibus home, the statue will remark that the Dragonkin can travel to the Stone of Jas if it is abused regardless of its location, and only one type of dragon is known to be able to do this. Hannibus will tell you this is a dead end, and to investigate the lead given by the primer.
Investigating the Dragonkin language
Kletter Draekeun
The first sentence in the primer, noted there by Robert, is as follows:
| “ | Kletter Draekeun dosk Arraken Ullergrax. | ” |
Using the primer, this can be partially translated to "Kletter Dragon dosk Dungeon Forinthry." Robert also remarks that dragons are written as "Colour/Type - Dragon - Title" in Dragonkin language. You will have to find dragons in a dungeon in the Wilderness. They cannot be black dragons, otherwise the adjective would have been "Kreath". Therefore, the phrase refers to the green dragons in the Forinthry Dungeon.
Make your way to the dungeon, the entrance of which is in level 17 of the Wilderness, you will need to ascend deeper into level 22 of the Wilderness, however. Bring nothing but primer, as you have to go through the Wilderness to get here, even though you enter an instance when you arrive. Bringing anything else is unnecessary and only exposes you to the risk of losing the items. Should it happen that you are killed in the Wilderness on your way to the dragons, the primer may be re-obtained from Robert's library.

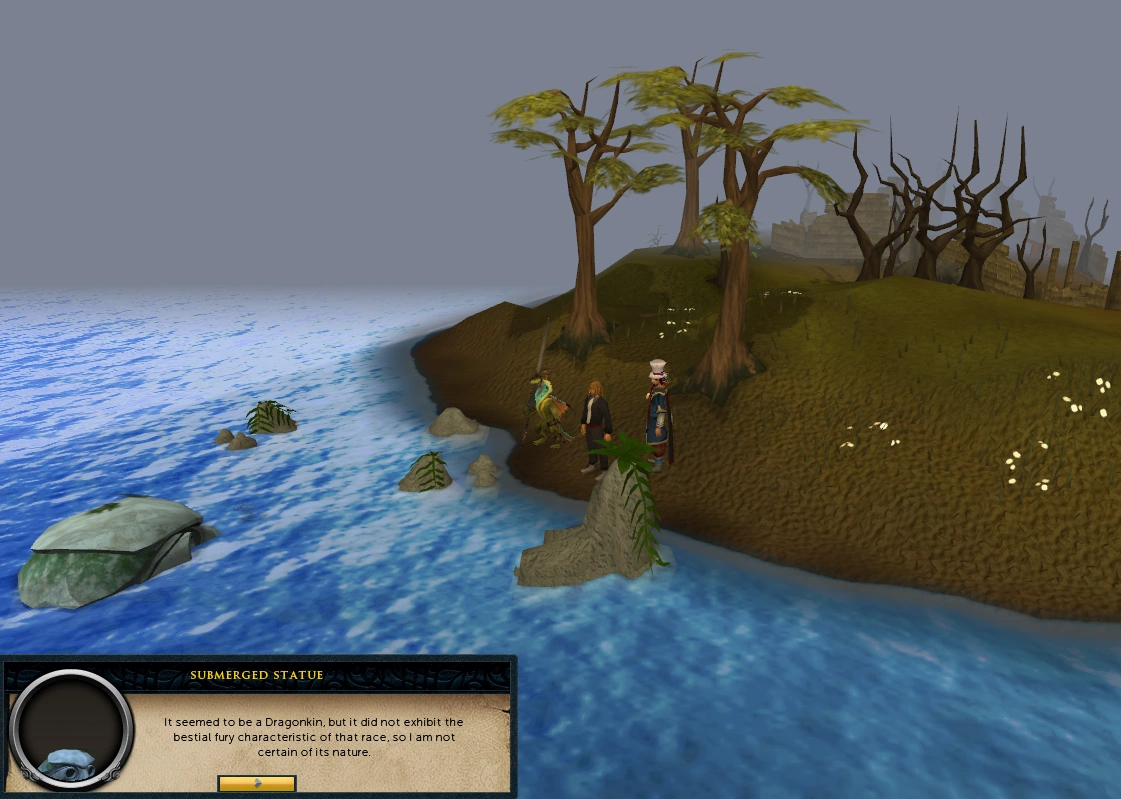
Investigating the strange symbols with Hannibus.
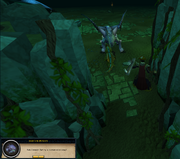
As you approach the green dragons, a cutscene ensues where Hannibus approaches, calms and bonds with a green dragon. The dragon tells Hannibus that he does not know of any dragons with the abilities described by the Sleeper, but that the Creators did occasionally pay them visits. They would conduct experiments on the dragon before leaving notes in the rocks for future Dragonkin to visit. Search the cave for such a text. It can be found on a rock south-east of the dragon; as you approach it, it will begin to glow. You will automatically transcribe it in your primer.
Lokur Draekeun
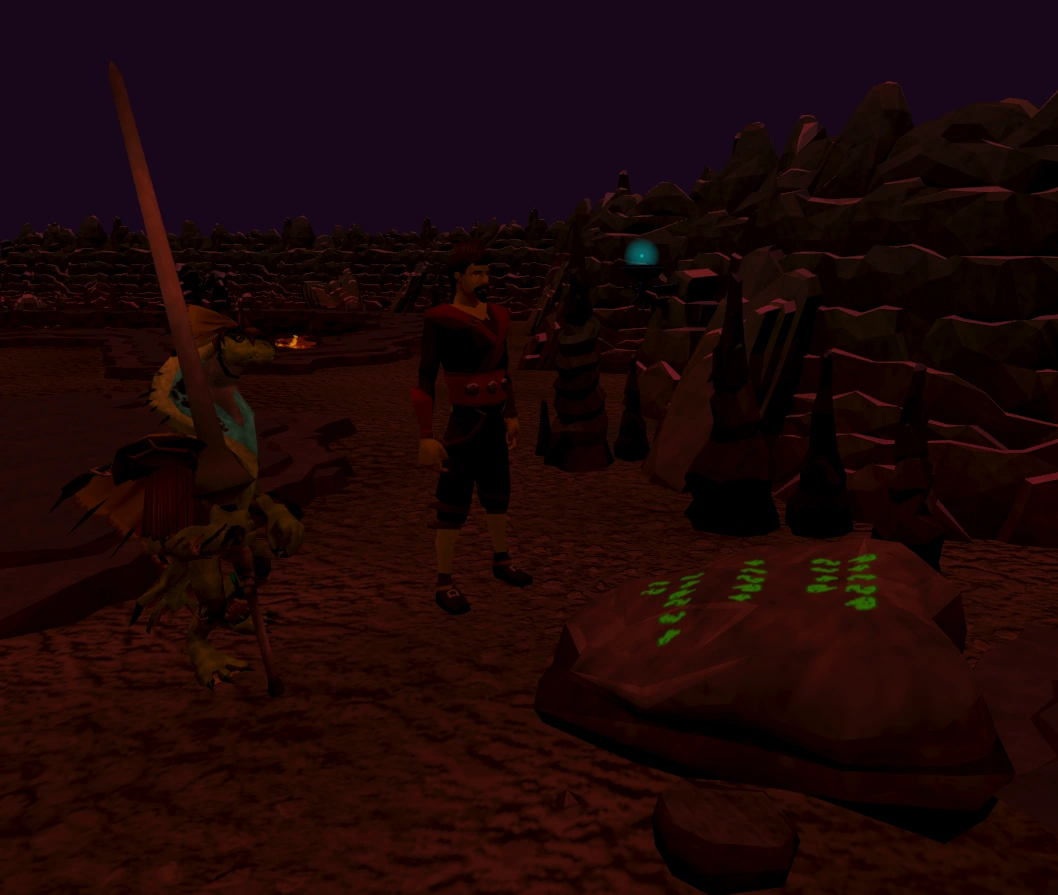
Defending Hannibus from Iron dragons.
The second clue is as follows:
| “ | Kletter Draekeun tescan Kath. Draekeun castil Lokur kel Draekeun. Drakkerkin dosk Tho Arakken Sketherin. | ” |
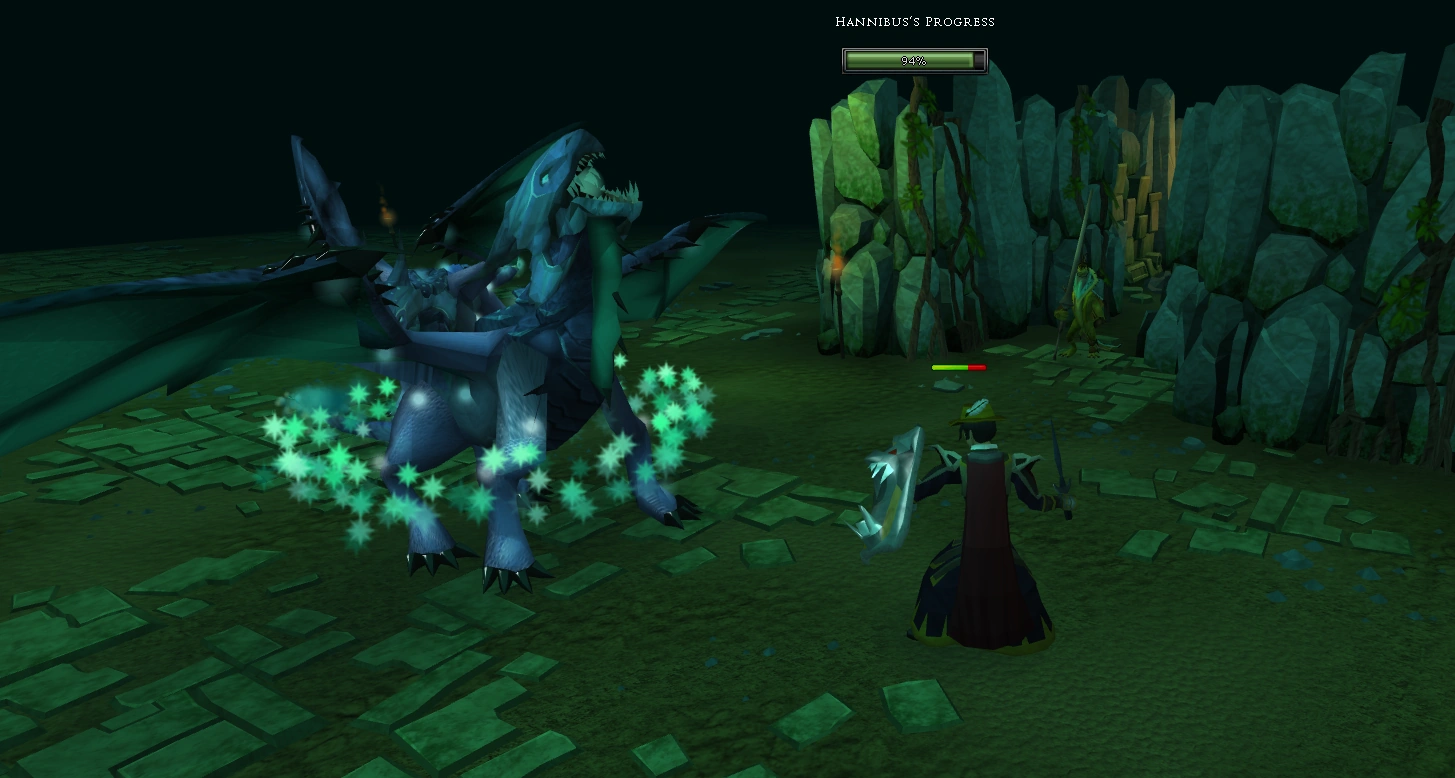
It refers to the green dragons as being weak before mentioning the southern part of the Brimhaven Dungeon, which contains metal dragons. Make your way there. Be sure to bring the primer, combat gear and some dragonfire protection as you will need to kill three iron dragons.
Make your way to the southern part of Brimhaven Dungeon. Once you enter the room with steel and iron dragons, another instance prompts you and Hannibus will again speak to the dragon, but this time have a difficult time with the ferocity of the steel dragon. Tell him he can do it, it's the only way he will get home, and other things to boost his confidence. You will need to defend Hannibus while he attempts to bond with the dragon by killing three iron dragons, to the rider's reluctance. Eventually, the steel dragon will be tamed.
Hannibus reveals the dragon's thoughts; it had witnessed a large, pale-skinned creature pouring molten metal over dragon eggs and enchanting them. Few survived, but those that did hatched as metal dragons. Meanwhile, the Dragonkin made more notes, "near a secret dungeon entrance". Find the notes on the wall near the entrance to the Brimhaven Dungeon resource dungeon for the next clue.
Ortha Draekeun
The next phrase reads:
| “ | Ortha Draekeun Hok Kreath Draekeun Traken. Kreath Draekeun Traken Ortha lith Kerapac reageth Carratas. Drakkergin dosk Ven Arraken. | ” |
It refers to a certain black dragon as the "first dragon" and also mentions Kerapac and a dungeon. This means you will have to visit the Queen Black Dragon in her lair beneath Rimmington, for she was the first dragon ever created, namely by the Dragonkin Kerapac.
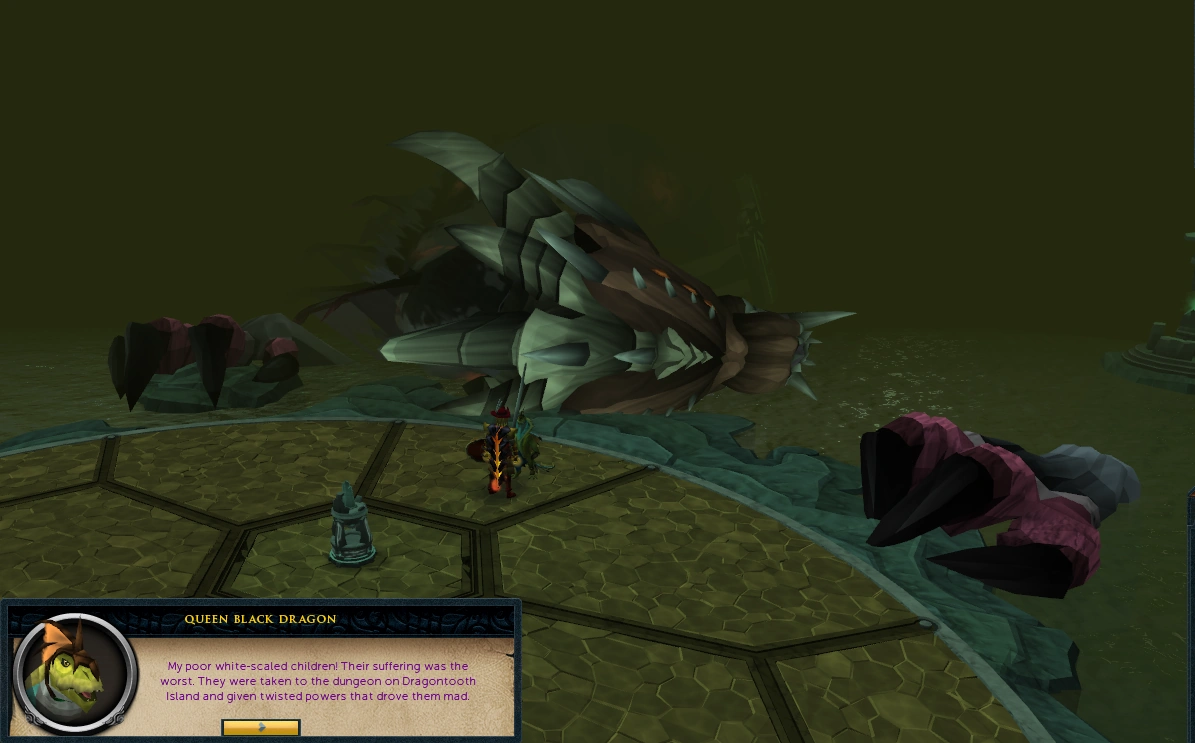

The Queen Black Dragon speaks through Hannibus.
Travel to the Grotworm Lair and make your way to the lowest floor. Choose the investigate option on the portal to the Queen, as right-clicking and selecting to pass through it will start a fight as usual. It will once again prompt you to enter the cutscene. Continue to appear in her lair along with Hannibus, who will will speak to her in her sleep, stating that it would be best if she were not to wake up. The queen proceeds to channel through him, thinking the situation to be a good dream where she prevents an Ilujanka from dominating her. Amused by your, the "dream-thing's", response, she will agree to answer any questions. Ask her about the Dragonkin and she will be infuriated, cursing you and the Dragonkin for taking her white-scaled children for experimentation. She says they were taken to a dungeon beneath Dragontooth Island, where the Dragonkin's twisted powers drove them mad. Hannibus will exit her dream and the two of you quickly leave before your presence wakes the Queen up.
Dragons of Time

Distracting a celestial dragon for Hannibus.
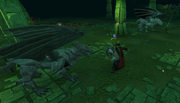
Travel to Port Phasmatys by whatever means you wish, and bring an amulet of ghostspeak (unless you own the Morytania legs 3) and dragonfire protection. Speak to the ghost captain by the small dinghy and travel to Dragontooth Island, and run to the far side to find a resource dungeon. Enter it to find yourself in a large cavern full of celestial dragons, and speak to Hannibus. He senses their madness and concludes he will need them to focus their rage on a single target so that he may find a way to bypass it. Therefore, you need to engage one of the dragons in combat, although you must not kill it, merely distract it. The boogie bow is recommended for this section, for players that own it and can use super-antifire potions, being a low-damage Ranged weapon that uses no ammunition.

Hannibus communicates with a celestial dragon.
They're fairly dangerous in melee combat, so it is best to attack them and then let them attack you from a distance. Stay in combat with celestial dragons while he studies them. Beware of their special attack, which traps you in time for a few game ticks, leaving you unable to eat and potentially killing you from stacked damage inflicted during this period if you were low on health. Once the dragon has been fully studied, you will speak with Hannibus again.
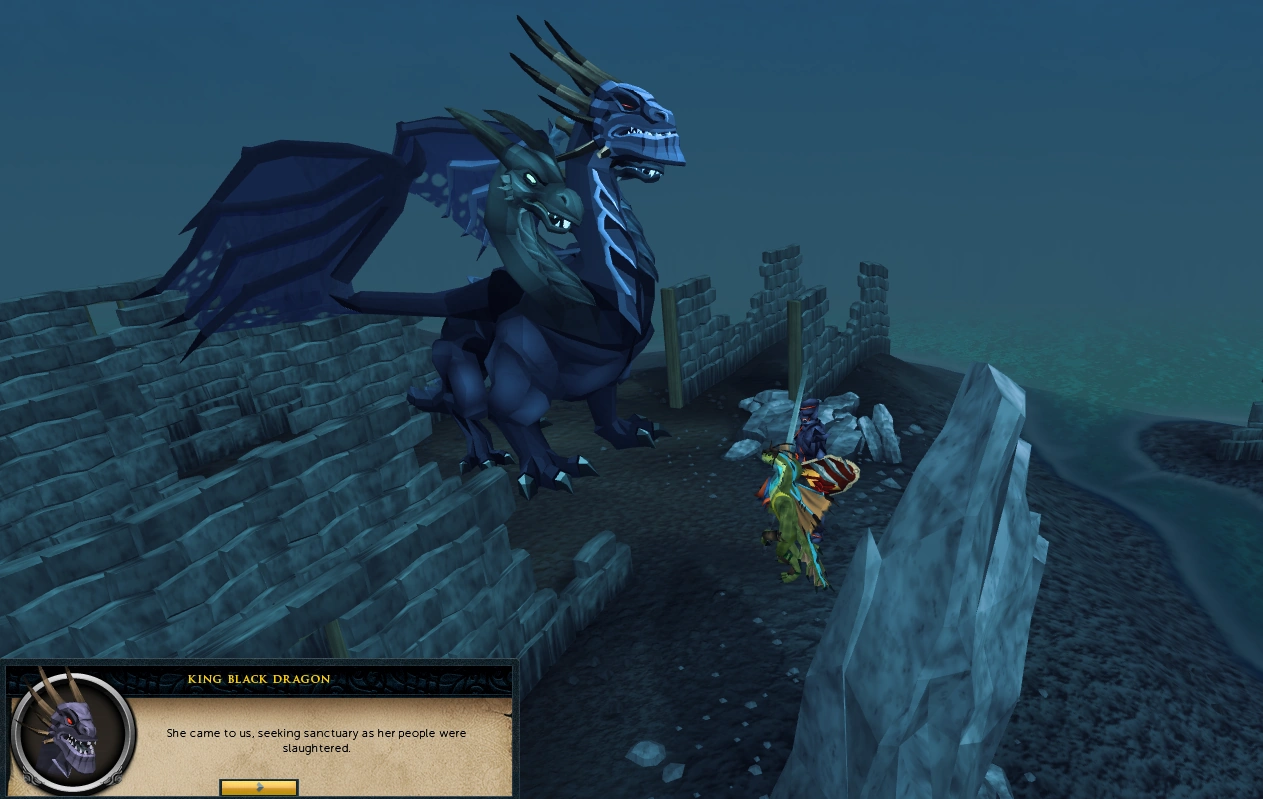
The celestial dragon is calmed but is unable to feel time. Hannibus sadly concludes that their eggs had been infused with Abyssal magic, twisting them outside of time. However, he senses nothing about travelling between worlds, although he is able to see a glimpse of a "brilliant white dragon disappearing through holes in the sky." This white dragon has hidden under the protection of Hannibus' old mount, the King Black Dragon. Therefore, Hannibus suggests to go visit him in his lair.
The Last of her Kind


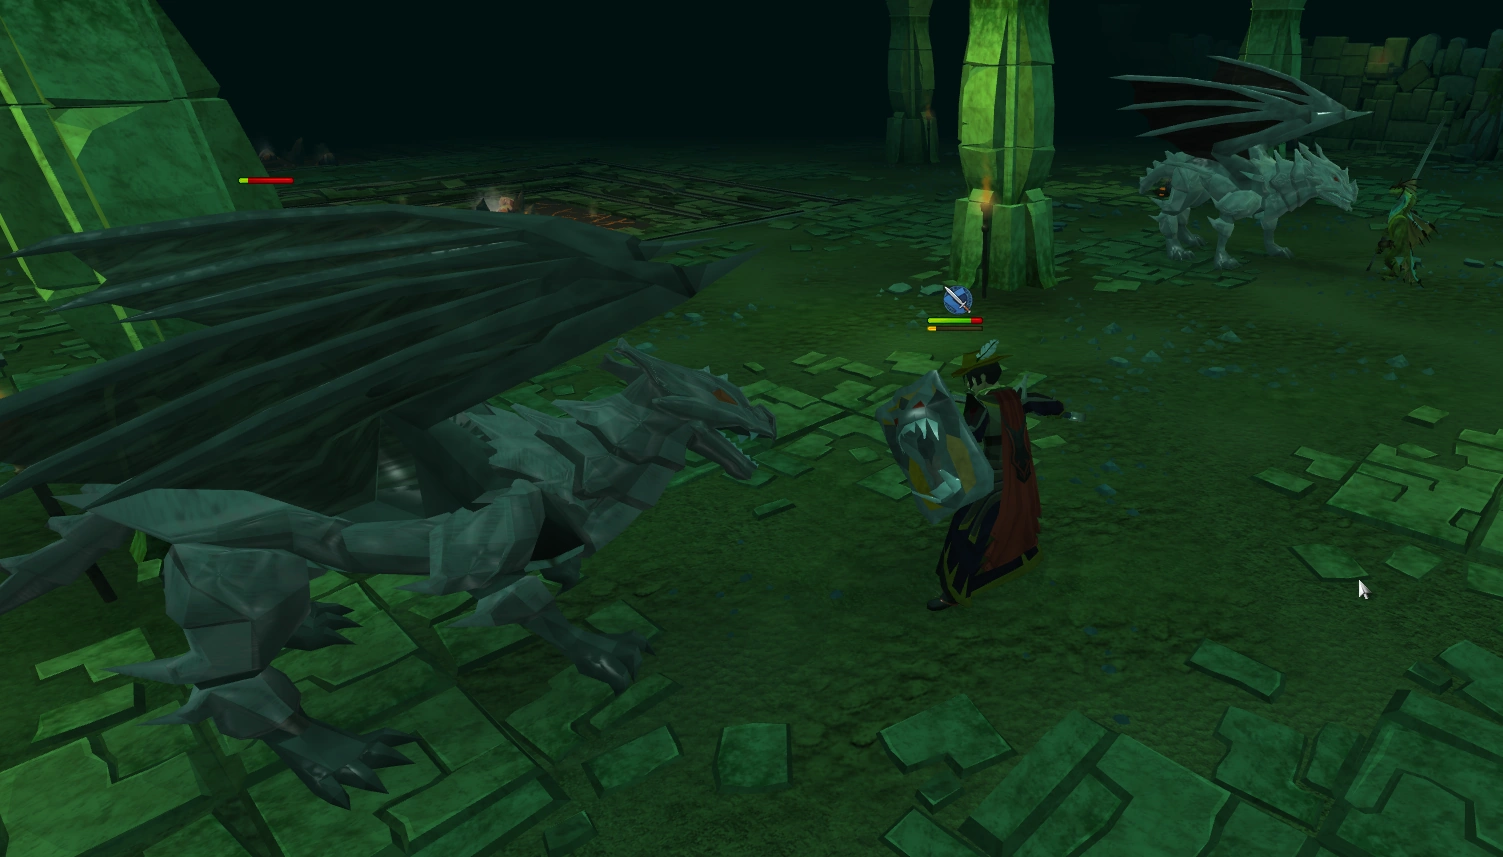
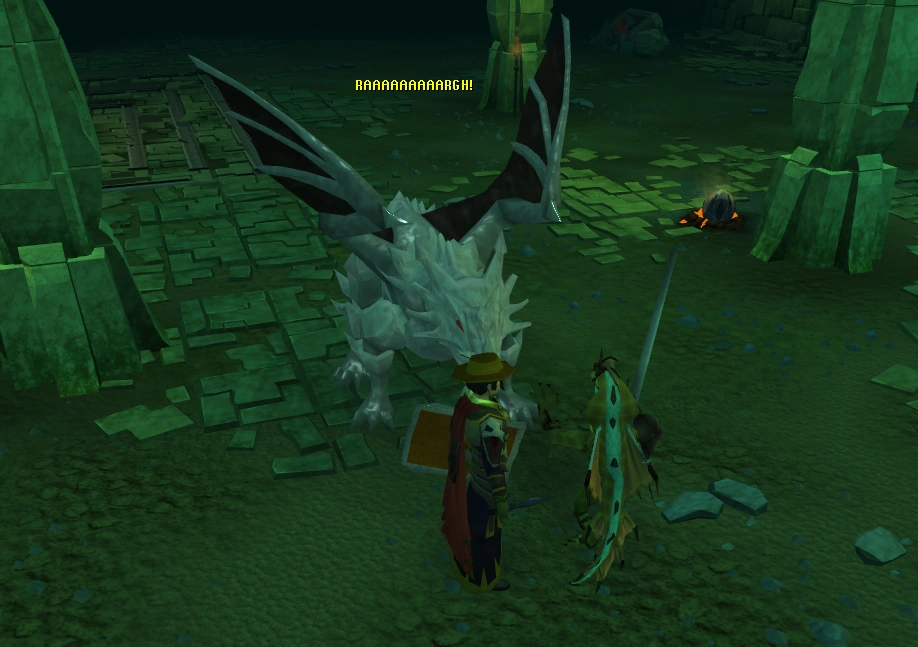
Hannibus reunites with his old friend Shakorexis.
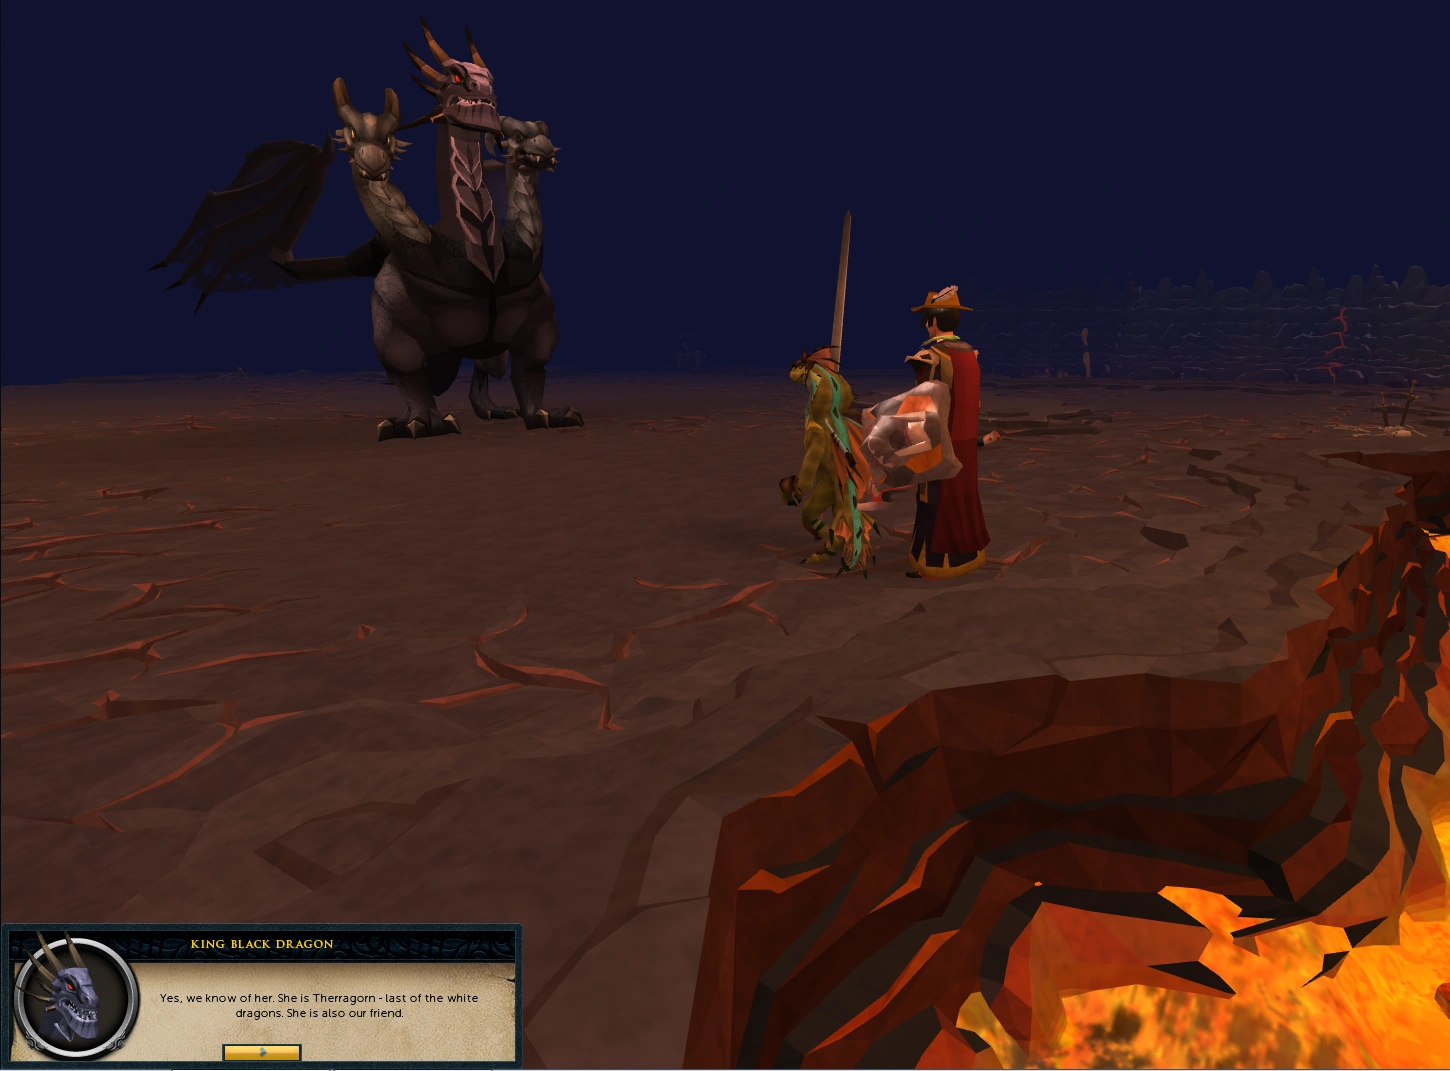
Leave Dragontooth Isle and travel to the King Black Dragon's lair, either by activating the artefact found north of the Edgeville Monastery or simply going to the Lava Maze (which is more dangerous) and choose the option to continue the quest. You will reunite Hannibus and the King Black Dragon, and the latter will speak. Hannibus will introduce you as a friend who is helping him, and asks the King Black Dragon about a dragon that is able to fly through worlds. He will explain that there is one white dragon remaining, named Therragorn, and that she is the last of her kind. He will then take the two of you to a set of ruins on the surface.

The King reveals the entrance to Therragorn's residence.
The King explains that she was hunted, and he hid her in a small dungeon created by the Dragonkin in the far north-east wilderness to protect her. He will unlock the dungeon and you automatically go inside. (Note that the cutscene is instanced and you don't actually appear in the Wilderness unless you leave the dungeon - should you do so, you may return there by using the artefact in Edgeville as alternative to walking there.)
Once inside, speak to the understandably timid white dragon, Therragorn, who is distrustful of you as a human. However, she becomes more open when you reveal the identity of your partner, as she respects the dragon riders. Hannibus requests that she use her abilities to bring him home, and she agrees to listen to his story. She tells how the white dragons were hunted to extinction to make armour from their skin and did not notice their dwindling numbers due to their solitary nature until it was too late. She will also reveal that white dragons were created by a pale-skinned Dragonkin who mixed his blood with the Queen's eggs, but were discarded due to a lack of ferocity. Ask if she can help Hannibus. Therragorn says that she does not know the location of his home and might not be able to go there, to which the Ilujanka responds that he can confer the location to her by sharing his memories. She asks what his world is like but Hannibus replies he doesn't know, although it used to be a peaceful place when he left it. Therragorn asks if she would be able to join him, to which Hannibus agrees.
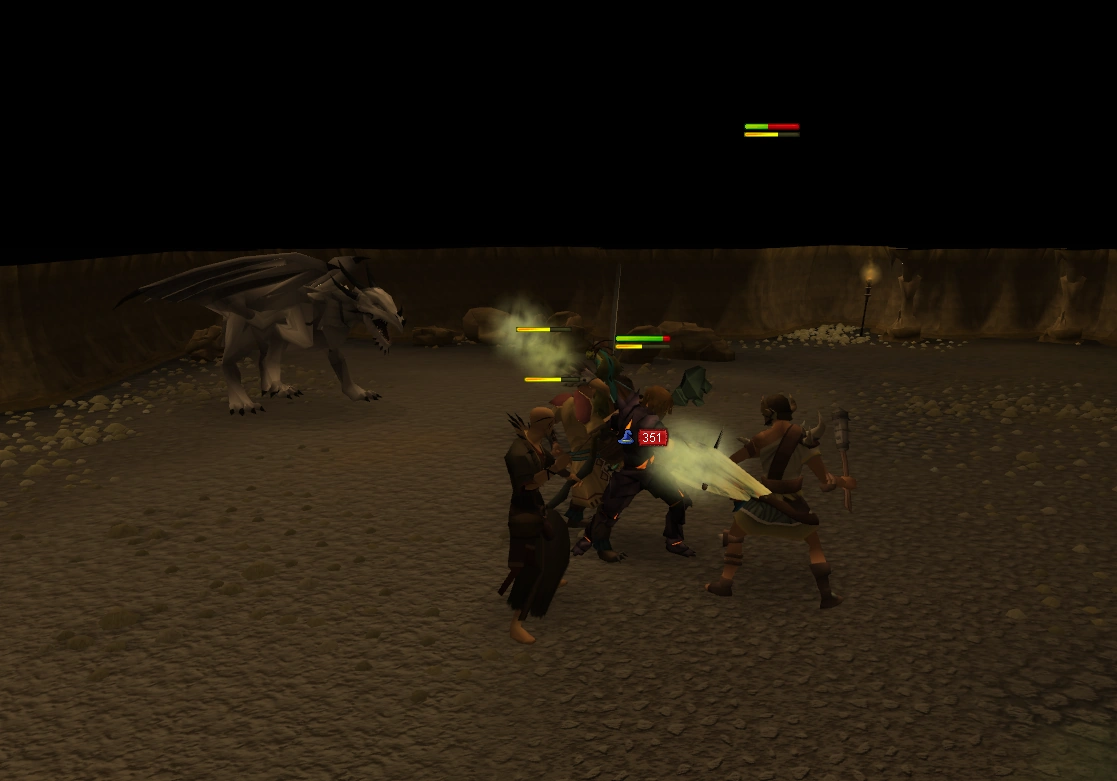
Fighting off the hunters who came to kill Therragorn.
As Therragorn is about to agree, a trio of dragon hunters barge in and try to murder her. Hannibus warns their leader that she is the last white dragon remaining, to which he sadistically replies by stating that her skin would be worth even more. You will have to fight the hunters, consisting of a mage, an archer and a warrior, all over level 130. They use most abilities players can use, but are fairly low in power. Be aware of their stuns, thresholds and ultimates, however, as they can make the fight considerably harder. By lining them up, you can engage in a one-on-one duel with each hunter, which makes the fight easier. It is advised to use abilities during the fight yourself.
Since the cavern is not a wilderness area, you can leave the fight by the door or teleport out. If you leave or die, you can use the artefact to teleport back to Therragorn. Alternatively, you can walk to the cave, which is located on a peninsula near the northeast corner of the wilderness. To shorten the walk through the wilderness, the Annakarl Teleport, Daemonheim Wilderness entrance or the deserted keep teleport from Edgeville or Ardougne can be used.
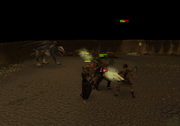
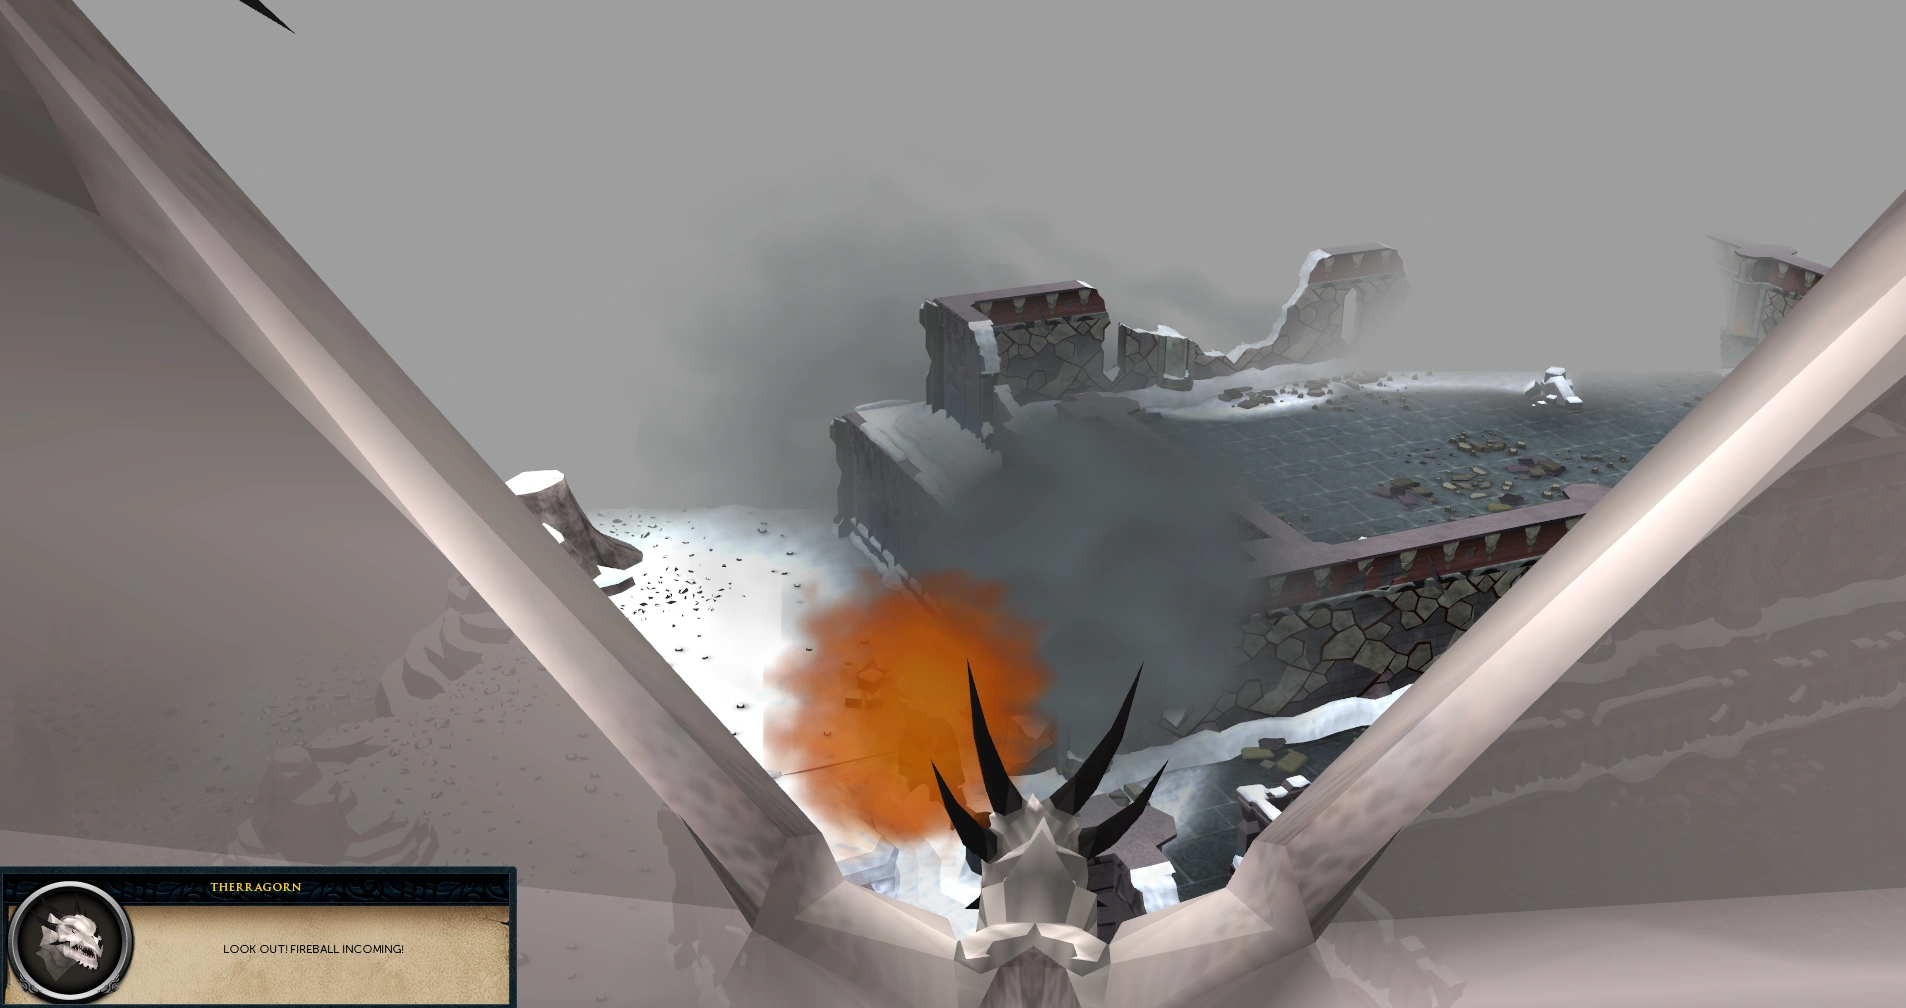
You are hit by a fireball!
Finish off the dragon hunters and speak with Therragorn again. Angry that her location has been exposed and she will not be safe anywhere any more, she will fly you and Hannibus away. The two of you mount her and you fly to the south, but are promptly ambushed with dragonfire as you fly above Daemonheim. Therragorn is hit head-on and crash-lands.
Kerapac the Observer

When you awaken, you will find yourself with an injured Hannibus inside a dungeon deep beneath Daemonheim, with none other than Kerapac, pale of scale, before you. He reveals to be your rescuer and states that, unlike the Dragonkin you have met previously, will not kill you, needing you. He states that Hannibus has suffered injuries that will kill him if he is not helped, and Therragorn, whom he deems a failed experiment, has likely died already. He will offer to heal Hannibus from his life-threatening wounds, but only on the condition that you help him by using your World Guardian powers to try and remove the curse of the Dragonkin.

Siphoning Dragonkin memories from the wisps.
Look around Kerapac's laboratory, which contains various curiosities such as dissected grotworms, dragons and strykewyrms and several ancient effigies, if you wish, and when you're ready to progress, agree to Kerapac's terms. He will lead you to a room with several portals and a cage containing Strisath, who is bursting with fury. After explaining that he wants to attempt to temporarily decrease the effect of the curse on Strisath, Kerapac will explain that you need to capture and channel Dragonkin memories from protoplasmic wisps, congealed remnants of the energy of the Stone of Jas, in the same manner you do when divining. Then, you must siphon them into Strisath so that he may transport you to a magical construct representing the curse. As a World Guardian, you have resistance to divine magic, making you the perfect test subject. There, you will have to overcome whatever it is that represents the curse.
Collect 25 memories and channel them into the caged Strisath, then speak with Kerapac again. If you're not prepared for the following fight, tell him you need time before continuing. Should you leave the laboratory, you may return by speaking to Kerapac, south of Wiglaf.
The Wrath of Jas

He tells you you will face a challenge to weaken the bond the curse has between the Stone of Jas and the Dragonkin. This is the final boss fight of the quest. When you accept and embark on this, you enter the construct and appear in a situation where your mind attempts to make sense of Elder God magic. You find yourself in an image of the shrine for the dead Guthix, who is in the background, and confront an Echo of Jas, who manifests herself as a mage wearing black armour. It will proclaim your destruction and attack.
It is level 133, has fairly high hitpoints and no weakness, and uses a powerful fire spell in conjunction with most magic abilities, including thresholds such as Wild Magic and Asphyxiate, and possibly even ultimate abilities like Omnipower. It is highly recommended to use abilities, either manually or through Revolution mode, for this fight. Despite its strengths, the echo can be dispatched with a simple ranged setup and a good rotation of abilities without too much effort. Note that it uses stuns very frequently and its abilities do not appear to have a cooldown, which is potentially dangerous. In some cases, it can use the Asphyxiate ability twice or even three times in a row.
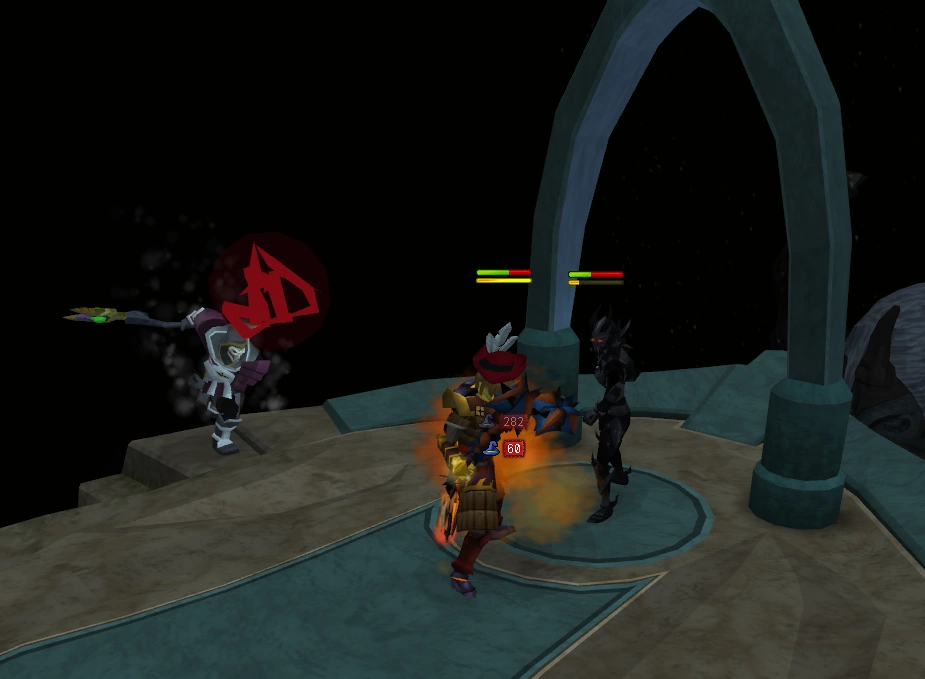
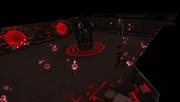
Watch out for the False Users!
Regularly throughout the fight, False Users appear around you in the form of Zamorak, Saradomin, and Lucien. Zamorak will cast a bleed-type effect in the form of falling debris over your current area, Saradomin will heal the Echo, and Lucien will fire a red ball of energy at you that will do around 2000 damage. When they spawn, attack them immediately as each has a powerful special attack. They only have 1 hitpoint, meaning, as long as they are hit, they are dispatched. Continue attacking the Echo of Jas until it runs out of health, and then talk to it. It says the Creators' blessing is weakened, but cannot be undone, after which Kerapac will drag you out of Strisath's memories.
You return to the laboratory where Hannibus has made a miraculous recovery and Strisath has left, having temporarily calmed down. Kerapac then makes Hannibus an offer; if he agrees to submit himself to his research and to being put in stasis, Kerapac will attempt to find a cure for the Ilujanka's infertility, seeing that it might benefit the Dragonkin as well. However, it could take decades or centuries, if a cure exists at all. Hannibus needs a moment to think about it and takes you to the surface for some fresh air.
Note: you need at least five free inventory spaces for Hannibus to take you back to the surface.
Hannibus's farewell


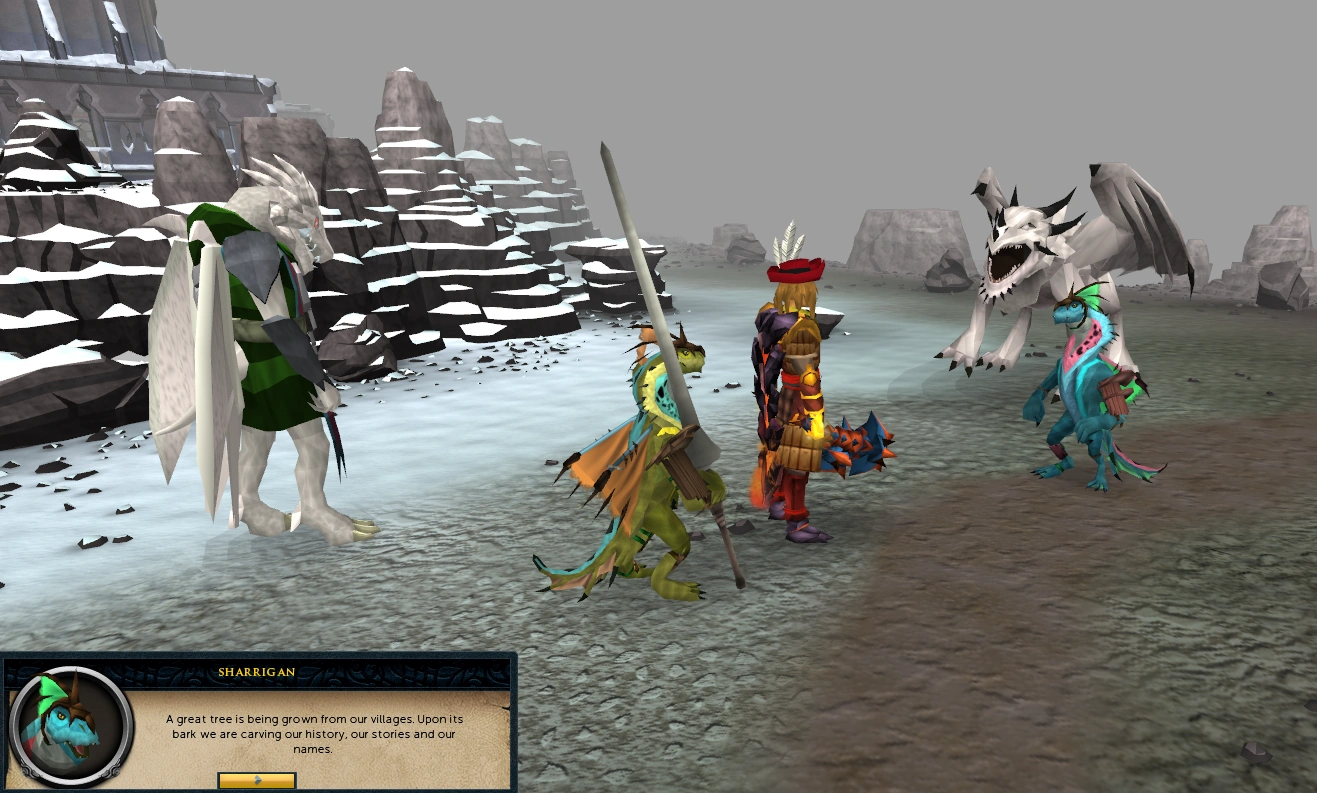
Sharrigan proposes that Hannibus return to the Ilujanka homeworld with her.
Back at Daemonheim, Therragorn is revealed to have escaped unscathed and used the memory Hannibus gave her to travel to his world Iaia, bringing his great (great great...) granddaughter, Sharrigan, along with her. Sharrigan explains to Hannibus that who is left of their race, who have not produced any offspring in decades, have accepted the Olun'dai and are ready to move on from their world, erecting a great tree to carve the history and memory of their kind into, before they go, leaving the world to the Gurh and any future inhabitants.
Kerapac will appear, surprised to see Therragorn alive, and remind Hannibus of his offer. He will discard the Olun'dai as superstitious nonsense and urge Hannibus to join him. Sharrigan, meanwhile, requests that he return to Iaia with her and, old and weary as he is after all those years, be with the Ilujanka during their final moments. Torn, Hannibus asks you for advice. You may question Kerapac, Therragorn and Sharrigan about what to do, with the dragon stating that Kerapac cannot be trusted, although the offer is tempting. Once you make up your mind, tell Hannibus to return to Iaia or to stay with Kerapac. Regardless of your choice, Kerapac will return to his laboratory, while Therragorn is invited to spend her final days on Iaia as well, to which she gladly agrees. Thus, the group disband.
Congratulations! Quest complete.
Rewards
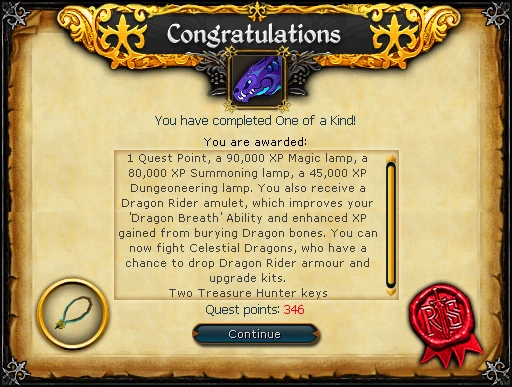
- 1 Quest point
- Dragon Rider amulet
- Magic lamp granting 90,000
 Magic experience
 - Summoning lamp, granting 80,000 Summoning experience
- Dungeoneering lamp, granting 45,000 Dungeoneering experience
- Divination lamp, granting 5,000 Divination experience
- Access to celestial dragon resource dungeon
- 2 Treasure Hunter keys and 2 Hearts of Ice
- Rotate all four Mysterious statues during or after the quest to gain 10,000 bonus experience in a skill of choice.
- If you have completed Ritual of the Mahjarrat, speak to the submerged statue on Entrana again to recieve 25,000 bonus experience in a skill of choice.
Music unlocked
- Contemplation - In Robert's library
- Confrontation - When the dragon hunters appear
- Awoken (Only if you had not previously entered Queen Black Dragon's lair)
- Queen Black Dragon (Only if you had not previously entered Queen Black Dragon's lair)
Post-Quest FAQ
Transcript
Trivia
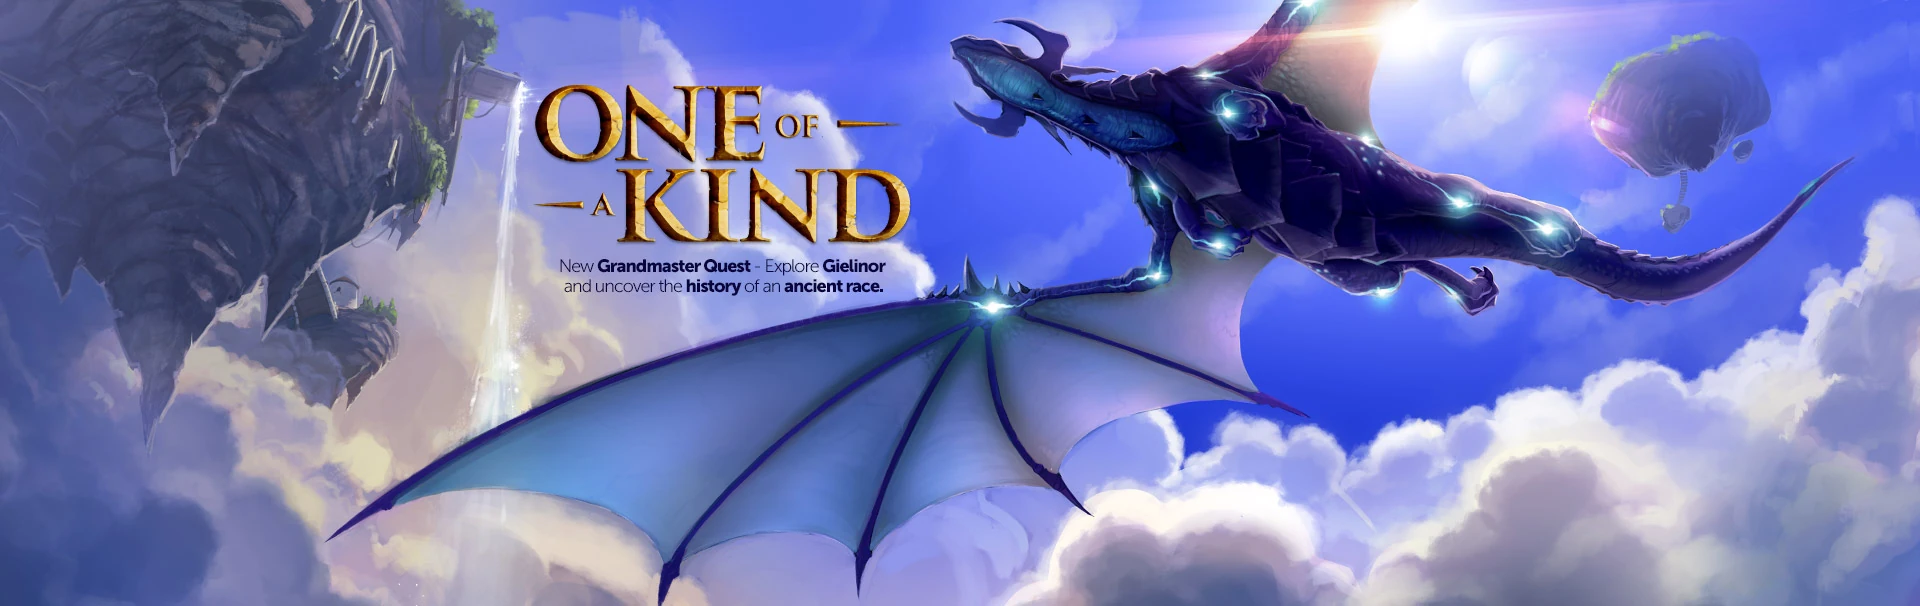

The Head banner used to advertise the new quest
- The Chaos Elemental Note 12 & Chaos Elemental Note 13 hinted at the quest's release in late 2013. These were the only hints about the quest before the February 2014 Behind the Scenes.
- Upon completion of the quest, the adventurer's log states "I have rescued Hannibus from his stone prison and helped determine his future and the future of the Ilujanka."
- When revealed during the February 2014 Behind the Scenes, One of a Kind was said to require 79 Magic, 74 Summoning and 67 Dungeoneering. Mod Raven later corrected this on the forums.
- The Celestial dragon was the creature chosen by players as the one they wanted in-game in a January 2014 Power to the Players poll, beating alchemical, gemstone and gold dragons.
- One of a Kind is the first quest to feature the Divination skill as a requirement.
- The quest was originally intended to be released in February 2014, but was postponed until March due to technical difficulties.[4] According to Mod Jack, quests that are not confined to one location but take you all over the world are "intrinsically more complex to develop and test", which he states as being the reason for the delay.[5]
- You were initially placed in the Wilderness after the cutscene where the King Black Dragon opens the way to Therragorn, but this was changed after complaints from players. Likewise, you originally had to walk back if you died, but now using the KBD artefact teleports you back.