
Ritual of the Mahjarrat is the quest in which the mysterious Mahjarrat Ritual of Rejuvenation will take place. It is also known that Sliske, a strange and mysterious Mahjarrat who is subject to much speculation, is involved in it[1]. The Chaos Elemental has also previously hinted that multiple Mahjarrat will die in the quest.
Official description
| “ | Every 500 years, the planets align and harsh choices must be made by the Mahjarrat; a race of powerful, ambitious beings left on Gielinor after the cruel God Wars, thousands of years ago. Their continued existence relies on an extreme form of rebirth; a new beginning that requires one of their number to be sacrificed for the greater good. Things rarely involve simple choices, however, with loyalties split between Zaros and Zamorak and individuals wielding some of the most powerful weapons to ever exist on RuneScape. Whatever the outcome, it will shape the future...forever.
Explore the lost plane of Kethsi; form unexpected alliances; engage in huge battles; and witness the true power of RuneScape’s cruellest villain. |
” |
Walkthrough
| Start point | |||
|---|---|---|---|
| Member requirement | |||
| Official difficulty | |||
| Official length | Extremely long (3 - 5+ hours) | ||
| Requirements | Skill requirements are not boostable unless marked with a [B] for boostable.
| ||
| Items required | Items from the tool belt are not listed unless they do not work or are not automatically added. | ||
| Enemies to defeat |
|
Starting Out
- Items to bring: None.
- Recommended items: None.
Speak to Sir Tiffy Cashien in Falador Park. Select the "Ritual of the Mahjarrat" option and ask if there are any new missions or anything you can help with. Sir Tiffy will comment that you have good timing and tell you that he has an operative on Mos Le'Harmless, who is gathering information on attacks on human settlements, who has been asking for assistance. He tells you to go to The Other Inn and ask for Sir Tendeth, who is undercover and dressed like a pirate. Finish talking to Sir Tiffy, and when you say you'll "get right on it", you'll be given an offer to be teleported to Mos Le'Harmless. (If you don't accept the offer to be teleported when it's made, you cannot request it from Sir Tiffy later.)
Go to Mos Le'Harmless and find Sir Tendeth. He will be in the larger of the two pubs, dressed like a pirate. You'll ask if the pirates are planning to attack cities, and Tendeth will assure you that pirates are only a threat to other ships. He will tell you that what he has been investigating is a threat to everything, up to and including fortified cities. You will be warned that Mos Le'Harmless jungle is about to become harder to get around and will remain that way until the conclusion of the quest. If you say you wish to continue, a screech will sound and you will experience a feeling of dread.
The screen will start shaking and a cutscene will show flashes of fire outside the inn. When it clears, some of the pirates outside will be lying injured on the ground. Speak to Sir Tendeth again and he will tell you to look outside to see if anyone saw anything, while he calms his nerves.
Reports from the pirates as to what happened will vary. The injured pirate to the south will tell you that something threw a fireball at him, but he didn't see what did it. The injured pirate to the north will have no information. Other pirates will say they saw things like giant fire-breathing albatrosses, bony dragons that stood like men and could speak, enormous vultures and giant bats.
Into the Jungle
- Items needed: None.
- Recommended items: Life point protecting items such as: Food, Prayer potions, Super Defence potions, high levelled Combat armour and Falador teleport.
After speaking with various pirates, the information you acquire will suggest that the attackers flew into the jungle. You'll need to take weapons and armour with you into the jungle, as it is a multi-combat area populated by aggressive Jungle horrors. Sir Tendeth suggests you take a look out of the gate to see what is happening out there. Sir Tendeth will join you as you leave, but a fireball will hit and kill him before you can go anywhere. You'll get into cover, and decide to run from cover to cover as you head east, to where the fireball came from. If you remain in the open for too long, you will be hit by a fireball, and returned to inside the town gates by pirates with some heavy damage taken. The Fireballs are dragonfire, a Dragonfire-shield will lower the damage to around 150LP (Turn off auto-retaliate, as it can pull you out of cover, potentially causing death.)
Make your way to the east side of the island. Do not stay in the open too long, and always stop your run on the west side of trees. Some trees have plants next to them that block movement. Be careful to avoid trying to move to the west side of a tree if such a plant is there as you will stop in the open and likely be hit by a fireball. Follow the black marks and burnt vegetation on the ground as a guide.
If you attempt to use "Rum" to reach Trouble Brewing, you will be prevented from doing so, and will recieve the message: "An unknown power seems to prevent you from drinking this item, as tasty as it seems."
Once you reach the far edge of Trouble Brewing, in the eastern trees just north-east of the building, you will activate a cut scene. Sithaph, Strisath and Sakirth will be discussing how destruction eases "the rage" and say that it is still building though, and that someone must be using "it". They decide to attack a larger settlement and that they must continue their search for the "False User". They fly off, and you say you must report back to Sir Tiffy.
Temple Knight Archives
- Items needed: Catspeak amulet (e).
- Recommended items: None.
Return to Falador Park and speak to Sir Tiffy. Tell him what you saw. He will take you to the Temple Knight archives. You will meet Lady Table there, and Sir Tiffy will explain the situation. Lady Table will produce a dossier on the Dragonkin. She says it's mostly compiled of 'sightings' reports, similar to those on the 'Reprehensible Snowgre'. A note from Robert the Strong will be found in the dossier, saying that the "stonetoucher" must take the collar from his reincarnation and use it to get to Kethsi and as a puzzle key once they get there.

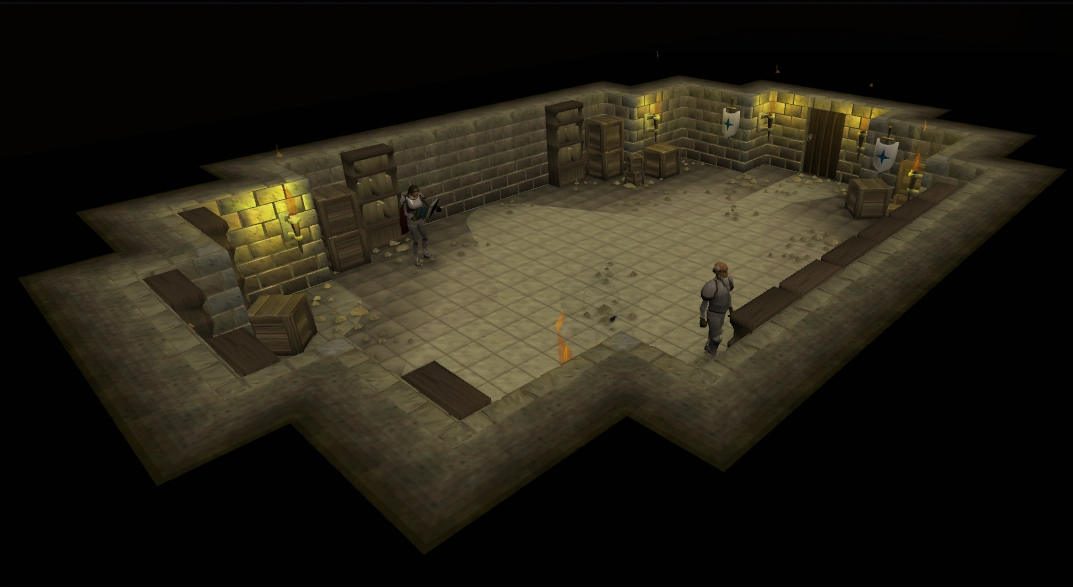
Inside the Temple Knight Archives.
Tell Lady Table and Sir Tiffy that Robert reincarnated as a cat named Bob, and that you've researched this for an earlier adventure. Also tell them that you think you're the stonetoucher, because of what happened during your previous mission for them. Lady Table tells you to go find Bob and get his collar. Exit the archive via the door to the east; Sir Tiffy will teleport you back to Falador. Next, use the tracking systems on your catspeak amulet (e) to locate Bob and acquire his collar. To use the amulet, right-click on it and select Open, then click on the whiskers to move the arrow around until the amulet's eyes light up, then head in that direction. Once you find Bob and Neite, ask Bob for his collar, telling him that it is to find out more about attacks and his history.
Kethsi
- Items needed: Bob's collar
- Recommended items: None.
You must now use the fairy ring travel system to get to the destroyed realm of Kethsi. The code you must dial (found on the reverse side of Bob's collar) is D-I-R followed by A-K-S.
Tetrahedron 4
Once you arrive at Kethsi, head north and begin by searching the rubble in the centre of the island which should then give you the item, Tetrahedron 4. Next, go up the ramp nearby onto the second floor of the destroyed building. Now, use Bob's collar on the wall design.
Fitting the Collar
You will need to position Bob's collar correctly into the pattern of the wall design order to open a concealed compartment.
This is done by positioning the collar vertically, with the "Bob" side face up, inbetween the centre-right and far right piece.
(INSERT PICTURE HERE)
Once the collar is in this position, you must rotate it until it slots into place.
You will then recieve five items. Two notes (Note to Robert the Strong and Note to You), Tetrahedron 1, A statue arm and Robert's necklace.
Tetrahedron 2
Use the statue arm you acquired from the hidden compartment on the statue, found across the Agility shortcut on the same floor as the wall design. A plank will then appear. Cross this plank and then go down the ladder infront of you. Head east and up the wall jump shortcut, which you can run up. Once up, climb the wall to the west, followed by taking the swing-pole to the north. Walk-across the beam infront of you, jump over the south gap and go down the southern ladder twice. Now, squeeze through the pipe to the east of you. Grab the nearby pickaxe and then mine the rocks. Climb-up the wall closeby and run across the walls to the west. Climb across the handholds then go down the ladder. Go east, search the rubble to find Tetrahedon 2.
Tetrahedron 3
After getting Tetrahedron 2, go back up the ladder twice and then jump to the floor to the south. Slide-down the roof to the south and then go south to walk across the plank. Now search the nearby rubble to find the final piece of the Tetrahedron puzzle, Tetrahedron 3.
Summary
| Tetrahedron | Location |
|---|---|
| 1 | Acquired from the puzzle when using Bob's collar on the wall design. |
| 2 | Found in the far North-West corner of Kethsi across the handholds, down the ladder then east. |
| 3 | On a small island far West, south of the stairwell and across the plank. |
| 4 | Located in a pile of rubble in the centre of the first island of Kethsi. |
After you've found all 4 tetrahedrons, go down the stairs on the far west side of the map. Once down, use all your tetrahedrons on the "identations" to receive a code of 4 letters. Check your questjournal for your code. Now, you will have to roam the island to find your location, which is random for every player. Use the "Strange Device" to check your current coordinates. For me, the first 2 letters (GA) we're the vertical coordinates, and the second 2(also GA) where the horizontal. But i cant confirm that, because i have 2x GA.
I had GAGA as well, location for GAGA is just nw of the spot where you mined the rubble on the other side of the wall.
Once you have found your spot, dig there with a spade, and you'll find a Kethsian key. Go back to the stairs and open the door on the west. Search the south and southeast bookcase for a scroll. Read the scroll to learn a new spell. Also, read the journal
Preparing the ritual site
there are several ways to travel to the fortress. Use the ardy/edge lever (or walk) to high level wilderness, Teleport to Ice Plateau (Lunar Spellbook), Ghorrock Teleport (Ancient Spellbook), or take a canoe from the fremmenik hunter area (fairyring code DKS). Bring antifires!
Ritual
When you touch the Stone Of Jas, you will watch a short cutscene where Saradomin talks about the Stone. Afterwards, an alarm will be sounded and you will teleport to the Saradomin troops. General Khazard will appear with an army and reveal Ali the Wise was a Mahjarrat. You will then have to fight Khazard and his army. Khazard uses a long range magic attack and also summons his pet dog. After defeating Khazard, he will teleport away. It is possible to hide and wait for Sir Tiffy to kill Khazard although this takes a long time.
A safe spot to heal during the battle.
After this, you walk to the ritual site and Lucien appears. He summons four ice titans. He also casts an area affect spell towards you. You must kill two titans to continue. The titans can freeze you in your place and use melee. Due to the area spell, it is best not to engage the titans in melee and instead use the cliffs to range them from, dodging Luciens attacks.
After you kill the titans, Lucien summons an army of twenty or so Ice Demons. Silske appears and brings with him the Barrow Brothers to assist.
Rewards
- 3 Quest Points
- 110,000 Agility XP
- 60,000 Constitution XP
- 40,000 Crafting XP
- 40,000 Mining XP
- Three 80,000 XP lamps
- Access to fight a new barrows brother (Akrisae) and gain new barrows equipment
- Access to mine bane ore
- Be able to make bane arrows and bolts
- The Lunar Spell Tune Bane Ore
- The ability to gain combat bonuses in certain areas
- Access to fight Glacors
- The ability to craft Armadyl runes
- The ability to create an Armadyl battlestaff to enhance the power of the Storm of Armadyl spell
- Gain a bonus 3000 Prayer XP
Gallery
")
")
")
")
")
")
")
")
Trivia
- On the first day of the quest's release, the reward portion on the quest help said "A fireball set the rewards alight. Come back tomorrow when we've put out the fire."
- It was originally believed that 78 Woodcutting, 83 Fletching and 65 Dungeoneering would be requirements for this quest but it was confirmed that this was false. Paul Gower stated that they were probably for a different quest[2].
- There was a leak on Facebook on 8 June 2011 that this quest would be released July that year, which was removed quickly after it appeared. After this, Mod Mark confirmed this was not true, and should not have been added to Facebook at all.
- As with many knights, Sir Tendeth's name is a play on words. It sounds like "certain death" if said correctly. Poor guy, he never stood a chance really.
References
- ^ Mod Timbo. "Live Q&A RS Content- Answers." 11 February 2010. News & Announcements Forums.
- ^ Paul. "Development of the Mahjarrat." 24 June 2011. Developer Blogs Forums.
| Mysteries of the Mahjarrat |
| ||||
| Rise of Lucien |
| ||||
| Return of Zaros |
| ||||
| Arrav |
| ||||
| Sliske |
| ||||
| Related quests |
| ||||
| Related miniquests |
| ||||
| Lores and Histories |
| ||||
| Quest recollector |
| ||||