| |||||||||||||||||||||||||
| Release date | 25 April 2016 (Update) | ||||||||||||||||||||||||
|---|---|---|---|---|---|---|---|---|---|---|---|---|---|---|---|---|---|---|---|---|---|---|---|---|---|
| Members | Yes | ||||||||||||||||||||||||
| Voice Over | Partially | ||||||||||||||||||||||||
| Official difficulty | Grandmaster | ||||||||||||||||||||||||
| Quest series | Myreque | ||||||||||||||||||||||||
| Age | Fifth Age | ||||||||||||||||||||||||
| |||||||||||||||||||||||||
River of Blood is the seventh and final quest in the Myreque quest series. It was first announced at RuneFest 2015 and released on 25 April 2016.
Players are able to start the quest by speaking to King Roald and Aeonisig Raispher in Varrock Palace. The quest features Vanescula and the vampyres having discovered a way to cross the River Salve, and the player trying to find a way to stop a war occuring between Misthalin and the Vampyres. The focal point of the quest is Paterdomus, which was graphically updated ahead of the quest's release.
The release of River of Blood was preceded by the release of other vampyre content including The Lost Toys and In Memory of the Myreque. As with In Memory of the Myreque, River of Blood is subject to an Early Bird Bonus where players who complete the quest in April will receive increased experience rewards from it.[1]
Walkthrough
| Start point | |||
|---|---|---|---|
| Member requirement | |||
| Official difficulty | |||
| Official length | Long (2-3 hours) | ||
| Requirements | Skill requirements are not boostable unless marked with a [B] for boostable.
None of the following skills can be boosted.
Recommended:
| ||
| Items required | Items from the tool belt are not listed unless they do not work or are not automatically added.
Recommended:
| ||
| Enemies to defeat |
|
War

The vyrewatch scouts.

Speak with King Roald in Varrock Palace about the situation in Morytania. He will dispatch you, Aeonisig and the Varrock guard to Paterdomus. Head to Paterdomus and talk to Drezel.
After speaking with Drezel, Aeonisig and the guard will have arrived. Go and speak with Aeonisig who warns of the approaching Vyrewatch. Help the Varrock guard defeat the vampyres.
Preparations for Aeonisig
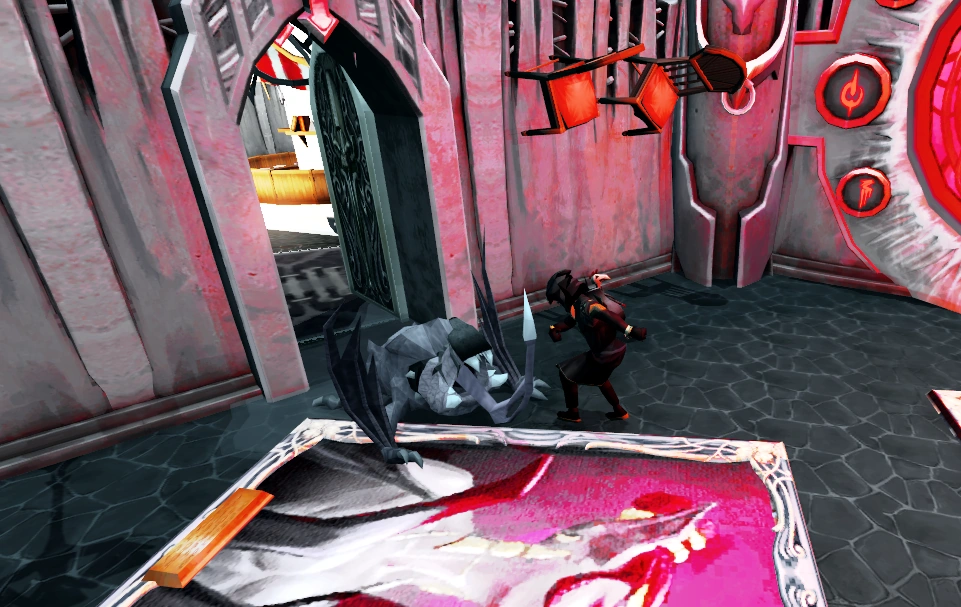
Clearing Paterdomus

Fighting the two conspirators.
Inside the church there will be 5 Monks of Zamorak (level 23) and another 5 on the first floor. After killing all 10 a dialogue option will appear suggesting you go to the top floor. After climbing the stairs to the top floor a cutscene will start where the player will interrupt and catch a Zamorakian leader and a Zamorakian bodyguard, both level 98. The bodyguard uses ranged and the leader uses magic and can use abilities for their respective styles. Once killed, they will drop a book, The Covenant of Perpetual Conflict. A dialogue option will appear saying that you should let Aeonisig know.
Arming the Varrock guard
Talking to Captain Rovin with the steel armour and blisterwood sickles will prompt a dialogue box asking if the player wants to use all of the items. Selecting yes arms all of the guards and prompts the player to speak to Aeonisig.
Strengthening the Salve

After talking to Ivan the player will be involved in a short dialogue with Drezel dismissing a plan because it was assumed to be Zamorakian propaganda. After the dialogue the player will be directed to search through the library to find a book on reversing vampyrism. Climb down the nearby trapdoor to get to the library.

The bookshelf solution
The bookcases must be interacted with in order for a total of 7 steps. If a bookcase is pulled out of order the sequence must be restarted. The order of cities (in the titles of the books) is: Lumbridge, Varrock, Edgeville, Falador, Rimmington, Taverley and Draynor. Once the Blood of the Covenant has been obtained, the player has to return to Ivan.
Now the player is directed to find the tomb of Ivandis Seergaze to see if he left behind any clues or notes. It is important not to forget the Guthix balance potion here. The tomb is found in the secret Myreque hideout tunnels underneath Canifis (accessed via the trapdoor behind the Hair of the Dog, then the first cave to the east). Once in the tomb, the Guthix balance potion should be used on the tomb to unlock it. Upon searching it the player receives a scroll case, a Silvthril bar, Ivandis's serum, and some notes. The scroll case should be opened and the notes should be used on the Blood of the Covenant to complete the diary. Then read the scroll of balance to reveal the recipe for the super Guthix balance potion.
Pouring the Super Guthix balance into the salve.
Return to Ivan and he will instruct you to make the potion revealed in the recipe received from the scroll case. The silvthril bar should be ground down using the grinder at the Ectofuntus and then blessed by using it on the nature altar in the nature grotto. Blisterwood logs should be cut from the tree and burned, it is not necessary to wait until the fire dies out, blisterwood ashes should appear as soon as the fire is lit. Once all the ingredients have been gathered use any one on the other to make a super guthix balance potion.
Return to Ivan. After a short dialogue, use the potion on the well. You will then be prompted to speak to Aeonisig.
Clash of Armies

The Vampyre Juvinates become feral vampyres.

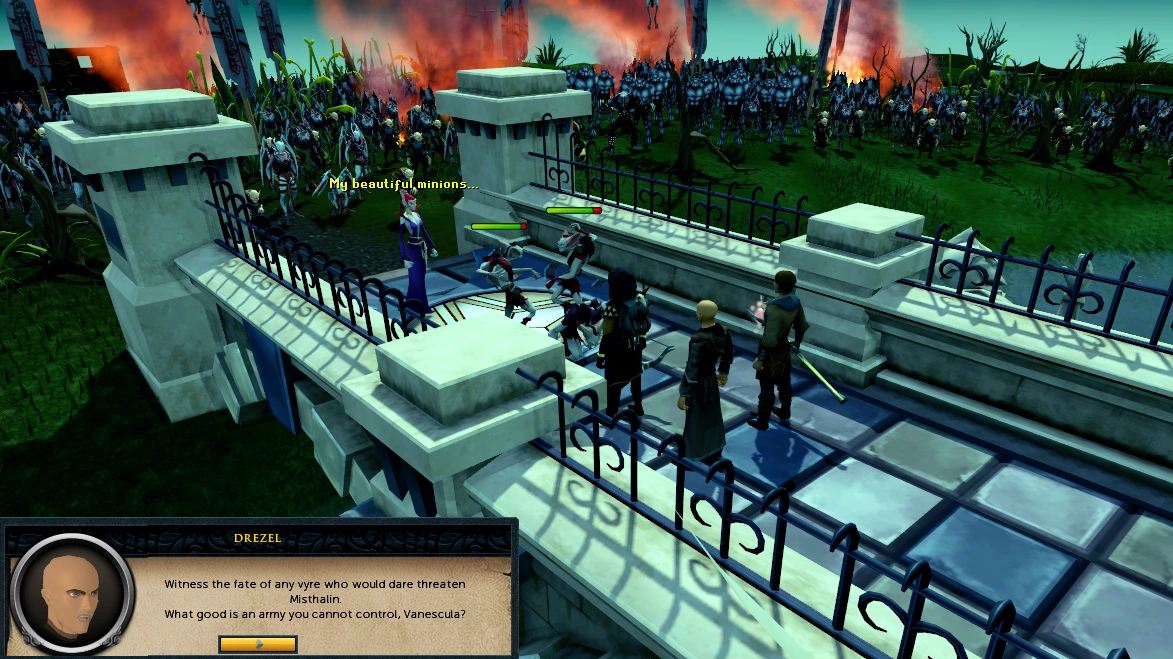
After returning to Aeonisig with all three stages complete, you will be notified that Vanescula Drakan has arrived. Head there through either the mausoleum or agility shortcut, and try to convince her to call off the attack since the Salve was strengthened. However she does not believe it is enough and proceeds to send four Vampyre Juvinates to attack. The Juvinates will turn into Feral vampyres once they step over the salve, one of which runs away leaving you to fight the other three. The feral Vampyres are fairly weak, possessing the same stats as those in the God Wars Dungeon, and can be defeated without the use of Blisterwood weapons.

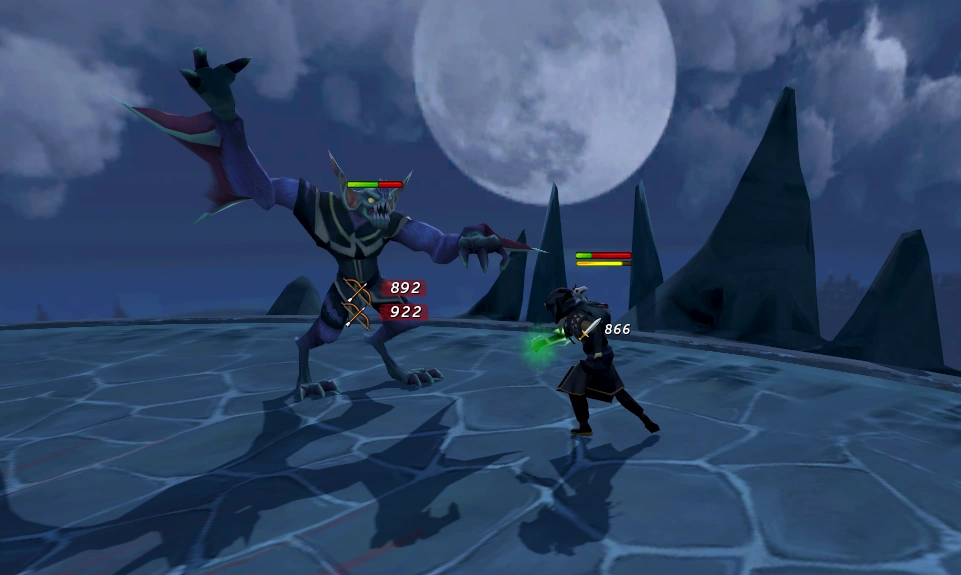
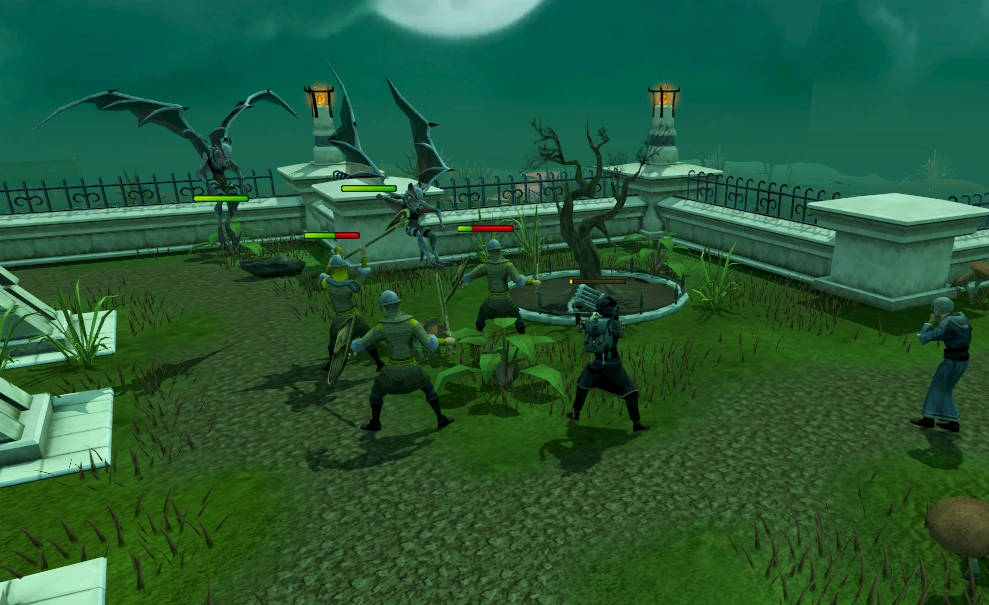
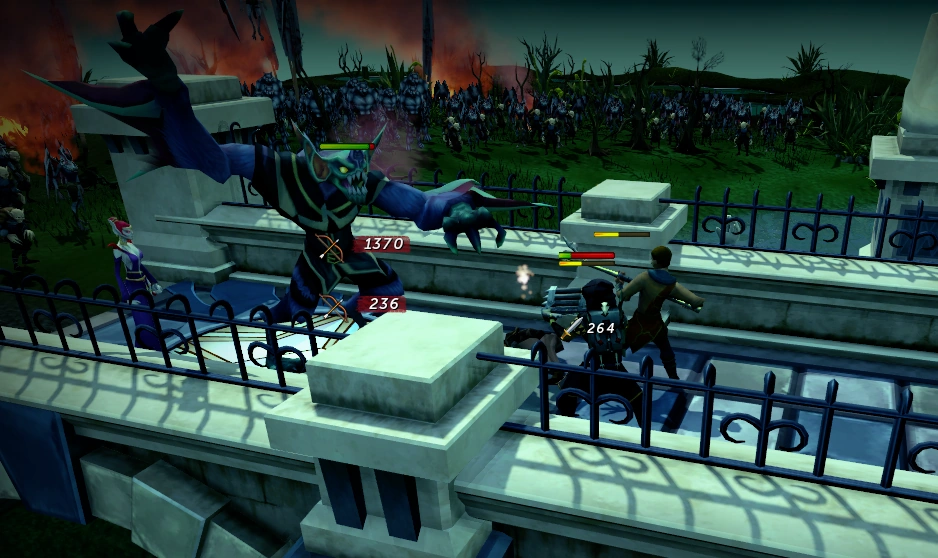
The Wyrd attacks.
Once all the Feral vampyres are defeated, speak to Vanescula, and you will soon be interrupted by a giant Vyre known as a Wyrd, wearing some familiar attire. Vanescula will demand it return to Castle Drakan, but she is seemingly unable to control it. It proceeds to attack Drezel, and will then attack you and Ivan. It has 50,000 lifepoints, and has two special attacks, which are announced via a popup notification, a "sonic attack", which can be avoided by running away from it, and a blood attack, which can be avoided by running from the pool of blood that spawns. As with most vampyres, it is only vulnerable to the Ivandis Flail and Blisterwood. Because it mainly attacks with melee, it is recommended to use magic, though melee works well too. If you die your tombstone will be on the Paterdomus bridge.
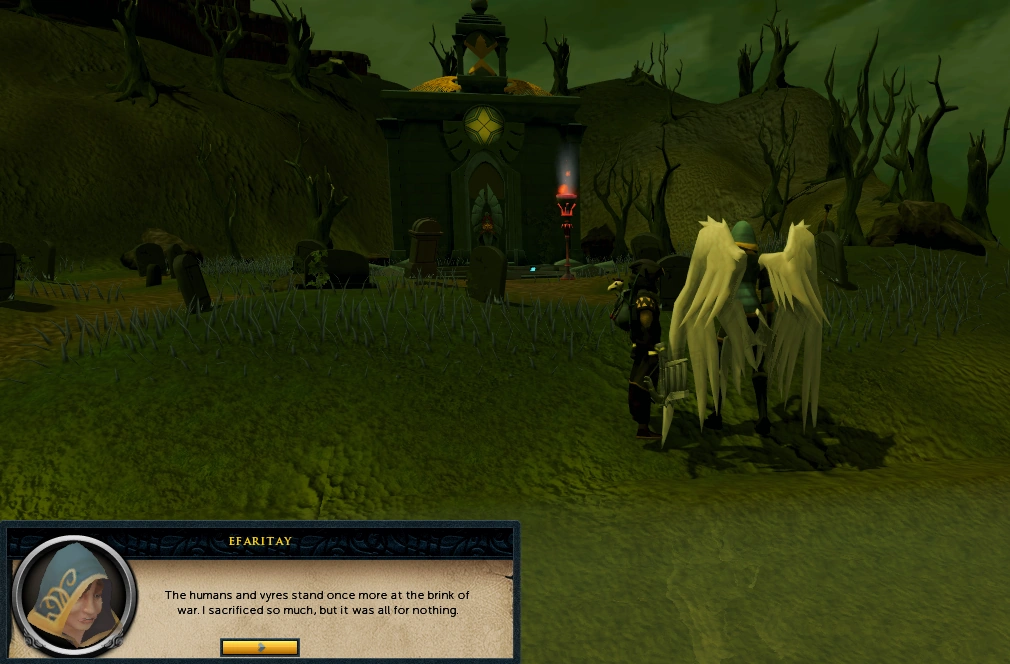
Once you have defeated it, Efaritay will appear and scare it off, with Vanescula and her army following soon after. Efaritay will explain that the creature was a Wyrd, and that Drezel will soon die from its poison. He dies soon after, and entrusts Ivan with protecting the temple in his stead. Efaritay then heads off to the Icyene graveyard, and tells you to meet her there if you wish.
")
")
Combating Haemalchemy

Speaking to Efaritay at the icyenic graveyard
After Efaritay leaves, she can be found at the icyene graveyard which is accessed from the boat south of Burgh de Rott. After a short conversation in which you explain that her son Safalaan has died, she asks you to retrieve her pendant from the crypt, since it has somehow returned. Speak to her again, and you will come to the conclusion that Safalaan did not die, and is in actuality the Wyrd that you fought earlier, since he shouldn't have died from Vanescula biting him.
She will then ask you for help in reforging the Sunspear which can be done by using a blisterwood shaft (made from a blisterwood log), the Wolfbane dagger, and the tip of the Sunspear on each other. Wolfbane may be obtained by right-clicking Ivan Strom and selecting "Reclaim". Once reforged, the Sunspear becomes a level 78 two-handed weapon, which can be switched between a melee spear, a ranged javelin, and a magic staff. Once the Sunspear is reforged the Efaritay suggests that the player hunts down the wyrd to try and gather its blood to create the cure for vampyrism.
You're directed to go to the Meiyerditch Laboratories; this can be done quickly using Drakan's medallion. Once there, you should talk to Sarius Guile and try to find her father's research. The hidden journal is found on an interactable research table in the north end of the cave with Mutated bloodvelds. Once it is found, read, and returned to Sarius, she instructs you that refined daeyalt is needed. You should head to the Daeyalt mine in the northernmost part of Meiyerditch. After a short dialogue, you persuade the guard to let you in.
Inside the mine the Juvinate guard says that they will take you to the refinery if you can fill a cart with daeyalt. Gather 15 Daeyalt ore (stackable) which can be gathered from 5 different crops (each crop is 3 daeyalt) and use the stack on the mine cart.
Alternatively, while wearing the House Drakan outfit, you can talk to the Juvinate guard, and he will inform you that a slave is about to fill a cart and you can push that in once it is full. Once the cart is full the guard will take you to the refinery where there will be 3 juvenite guards. Once killed the player should free the 5 Burgh de Rott prisoners who will proceed into the next room.
- Note: You must kill the juvenite guards with the Sunspear before you can proceed to the next step.
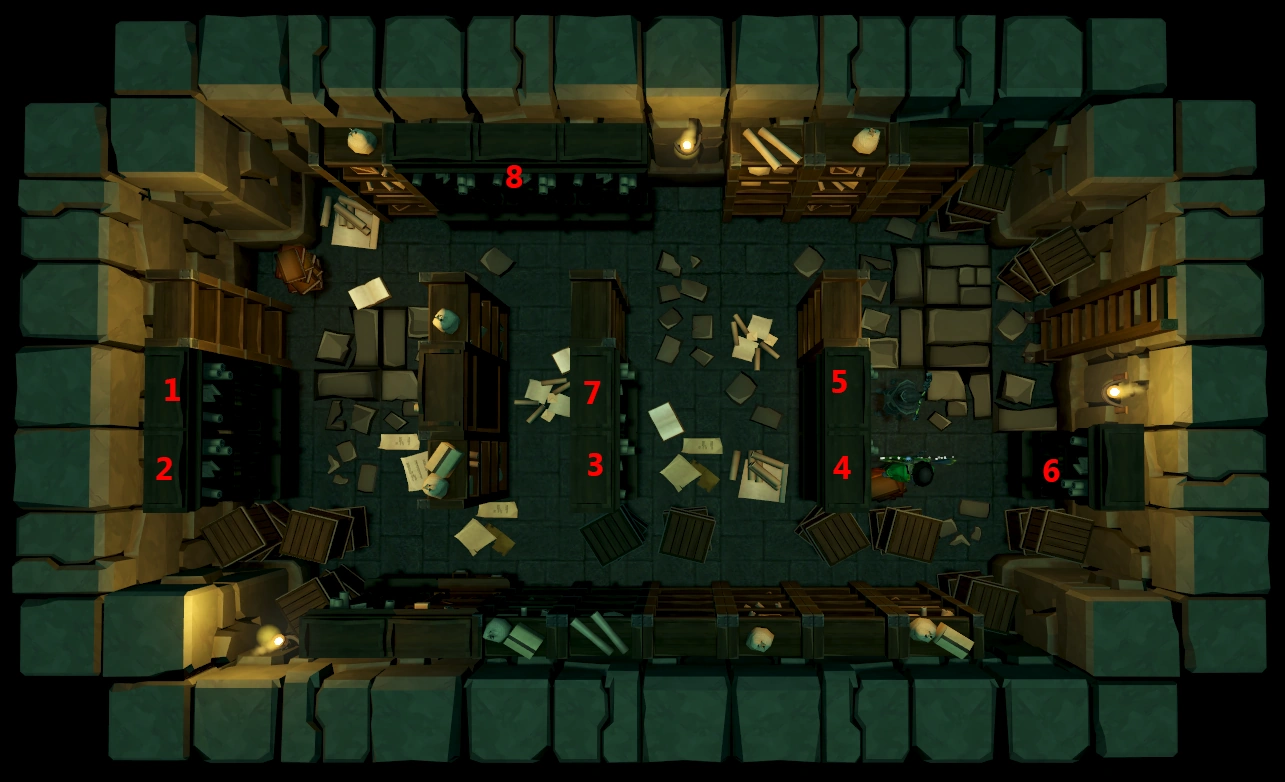
Refinery Puzzle
Inspect each blood lock and they will tell you which emotion the tithe should display.
- Cheer up. Don't give up hope. - Florin, Drakan blood lock.
- You should be ashamed. Have you no remorse? - Razvan, Myrmel blood lock
- I don't approve of this, and neither should you. - Ileana, Pyrah blood lock.
- Isn't this technology awesome? - Sorin, Vitur blood lock.
- Let the anger flow through you. - Emilia, Ghrazi blood lock.
Once you've talked to all of them, go to the remaining Shadum blood lock and choose the "I accept my fate and put my hand in the machine" option. This will turn off the refinery so you can collect the Refined daeyalt.
Curing Vampyrism
Hellhounds

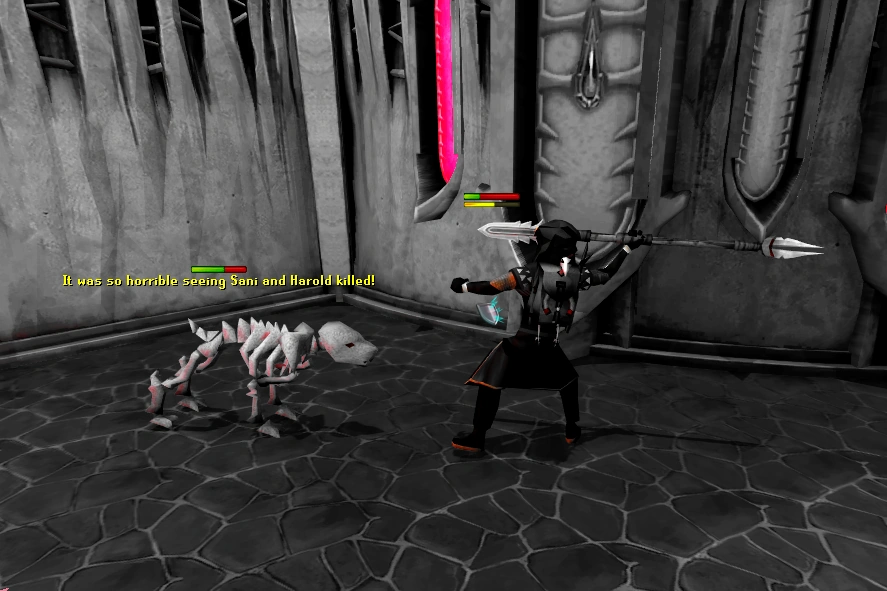
The hallucinatory skeletal hellhounds
Once the refined daeyalt has been gathered, inspect the rejuvenation tank and Safalaan will jump out and poisons you after refusing to help you. You will then begin hallucinating, and can proceed to climb up the stairs in pursuit of Safalaan. Proceed through the room, and you will encounter hallucinations of seven Skeleton Hellhounds, like the ones Vanstrom Klause summoned during In Search of the Myreque. Defeat them in order to proceed.
Harold

Killing Harold with the bottle of holy water.
Once the 7 Skeletal Hellhounds are defeated, the barrier over the exit fades and you can progress onward. Head through the warped rooms and their bizarre decorations, go to the library and pick up Vertida's bottle of holy water. Continue through the halls past the shattering windows, and you will encounter Harold, Vanstrom's pet Bloodveld from The Branches of Darkmeyer. Dispatch him by throwing the holy water at him and continue onwards, past what appears to be the Grand Exchange.
The Stone of Jas
Climb to the next floor and you will find a blisterwood tree and the Stone of Jas. You may interact with the Stone of Jas to hear memories of Vanescula and Lowerniel talking about it, but nothing interesting happens when you touch it. Interact with the barrel of gunpowder to see hallucinations of Kael Forshaw and Andiess Juip telling you that you'll need something flammable first.
Cut one blisterwood log from the tree, and use it to light the fire pit in front of the Stone of Jas. Then push the keg of gunpowder over it to blow up the stone, causing Debris to land everywhere. Walk past it and head into the room with the blood puzzle. Simply click the outer ring once to solve it, and then head up to the roof.
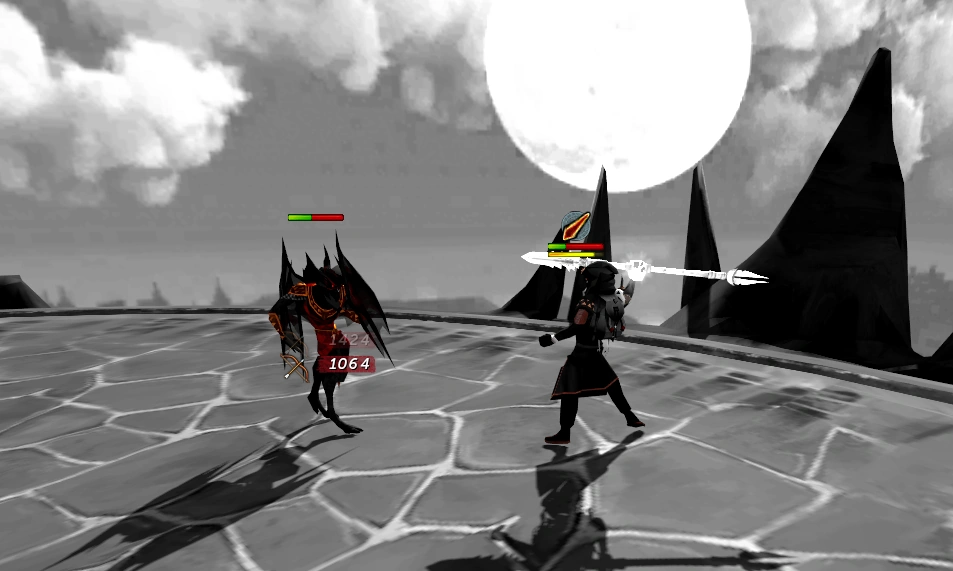
Wyrd's Woe
Note: This battle is safe; if you die, you will retain your items.

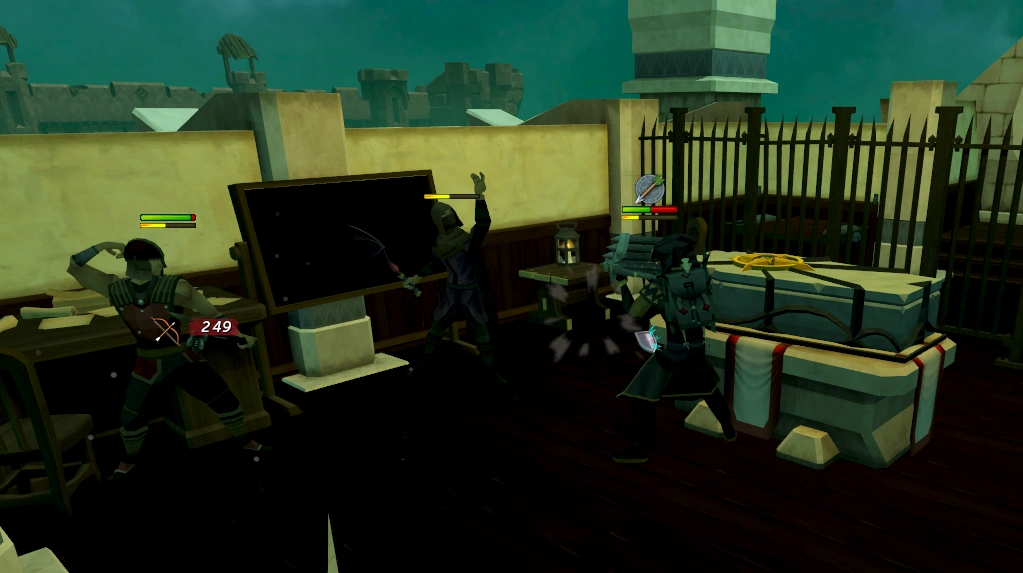
The battle with Safalaan atop Castle Drakan.
Speak to Safalaan, and Efaritay will appear to try and help restore his sanity. He will exclaim his hatred and desire to kill both of you. Safalaan will then begin to attack her, and reduce her lifepoints rather quickly. Take advantage of the time where he's not focused on you to get in some easy damage.
Once Safalaan has reduced Efaritay's lifepoints, he will begin attacking you. As with before, you may only damage him with the Ivandis Flail and Blisterwood equipment. It is recommended to use the Sunspear, as it is extremely powerful against Vampyres, and hits of up to 10000 are possible using ultimate abilities. Safalaan will primarily attack with melee, and is fairly simple to defeat.

The hallucination of Vanstrom.
Once his lifepoints are reduced, you will begin hallucinating that he is Vanstrom Klause. Vanstrom uses magical attacks, and will often teleport you and himself somewhere else in the arena, creating a blood pool that you must run away from unless you wish to recieve a large hit of magic damage.
Once Vanstrom has been defeated he will "transform" into Safalaan again, who will resume attacking you with melee, but will this time also have access to his special attacks from before. These include his blood vortex and his sonic attack, both of which can be avoided by running away. He also gains the ability of telekinetic grabbing you into melee range again if you wander too far away.
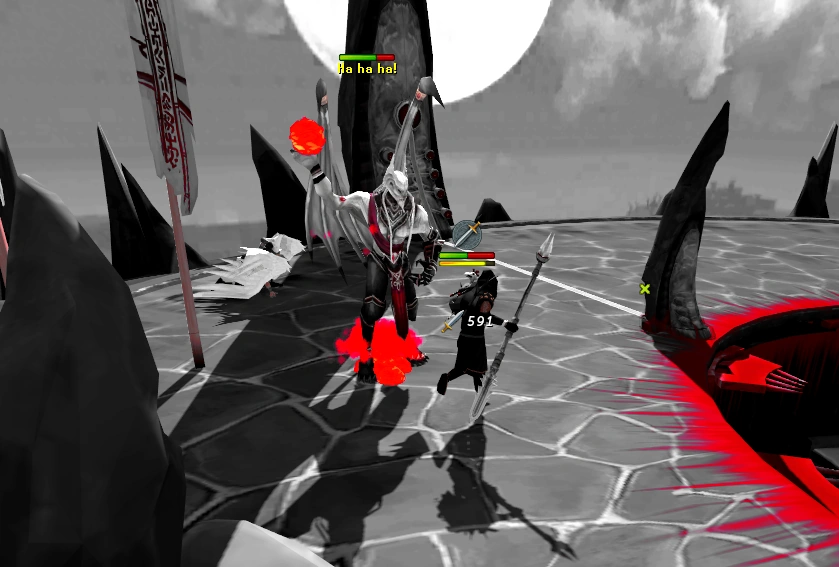

The hallucination of Lowerniel Drakan.
Once his lifepoints are reduced again, you will begin hallucinating that he is Lowerniel Drakan. In this form, he will use powerful melee attacks and a special "blood mine" attack, which he signals by shouting "HA HA HA!". If the blood mines are not avoided by running away, they can deal 2100 lifepoints of damage each.
Once Drakan is defeated, he will turn into Safalaan again, and the final fight begins. He fights the same as he did last time, and shouldn't be too difficult to defeat. Once he is beaten for the final time, a dialogue will start with you and Efaritay convincing Safalaan to give you some of his Wyrd blood. Once mixed with the refined daeyalt, it creates the Extreme Guthix balance. Give a sip of it to Safalaan, and some of his sanity will be restored.

Blessing the Salve with the Extreme Guthix balance potion.
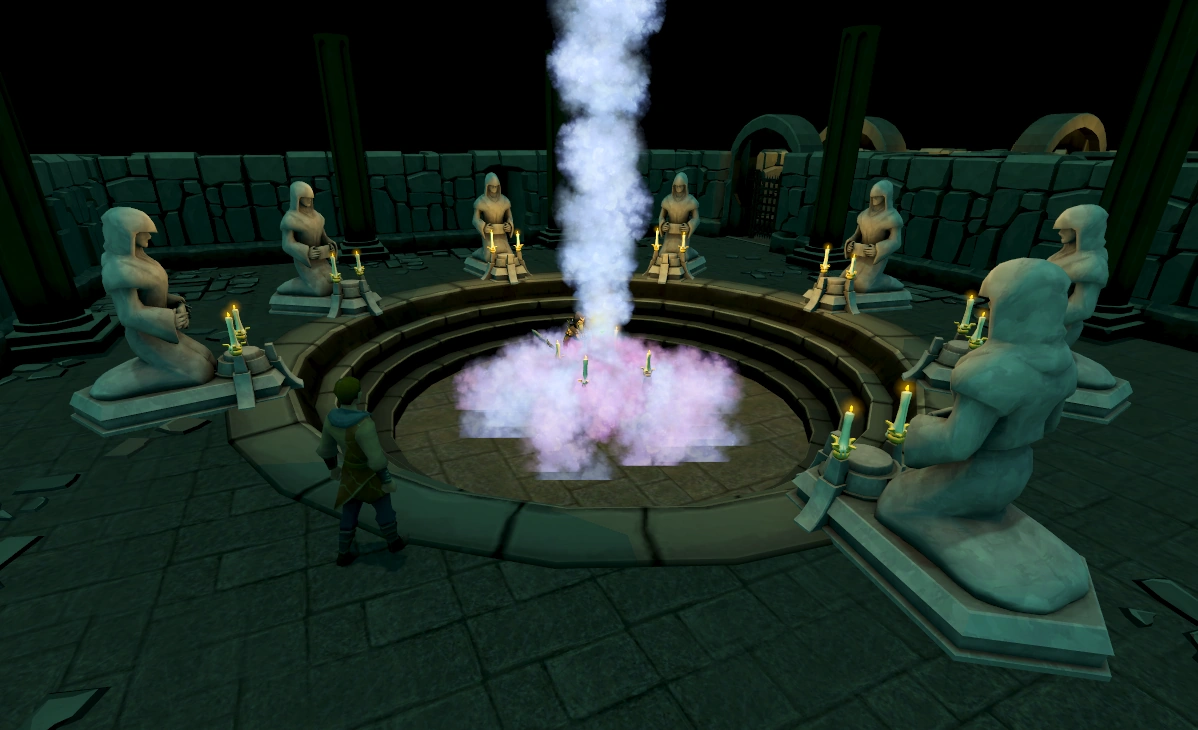
Take the potion back to Ivan in Paterdomus Mausoleum, and he will suggest it be used on the well to bless the salve further. After a short ritual and the well will explode with magic lights and the salve will be strengthened once more.
Vanescula's Defeat for Truce
After strengthening the Salve for the second time, the player will meet Vanescula and her army and will once again tell her that her army cannot pass. Vanescula will say that the juvenites were weak but her vyrewatch will manage to survive the Salves effects. The 4 Vyrewatch she sends at the player will be turned to humans much to Vanescula's chagrin. Safalaan arrives in wyrd form and is ordered by Vanescula to attack but is instead reverted to his normal appearance. After a short dialogue the player, Aeonisig, Efaritay and Vanescula agree to a truce. Speak to Vanescula once everyone leaves to tell you a story of what this defeat reminds her of, before her nobility. After her tale, she leaves you to inform King Roald of the outcome.
Return to King Roald in Varrock Palace to complete the quest.
")
")
")
Rewards
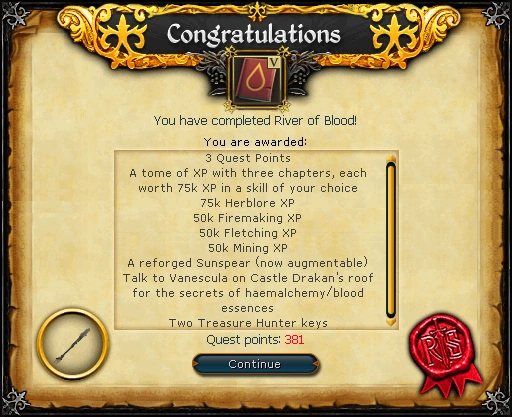
- 3 quest points
- 75,000
 experience
 - 50,000 experience
- 50,000 experience
- 50,000 experience
- Tome of XP 5th ed, which contains four chapters worth 75,000 experience each (300,000 experience total)
- A reforged Sunspear
- Ability to make blood essences by talking to Vanescula Drakan on the roof of Castle Drakan.
- One blood essence of your choice by talking to Vanescula Drakan after learning the ability to craft blood essences.
- 2 Treasure Hunter keys
Early Bird Bonus
Completing the quest between 25 April and 8 May 2016 awarded an additional chapter in the XP tome worth 75,000 experience.
Transcript
Trivia
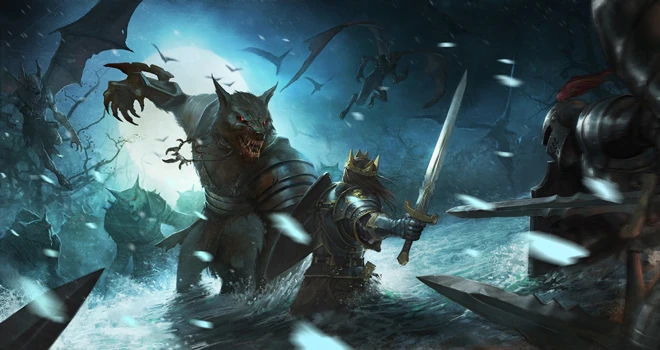

_update_image.jpg)
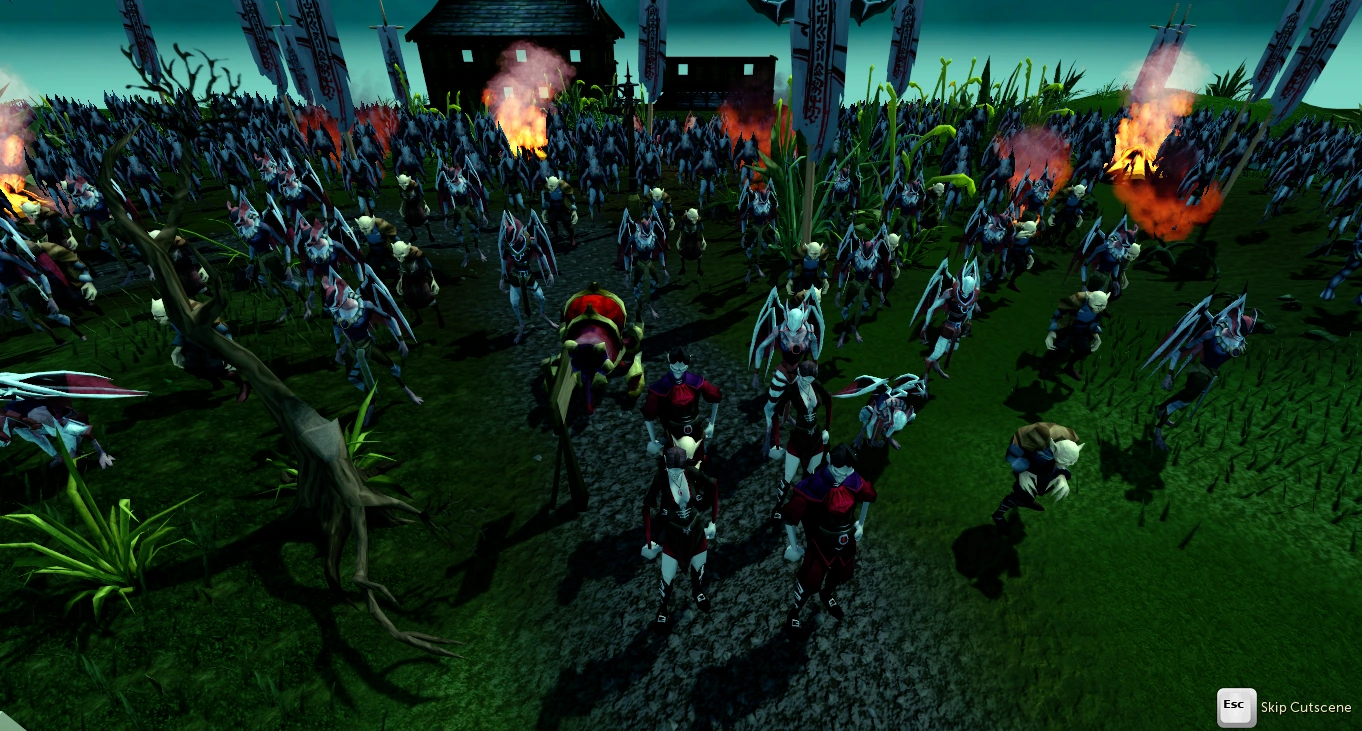
Concept art of the quest.
- Upon completion of the quest, the adventurer's log states "I concluded the terrifying tale of the Myreque in Morytania."
- Leaving Castle Drakan by attempting to use any form of teleportation gives you the chatbox message "Your body may have temporarily escaped Castle Drakan, but your mind remains trapped within..."
- Upon examining Drezel's body, the examine text is "A man with a hole in the middle." This may be a joke, calling a priest (or holy man) a "hole-y man."
- During the library hunt for the vampyre reversal, the Falador book is titled "Falador: Only a Model," a reference to Monty Python's Holy Grail.
- When speaking to Emilia at the blood lock, you tell her, "Let the anger flow through you," a reference to Darth Sidious from Star Wars. She responds with, "Don't make me angry. You won't like me when I'm angry," a reference to The Incredible Hulk.
- After completing the quest and the In Memory of the Myreque miniquest, players can speak to Veliaf Hurtz to inform in that Safalaan is alive. After speaking to him he will teleport to the top of Castle Drakan.
- During the fight with Wyrd, he frequently shouts "Get over here!" and teleports you to him. This is a reference to Scorpion from the Mortal Kombat series.
- The concept art featured King Roald and the two armies fighting, which did not feature in the quest.
References
| Main series | |
| Related quests |
|
| Quest recollectors |
|
| Lores and Histories |
|
| Related |
|