m (Tbh the rest of the page is an eyesore but yolo) |
m (Unlinking instances of {{TitleAnchor}} so the template can automatically link instead) |
||
| Line 30: | Line 30: | ||
*[[Aggression potion]] will really help in speeding up rounds. |
*[[Aggression potion]] will really help in speeding up rounds. |
||
| − | Other specific equipment will be needed depending on what mode is selected - see their relevant section [[ |
+ | Other specific equipment will be needed depending on what mode is selected - see their relevant section [[Rush of Blood#Monsters|below]]. |
Hybrid armour is recommended instead of multiple sets of armour, as changing gear for each wave will take precious time. |
Hybrid armour is recommended instead of multiple sets of armour, as changing gear for each wave will take precious time. |
||
| Line 148: | Line 148: | ||
| Gold, Platinum |
| Gold, Platinum |
||
| Yes |
| Yes |
||
| − | | Necessary for [[Ice strykewyrm]]s, can be replaced by any [[TokHaar-Kal]] cape or the [[Completionist cape]] unless the ability to fight them without a special cape is [[ |
+ | | Necessary for [[Ice strykewyrm]]s, can be replaced by any [[TokHaar-Kal]] cape or the [[Completionist cape]] unless the ability to fight them without a special cape is [[Slayer reward point#Learn|learned]] from a [[Slayer Master]]. |
|- |
|- |
||
| [[Blood spells]] |
| [[Blood spells]] |
||
| Line 316: | Line 316: | ||
! Difficulty level |
! Difficulty level |
||
|- |
|- |
||
| − | | |
+ | | {{TitleAnchor|c=#D8432B|t=The Abyssal|loc=p}} |
| Bronze |
| Bronze |
||
|- |
|- |
||
| − | | |
+ | | {{TitleAnchor|c=#D8432B|t=The Dark|loc=p}} |
| Silver |
| Silver |
||
|- |
|- |
||
| − | | |
+ | | {{TitleAnchor|c=#D8432B|t=The Beast|loc=p|link=The Beast (title)}} |
| Gold |
| Gold |
||
|- |
|- |
||
| − | | |
+ | | {{TitleAnchor|c=#D8432B|t=Slayer Master|loc=p|link=Slayer Master (title)}} |
| Platinum |
| Platinum |
||
|} |
|} |
||
Revision as of 23:31, 11 November 2017
| |
| Release date | 22 September 2014 (Update) |
|---|---|
| Area | Morvran's Dungeon |
| Members | Yes |
| Frequency | Weekly |
| Reset | Unknown edit |
| Skills | Slayer |
| Currency | N/A |
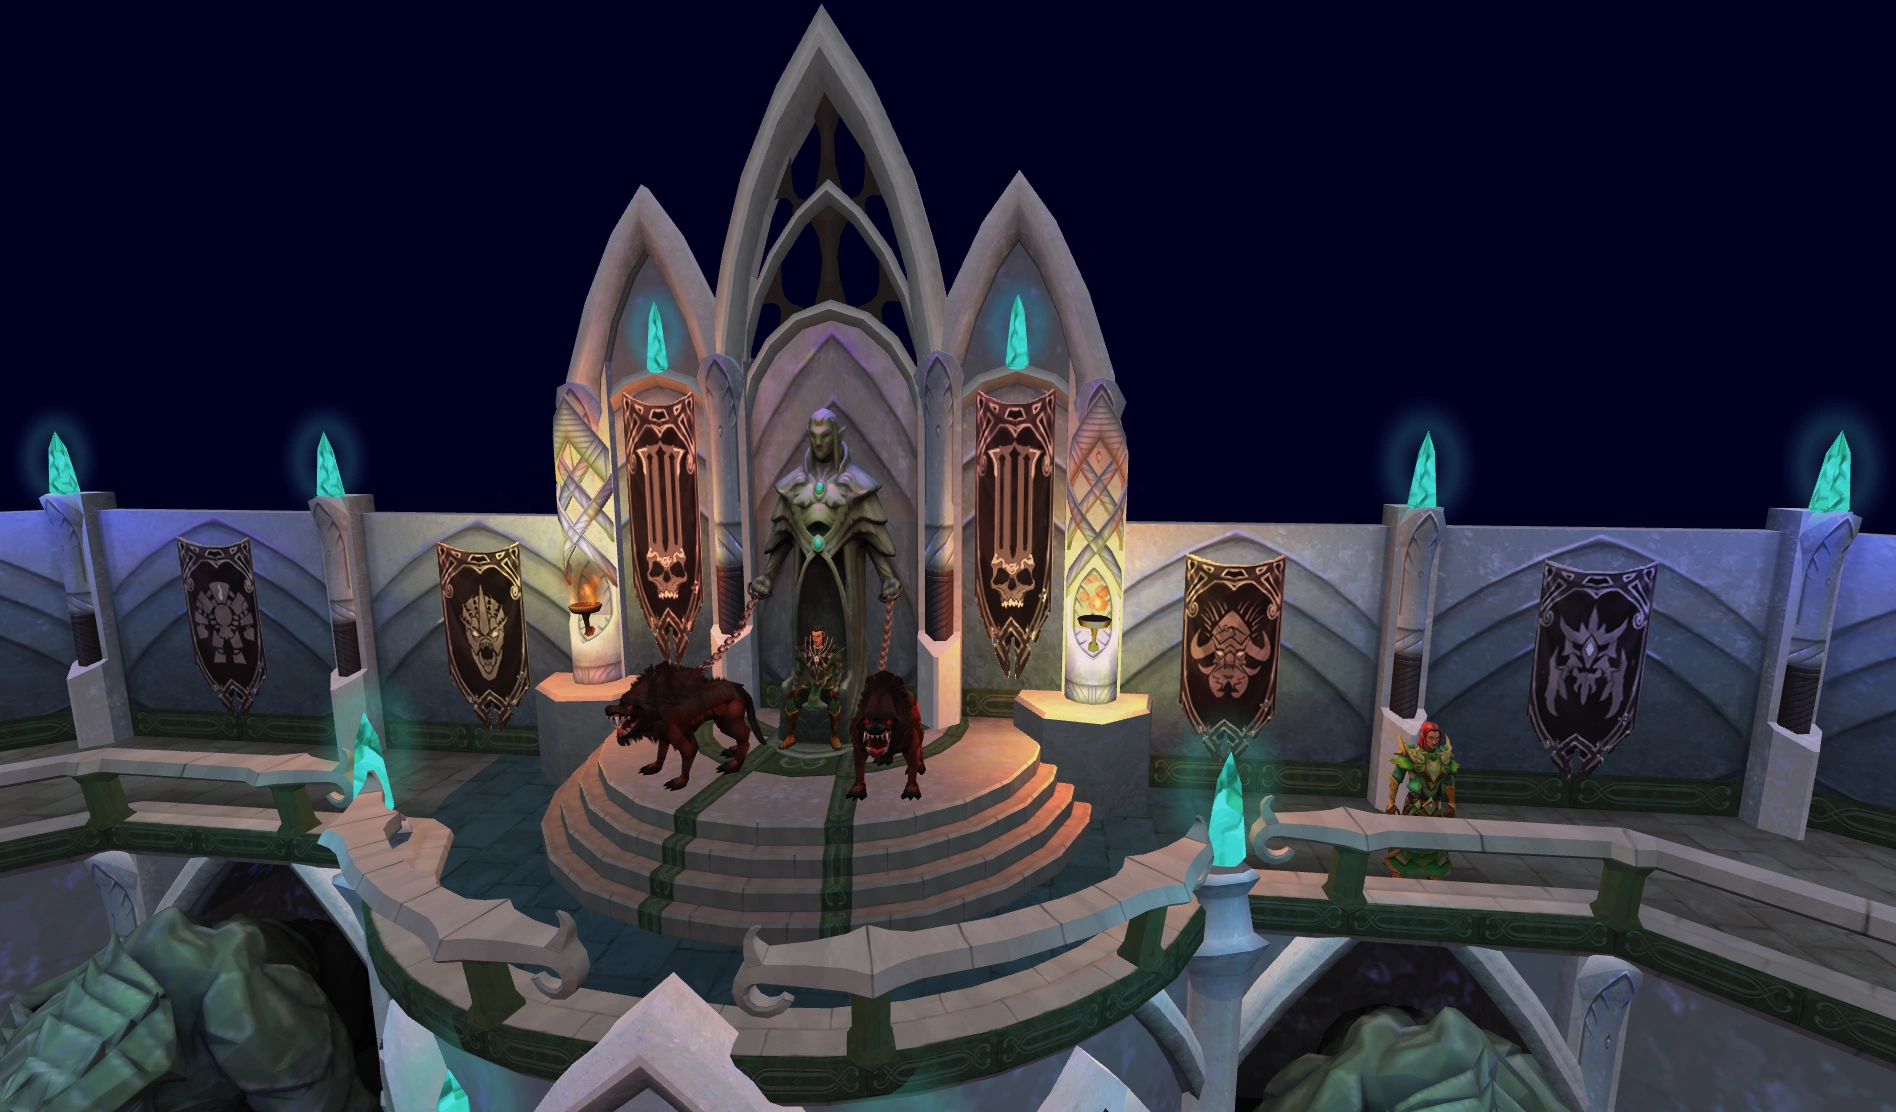
Rush of Blood is a weekly Slayer-themed combat Distraction and Diversion that can be played in Prifddinas, requiring at least level 85 Slayer and completion of Plague's End. It is run by Morvran Iorwerth, slayer master and former warband leader, and takes place in his dungeon underneath the Iorwerth Clan district. In the D&D, waves of different monsters, drawn from Morvran's assignment list, must be fought and one is given ten minutes to do so.
The activity can be played once a week for rewards, and any number of times for practice. There is a reward chest behind a locked gate. The gate will not open until ten minutes have passed, and will contain a small amount of drops from the monsters defeated, plus a reward book when on a reward run, based on how far the player went.
The timer does not begin until the player passes the barrier. A bank chest is available just outside of the arena, and can be accessed at any time. Doing so will not pause the timer. This means that use of the chest should be judged wisely.
There are four tiers of combat available, starting at 85 Slayer and increasing by 5 levels for each tier. Monsters killed during reward runs will give Slayer experience, and have a chance of dropping golden rocks for Slayer and the combat skills.
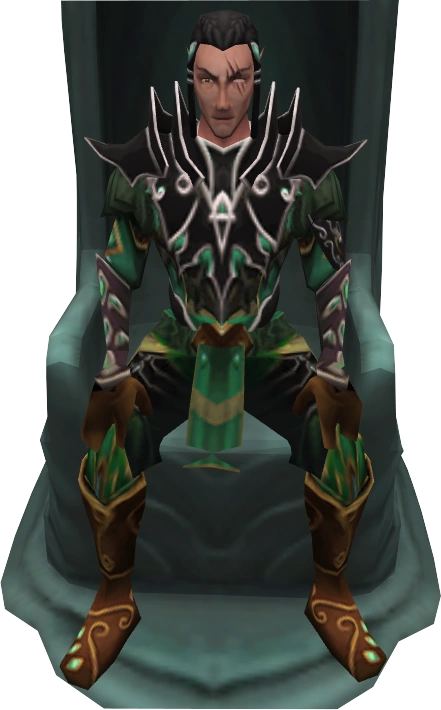
The Rush of Blood is part of the Iorwerth Clan. Morvran, the Slayer Master, watches over the player throughout the fight and can be seen sitting with what appears to be two hellhounds as pets or guardians.
Suggested setup
- Two or three attack styles, along with hybrid armour
- Potions: extreme potions, overloads, super restores, prayer renewals, super antifire
- Items to heal: shark, cavefish, rocktail, enhanced excalibur
- Dreadnips
- Aggression potion will really help in speeding up rounds.
Other specific equipment will be needed depending on what mode is selected - see their relevant section below.
Hybrid armour is recommended instead of multiple sets of armour, as changing gear for each wave will take precious time.
Legacy Mode is not recommended as the damage output is too low compared to using abilities.
Familiars such as the steel titan will help clear waves faster. Dreadnips and steel titans cause tormented demons to swap between all 3 combat style protection prayers, allowing players to finish them at a much quicker rate.
Example setup
The following setup is an example of what can be used for the Platinum difficulty. Items may be changed according to your own gear and needs.
Checklists
All difficulties
| Item | Notes |
|---|---|
| 2-3 attack styles | Useful for all difficulties due to monster weaknesses or necessity, e.g. Aviansies, Tormented demons, Ice strykewyrms. |
| Hybrid armour | You should be switching between at least 2 styles at some points. Superior elite Void Knight equipment or Anima Core of Sliske work well. |
| Reaper necklace | Accuracy buff helps for monsters like Airut. |
| Damage-enhancing aura | Speeds up rounds, more worthwhile if going for a title or doing two instances of Rush of Blood after resetting with a D&D token (weekly). Equilibrium and Dark magic are hybrid and last 60 minutes. Berserker auras for magic, melee, or ranged last 30 minutes, though magic is usually the most commonly used style. |
| Luck of the dwarves | Helps improve drops received in the chest. Otherwise the Asylum surgeon's ring is recommended. |
| Overload | Any stat boosting potions help significantly. Supreme overload salves, if available, cover everything present in this activity. |
| Super prayer renewal potion | Replenishes prayer points upon drinking, and over time for 6 minutes. Not necessary if using Supreme overload salves. |
| Super antifire | Dragons appear in all difficulties. Not necessary if using Supreme overload salves. |
| Weapon poison++ | Helps speed up rounds. Not necessary if using Cinderbane gloves. |
| Aggression potion | Helps speed up rounds, especially in the lower difficulties with the weaker unaggressive monsters. |
| Fire spells | Many of the monsters weak to magic are weak to fire in particular, e.g. Ice strykewyrms, Automaton Guardians, Wounded glacors. |
| Enhanced Excalibur | Free heals every 5 minutes, a staple in all PvM situations. |
| Planted Feet switch | An item perked with Planted Feet makes the Sunshine and Death's swiftness abilities last longer when the item is worn upon ability activation. |
| Ring of vigour switch | Saves 10% adrenaline upon activation of an ultimate ability when worn. Used as a switch during ultimate ability activation only, and often with the Planted Feet switch above. |
| Dreadnips | Useful for anything that takes more than a few hits, like Tormented demons or Airut. Dreadnips of an alternate style to your weapon are useful for Tormented demons. |
| Steel titan and scrolls | Speeds up rounds, also helps make Tormented demons switch prayers because the steel titan mostly uses ranged. |
| Ushabtis | For catching souls of different monsters to add to the Slayer Codex or your own slayer dungeon in the Sunken Pyramid. |
| Large rune pouch | Saves inventory space, holds 3 types of runes. Not necessary, but extremely useful to have for PvM in general. Currently costs 19,023,985. |
Situational
These are not as important as the above items, though these can be useful at times if you have them.
| Item | Difficulty | Necessary | Notes |
|---|---|---|---|
| Slayer helmet | All | No | Useful when on task for monsters such as Tormented demons, Airut, Kal'gerion demons, etc. |
| Rush of blood damage enhancer | Platinum | No | 10% damage boost, obtainable from the Motherlode Maw, using shards, and focusing an Unfocused damage enhancer. Would only recommend if you have them and you're going for a record on Platinum. |
| Fire cape | Gold, Platinum | Yes | Necessary for Ice strykewyrms, can be replaced by any TokHaar-Kal cape or the Completionist cape unless the ability to fight them without a special cape is learned from a Slayer Master. |
| Blood spells | Gold, Platinum | No | Deals double damage to Muspahs and counts as a fire spell for Wounded glacors, Ice strykewyrms, Automaton Guardians, etc. Not necessary but often useful. |
| Balmung | Bronze | No | Useful for Dagannoths, more so if upgraded. Not necessary since Dagannoths tend to be weak, especially with a high-tier weapon. |
| Sunspear | Bronze, Silver | Yes | Necessary for Vyrewatch, can use Blisterwood weapons or the Ivandis flail but they're less effective. |
| Darklight | Gold, Platinum | No | Useful for Tormented demons and Kal'gerion demons. |
| Holy water | Gold, Platinum | No | Useful for dropping the shields of Tormented demons. |
| Neem oil | Gold, Platinum | No | Can be negate the toxic fungus of Ganodermic creatures, but it's very trivial when using Soul Split. |
Monsters
Monsters that are normally aggressive outside of this D&D will be aggressive here as well. Monsters for each wave are selected randomly from a set of possibilities listed below.
Some of the challenges will require some quests in order to access, due to the monsters faced in those waves.
Bronze
Requires level 85 Slayer and completion of the Legacy of Seergaze quest.
Recommended for all possible foes:
- Two or three attack styles
- Sunspear / Blisterwood weapon / Ivandis flail
- Dragonfire protection
- Antipoison
- Balmung (especially if upgraded)
Monsters fought in waves 1-10:
- 3 Abyssal demons
- 6 Baby black dragons
- 3 Dagannoths (level 77) and 2 dagannoths (level 78)
- 2 Exiled kalphite paragons and 2 Exiled kalphite soldiers
- 3 Exiled kalphite workers
- 5 Greater demons
- 4 Grotworms
- 1 Ket-Zek
- 4 Rorarii
- 1 Tok-Xil
- 5 TzHaar-Hurs
- 1 TzHaar-Ket, 1 TzHaar-Mej and 2 TzHaar-Xil
- 4 Vyrewatch
- 1 Yt-MejKot
Monsters fought in waves 11 and beyond:
- 5 Aquanites
- 4 Aviansies (level 89)
- 4 Black demons
- 1 Capsarius and 2 Gladii
- 3 Dagannoth sentinels
- 3 Death spawns and 3 Nechryaels
- 2 Exiled kalphite guardians and 1 Exiled kalphite marauder
- 3 Iron dragons
- 5 Mutated jadinko babies
- 1 Vyrelady and 1 Vyrelord
Silver
Requires level 90 Slayer and completion of the Legacy of Seergaze quest.
Recommended for all possible foes:
- Two or three attack styles
- Sunspear / Blisterwood weapon / Ivandis flail
- Dragonfire protection
- Antipoison
Monsters fought in waves 1-5 are the same as in bronze challenge waves 1-10.
Monsters fought in waves 6-10 are the same as in bronze challenge waves 11 and beyond.
Monsters fought in waves 11 and beyond:
- 4 Black dragons
- 4 Dagannoth guardians
- 4 Dark beasts
- 3 Desert strykewyrms
- 4 Mature grotworms
- 2 Mithril dragons
- 5 Mutated jadinko guards
- 3 Steel dragons
- 5 TokHaar-Hurs
- 1 TokHaar-Ket, 1 TokHaar-Mej and 1 TokHaar-Xil
- 2 TokHaar-Ket Champions
- 1 TokHaar-Ket-Zek
- 1 TokHaar-Tok-Xil
- 1 TokHaar-Yt-MejKot
- 4 Waterfiends
Gold
Requires level 95 Slayer, level 90 Dungeoneering, and completion of the Blood Runs Deep, The Branches of Darkmeyer, The Chosen Commander, The Elder Kiln, Fate of the Gods, The Firemaker's Curse, One of a Kind, Ritual of the Mahjarrat, The Void Stares Back, and The World Wakes quests.
Recommended for all possible foes:
- Two or three attack styles
- Sunspear / Blisterwood weapon
- Dragonfire protection
- Darklight/Holy water
- Completionist cape/TokHaar-Kal/Fire cape
- Blood spells
- Neem oil
Monsters fought in waves 1-5 are the same as in bronze challenge waves 11 and beyond.
Monsters fought in waves 6-10 are the same as in silver challenge waves 11 and beyond.
Monsters fought in waves 11 and beyond:
- 1 Adamant dragon
- 2 Airut
- A random mix of 2 automaton generators, automaton guardians and automaton tracers
- A random mix of 2 Bladed muspahs, Force muspahs and Throwing muspahs
- 1 Celestial dragon
- 3 Ice strykewyrms
- 1 Ganodermic beast and 2 Ganodermic runts
- 1 Kal'gerion demon
- 5 Mutated jadinko males
- 1 Tormented demon
- 1 Wounded glacor
Platinum
Requires level 99 slayer, 90 Dungeoneering, ability to kill Ice strykewyrms, and completion of the The Branches of Darkmeyer, The Chosen Commander, Fate of the Gods, The Firemaker's Curse, One of a Kind, Ritual of the Mahjarrat, The Void Stares Back, and The World Wakes quests.
Recommended for all possible foes:
- Two or three attack styles
- Dragonfire protection
- Darklight/Holy water
- Completionist cape/TokHaar-Kal/Fire cape
- Blood spells / Fire spells
- Neem oil
- Slayer task for either Airut or Kal'gerions for increased accuracy/damage.
Monsters fought are the same as in gold challenge waves 11 and beyond.
Boosts
- Rush of blood damage enhancer gives a 10% damage boost.
Rewards
Players are able to access the reward chest after every play, whether it is a reward or practice run. The chest contains various items from the monsters that you've faced during the session. It should be noted that not all drops will make it into the chest, compared to fighting them in their standard locations.
Specific items, such as bones and ashes, never appear in the chest.
In reward mode, Morvran will give the player a reward book at the end. If the player's inventory is full, the reward book will appear inside the reward chest.
The following titles can be unlocked by completing 20 waves at the particular difficulty level:
| Title | Difficulty level |
|---|---|
| The Abyssal [Name] | Bronze |
| The Dark [Name] | Silver |
| The Beast [Name] | Gold |
| Slayer Master [Name] | Platinum |
When unlocking the 'Slayer Master' title at Platinum difficulty, any lower tier titles that has not yet been acquired will also be unlocked.
Unlocking the 'Slayer Master' title is a requirement for the completionist cape. The titles can be unlocked on either a reward or trial run.
Multiple factors, such as monster spawns, combat levels, equipment and connection issues come into play regarding finishing at least 20 waves. It may take several attempts before achieving a desired title.
It should be noted that players must clear wave 20 to receive the title; clearing wave 19 and reaching wave 20 will not grant the title.
Note: Titles can be gained by clearing wave 20 during a practice round.
On reward mode, Most Wanted cards (in Abyssal demons, Automatons, Glacors, and Tormented demons), Slayer VIP tickets and Ushabti are offered in the chest. The amount of tickets obtained are on a ratio of 1:1, with 1 ticket obtained for each difficulty taken. This means if a player does platinum difficulty, they will get four tickets.
The drop rate of a most wanted card is #/20, with the # being the amount of waves completed when the game ended. The player can only possess one Most Wanted card of that type at a time. If they have all of the cards in the bank, they will not receive any more until those cards are used/destroyed.
The first time you complete 20 waves in a run of Rush of Blood on any difficulty, Morvran will reward you with a 50,000 Slayer XP lamp once you speak with him. Claiming this lamp is also required for the completionist cape and the master quest cape.
Gallery
")
")
")
")
")
")
Trivia
- At one point, Anagogic orts collected through Rush of Blood would not count towards your daily anagogic ort limit. This has been fixed.
- There was a bug where Muspahs and Tormented demons would not count towards a player's slayer task. This has since been fixed.
- You can also receive special rewards from the chest even on a trial run including unique drops, for example, Glacor boots and Automaton gloves.
- Brawler gloves appear on the ground in the arena, rather than in the chest.
- If the player dies while playing Rush of Blood, or otherwise scores a low number of waves, Morvran will say: "What a waste of time. I should know better than to take time out of my day just to watch such an abysmal performance. Not impressed."
- If the player fights a Metal Dragon during the Rush while working on the Odd Old Man's wishlist, it is possible to get more than one tail bone of the same type.
| NPCs | |
| Items |
|
| Rewards |
|
| Locations |
|
| Miscellaneous |
|