No edit summary Tag: Red links found in article |
|||
| Line 82: | Line 82: | ||
*[[Knife]] to skin Snakes |
*[[Knife]] to skin Snakes |
||
*A [[Prayer potion]] is optional, and recommended for first time trekking via the Route 3. |
*A [[Prayer potion]] is optional, and recommended for first time trekking via the Route 3. |
||
| − | * |
+ | *[[Dwarven army axe]] may be helpful however, a [[Bronze hatchet]] and [[Tinderbox]] provided in events when needed. |
*[[Food]] -- both for personal healing and to heal the follower. Remember that the follower can accept any type of food mid-trip, so a basket or sack of food is highly recommended. A sack filled with food also saves a lot of work with the campsite event. |
*[[Food]] -- both for personal healing and to heal the follower. Remember that the follower can accept any type of food mid-trip, so a basket or sack of food is highly recommended. A sack filled with food also saves a lot of work with the campsite event. |
||
*A [[Combat potion]] can help you deal damage to normally hard to kill juvinates. |
*A [[Combat potion]] can help you deal damage to normally hard to kill juvinates. |
||
Revision as of 01:12, 18 August 2011
Template:Dangerous minigame
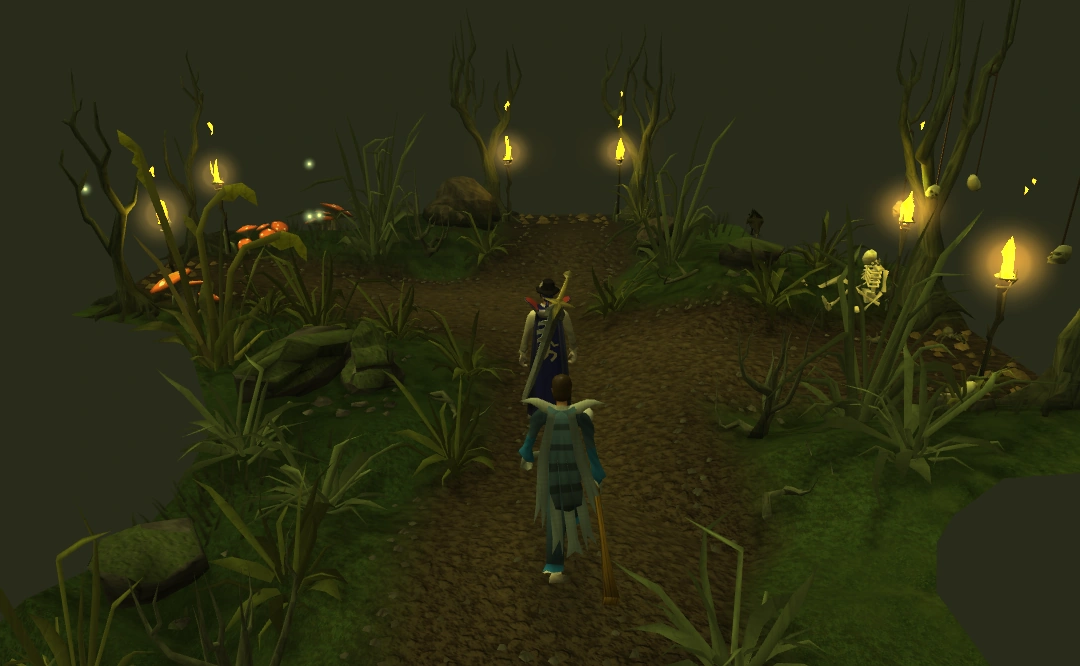
Beginning a trek.
Temple Trekking is a members-only activity in which the player must escort victims of vampyre rule from Burgh de Rott through Morytania to the Paterdomus, the temple on River Salve, on the way guiding them through bogs and over rivers while defending them from dangerous packs of monsters, some unique to this activity. (Requires In Aid of the Myreque)
Burgh de Rott Ramble is the reverse route in which the player escorts potential Myreque recruits from the Paterdomus to Burgh de Rott. (Requires Darkness of Hallowvale)
The difficulty of either activity is determined by whether the player chooses weaker or stronger people (called followers) to escort and whether the player chooses to take easier or harder paths through Morytania. Escorting weaker followers means more time and effort in healing and defending the follower when a monster attack event occurs. Taking harder paths means the monsters will have higher combat levels when a monster attack event occurs.
A journey succeeds if the player and follower reach the destination, whereupon the player receives a reward. A journey fails if the player or follower is killed. A journey is aborted if the player chooses the escape path or teleports out of the activity at any time.
Several events are likely to occur in each journey. There are three types of events: friendly events in which the player and follower can be healed and have their defences raised; combat events in Multicombat area in which monsters attempt to attack the player and follower; and puzzle events, which typically involve overcoming terrain obstacles, that the player must solve. All combat and some puzzle events are dangerous.
These two activities provides opportunities to cross-train in most skills. Combat experience (including Prayer) is gained during battle events. Monster drops and activity rewards provide some of the staple materials used in Crafting, Cooking, Farming, Fletching, Herblore, Runecrafting, and Smithing, while Tomes of experience can be awarded for Agility, Firemaking, Fishing, Mining, Slayer, Thieving, and Woodcutting. Players can also pick up pieces of Lumberjack clothes and the Constructor's outfit, which are found only in this activity.
Since the player loses if the follower is killed, one basic tactic in most combat events is for the player to shield the follower from the monsters. This means the player's body will typically be a meat-shield between fairly strong melee enemies and the follower. There are two practical strategies to achieve this:
- Wear high-defence melee armour. This helps protect the player from the monsters' attacks. This strategy means that the player should typically use melee, as the melee armour will interfere with using ranged or magic.
- Use protection Prayers. Most monsters attack with melee, so Protect from Melee or Deflect Melee can be used. Giant Snails attack with ranged, so Protect from Missiles or Deflect Missiles can be used. When using prayer, any combat style can be used against most monsters, except Vyrewatch which must be meleed. For magic, Ancient Magicks could be quite useful in some events, as some spells can affect a group of monsters.
Players are allowed to take Summoning familiars into the activity. A beast of burden helps store food, while a combat familiar could fight alongside the player since the activity is multi-combat.
Note: This is a dangerous activity. If you die, you will need to return to the starting place to retrieve your items; if you played Temple Trekking, you must return to Burgh de Rott to retrieve your items; if you played Burgh de Rott Ramble, you will need to return to the Paterdomus Temple.
Getting there
There are several ways to reach Canifis quickly, where the activity may be started. Some of these include:
- Fairy ring code C-K-S
- Kharyrll Teleport (Requires completion of Desert Treasure and 66 Magic)
- Ectophial and running west to Canifis
- Teleport to the Slayer Tower just north of Canifis using a slayer ring
- Walking from Varrock
- Using a Player Owned House with a Kharyll Teleport
Supplying your follower
A follower can hold 28 items of food in their backpack, also called the Follower Inventory. They will retain items from one trip to the next, even after logout. The Follower Inventory is used by all followers, so anything given to one is available to all followers, regardless of difficulty and location.
It is a good idea to fill their pack before starting a trek, while talking to them, and before agreeing to escort them.
To fill their pack, trade them the desired food. They will accept the trade immediately. It is not possible to see what they already have in their pack, only how many more items that can be given. The follower inventory can only be filled with food. If a player tries to trade the follower something else it gives the following message: 'You can only trade food to trek NPCs'
After giving food to the follower it is recommended to then return to the bank to retrieve additional food for the trip. Once ready, restart the dialogue and agree to escort them.
The best food that can be given to the follower is Rocktail.
During the events the follower can be resupplied with food. For this reason, it is advantageous to allocate one inventory slot for a sack filled with a food, such as cabbages, allowing for the healing and food replenishment of the follower as much as 10 times per inventory slot.
Your follower will lose all of their food if you use the escape option to leave the event or if you teleport out of the activity. (Completing the event or using the evade option to evade an event does not cause follower food to be lost.)
Your follower will also have a Druid pouch.
Requirements to start
The following Quests must be completed to play this activity:
- The Darkness of Hallowvale for Burgh de Rott Ramble
- In Aid of the Myreque for Temple Trekking
Temple trekking starts at the town of Burgh de Rott. Start the activity by speaking to one of the NPCs standing nearby.
Burgh de Rott Ramble starts on the east side of the River Salve just outside the temple. A player can start at either side.
The following items are recommended:
Weapons and Armour
- One standard weapon (Abyssal Whip shown). Fast weapons are recommended for this activity, especially on route 3: You have to kill a monster quickly when he attacks your follower.
- Dragon dagger or Dragon Claws for its special attack to protect the follower.
- Ancient Mace may be used to regain some prayer points mid-trek.
- Rod of Ivandis (prior to completion of Legacy of Seergaze) or other silver weapon. See below.
- Ivandis flail is highly recommended after having completed Legacy of Seergaze. It is the only way to deal with the vyrewatch event. The more experience with the flail, the better.
- Salve amulet (e) many of the combat encounters are undead; a salve amulet (e) boosts accuracy and strength against undead by 20% the non-enchanted version only boosts by 15%
- Dragon halberd can be very useful to melee monsters safely, especially if they get stuck behind obstacles.
- A high Melee defence and Prayer bonus setup is recommended. Veracs or Proselyte will conserve both prayer and food.
- Snelm for fighting giant snails.
Inventory
- Guthix balance potion for slaying vampyres.
- Druid pouch to defend against Ghasts. Stock up before starting.
- Knife to skin Snakes
- A Prayer potion is optional, and recommended for first time trekking via the Route 3.
- Dwarven army axe may be helpful however, a Bronze hatchet and Tinderbox provided in events when needed.
- Food -- both for personal healing and to heal the follower. Remember that the follower can accept any type of food mid-trip, so a basket or sack of food is highly recommended. A sack filled with food also saves a lot of work with the campsite event.
- A Combat potion can help you deal damage to normally hard to kill juvinates.
- Enough open space to pick up items quickly during events.
- If using prayer it is suggested that you bring a Holy Wrench from Rum Deal as it give a prayer boost when you use a prayer potion.
- Optional: Bring a wheel of cheese, because in case of a campsite event, it can be cut into pieces for each person, and extra can be used for healing. A full basket of fruit or sack of cabbages both serve the same purpose.
- Familiar: Thanks to the new Temple Trekking update, you can now use familars of any type in the minigame.
Prayer
During treks it is recommended, but not necessary, to have full prayer points. Certain monsters in the events can hit hard (so Protect prayers come in handy). Also, you need prayer points to collect items for druid pouches, if you need any. The Paterdomus temple and Nature Spirit altar are quite close by to the start of each route. Prayer potions can be used too. However, higher-level players who have brought the correct equipment should have little need of prayer though it does make it safer and easier for lower-level players.
Silver weapon
Vampyre Juvinates can only be harmed by relatively weak silver weapons. A Rune defender or Dragon Defender will greatly increase accuracy against Juvinates if using a one handed weapon.
- Rod of Ivandis will perform capably, and using its special with Guthix balance potion allows the player to finish off Juvinates at slightly below 50% health.
- Wolfbane is fast and has a prayer bonus, but will not perform as well.
- Darklight or Silverlight
- Blessed hatchet
- Silver bolts used with a crossbow (iron or better.)
- Silver Sickle (b) (Also good against Ghasts)
- Ivandis flail is recommended if accessible, since it acts as both a silver sickle(b) and rod of ivandis, thus allowing the player to deal with both ghasts and juvinates. It is also essential since it is the only known way of dealing with vyrewatch, which may appear during a trek, so having one after completing Legacy of Seergaze is necessary.
- Rune throwing axes will not hurt Juvinates, but using their special at the beginning of an encounter will keep them from attacking, and likely killing, the follower (especially on harder routes).
People to escort
The Noticeboard
There are a total of six people that can be escorted - three people for the journey to the Temple and three for Burgh De Rott. You can choose who to escort by using the noticeboard at the start point at Paterdomis or in Burgh De Rott. Each of the three people on each journey has a different difficulty - easy, medium and hard. For Temple Trekking, all three are villagers, and for Burgh De Rott Ramble all three are adventurers.
By being escorted, the follower will gain experience and levels. As they do so, they will gain new abilities and become more adept in combat. It will also allow the player to unlock certain rewards - some rewards require all of the followers to have reached a certain level
| Temple Trekking | |||
|---|---|---|---|
| Name | Image | Difficulty | Notes |
| Smiddi Ryak | File:Smiddi.png | Hard | Smiddi Ryak is very hard to accompany, but can lead to the greatest reward. She will not be able to fight any attacking monsters and will try to stick with you.
Some food is necessary because she has a low Constitution level. It will be best to have a plan before trekking.
|
| Jayene Kliyn | File:Jayene.png | Medium |
Jayene is a medium-level villager to accompany and will help you get one of the medium rewards. She is reasonably tough and can take a few hits. She can also try to defend herself and fight off other monsters within the event area.
|
| Dean Velio | File:Dean.png | Easy | Dean is easy to accompany and because of this, he can only help you get to the lower rewards. He has a lot of health and a high defence rating, so he can take a lot of punches as well as dish them out.
|
| Burgh De Rott Ramble | |||
| Name | Image | Difficulty | Notes |
| Rolayne Twickit | File:Rolayne.png | Hard |
Weak fighter
|
| Zachory Bragg | File:Zach.png | Medium |
Uses Magic
|
| Pazuzu | File:Pazuzu.png | Easy |
Powerful spell-caster
|
Routes
Once you have chosen someone to escort, you will need to choose which path to take. There are three paths, each a different difficulty, the main difference being the combat level of the monsters faced. This will only be the difficulty of the next event faced. Choosing the best path will be dependent upon combat level, available gear and which character is being escorted.
After each encounter, players will be given the option of changing the path that they are currently taking. If players find themselves having a hard time, they can take an easier route for instance or take a harder route when things are too easy.
- Easy route: Players can choose to evade any combat events. The monsters on this path are around level 80. Rune armour should be a minimum for combat events on this route. If monsters appear there will be at least 3.
- Medium route: In order to evade combat events, the player must complete at least 50% of the event first. Monsters will be around level 110. Prayer may be useful for certain events depending on the player's level, so choosing pure defence armour or prayer armour will be at the player's discretion. If monsters appear, there are at least 4.
- Hard route: There is no way to evade any event. The monsters are around level 140. Prayer will be important to surviving this route at any level, so having Prayer boosting gear is recommended. Escorting a weak follower is not recommended for this route but is still possible. If monsters appear there are at least 5.
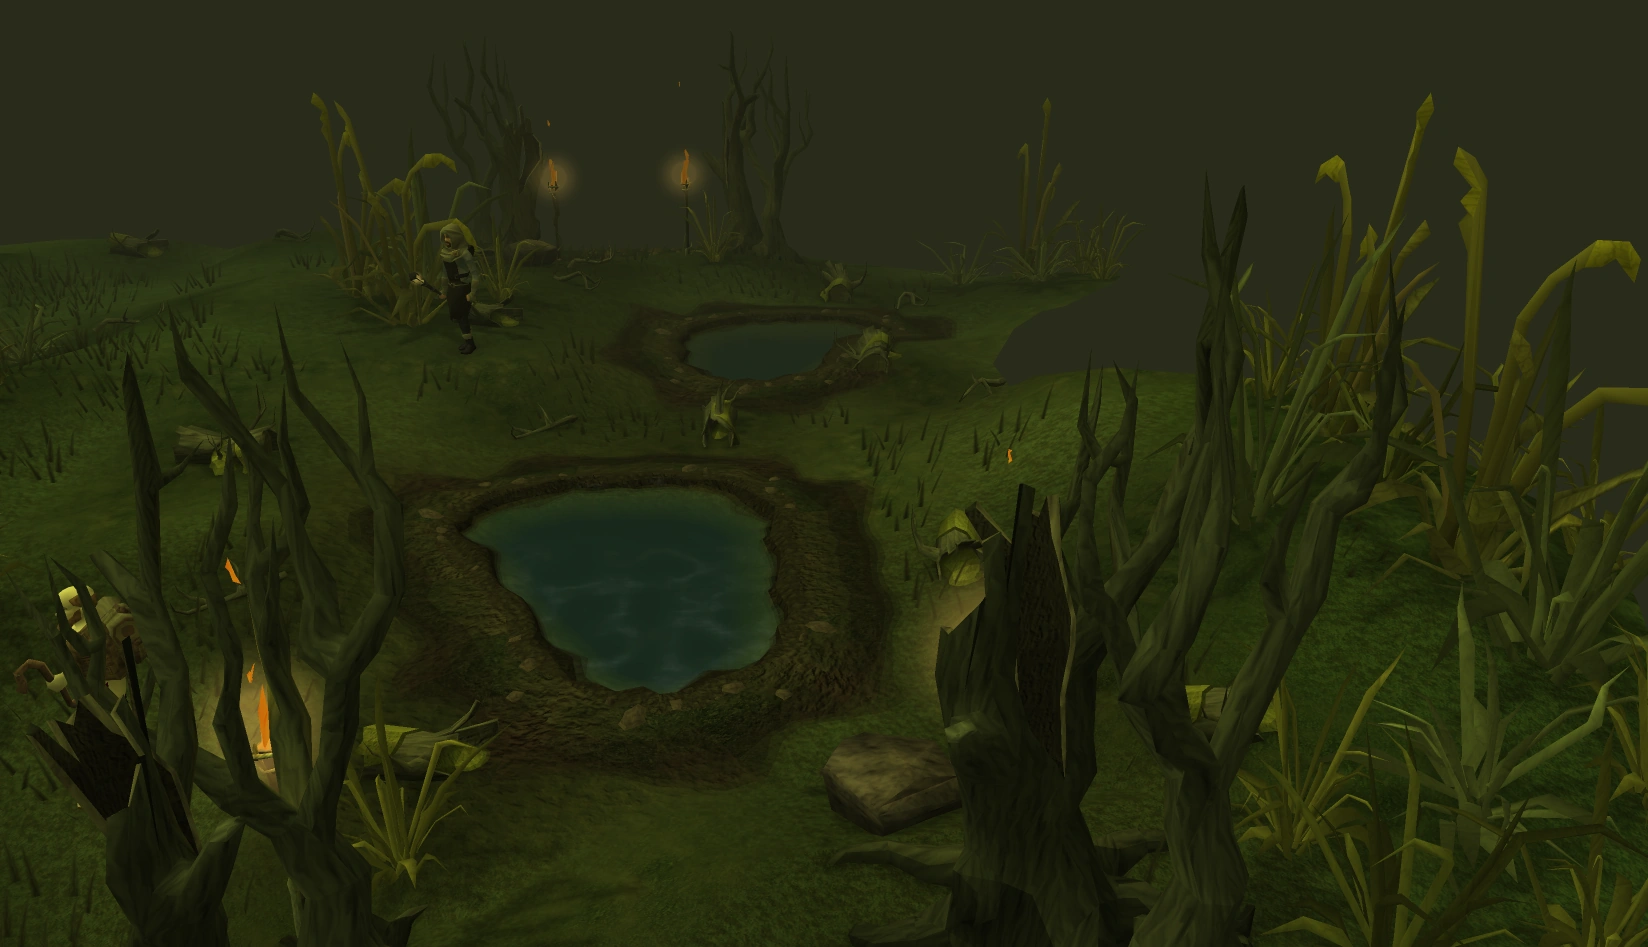
Events
There are 3 different types of events that might happen when you're moving forward - friendly events, combat events, and puzzle events. The specific event and difficulty of completing may depend on the difficulty of the route taken, although most events are possible regardless of difficulty.
Once an event occurs, the player and follower are pulled into the event area. The player will start in front of a section of path with blue stones. Right-clicking will display an Escape option, which completely abandons the trek and leaves the player wherever they have reached on the map, often in the middle of Mort Myre Swamp. At the opposite end of the area is the path that allows the player to "Continue-trek", once the event is completed. In combat events on the easy and medium routes, there are paths that evade-event that when used will skip the event and continue trekking, adding no reward and increasing the chance for another event. On the medium route, 50% of the monsters must be killed before being able to use Evade-event.
Friendly event
Abidor Crank event
A man named Abidor Crank will appear as an event and heal you and the follower, above maximum health if applicable and buff defence. He also turns all Rotten foods into Stews. Getting this event adds nothing to the end reward.
Combat events
Try to attack enemies so that your escort won't get hurt.
In combat events a certain number of enemies will attack the player and the escort. For most of the combat events, the monsters give a few seconds before attacking. This is the player's chance to position themselves between the follower and the monsters. All combat events are multi-way combat. Combat events provide the majority of the end reward when completed.
| Monster Name | Notes | Image |
|---|---|---|
| Juvinates | Must be killed with silver weapons, listed above. Rod of Ivandis/Ivandis flail and Guthix balance potion are strongly recommended. They can take a very long time to kill on the harder paths, but are not particularly strong, not hitting any harder than 100. If they get to your follower, they must be killed before they will stop. Juvinates that are cured will give a variety of items (steel-adamant, level-2 clues, etc.), roughly equivalent to those found in black chests in Shades of Mort'ton activity. | 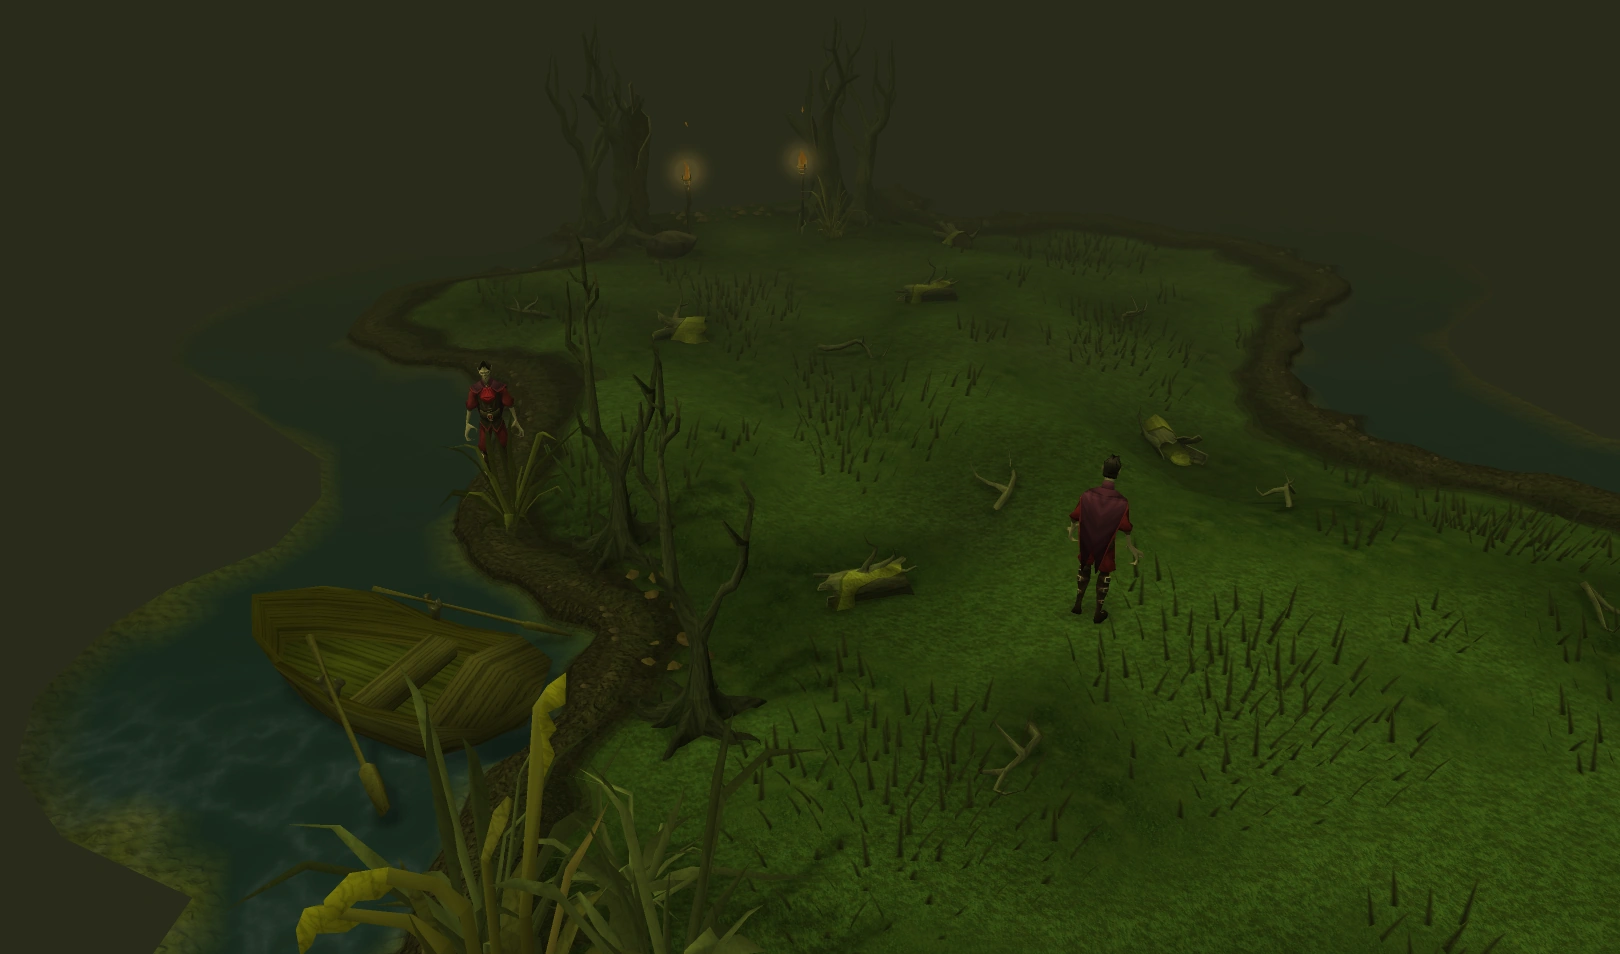 |
| Ghasts | You need Druid pouch to fight them, otherwise they just rot your food. They hit at half the speed of a Whip or dagger, but can still do a lot of damage, so Protect from Melee prayer is recommended when fighting more than one. Because they attack so slowly, prayer can be conserved by turning it off between attacks. Only hidden ghasts will attack your follower, so use a Druid pouch on the hidden ghast to reveal it, drawing its attention to you. They drop the same items as normal ghasts from the swamp. If you have no druid pouches left, then cast bloom (near some rotting logs etc.) with the sickle (b) or similar item to get more, as you would in the swamps normally. However, if you have no prayer left either, your only options are to evade the event (if possible) or escape. | 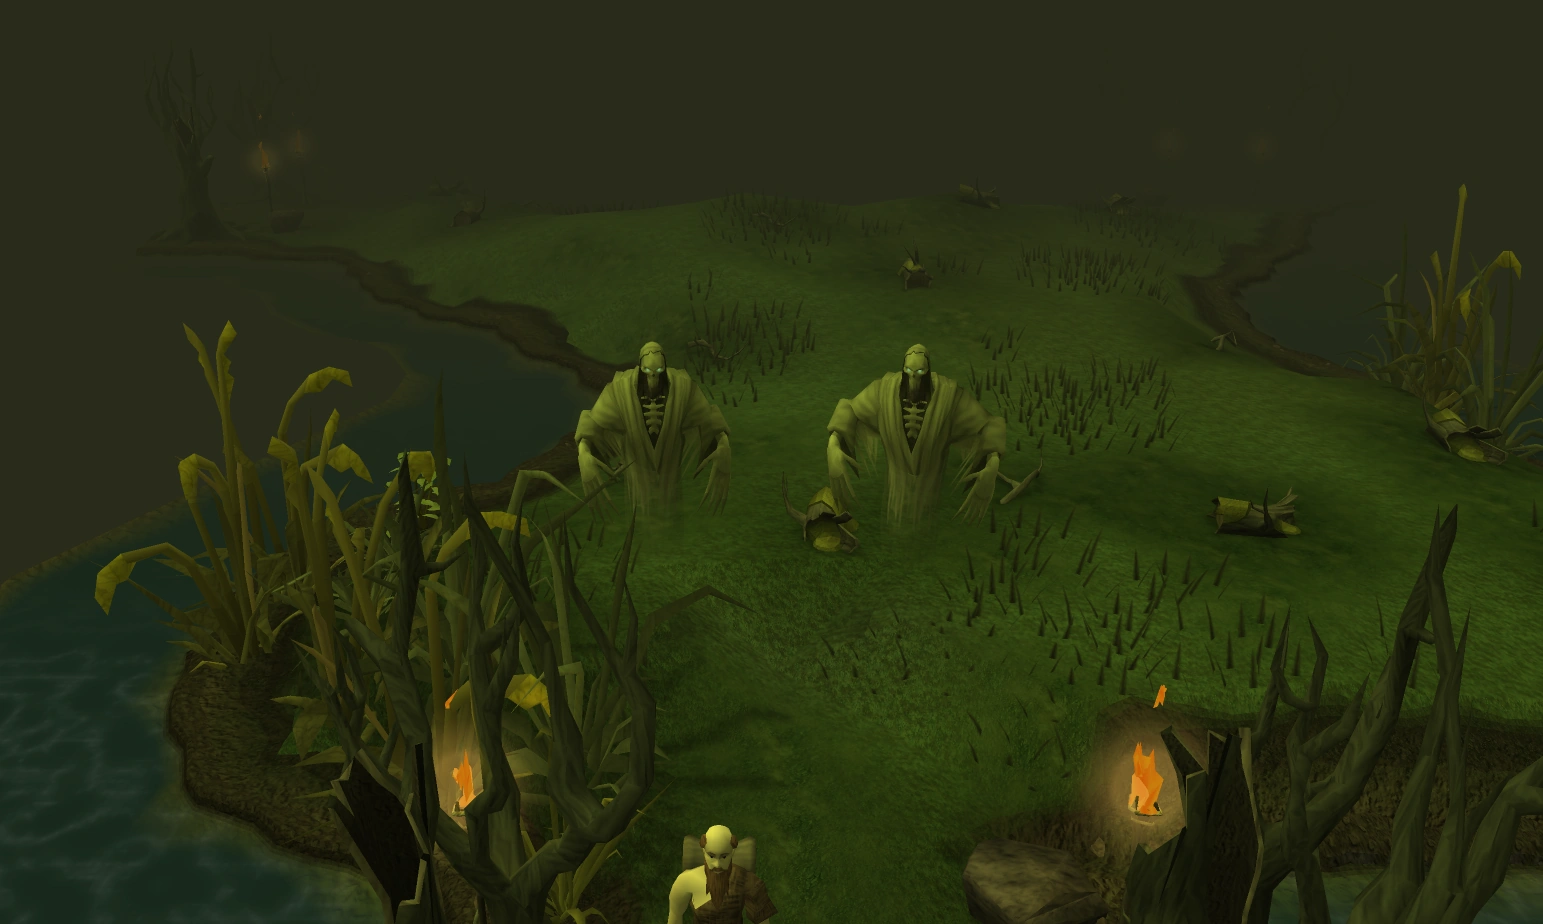
|
| Shades | Riyl, Asyn, or Fiyr varieties depending on the route. This event only occurs at Mort'ton, and drop the remains used for Shades of Mort'ton activity. They can end your trip quickly if they start piling on your follower. They begin attacking quickly, giving little time for positioning your follower. They are often lined up single file, however they are also notorious for passing through players. Once they are lined up, you may wish to attack each one to assure they do not pass through you. Use Salve amulet to increase damage. Having a quick means of killing, such as a Dragon dagger for its special, will be useful for taking care of shades that attack your follower. | |
| Swamp snakes | Giant snakes that hit up to 180, attacking quickly and often in packs. Death could come quickly without Protect from Melee up. They are also extremely large in terms of game dimensions, so may sometimes get stuck easily behind obstacles. Because of this, a Halberd or range weapon is extremly useful to use to conserve prayer and/or food. They can also easily stack on the same tiles that one swamp snake is already on. When starting a snake event, just get between the follower and the snakes the simplest way possible and stay still, letting them come to you. Moving too much on this event is the worst thing to do. Any snake that gets to your follower must be killed first. They leave behind a corpse, use a knife on it to get 2-5 (Swamp) Snake hides. If a snake manages to attack your follower and is subsequently killed by you, it will drop bones instead of a corpse. This will never happen if all the snakes are attacking you. There is a glitch where a snake will be on top of another snake, will have a yellow dot on the minimap, but sometimes won't appear on the game screen and won't have a right click option until you move. This can potentially kill the follower, as when you move to make it appear, it will then attack your follower. Another glitch occurs randomly when a swamp snake spawns outside the map, making it harder to kill. The most recent glitch has the snakes still taking one point of posion damage, even after they're dead. These glitches are yet to be fixed by Jagex. | 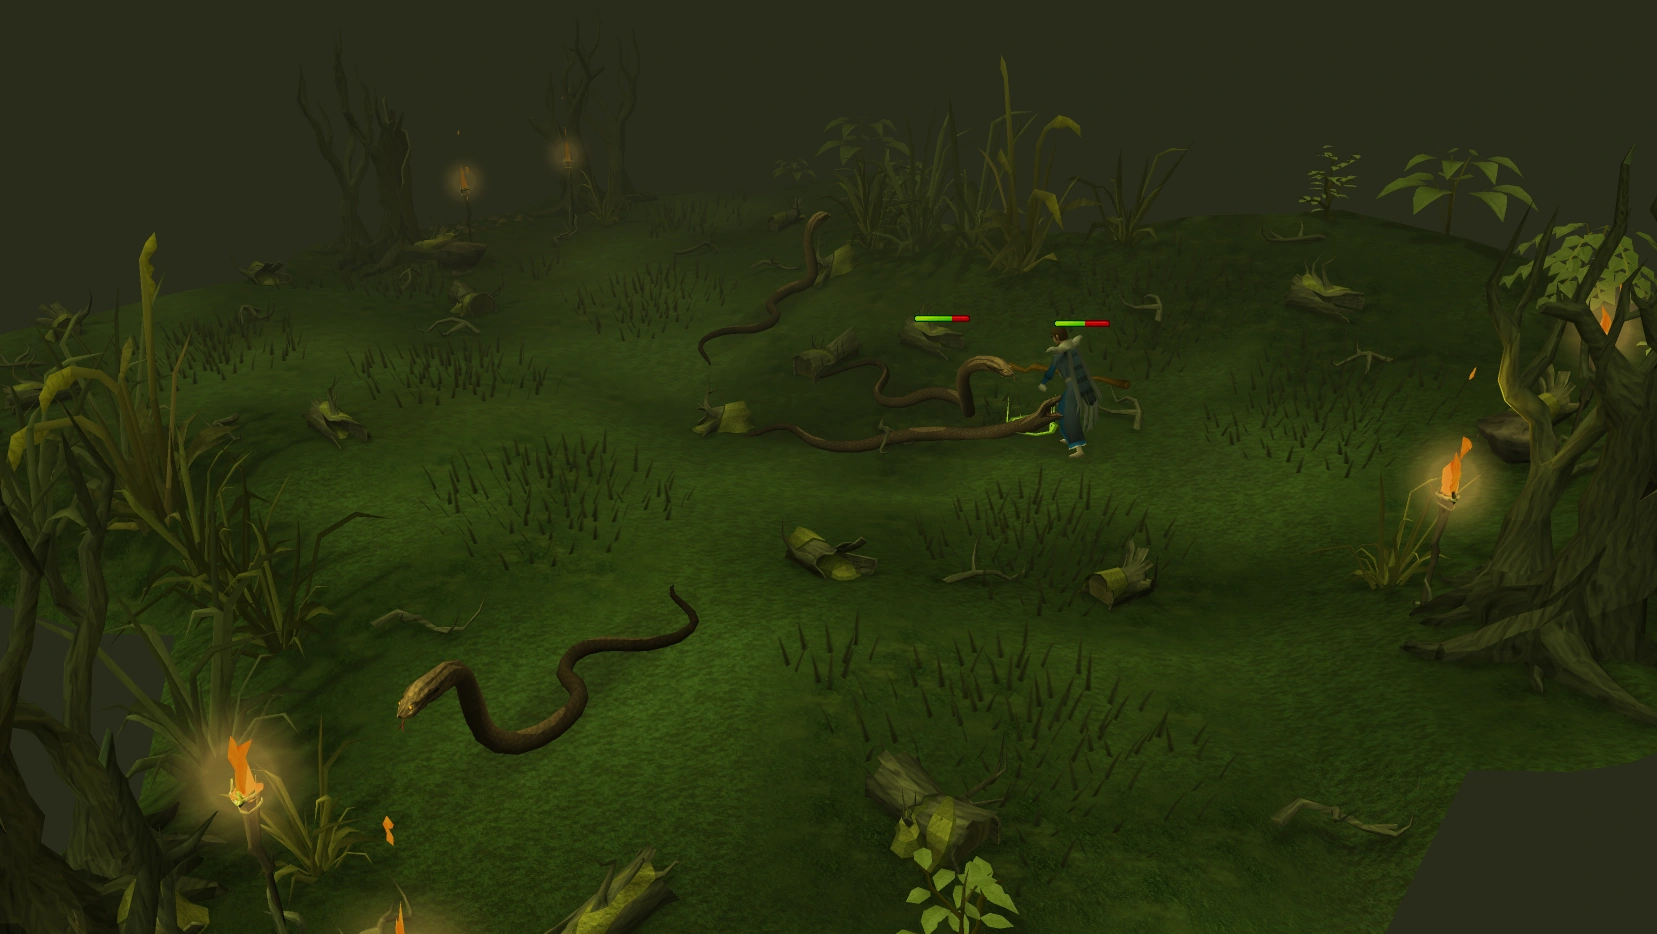 |
| Giant snails | Uses a Magical Ranged attack that easily penetrates melee defence and hits up to 180 when not wearing a Snelm. Wearing a Snelm will greatly reduce the damage taken from them. Use Protect from Range on hard routes when taking multiple attacks. A snail needs only be hit once to distract it from your follower. They heal rapidly. It is HIGHLY recommended that you use the 'Protection from missiles' prayer, even if you are wearing a Snelm, as you can still take damage very quickly. They drop Snail shells redeemable for 600 coins in Dorgesh-Kaan, Perfect snail shells give 1000 coins and 500 Crafting experience. | 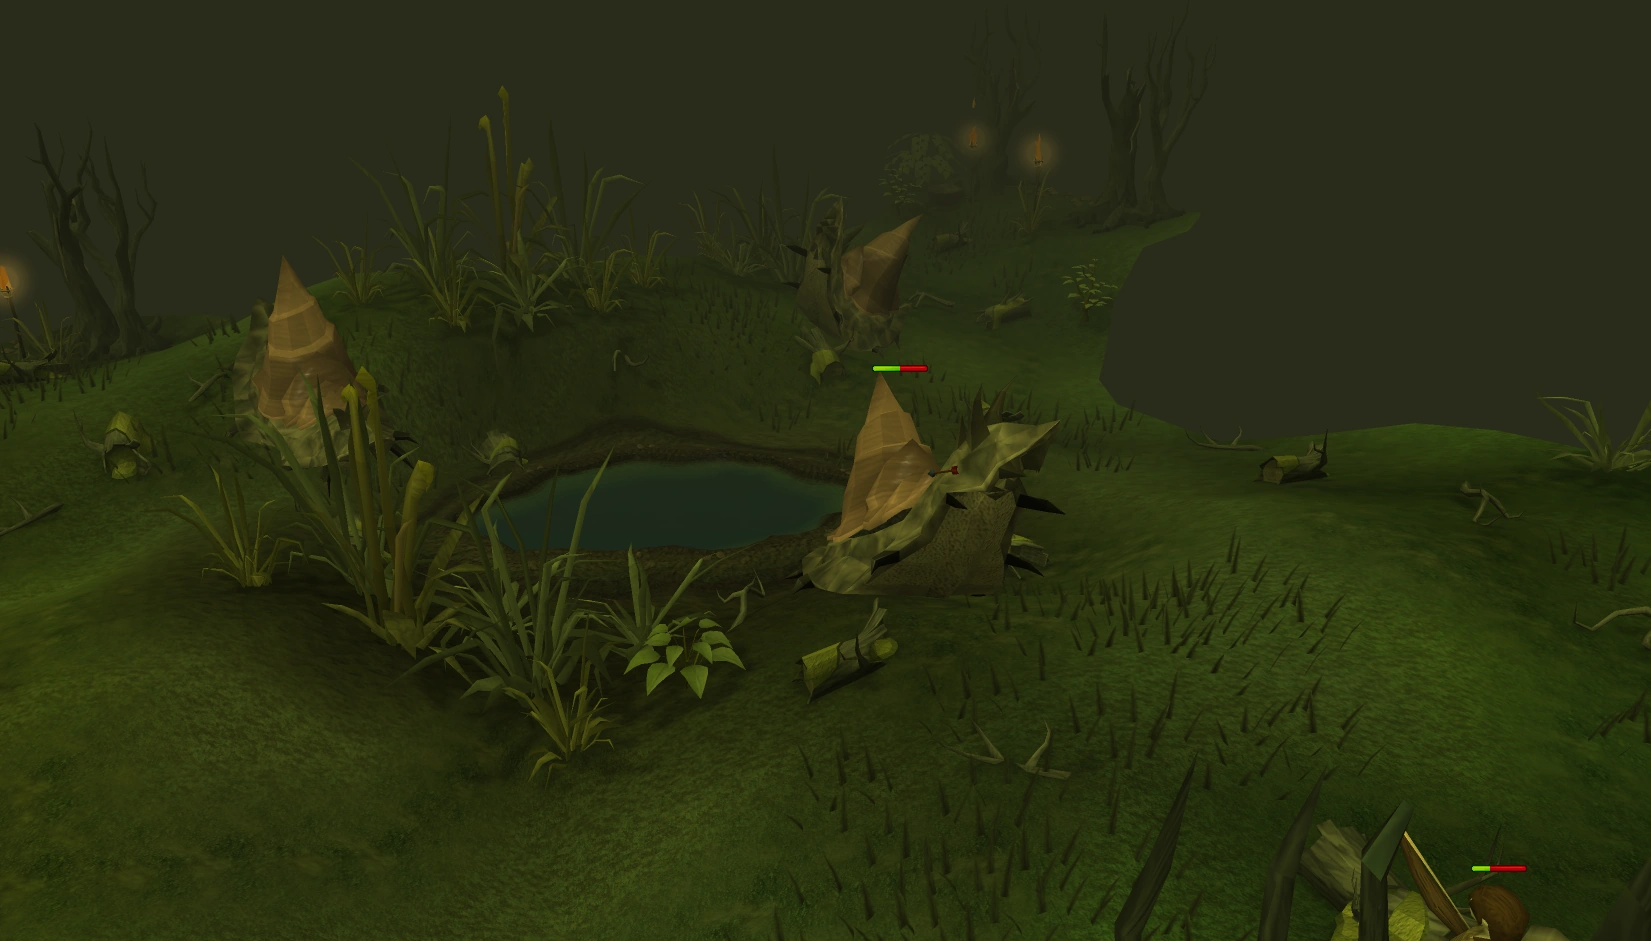 |
| Nail beasts | Shrieking beasts that attack with a flurry of claws and bites, hitting up to triple 40 (so up to 120 total damage each flurry). The time between flurries is quite long. They have low defence and life points and don't usually threaten your follower, but will need to be killed if they do. Drops Nail Beast Nails, Talon beast charm, and Big bones. Also drops Long, Sharp Claws and Sabre-like teeth, used in the Fur 'N Seek Wish List.Their charms yield the highest summoning experience of all summoning pouches, so it is very beneficial to collect all the charms and not skip this event, unless necessary, since this event does not occur often. | 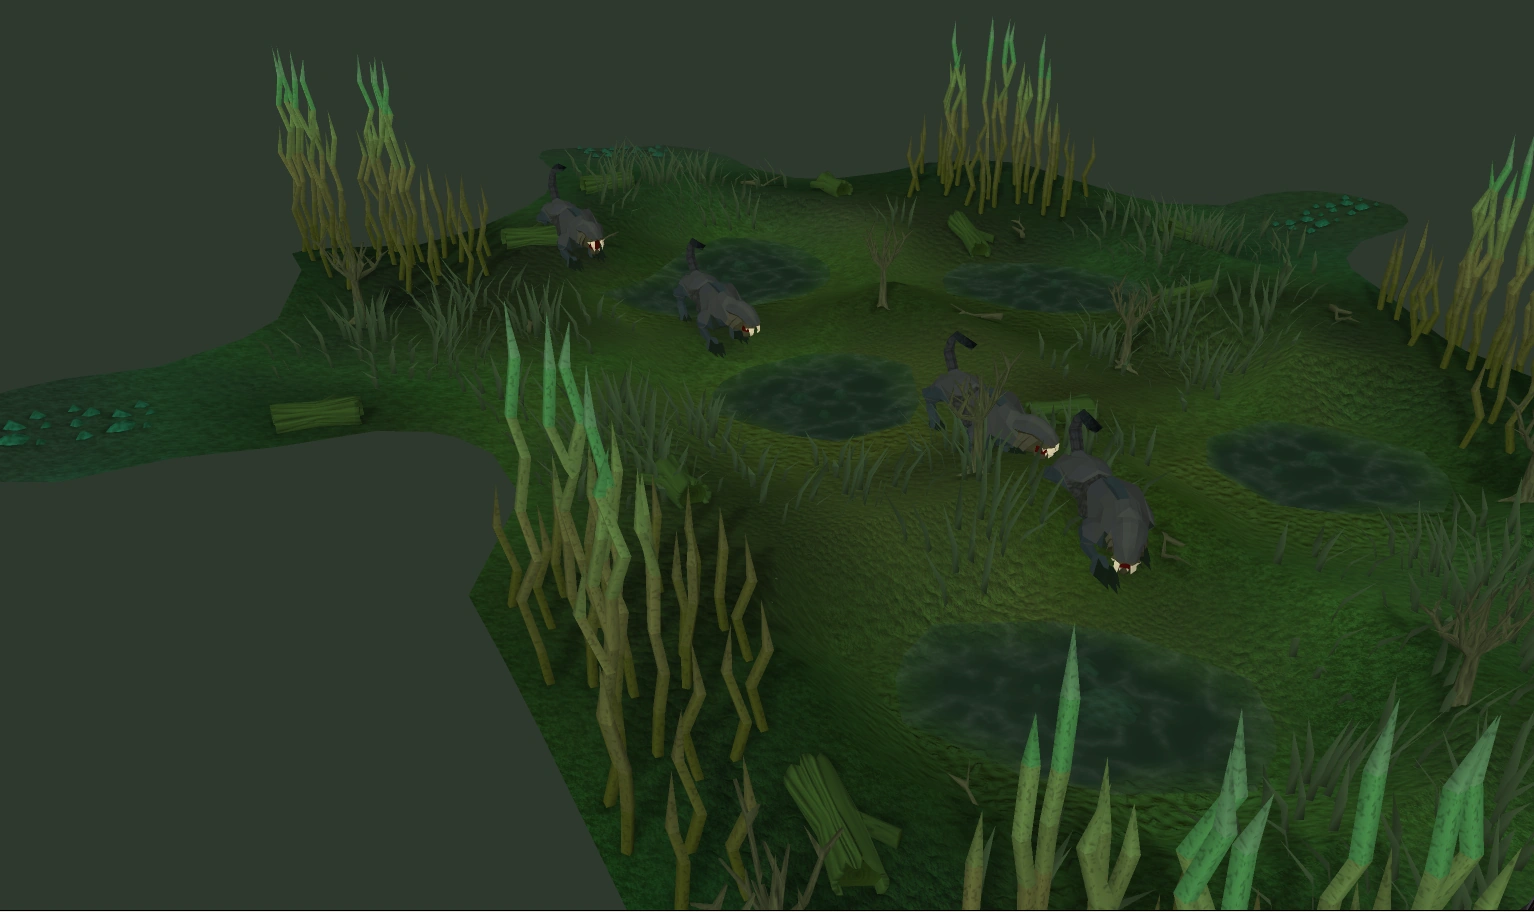 |
| Graveyard | A large graveyard filled with skeletons level 15 and 75 and with a Tomb in the middle section. Lure as most as possible skeletons to the tomb in the middle and click on the tomb to activate it and unleashing its power. All skeletons which are struck against the fence are hit by 700 (1 hit K.O.). Defeat all skeletons to continue your path. | 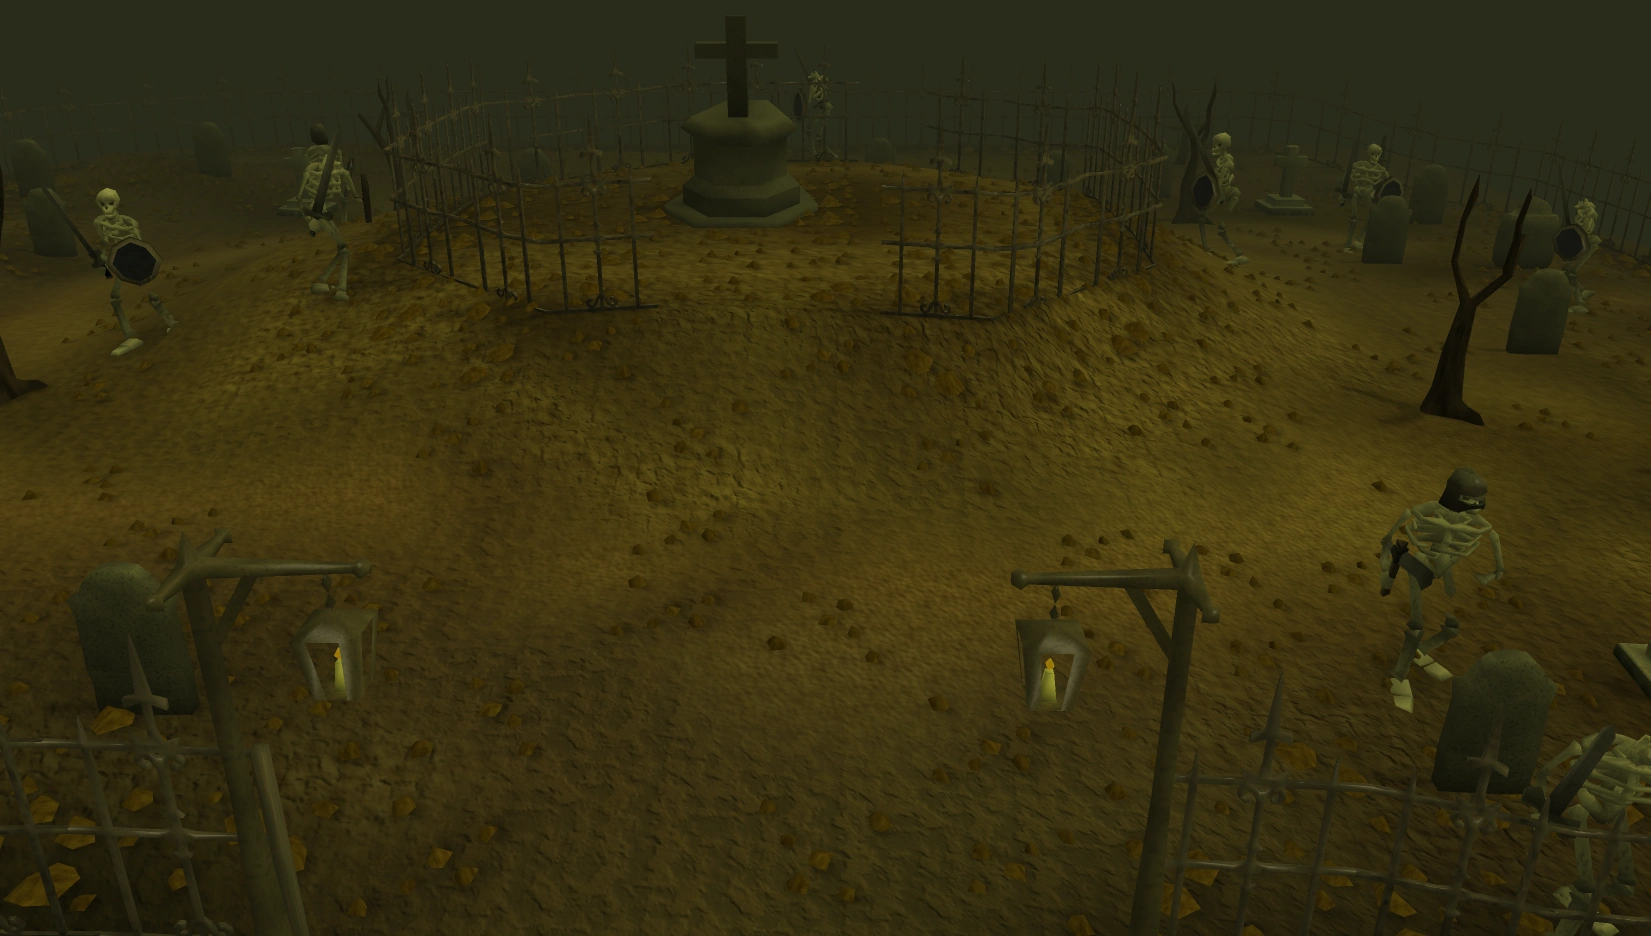
|
| Swamp Creatures | Appears only during boat trip on a hard route. It is actually 5 parts, level-140 Head and 4 level-99 Tentacles. The Tentacles can hit anywhere on the boat, but will usually only attack your follower when directly in front of one. Poisoning one part poisons all parts. If the head is near death and a tentacle is still alive, it will return to full health. The Head can hit very hard, but doesn't hit often and is also 2.5 times as slow as whip or dagger. Kill the part attacking your follower first. | 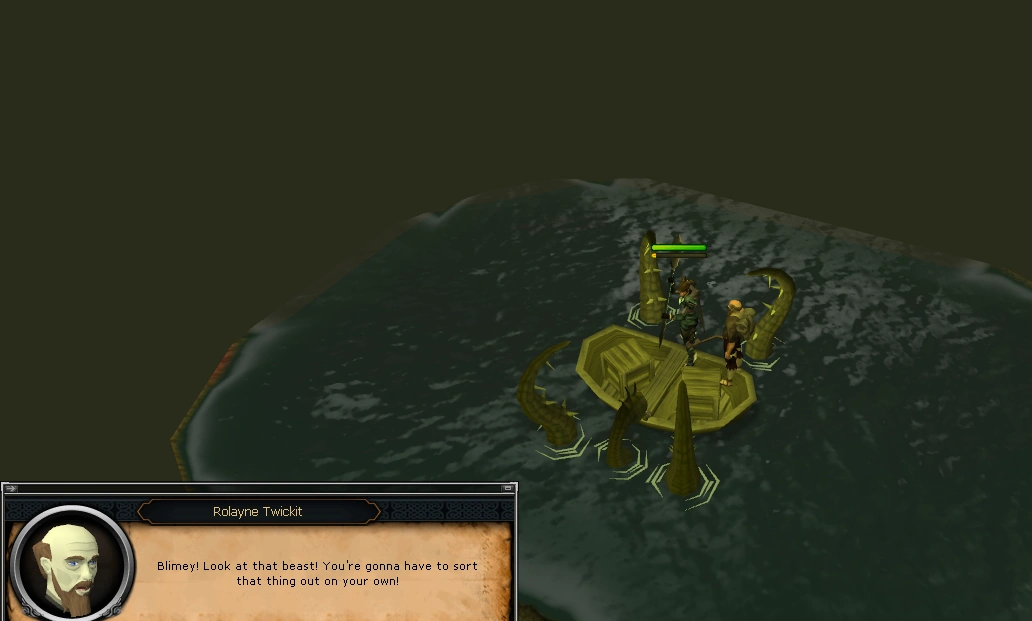 |
| Vyrewatch |
Appears only after Legacy of Seergaze, and can be killed only with a Flail of Ivandis. Drops a Vyre corpse which can be cremated in a manner similar to Shades of Mort'ton, but if the Vyrewatch is not over land when it dies, the corpse will be lost in the swamp. However, if the Vyrewatch is low on health, it will attempt to flee, going beyond the swamp map. When this happens, you will have to wait for it to come back to go on or evade the event. If your escort is being attacked by a Vyrewatch, using the Ivandis flail's special attack after the Vyrewatch reaches half health will both freeze the Vyrewatch for a period of time and divert its attention to you. Using a dose of Guthix Balance potion on a frozen Vyrewatch will deal a random amount of damage. Freezing and applying Guthix balance is not required to kill the Vyrewatch. Note: Unlike every other event in Temple Trekking, the drops in this event will dissapear. If you want the Vyre corpses for cremation don't leave them on the ground too long. |
 |
Puzzle events
| Name | What to do | Image |
|---|---|---|
| Bridge |
|
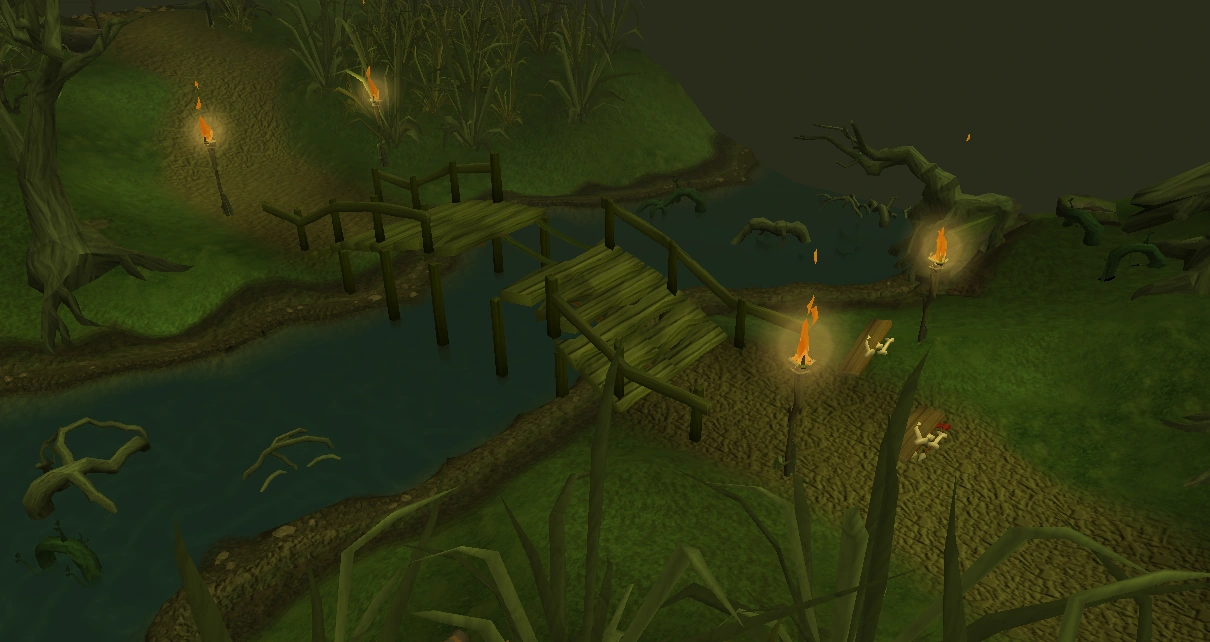 |
| Bog | Use any item that has a slash attack option (e.g. a longsword, dagger, Abyssal whip) or a knife on a spiny bush to get some Branches. Use these sticks to feel firmness of the bog. Continue over the marsh walking on firm ground. If you walk on soft ground you will "eventually climb out". NOTE- bring more than one stick because they get stuck in the bog at times. The bog event is often confused with the river (see below). It is possible, however rare, to receive a bog which is impossible to cross, but make sure you have checked all along the bog's length for other firm spots before giving up. | 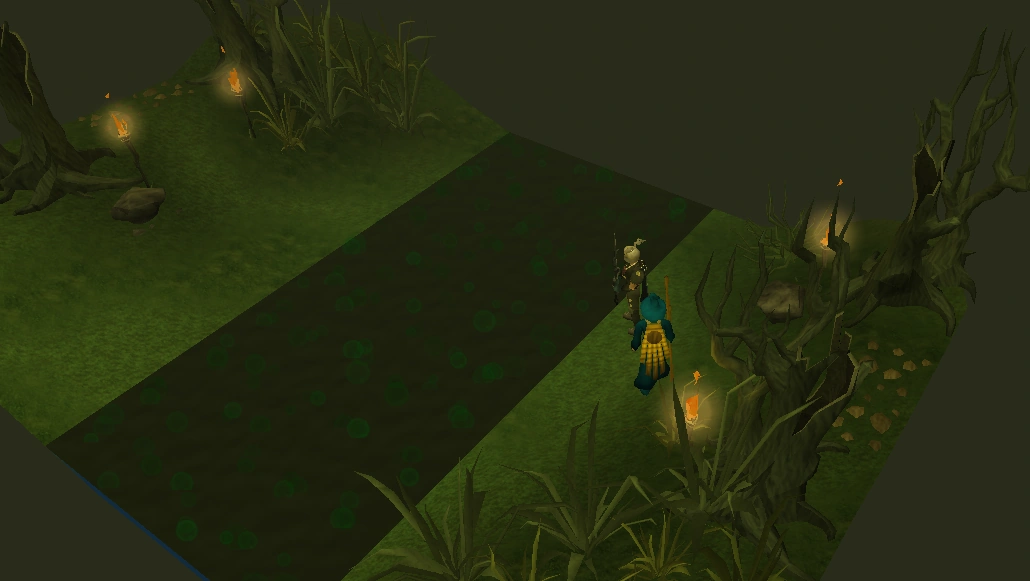 |
| River | If you find a river without a bridge use a Knife to cut 3 vines from the smaller trees, then wind the vines together to make a Long vine. Throw the Long vine to the larger tree's branch and swing over the river. If you do not have a Knife, search the nearby backpack to find one. | 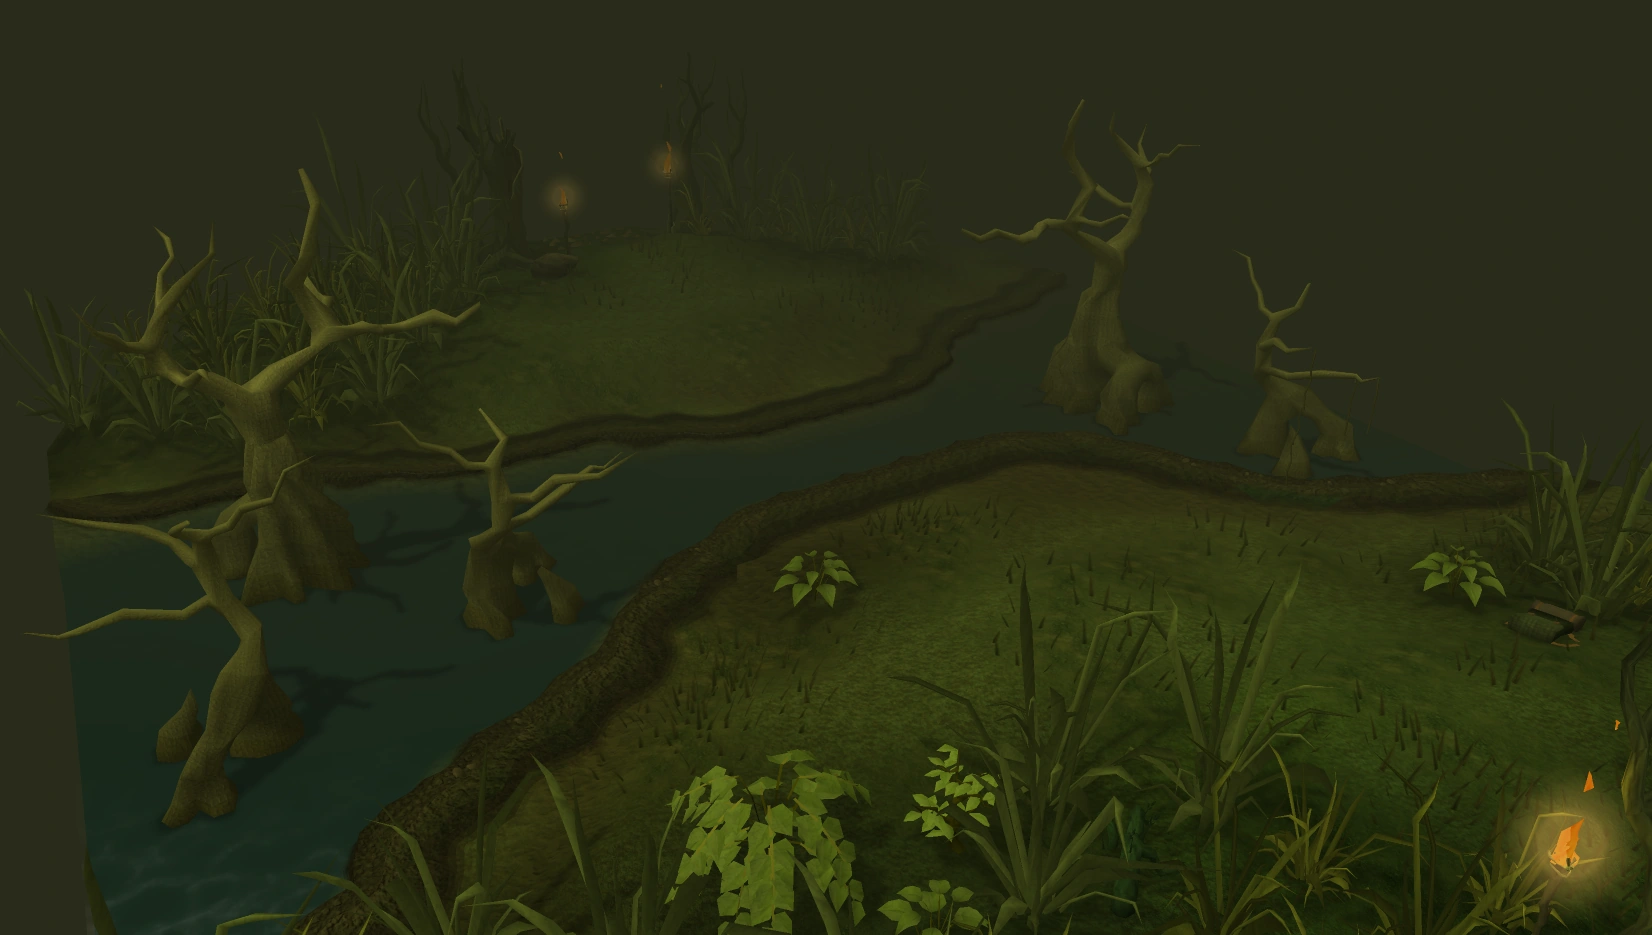 |
| Campsite | 3 to 5 starving adventurers (Marv, Hank, Wirf, Sarah and/or Rachel) will be seated around a dead campfire. To continue, they must be fed or they turn into Ghasts, which must be killed to continue. Most foods work, but in the event there are 5 snails, a Bronze hatchet, a Tinderbox, and 2 dead trees which will provide everything needed to cook and feed them. Priority for feeding them is: ghastly!!, very sick!, very sick, sick!, sick. When rewards are calculated, this event counts as a combat event. Having a basket or a sack filled with food makes campsite event considerably easier and also allows you or your companion to have snail meat. Interestingly enough, if you manage to provide one of the campers with food just as they are about to become a Ghast, they heal anyway.This event can be annoying if a camper turns into a ghast, and you are not currently equipped for killing a ghast. If this is the case, you must give up the entire event without a reward, as there is no 'evade event' path available. | 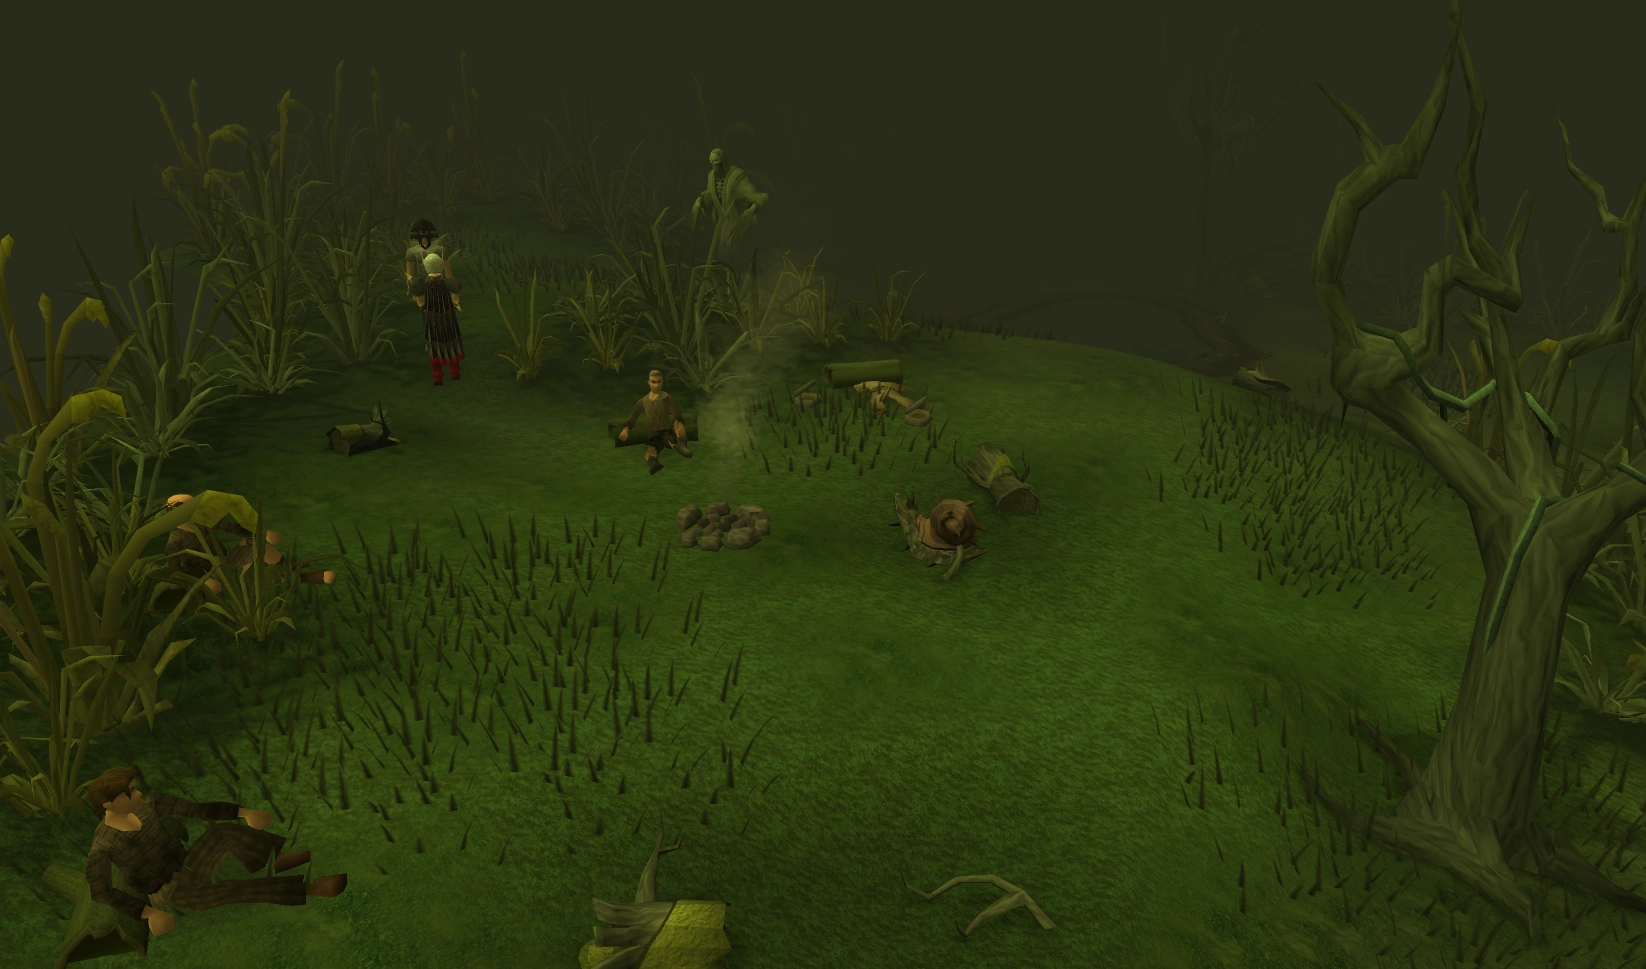 |
| Grotto | You must help the Nature Spirit with the local ghasts. Assist him Nature Spirit by putting out the fires around him. |
Rewards
After successfully completing a trek, the follower will give a Reward token, which can be blue, yellow, or red tokens depending on the chosen route. The reward amount is determined by how many monsters are fought and what level they were, and how many puzzle events were completed. This is further explained below. You can exchange your token by left clicking on the token. This table shows the max reward possible on any trek for each item.
| Item | Max amount | Max Profit |
|---|---|---|
| Pure Essence | 300 | 9,000 |
| Bowstring | 210 | Lua error: . |
| Silver bar | 360 | 206,640 |
| Herbs; all kinds. | 30* | 315,000 |
| Coal and Iron ore | 120 and 60 | Lua error: . |
| Watermelon seeds | 15 | Lua error: . |
| Raw Sharks | 54 | Lua error: . |
- Blue token 10-30 low herbs, Yellow token 3-11 med herbs, Red token 2-7 high herbs.
Average Profit (assuming maximum reward): 75,084
*The Herbs are lesser amounts of Toadflax, and greater amounts of either Harralander or Tarromin. The amount of Toadflax is 1/3 the other herb plus one, so the max Herb reward is 26 Toadflax and 75 Harralander or Tarromin.
Additionally, Tomes of Learning can be chosen as a reward. Unlike most experience tomes, the skill is predetermined and not selectable. These tomes give some experience in one of the following specific skills: Agility, Thieving, Slayer, Firemaking, Fishing, Woodcutting, or Mining. The colour of the tome depends upon which route the player has chosen.
| Item | Level | Xp |
|---|---|---|
| Blue tome | Level 1 | Random amount of experience (1100-1650) in a defined skill. |
| Yellow tome | Level 2 | Random amount of experience (2035-3025) in a defined skill. |
| Red tome | Level 3 | Random amount of experience (4015-5005) in a defined skill. |
Trek ratings
The rewards above are distributed based on the difficulty of the Trek. Trek ratings are theoretical numbers, as there is no display in game to show how a Trek is rated. Assuming that when less than the maximum reward is given, a certain percentage is given according to a rating accumulated on a Trek, and that any rating in excess of 100 will result in a 100% reward is received, then each event adds the following amount to the Trek rating.
- Abidor Crank and Bridge with Lumberjacks add nothing.
- Bridge (with trees), Bog, and River add about 6.5 to the trek rating on all routes.
- The swamp creature only appearing on Route 3 adds 50 to the Trek rating.
- The remaining combat events and the Campsite event add the following approximate amounts of reward based on the number of monsters and the difficulty of the route. The table below shows how much is added per event completed.
| Follower | Easy | Medium | Hard |
|---|---|---|---|
| Route 1 | 12 | 16 | 20 |
| Route 2 | 23 | 31 | 39 |
| Route 3 | 42 | 56 | 70 |
- A Trek with no rating will give 4% of the reward.
- The amount of experience given by a Tome of experience is unaffected by Trek ratings.
It is possible (and common) to exceed a 100 Trek rating on Route 3, and even a 200 rating with the hardest combination. However, there is no extra reward for exceeding a 100 rating. A case study of 30 Treks shows that guiding the strongest followers on Route 3 tends to average a Trek rating of 89.9, with a reward average of 88.0% when excluding Tomes of experience, and an expected reward value of 82.3% had those Tomes been measurable rewards. The approximate market value of the rewards totalled 786,000 Coins, with 23,843 experience from Tomes.
History
- Before the 13 March 2007 update it was required you travel back to Burgh de Rott to collect the reward and restart the game. Now, the player has the option to escort mercenaries from the Paterdomus to Burgh de Rott for a reward in the same fashion if Darkness of Hallowvale is completed. This allows the game to be endlessly repeated with rewards at each end of the trip.
- Before 24 April 2007, Wildblood seeds were given instead of Watermelon seeds, the maximum amount being 55.
Revamp
On 17 August 2011, the minigame received a major overhaul. A great deal was changed with this update. Previously, there were many more followers that could be selected (see below), and the follower would not take part in combat. There was also no levelling system for the followers. The treks were started by talking to the NPC. A few new followers were added with the update.
The trails themselves functioned differently - the player would select the difficulty before the trail and would have to complete the whole trail at that difficulty. Two new events were added - the graveyard of skeletons and the nature grotto.
The rewards system was also slightly different before this update - previously, players could not choose rewards, they were received at random by turning in the reward token. A number of new rewards were added with the update, such as the constructor's outfit, the shortcut to the Nature Spirit's grotto, the teleport to Burgh de Rott and the Ghast familiar.
Additionally, the events received a major graphical update, as did the monsters, such as Ghasts and Vyrewatch.
The previous followers available, now removed from the game, were:
- Easy: Fyiona Fray, Dalcian Fang, Mage and Adventurer
- Medium: Valantay Eppel, Ranger and Apprentice
- Hard: Woman-At-Arms and Forester
Trivia
- When you examine lumberjack zombies, it will say “He's the one, but he's not alright” which is a reference to Monty Python’s “Lumberjack song”.
See also
References
- RuneScape Game Guide